

Irresistibly Crispy Coconut Shrimp: Your Ultimate Homemade Guide
Forget the restaurant! You can easily create the BEST crispy coconut shrimp right in your own kitchen. This simple yet sophisticated recipe delivers perfectly golden, crunchy, savory, and subtly sweet shrimp that are utterly addictive. Ideal as an appetizer for gatherings, a delightful main course, or a special treat for family dinner, this homemade version surpasses any takeout with its fresh flavors and satisfying texture. Prepare to impress your guests and delight your taste buds with this unforgettable seafood sensation.

As a personal chef, I constantly seek out restaurant-quality dishes that can be perfected in the comfort of a home kitchen. While clients adore staples like our Oven Fried Eggplant Parmesan, succulent Salmon with Creamy Coconut and Spinach Sauce, or incredibly Crispy Baked Chicken Wings, there’s a new star on the menu: Crispy Coconut Shrimp. Its popularity stems from a delightful blend of textures and tastes – a crunchy exterior, tender shrimp, and a harmonious balance of sweet and savory notes. This recipe isn’t just “to die for”; it’s a testament to how simple ingredients can create something truly extraordinary.
Why Homemade Coconut Shrimp is Always Better
While ordering coconut shrimp at your favorite eatery is always a treat, preparing it at home offers several compelling advantages. Firstly, you have complete control over the freshness and quality of your ingredients, ensuring your shrimp are plump and succulent, and your coconut coating is vibrant. Secondly, homemade means you can customize the flavor profile to your liking—adjusting the sweetness, spice, or even the type of oil used for frying. Lastly, there’s an undeniable satisfaction in presenting a dish as impressive as crispy coconut shrimp, knowing you crafted every perfect bite from scratch. It’s often more cost-effective too, allowing you to enjoy this gourmet delight more frequently.
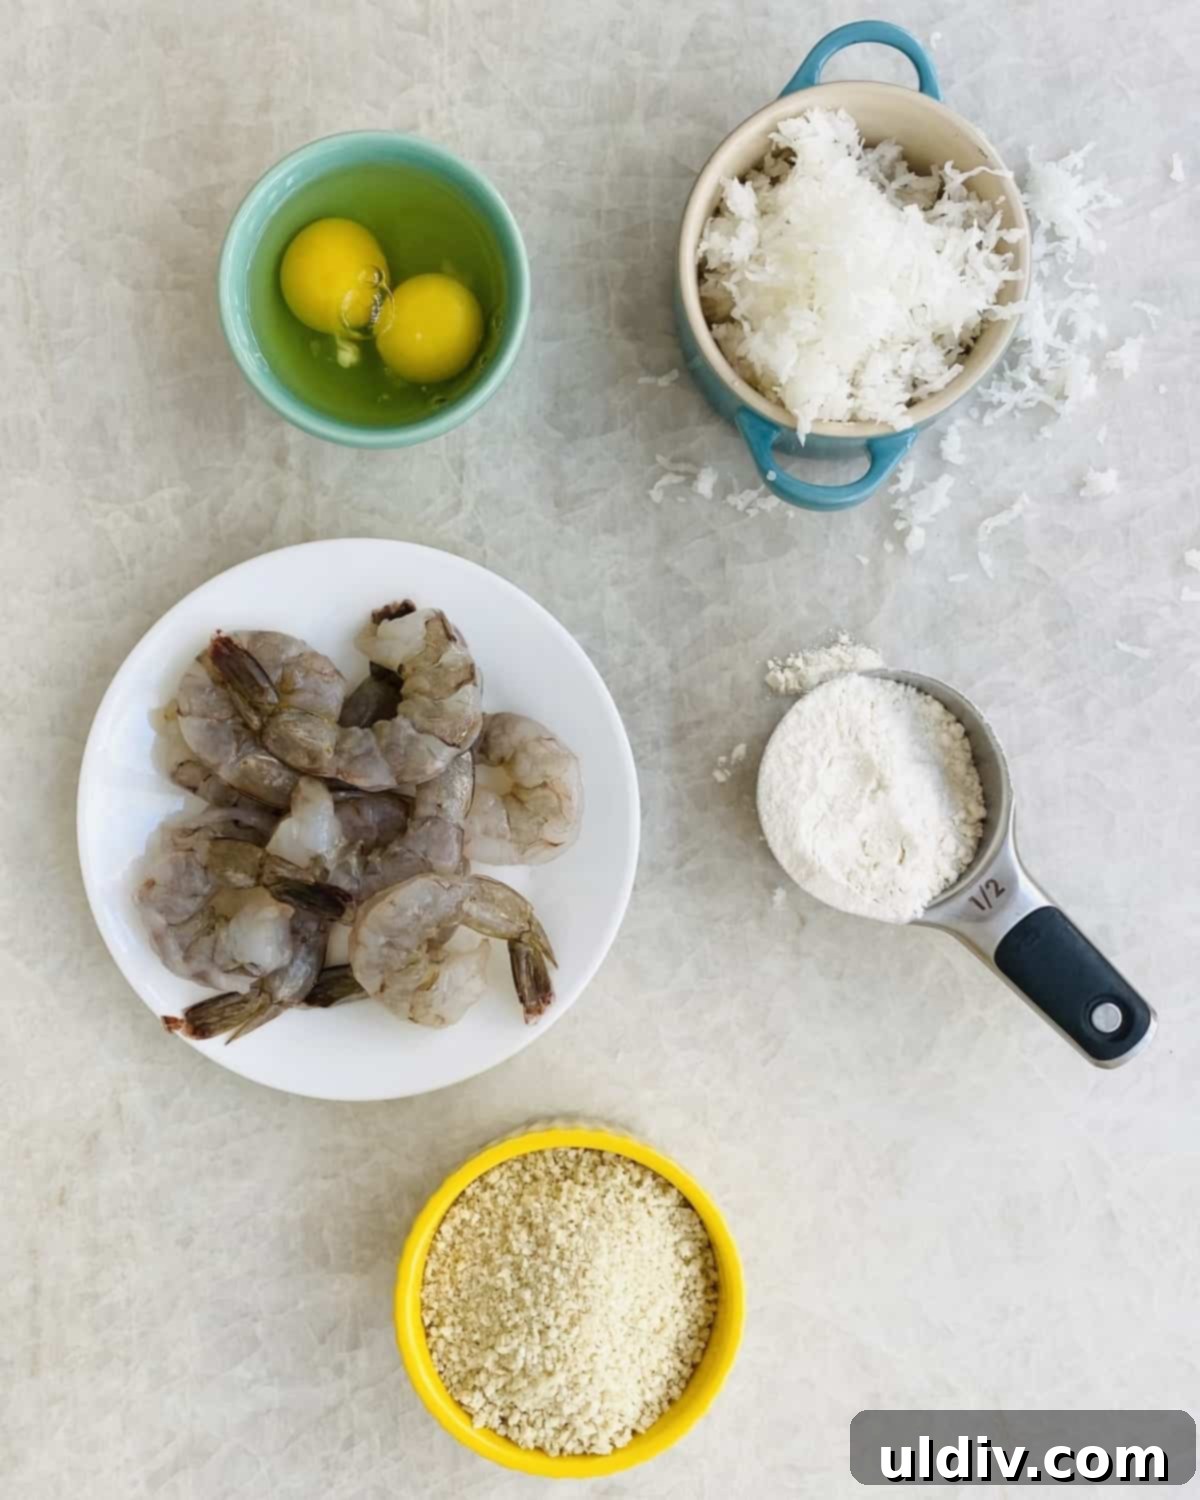
Key Ingredients for Perfect Coconut Shrimp
Creating sensational coconut shrimp starts with selecting the right components. Each ingredient plays a crucial role in achieving that perfect balance of crispy texture and irresistible flavor. Here’s what you’ll need and why:
- All-Purpose Flour: Forms the initial dry layer, helping the egg wash adhere evenly to the shrimp.
- Old Bay Seasoning: A classic seafood seasoning that adds a savory, slightly spicy depth, enhancing the natural sweetness of the shrimp. Don’t skip this for an authentic flavor!
- Large Eggs: The essential binder. Beaten eggs create a sticky surface for the panko and coconut to cling to, ensuring a thick, crunchy coating.
- Sweetened Shredded Coconut: The star of the show! It provides the iconic sweet coconut flavor and a delicate chewiness that complements the crispy panko.
- Panko Breadcrumbs: These Japanese-style breadcrumbs are coarser and lighter than regular breadcrumbs, resulting in an exceptionally airy and crispy texture when fried. They are key to achieving that restaurant-quality crunch.
- Shrimp (16/20 per pound): Opt for large or extra-jumbo shrimp for a more substantial bite. Peeled and deveined with tails on is ideal, as the tails provide a convenient handle for dipping and eating.
- High Smoke Point Oil (Canola, Peanut, or Avocado Oil): Crucial for deep-frying. These oils can withstand high temperatures without burning, ensuring your shrimp fry evenly to a golden crisp.
- Kosher Salt: A finishing touch. A sprinkle immediately after frying enhances all the flavors and adds a subtle seasoning.
- Thai Sweet Chili Dipping Sauce: The perfect accompaniment. Its sweet, tangy, and subtly spicy notes cut through the richness of the fried shrimp, creating a harmonious culinary experience.
How to Master the Art of Homemade Coconut Shrimp
Making crispy coconut shrimp involves two fundamental cooking techniques: dredging and frying. Once you’ve perfected these staples, you’ll find this recipe surprisingly straightforward and incredibly rewarding.
Preparing Your Shrimp and Dredging Station
Begin with premium, large shrimp. I highly recommend extra jumbo shrimp (16 to 20 per pound) for a more satisfying bite. Ensure they are peeled and deveined; leaving the tails on not only looks elegant but also offers a convenient handle for dipping and eating. Before you start, pat the shrimp thoroughly dry with paper towels. This crucial step helps the flour adhere better, leading to a crispier coating.
Next, set up your dredging station. Using three shallow bowls or pie plates makes this process efficient and mess-free:
- Bowl 1: The Flour Mixture – Combine the all-purpose flour with the Old Bay seasoning. Whisk well to ensure the seasoning is evenly distributed, ready to impart its savory magic.
- Bowl 2: The Egg Wash – Crack the large eggs into the second bowl and beat them vigorously until well combined and slightly frothy. This egg wash acts as the glue for your coconut and panko coating.
- Bowl 3: The Coconut-Panko Blend – In the third bowl, mix the sweetened shredded coconut with the panko breadcrumbs. This is where the magic happens, creating that signature crunchy, sweet, and savory exterior.
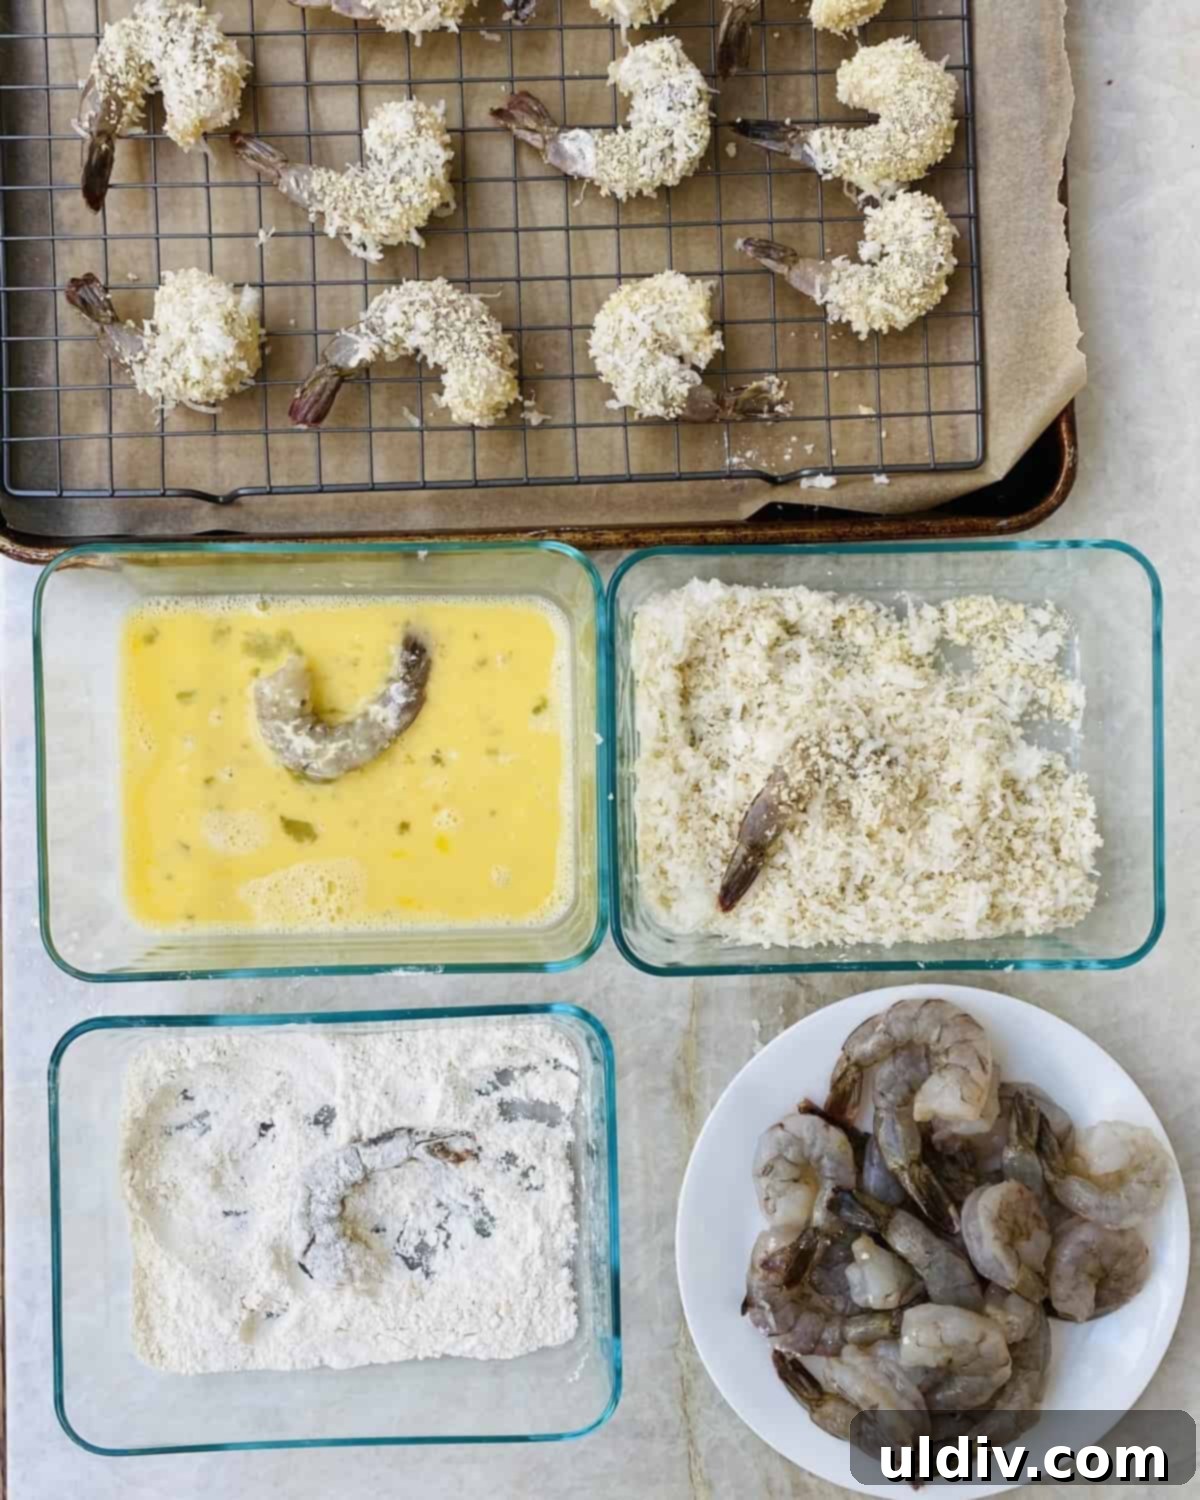
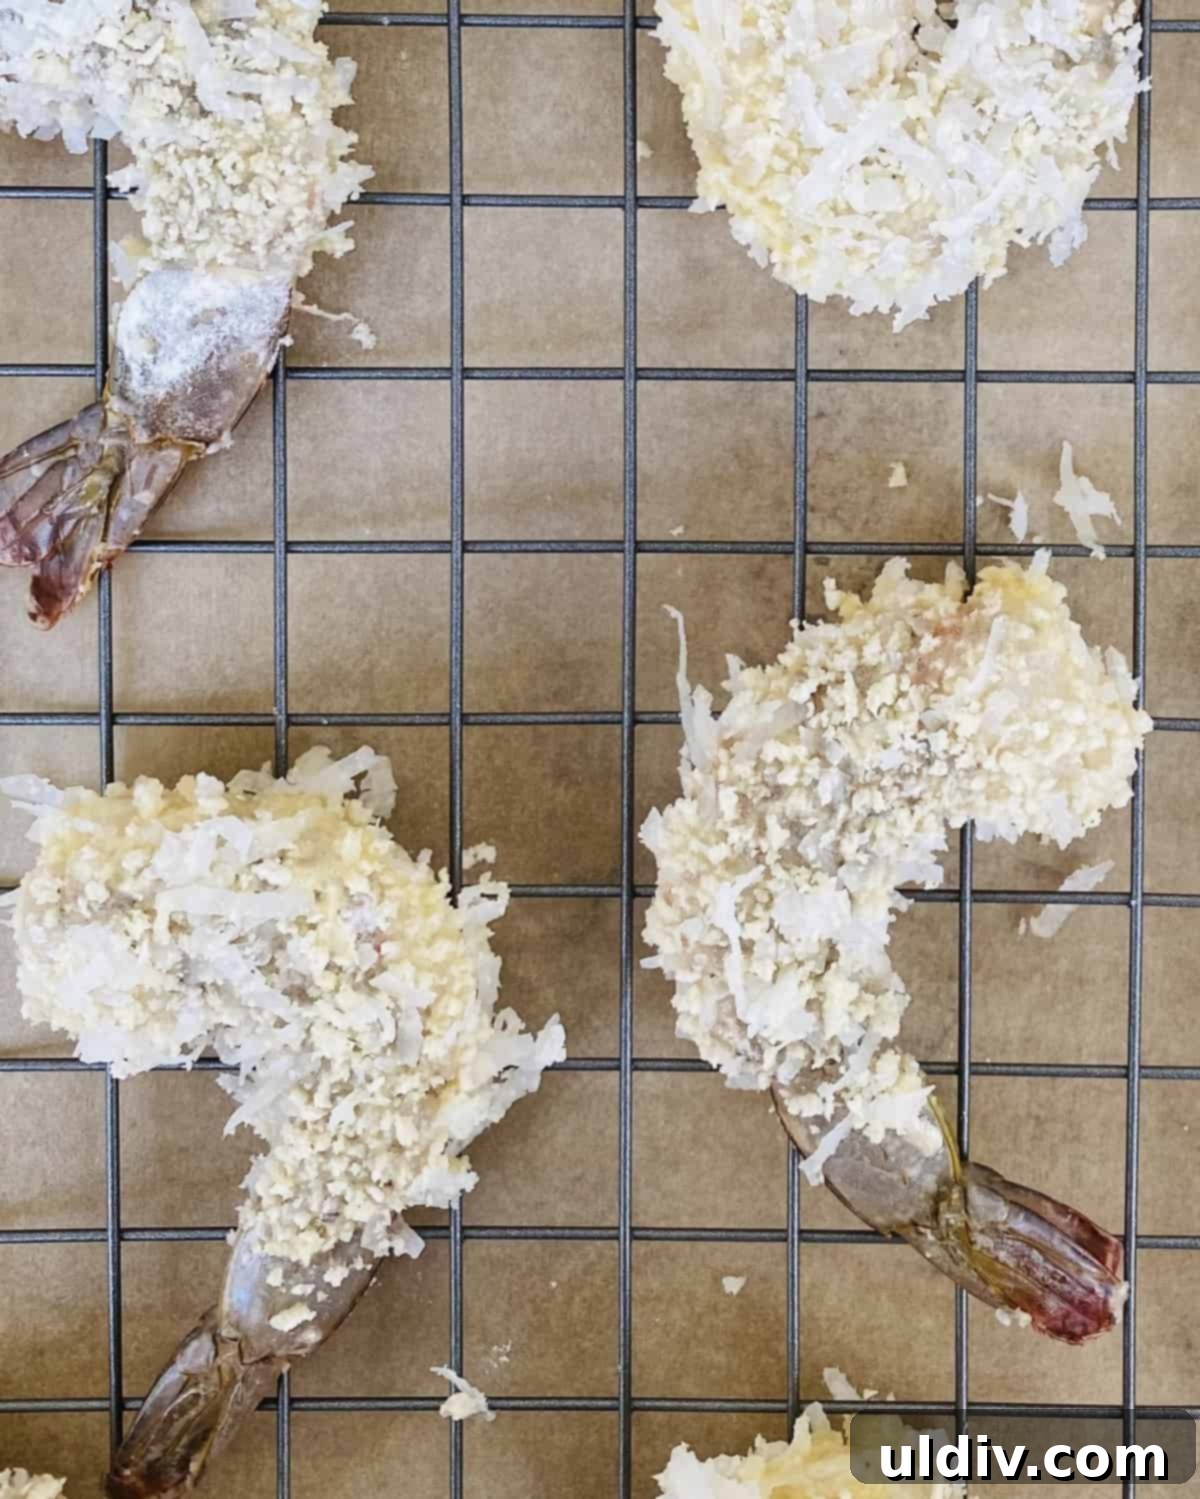
The Dredging Process for a Perfect Coat
Now, it’s time to coat your shrimp. Work with one shrimp at a time, ensuring it is completely covered at each stage, while leaving the tail uncoated for aesthetic appeal and easy handling:
- Flour First: Dip each shrimp into the seasoned flour, turning to coat completely. Gently shake off any excess flour.
- Egg Wash Next: Submerge the floured shrimp into the beaten egg wash, allowing any excess to drip off.
- Coconut-Panko Finish: Finally, press the shrimp into the coconut and panko mixture, ensuring a generous and even coating. Don’t be shy here; a thick coating means maximum crispiness.
Place the coated shrimp on a large platter or baking sheet lined with parchment paper. It’s best to dredge all your shrimp before moving on to the frying stage. This prepares you for continuous frying and ensures even cooking.
Deep Frying to Golden Perfection
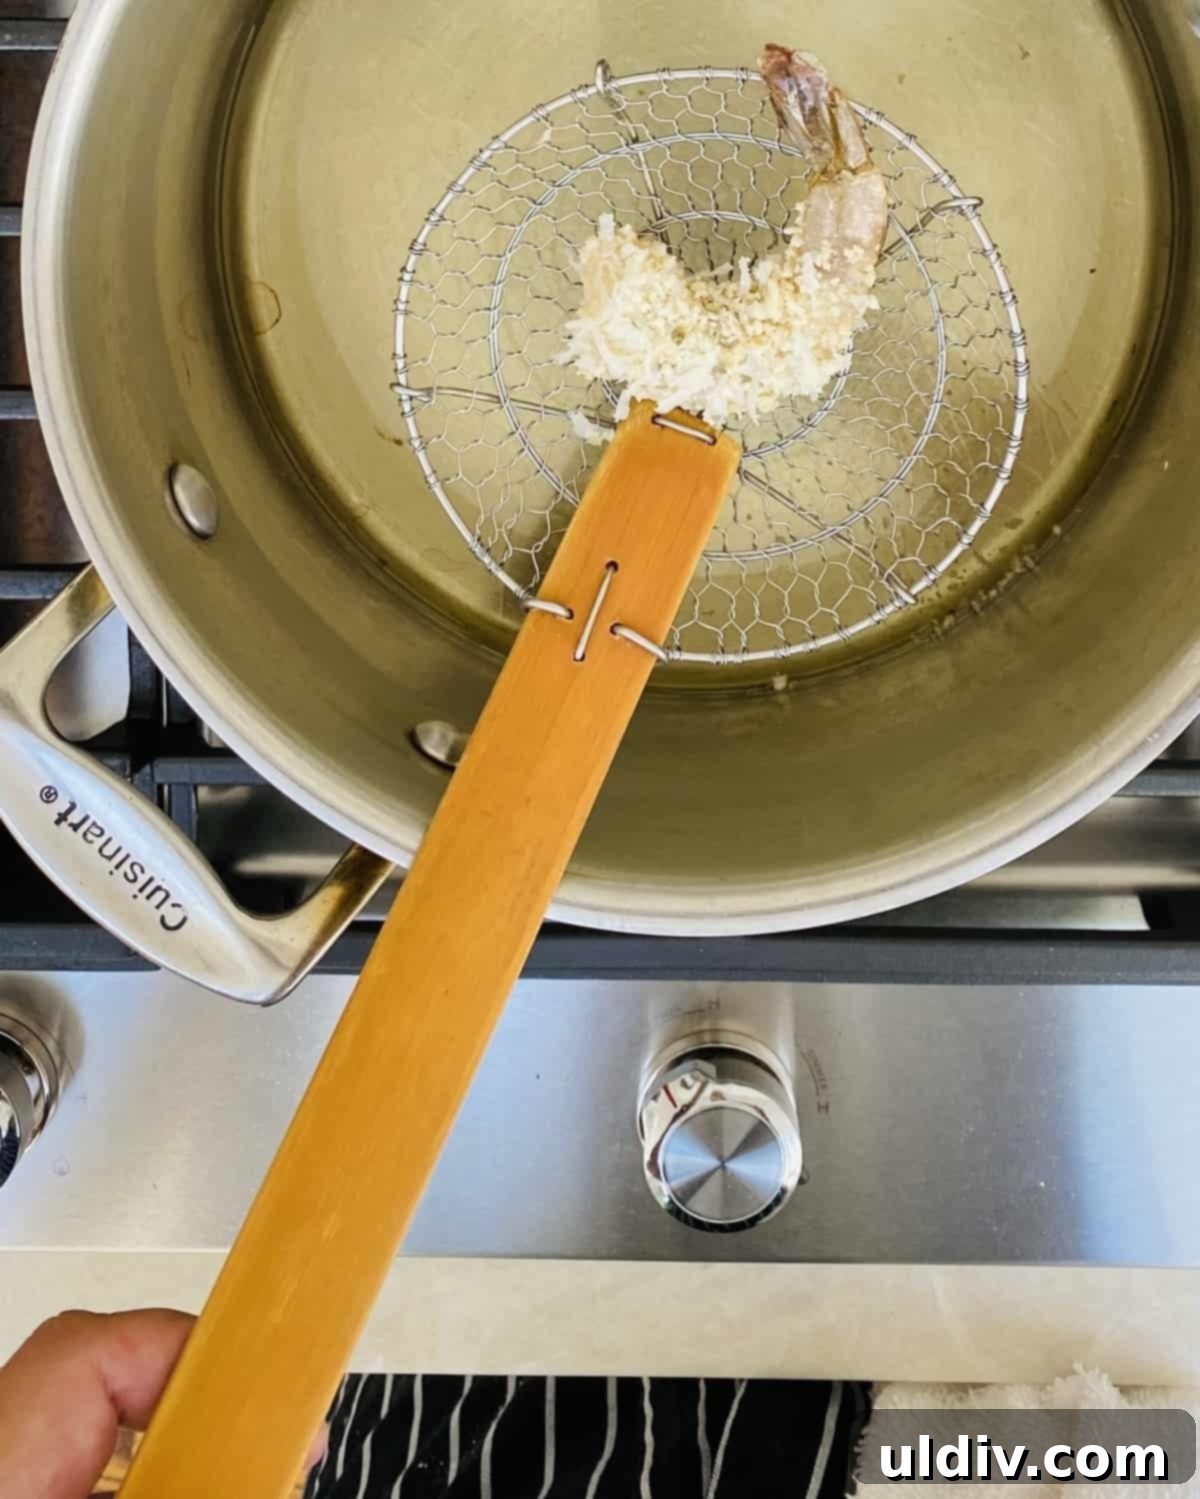
Heat a large, heavy-bottomed stock pot or Dutch oven over medium to medium-high heat. Add about 2 inches of a high smoke point oil (canola, peanut, or avocado oil) to the pot. It’s vital to use enough oil so the shrimp can fry without touching the bottom of the pot. Bring the oil to the optimal frying temperature, between 350°F and 375°F (175°C to 190°C). Use a kitchen thermometer to ensure accuracy – too cool, and your shrimp will be greasy; too hot, and the coating will burn before the shrimp cooks through.
Carefully add a few coconut-coated shrimp to the hot oil, ensuring not to overcrowd the pot. Frying in small batches is essential to maintain the oil temperature and achieve consistent crispiness. Fry for 2 to 3 minutes per side, or until the coating is beautifully golden brown and the shrimp is opaque and cooked through. Keep a close eye on them, as the coconut can brown quickly.
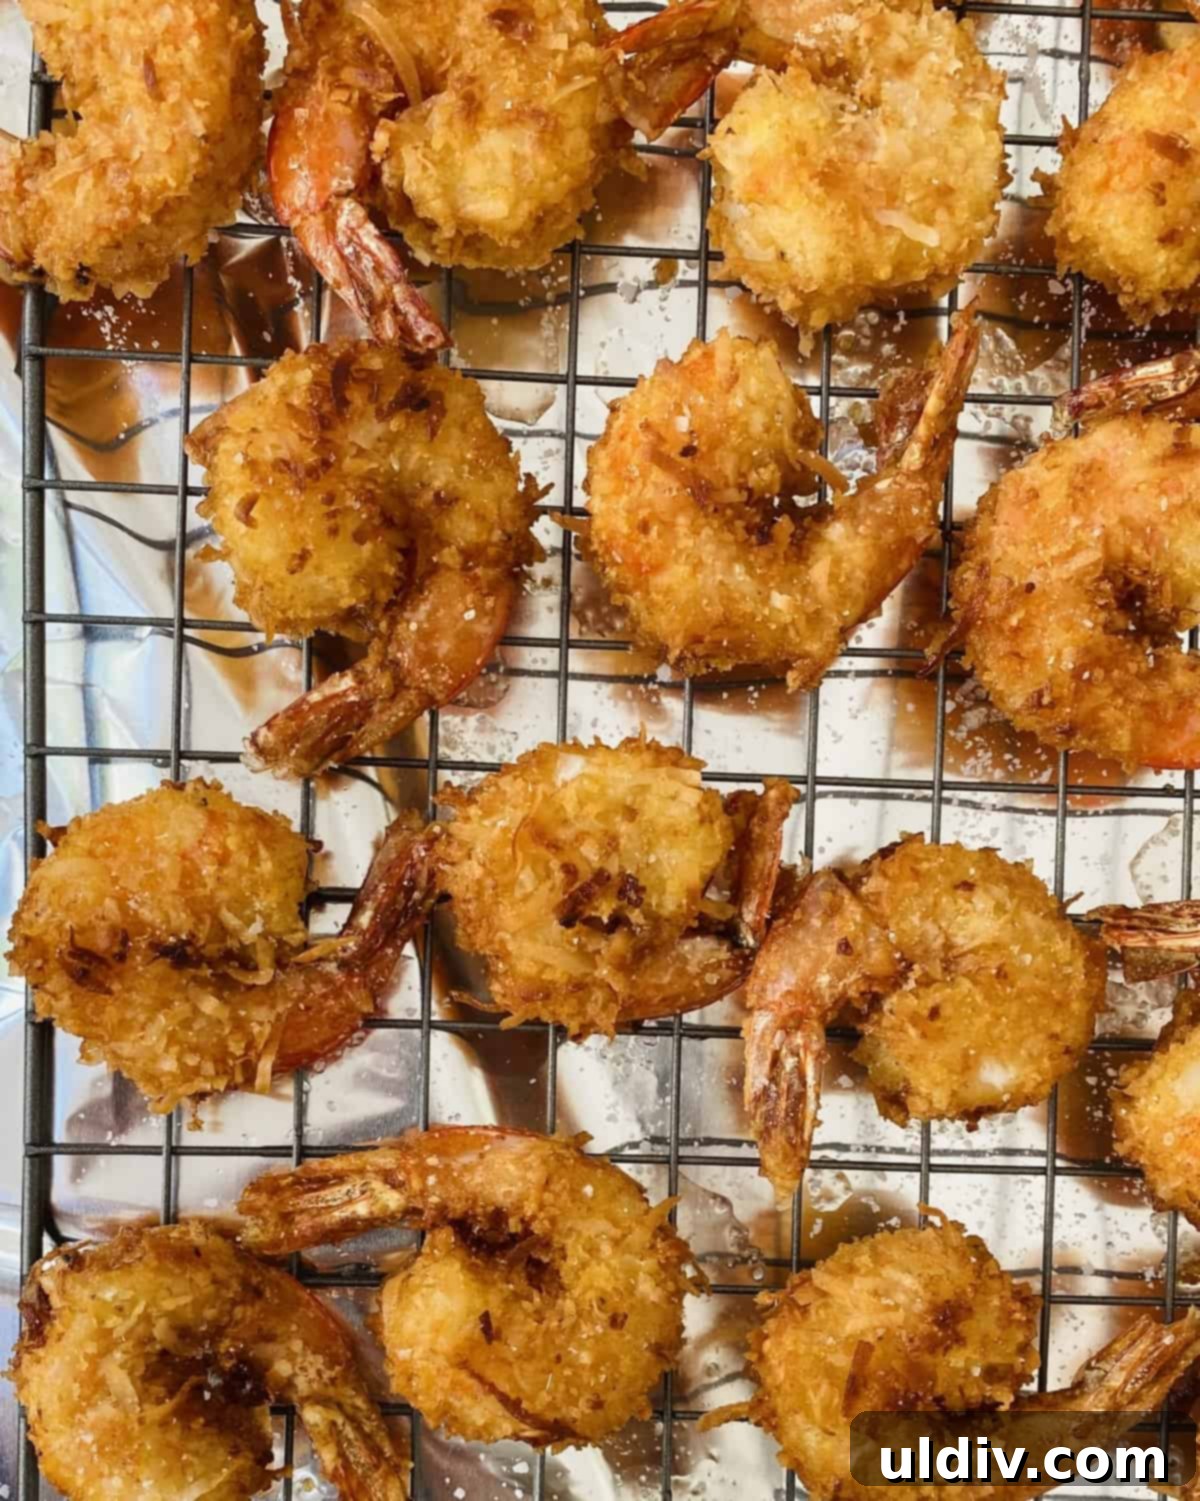
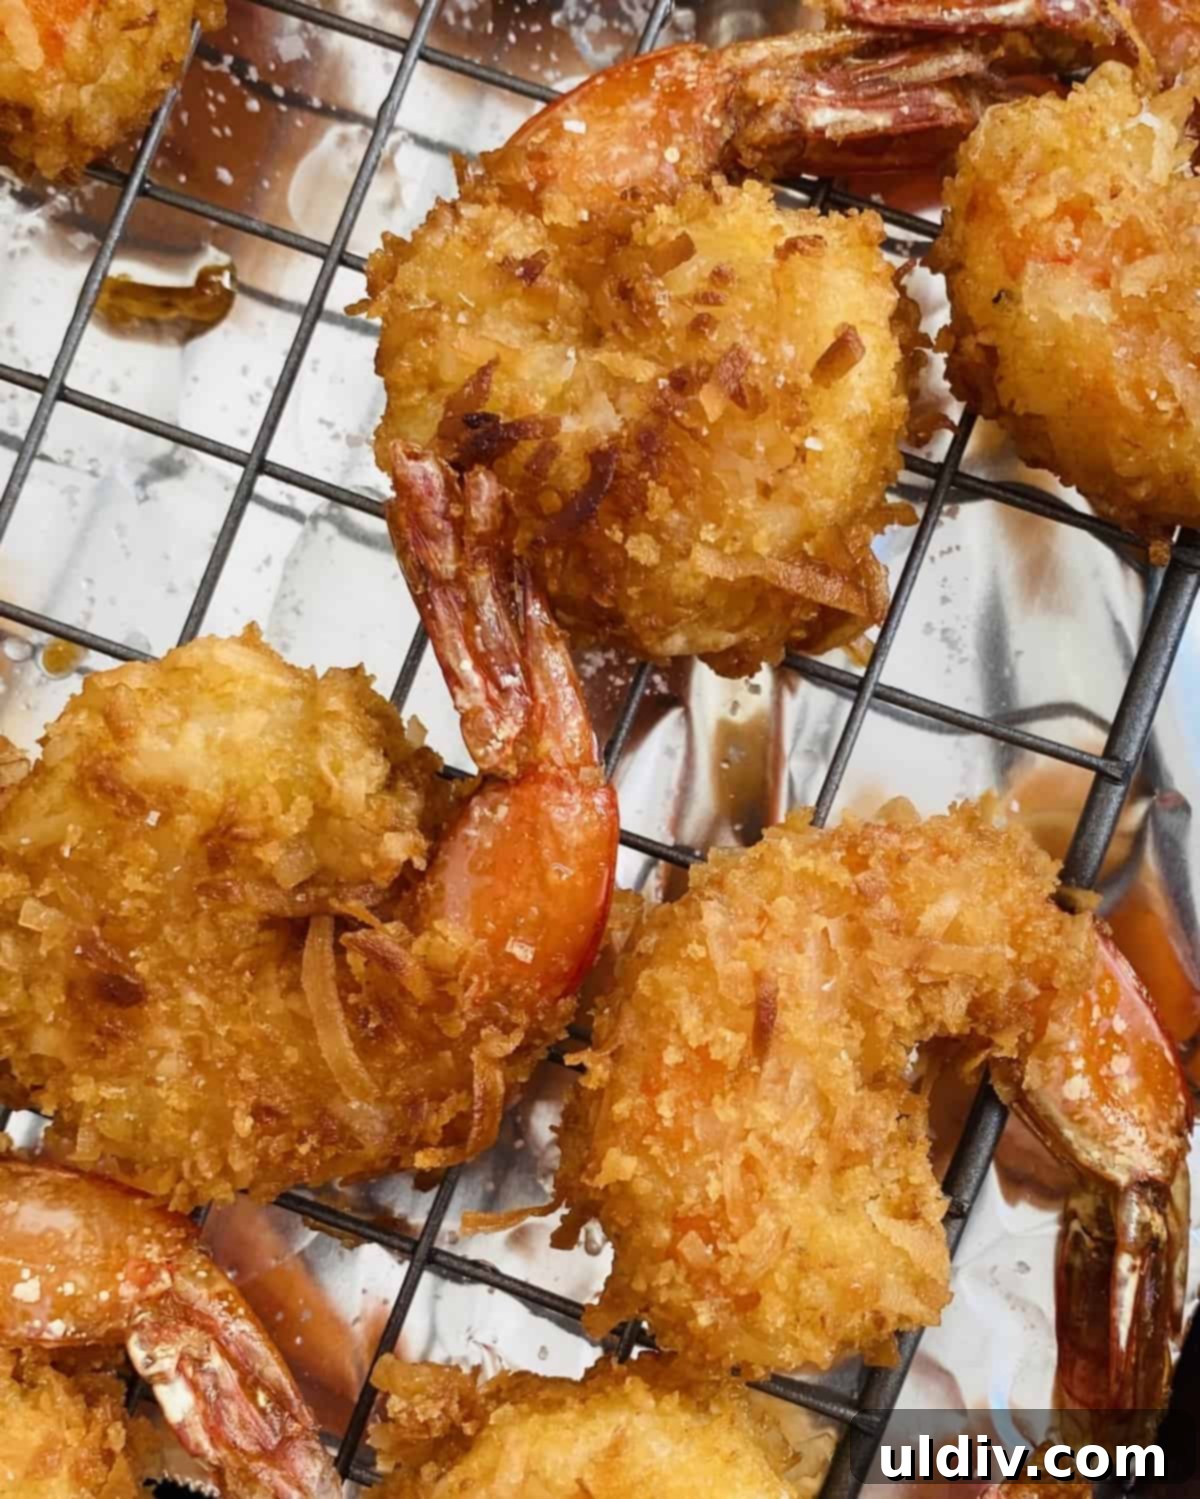
Once fried, use a slotted spoon or spider to transfer the hot and crispy shrimp directly to a cooling rack set over a baking sheet. This allows air circulation around all sides, preventing sogginess. Immediately sprinkle the hot shrimp with a pinch of kosher salt to season them while they are still warm. Continue frying the remaining shrimp in batches, adjusting heat as needed to maintain the ideal oil temperature.
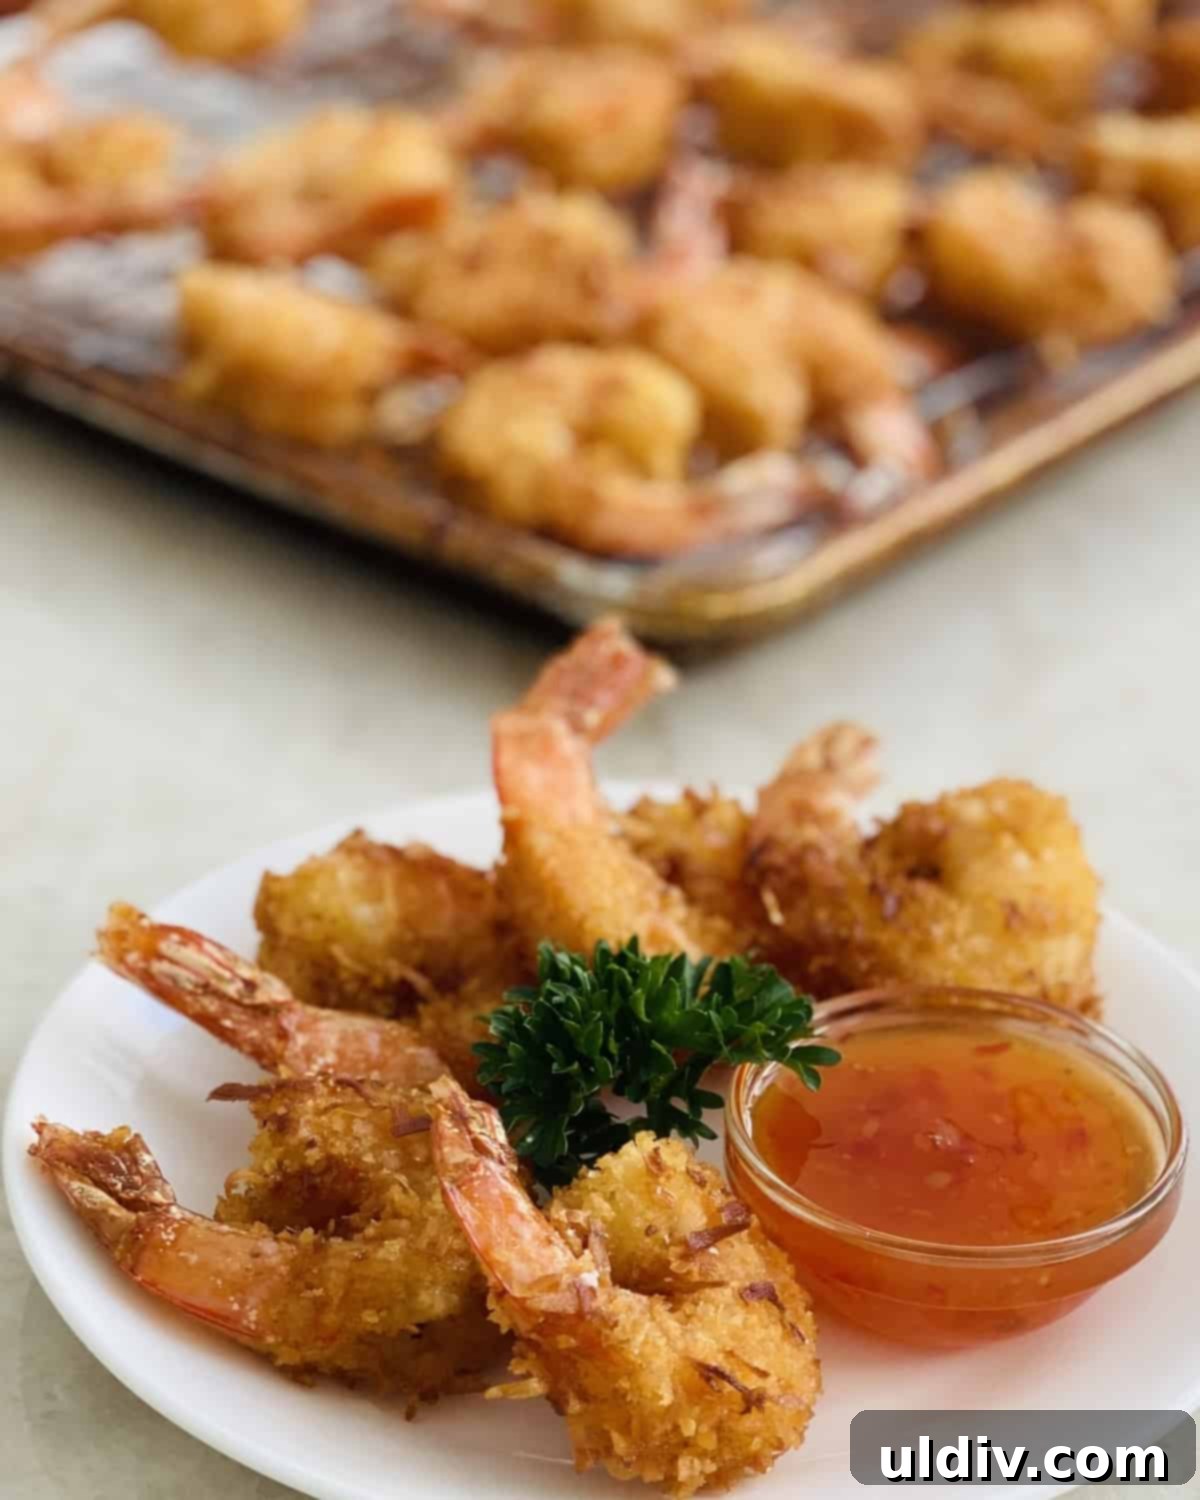
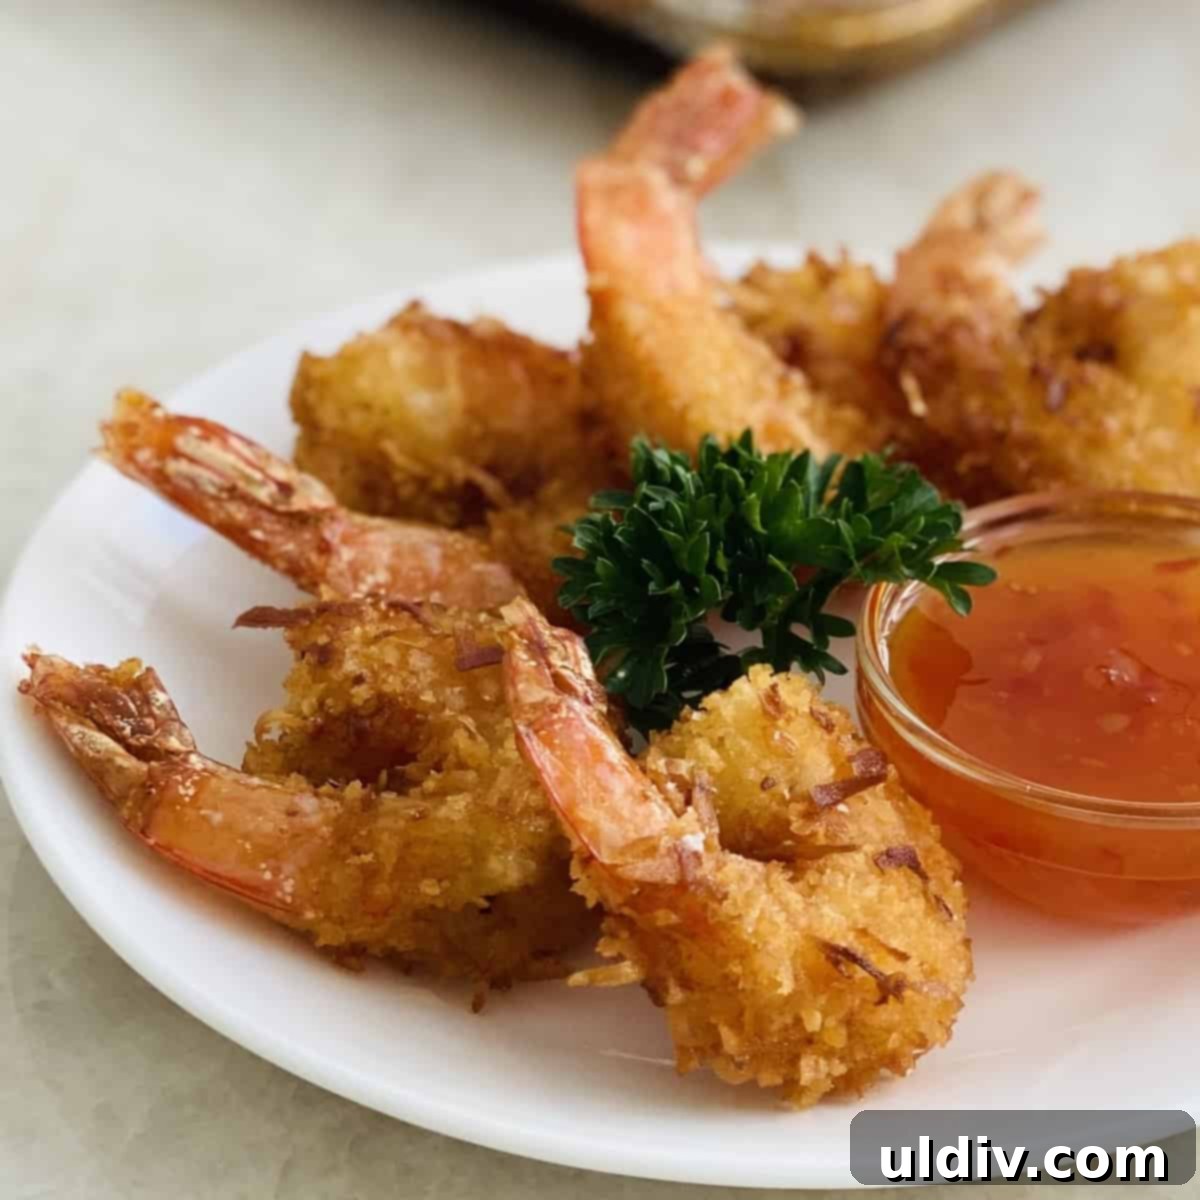
Serve your glorious homemade coconut shrimp immediately, either as is or with a generous side of Thai sweet chili dipping sauce. Get ready for rave reviews!
Dietary Adaptations: Paleo and Keto-Friendly Coconut Shrimp
For those following specific dietary paths like Paleo or Keto, enjoying the crave-worthy taste of coconut shrimp is absolutely possible with a few smart substitutions. These adjustments allow you to savor the crispy, flavorful experience without compromising your dietary goals.
- Flour Substitute: Replace traditional all-purpose flour with almond flour. Almond flour is gluten-free, low in carbs, and provides a neutral base for the coating.
- Coconut Choice: Opt for unsweetened shredded coconut instead of sweetened. This significantly reduces sugar content while still delivering that essential coconut flavor and texture.
- Panko Alternative: For a keto and paleo-compliant crunch, substitute panko with either coconut flour or finely crushed pork rinds. Coconut flour adds another layer of coconut flavor and fine crispiness, while crushed pork rinds offer an incredibly savory and crispy, nearly carb-free coating.
- Frying Oil: When frying, stick to avocado oil for a paleo-friendly and healthy fat choice. Canola and peanut oils are typically avoided on these diets.
- Dipping Sauce: Craft a custom dipping sauce to avoid added sugars. Combine ¼ cup of a no-sugar apricot all-fruit spread with 1 tablespoon of rice wine vinegar and ¼ to ½ teaspoon of red pepper flakes. Adjust the pepper flakes to your preferred spice level. This yields a delightful sweet and spicy sauce that perfectly complements the shrimp.
With these straightforward ingredient swaps, preparing delicious paleo or keto coconut shrimp becomes a breeze, proving that dietary restrictions don’t mean sacrificing flavor or enjoyment!
Expert Tips for Flawless Coconut Shrimp
Achieving restaurant-quality coconut shrimp at home is simple when you follow these expert tips:
- Dredging Efficiency: For the smoothest and cleanest dredging process, always use shallow bowls or pie plates. Their wide surface area makes it easy to coat the shrimp evenly without making a mess.
- Prep Ahead: Dredge and coat all your shrimp completely before you even think about heating the oil. This allows for a continuous frying process and prevents the coating from sitting too long before cooking, ensuring consistent results.
- Oil Temperature is King: Always ensure your frying oil is at the correct temperature before adding the shrimp. The ideal range is 350°F to 375°F (175°C to 190°C). If the oil is too cool, the coconut coating will absorb excessive oil, resulting in a soggy and greasy shrimp.
- Avoid Overheating: Conversely, oil that is too hot (above 375°F/190°C) will cause the delicate coconut coating to cook too quickly and burn before the shrimp inside has a chance to cook through. This leads to a burnt exterior and raw interior. Use a reliable thermometer to monitor the temperature.
- Don’t Crowd the Pot: Fry the shrimp in small batches. Overcrowding the pot significantly drops the oil’s temperature, leading to uneven cooking and soggy shrimp. Give each shrimp enough space to fry properly.
- Immediate Seasoning: As soon as you remove the fried coconut shrimp from the oil, place them on a cooling rack set within a baking sheet. This crucial step ensures air circulates around all sides, maintaining crispness. Immediately sprinkle with a generous pinch of kosher salt while they are still hot, as the salt will adhere best at this stage, enhancing the overall flavor.
How to Reheat Coconut Shrimp to Maintain Crispness
Reheating fried foods can be tricky, as the goal is always to restore that original crispiness. For coconut shrimp, the dry heat of an oven is your best friend. It helps to evaporate any moisture that may have built up, reviving the crunchy texture of the coconut panko coating.
To reheat:
- Preheat your oven to 400°F (200°C).
- Place a cooling rack inside a rimmed baking sheet. This setup allows for even heat distribution and air circulation around the shrimp.
- Arrange the leftover coconut shrimp on the cooling rack, ensuring they are about 1 inch apart to prevent steaming.
- Heat in the preheated oven for approximately 8-10 minutes, or until thoroughly heated through and the coating is crispy once again.
Avoid using a microwave, as it will inevitably make your perfectly crispy shrimp soggy and rubbery.
More Delectable Seafood Recipes to Explore
If you’ve fallen in love with making seafood at home, you’ll want to try these other fantastic recipes from my kitchen:
- Baked Shrimp with Feta and Tomatoes: A Mediterranean-inspired dish bursting with fresh flavors.
- Lemon and Garlic Butter Shrimp Scampi: A timeless classic, quick to prepare and incredibly satisfying.
- Shrimp with Roasted Tomato Sauce with Goat Cheese: A rustic and comforting dish with a creamy, tangy finish.
Frequently Asked Questions (FAQ)
Can I bake coconut shrimp instead of frying?
Yes, you can! While frying yields the crispiest results, baking is a healthier alternative. Preheat your oven to 400°F (200°C). Arrange the coated shrimp on a greased baking sheet in a single layer. Bake for 12-15 minutes, flipping halfway through, until golden brown and cooked through. For extra crispiness, lightly spray the shrimp with cooking spray before baking.
Can I air fry coconut shrimp?
Absolutely! Air frying is another excellent, healthier option that produces very crispy results. Preheat your air fryer to 375°F (190°C). Lightly spray the coated shrimp with cooking spray. Place them in a single layer in the air fryer basket, ensuring not to overcrowd. Cook for 8-10 minutes, flipping halfway, until golden and cooked. Cooking times may vary depending on your air fryer model.
Can I make coconut shrimp ahead of time?
While best served fresh, you can prepare the shrimp up to the dredging stage. Coat the shrimp and arrange them on a baking sheet lined with parchment paper. Cover loosely with plastic wrap and refrigerate for up to 4 hours. You can also freeze the dredged shrimp on a baking sheet until solid, then transfer to an airtight freezer bag for up to 1 month. Fry from frozen, adding a few extra minutes to the cooking time.
What are some alternative dipping sauces?
Beyond Thai sweet chili sauce, coconut shrimp pairs beautifully with a variety of dips. Consider a sweet and sour sauce, a spicy mango chutney, a creamy sriracha aioli, or even a simple squeeze of fresh lime juice for a bright, zesty contrast.
Your Culinary Creations Matter!
If you embark on this delicious journey and make this coconut shrimp recipe, I would absolutely love to hear about your experience! Please take a moment to leave a comment below and/or give the recipe a star rating. Your feedback truly helps me improve and connect with fellow food enthusiasts. Don’t forget to snap a photo of your fantastic creation and share it on Instagram, tagging @amycaseycooks! I always enjoy featuring your culinary triumphs in my Insta stories. For more mouth-watering recipes, cooking tips, and foodie stories, be sure to check out my Facebook and Pinterest pages.
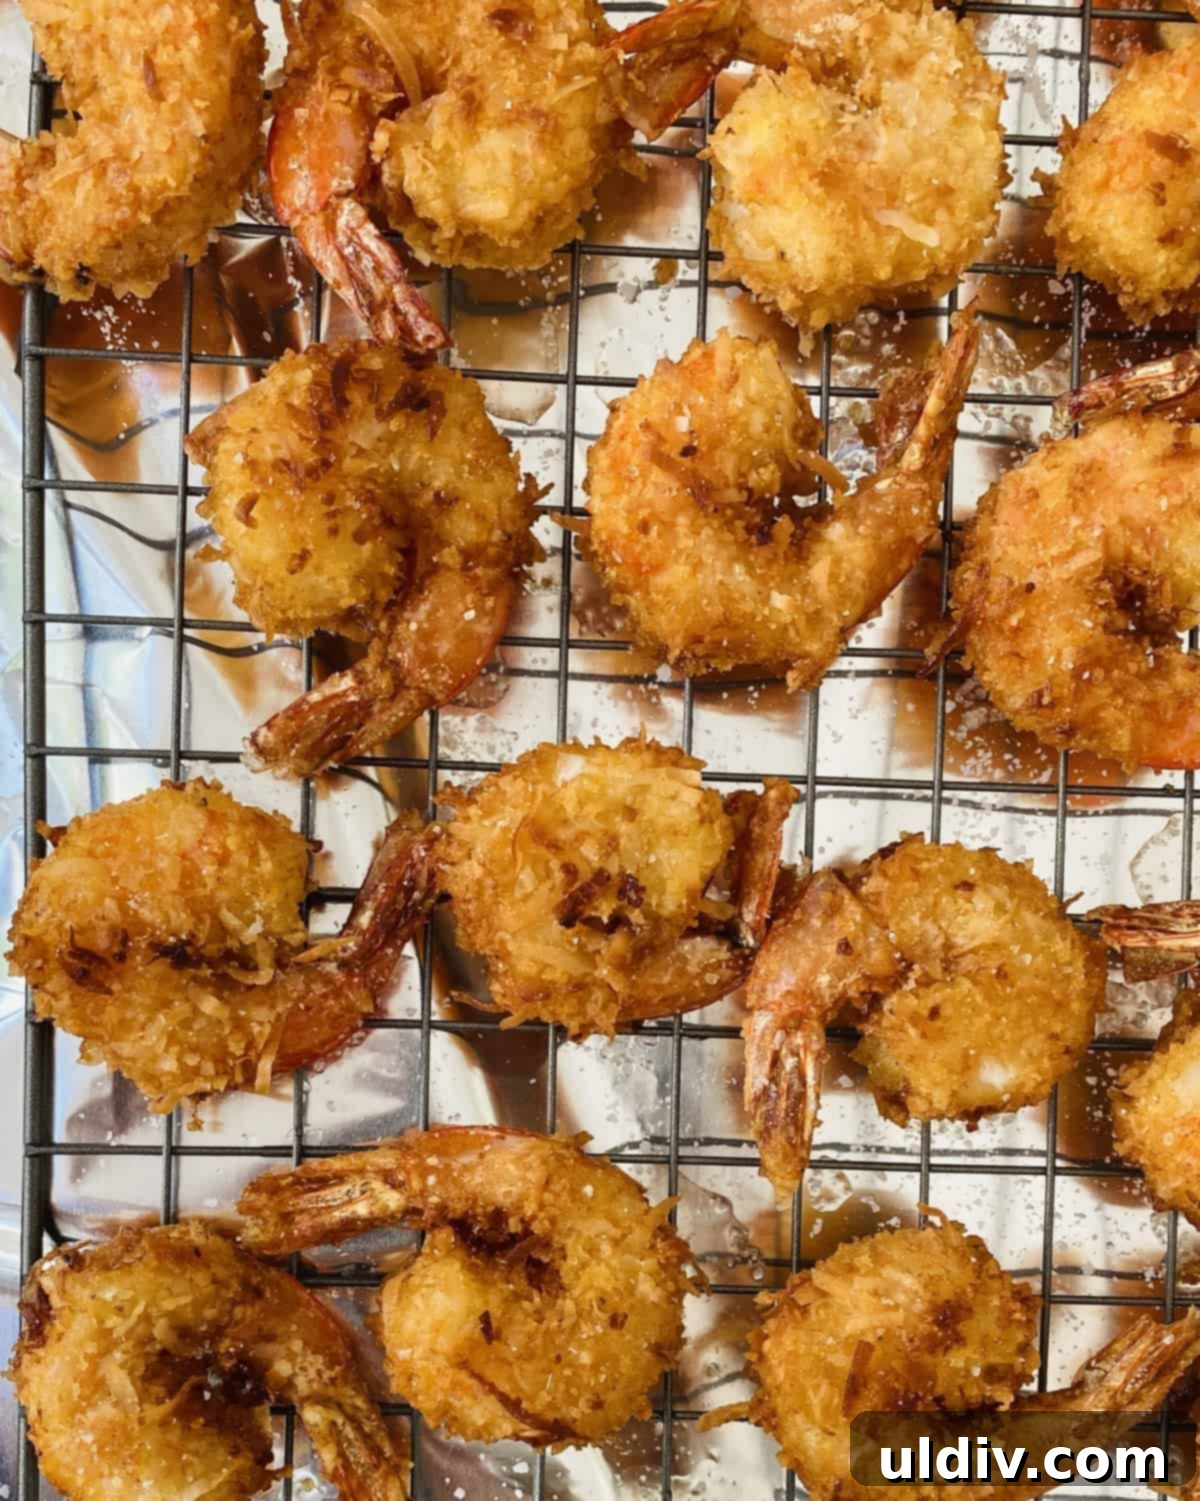
Easy Crispy Coconut Shrimp Recipe
No need to go to a restaurant for the BEST coconut shrimp! This easy recipe makes crispy crunchy coconut shrimp that are savory and a little bit sweet. They are totally addictive!
Prep Time: 20 minutes
Cook Time: 25 minutes
Total Time: 45 minutes
Servings: 6 servings
Calories: 604 kcal per serving
Author: Amy Casey
Print Recipe | Pin Recipe
Ingredients
- ½ cup all purpose flour
- ½ teaspoon Old Bay seasoning
- 3 large eggs
- 1 ½ cups sweetened shredded coconut
- 1 cup panko
- 2 pounds shrimp (16/20 per pound, peeled, deveined, with tails on)
- 2 cups canola, peanut, or avocado oil (for frying)
- kosher salt (to taste)
- Thai sweet chili dipping sauce (for serving)
Instructions
- Place a cooling rack in a large rimmed baking sheet. Set aside.
- Assemble your dredging station: Gather 3 shallow bowls. In the first bowl, combine the flour and Old Bay seasoning. In the second bowl, add the eggs and beat them well. In the third bowl, combine the sweetened shredded coconut and panko.
- Dredge each shrimp: Dip a shrimp into the seasoned flour, shaking off any excess. Then, dip it into the beaten egg wash, allowing excess to drip off. Finally, press it into the coconut/panko mixture, ensuring it’s completely coated. Place the coated shrimp on the prepared large platter or baking sheet. Repeat until all shrimp are coated.
- Heat the oil: In a large stock pot or Dutch oven over medium to medium-high heat, add enough oil to reach a depth of at least ½ inch. Heat the oil to approximately 350°F (175°C).
- Fry the shrimp: Carefully add about 6 shrimp to the hot oil, making sure they do not touch each other. Fry for about 2 to 3 minutes per side, watching closely as the coconut can brown quickly. The shrimp are ready when the outside is golden brown and the shrimp is just cooked through (opaque).
- Drain and season: Remove the cooked shrimp from the pot and place them on the cooling rack set inside the baking sheet. Immediately sprinkle with kosher salt.
- Repeat: Continue frying the shrimp in batches until all the shrimp are cooked. Adjust oil temperature as needed.
- Serve: Serve your crispy coconut shrimp hot with Thai sweet chili dipping sauce for a perfect flavor combination.
Notes
- For easy dredging, shallow bowls or pie plates work best.
- Always coat all the shrimp before you begin the frying process.
- Ensure the oil is hot enough (350-375°F / 175-190°C) before frying to prevent soggy shrimp.
- Avoid getting the oil too hot (above 375°F / 190°C) to prevent the coating from burning and the shrimp from remaining raw.
- Do not overcrowd the pot when frying; cook in small batches.
- Drain fried coconut shrimp on a cooling rack set in a baking sheet for maximum crispness, and immediately sprinkle with kosher salt.
Nutrition
Serving: 1/6 of recipe | Calories: 604kcal | Carbohydrates: 47.4g | Protein: 41.1g | Fat: 26.1g | Saturated Fat: 5.8g | Cholesterol: 411mg | Sodium: 749mg | Fiber: 5.1g | Sugar: 1.3g
Did you make this recipe? Tag @amycaseycooks on Instagram so we can all admire your work!