
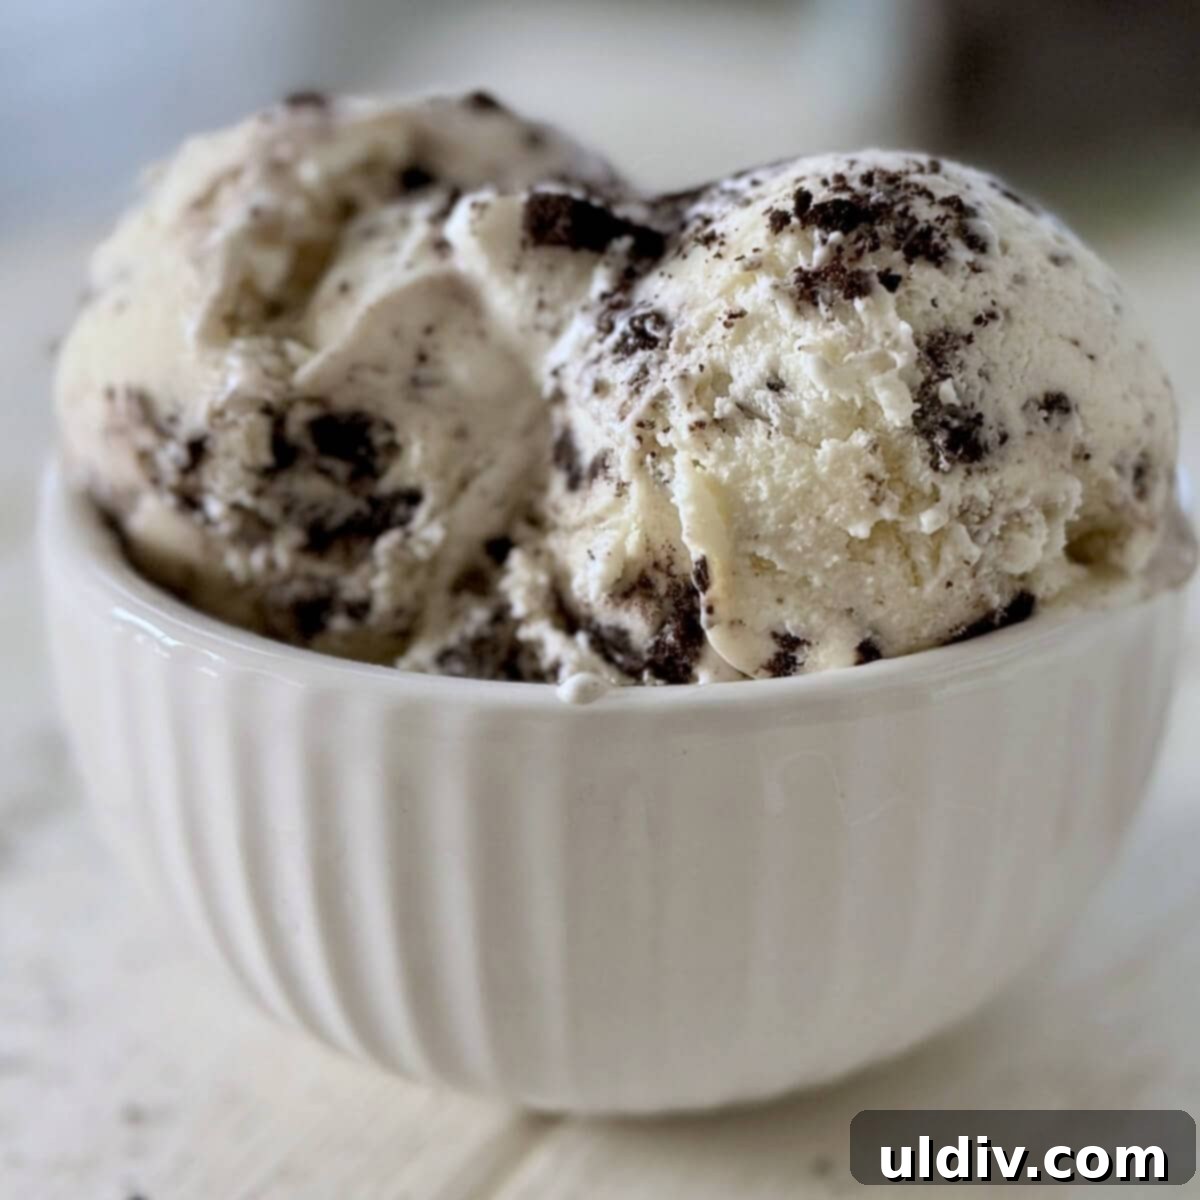
Forget the long lines and hefty price tags at your local ice cream parlor. Imagine indulging in a scoop of unbelievably rich, velvety smooth ice cream, made right in your kitchen with minimal effort and absolutely **no special equipment**. This dream becomes a delicious reality with our ultimate 4-ingredient no-churn ice cream recipe!
Recipe Review
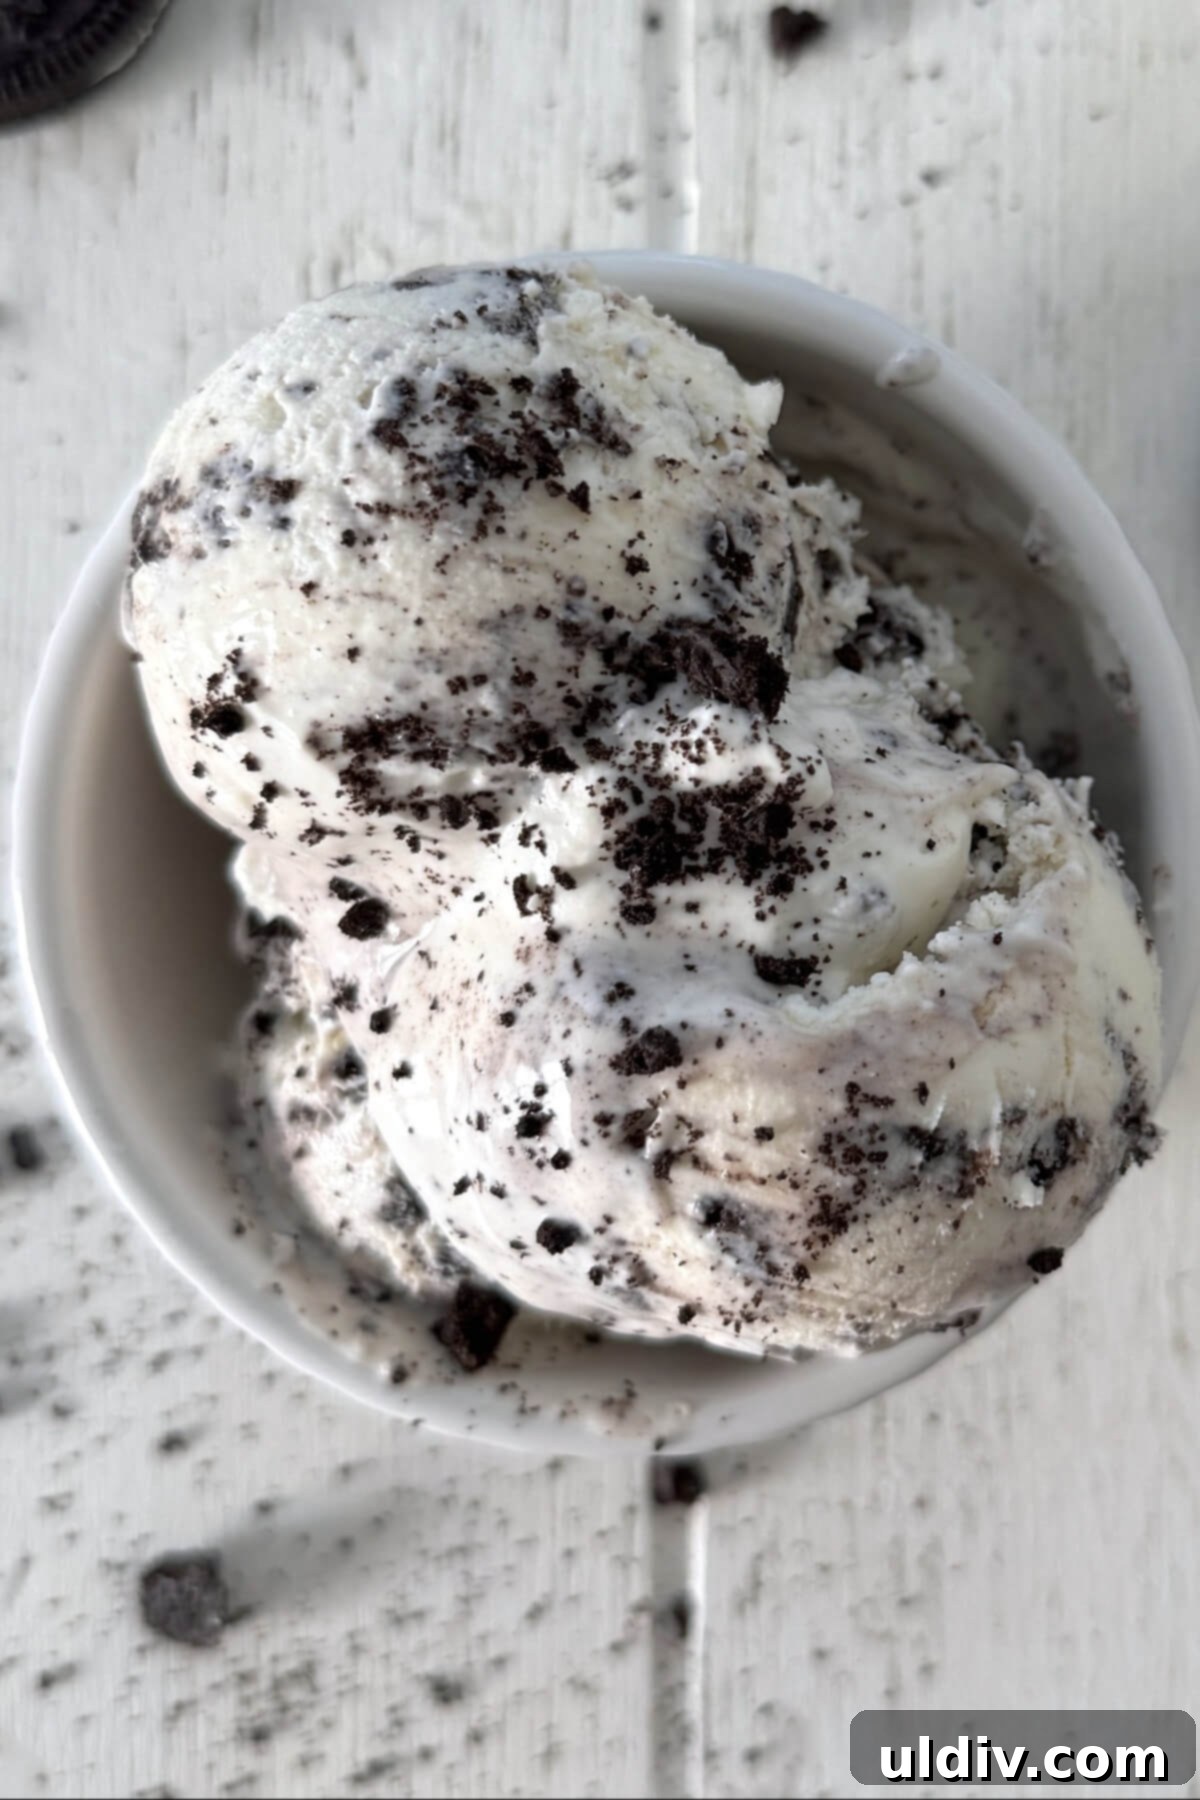
Crafting homemade ice cream has never been this simple, accessible, or enjoyable. This recipe eliminates the need for bulky, expensive ice cream machines, allowing anyone to create a truly decadent frozen dessert with just a few pantry staples. Get ready to transform basic ingredients into a creamy, dreamy treat that will impress family and friends alike. It’s also the perfect base for delightful homemade ice cream sandwiches.
A Quick Overview of This Easy No-Churn Ice Cream Recipe
- Recipe Name: How to Make No-Churn Ice Cream at Home
- Prep Time: 10 minutes
- Freeze Time: At least 6 hours
- Serves: 8 delicious servings
- Calories: Approximately 391 per serving
- Main Ingredients: Heavy whipping cream, sweetened condensed milk
- Difficulty: Remarkably Easy
Growing up, desserts like Old Fashioned Pound Cake, Soft Pumpkin Cookies, and homemade ice cream were cherished parts of my childhood. However, the process of making ice cream back then was far more complicated than it is today. Our family relied on one of those cumbersome wooden bucket ice cream makers. It demanded copious amounts of ice, rock salt, and constant attention to churn out a batch of frozen deliciousness. While those memories are sweet, the labor involved often wasn’t!
Thankfully, culinary innovation has brought us the marvel of **no-churn ice cream**, a simplified version of homemade ice cream that requires no machine whatsoever. My easy ice cream recipe demands significantly less hands-on time, making it perfect for busy individuals or anyone who wants a quick path to a frozen treat. The most challenging aspect of creating this **ultra-rich and creamy no-churn ice cream** is simply exercising patience as it freezes. This cookies and cream variation, in particular, has become an absolute family favorite!
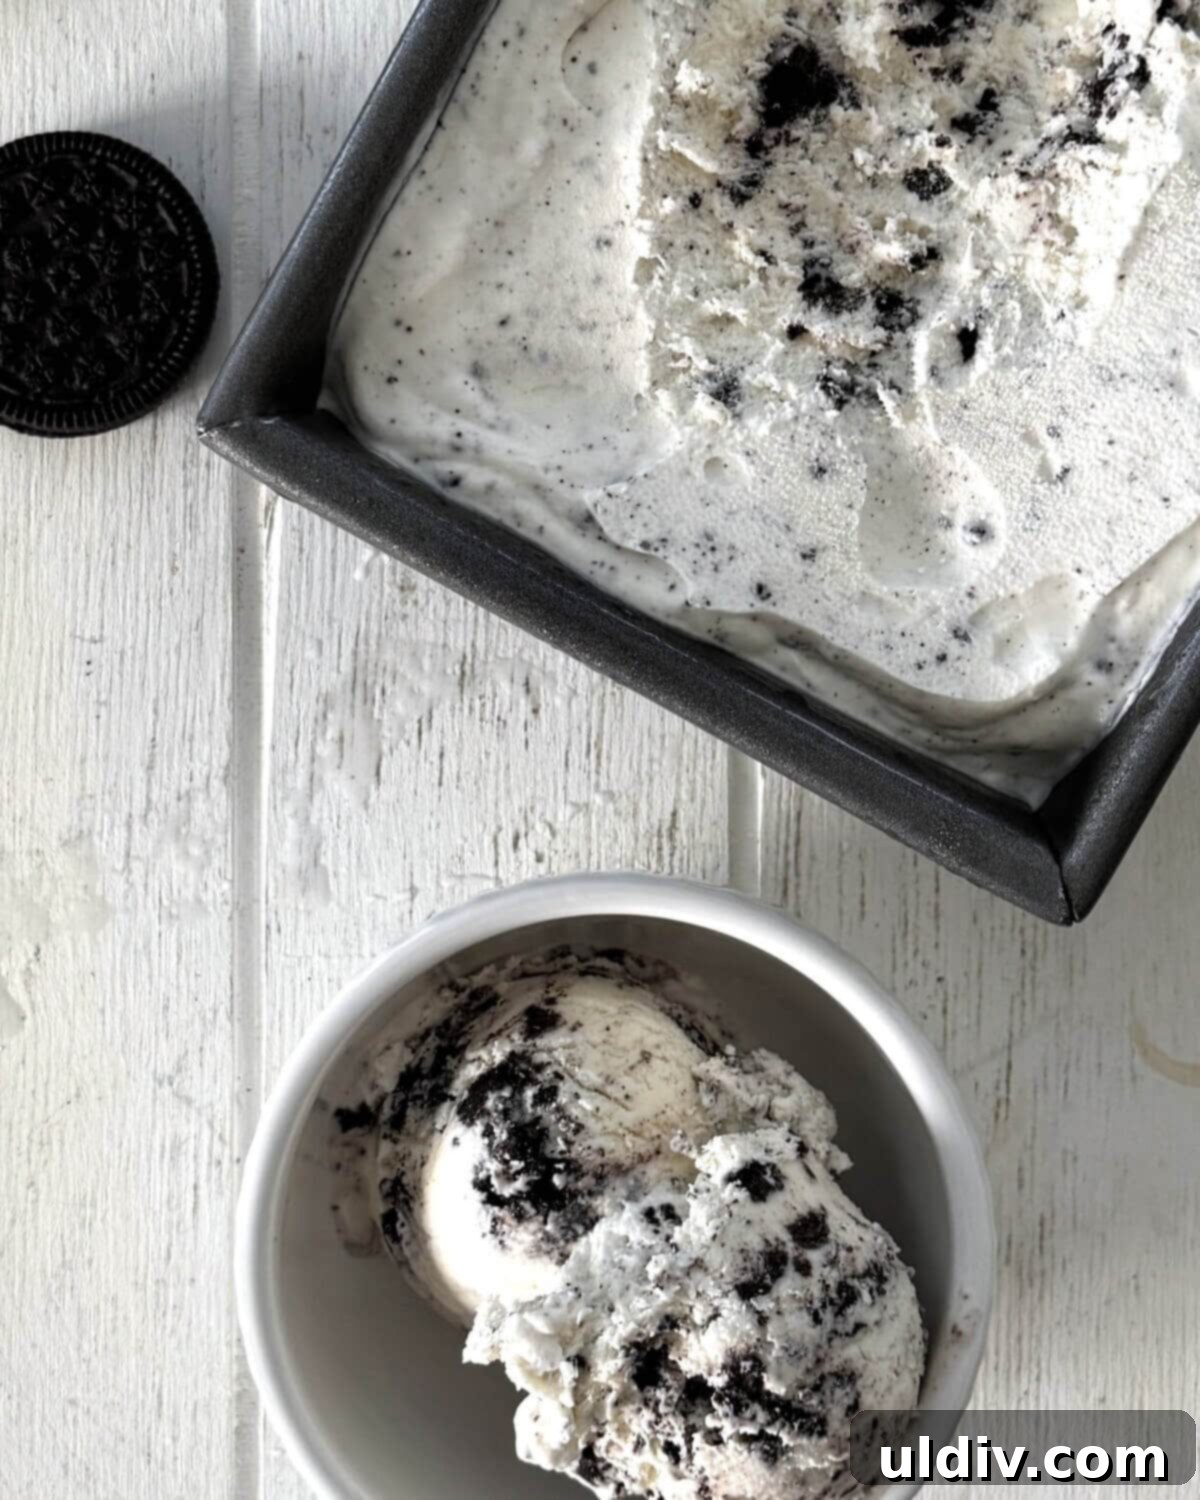
This method of making **homemade ice cream** is a game-changer. It leverages the magic of whipped heavy cream combined with sweetened condensed milk to create a stable, airy, and incredibly smooth base that freezes without developing large ice crystals. The result is a texture that rivals premium store-bought ice creams, but with the added satisfaction of knowing you made it yourself. Dive into the world of effortless dessert making and discover why this **easy no-churn ice cream recipe** will become your new go-to for satisfying those sweet cravings.
Beyond its simplicity, this recipe offers unparalleled versatility. You can customize it with virtually any flavor combination imaginable, transforming it into a unique dessert tailored to your preferences. Whether you’re a fan of classic vanilla, decadent chocolate, fruity swirls, or crunchy cookie bits, this no-churn method provides the perfect canvas for your culinary creativity. Say goodbye to complicated setups and hello to spontaneous ice cream making!
Why You’ll Fall in Love with This No-Churn Ice Cream Recipe
- Effortless Preparation: No specialized equipment is required to create this incredibly rich and creamy ice cream. A stand mixer, a hand mixer, or even just a sturdy whisk, along with a metal loaf pan, are all you’ll need. This means less clutter in your kitchen and more space for other essentials!
- Minimal Ingredients: This truly is a **4-ingredient ice cream recipe**, making it incredibly accessible and budget-friendly. You likely have most of the ingredients on hand already.
- Luxuriously Rich and Creamy: Prepare to be amazed by the texture. This ice cream is unbelievably rich, smooth, and utterly decadent. Many who try it swear it’s the **best homemade ice cream** they’ve ever tasted, rivaling gourmet brands.
- Endless Flavor Possibilities: This frozen treat recipe is a blank slate for your creativity. Easily customize it to create your favorite flavor! Simply mix in ingredients like crushed cookie bits, chopped nuts, colorful M&Ms, luscious chocolate chips, crunchy crushed pretzels, or a swirl of fudge sauce *before* freezing. The options are truly limitless!
- Quick & Convenient: With just 10 minutes of active prep time, you can whip up the base for this delicious dessert in a flash. The freezer does the rest of the work, allowing you to enjoy a homemade treat without spending hours in the kitchen.
- Perfect for Any Occasion: Whether it’s a casual weeknight dessert, a celebratory gathering, or a summer barbecue, this easy ice cream recipe fits every occasion. It’s always a crowd-pleaser and a delightful way to finish any meal.
How Long Does It Take to Make Homemade No-Churn Ice Cream?
The beauty of this **easy ice cream recipe** lies in its speed and simplicity. You’ll spend only about 10 minutes actively mixing the ingredients for this decadent frozen dessert. Once the smooth ice cream mixture is prepared, it’s transferred to your freezer, where the magic truly happens.
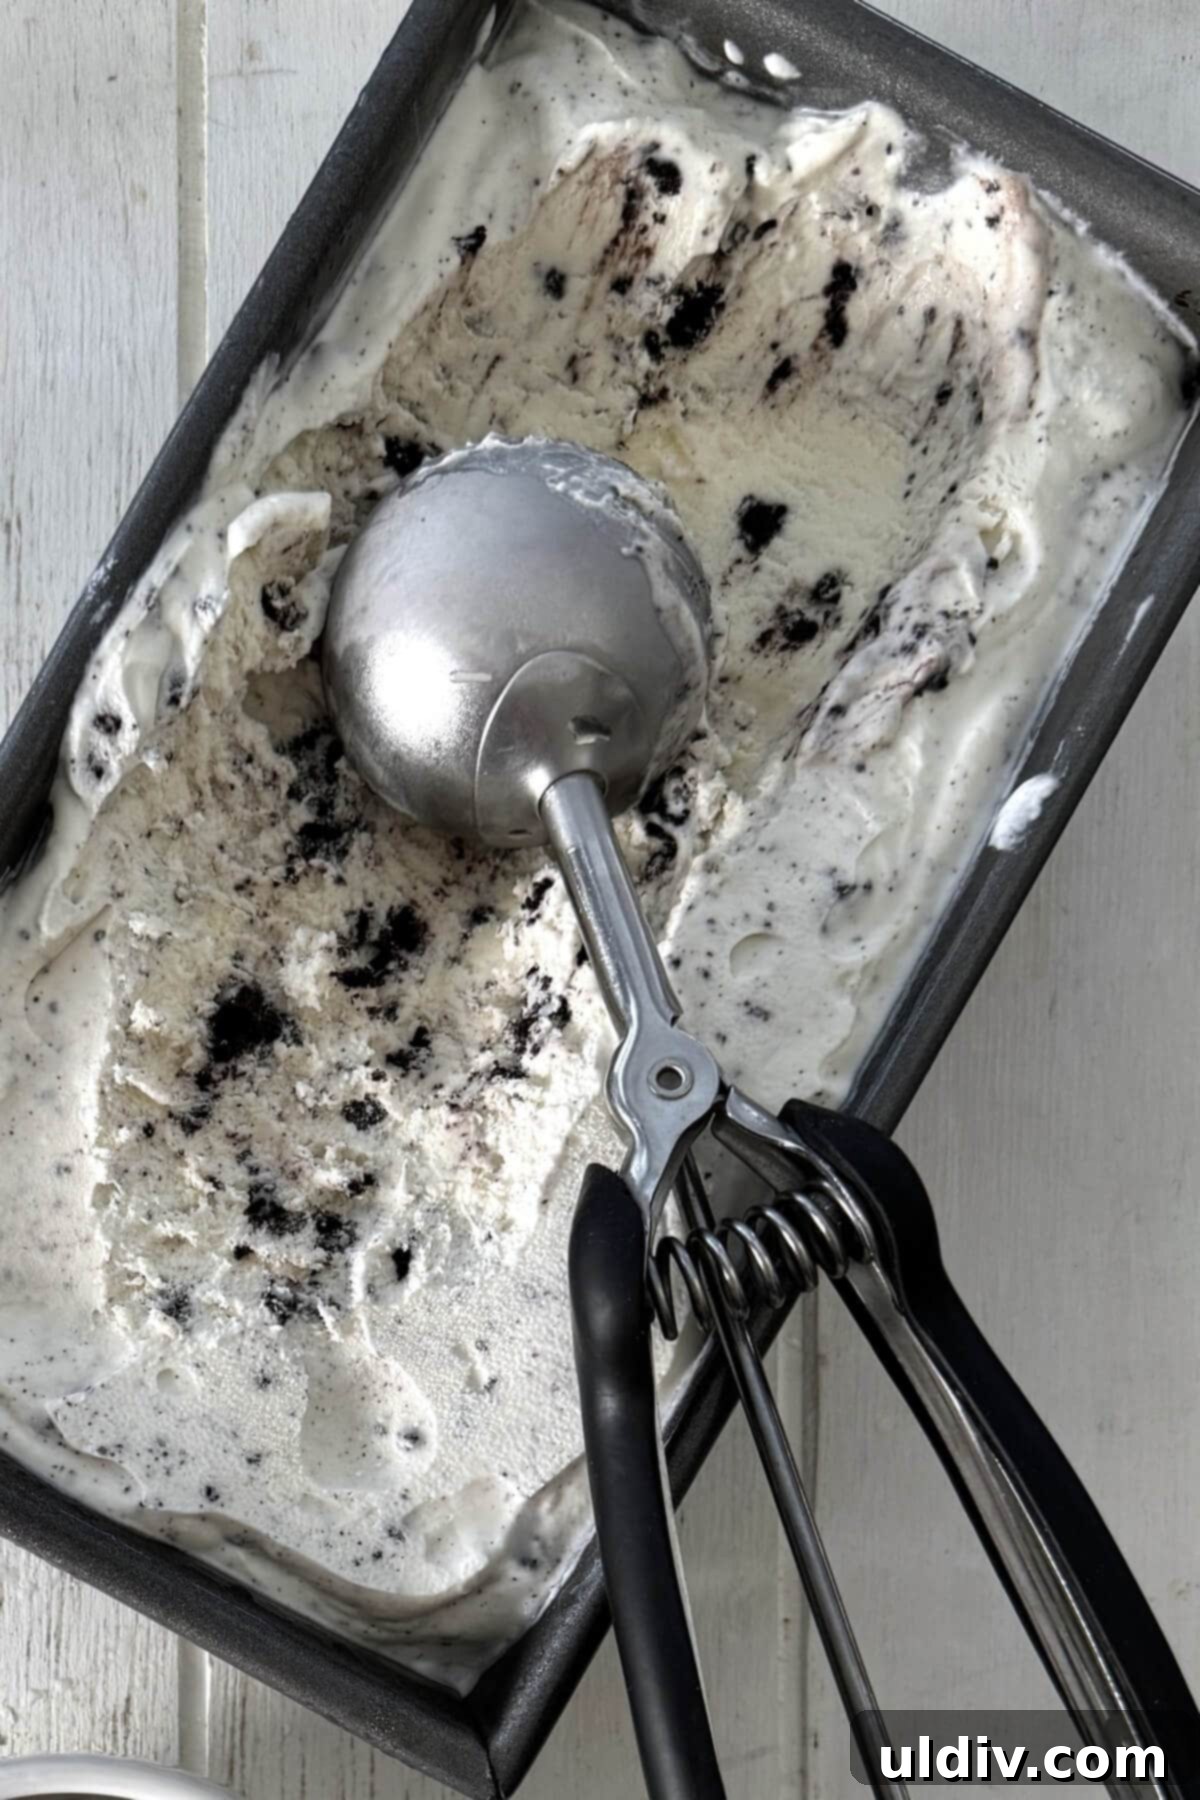
After approximately 2 hours in the freezer, your **no-churn ice cream** will achieve a delightful soft-serve consistency, perfect for immediate gratification if you just can’t wait! For a firmer, scoopable ice cream that holds its shape beautifully, allow it to freeze for at least 6 hours. For the best results and a truly solid texture, overnight freezing is often recommended. This extended chilling time ensures that the ice cream is perfectly set, making it easy to scoop into bowls, cones, or for creating delightful ice cream sandwiches.
The Simple Ingredients for Homemade No-Churn Ice Cream
Making **ice cream at home without a machine** truly only requires a few basic ingredients. The synergy of these four components is what creates the rich, creamy texture and delightful flavor. You’ll be amazed at how such a short list of ingredients can yield such an incredible result. For exact quantities, please refer to the complete recipe card below.
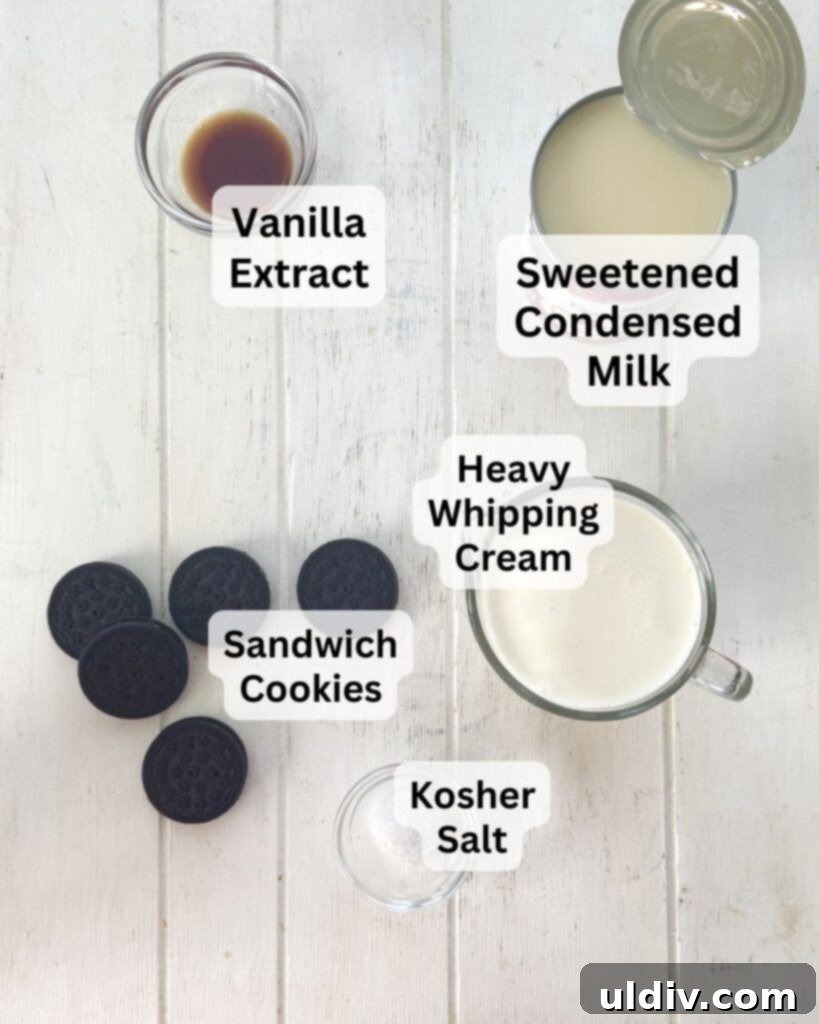
- Sweetened Condensed Milk: This is a superstar ingredient in no-churn ice cream. It provides the essential sweetness and, more importantly, prevents the formation of large, icy crystals, resulting in a wonderfully smooth and creamy texture.
- Vanilla Extract: A crucial flavor enhancer. Good quality vanilla extract elevates the overall taste, adding warmth and depth.
- Kosher Salt: Just a small pinch of salt balances the sweetness of the condensed milk and brings out the other flavors, making the ice cream taste even richer and more complex.
- Heavy Whipping Cream: The foundation of our creamy base. When whipped, it incorporates air, creating a light, fluffy texture that becomes the body of the ice cream. Ensure it’s very cold for optimal whipping.
- Your Favorite Ice Cream Mix-ins: This is where the fun begins! Think beyond cookies. Consider brownie bits, colorful sprinkles, various chocolate chips (dark, milk, white), crushed candies, or even fresh fruit purees. The possibilities are endless for customizing your perfect scoop.
How to Make Your Own No-Churn Ice Cream: A Step-by-Step Guide
**No-churn ice cream is remarkably simple to prepare**, making it a perfect project for any home cook. You can whip up a batch of the base mixture in approximately 10 minutes, and then your freezer takes care of the rest. This section provides a brief overview of the process. For detailed, complete instructions, please refer to the comprehensive recipe card below.
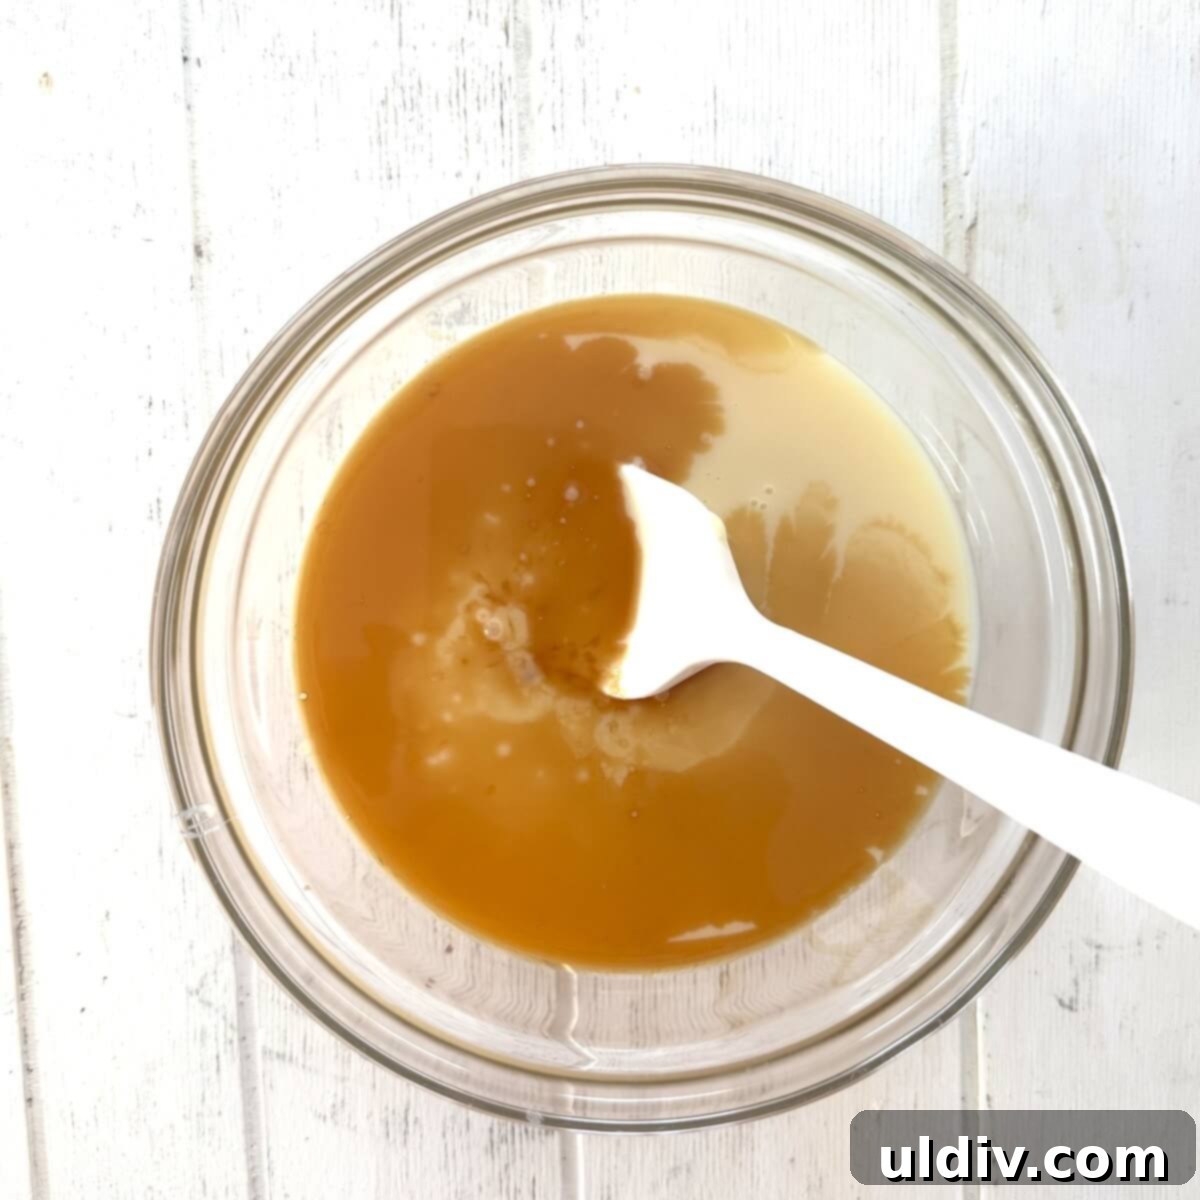
- Step 1: Prepare the Sweetened Base. In a medium-sized bowl, gently combine the sweetened condensed milk, vanilla extract, and a pinch of kosher salt. Stir until all ingredients are well incorporated and the mixture is smooth. Set this aside while you prepare the cream.
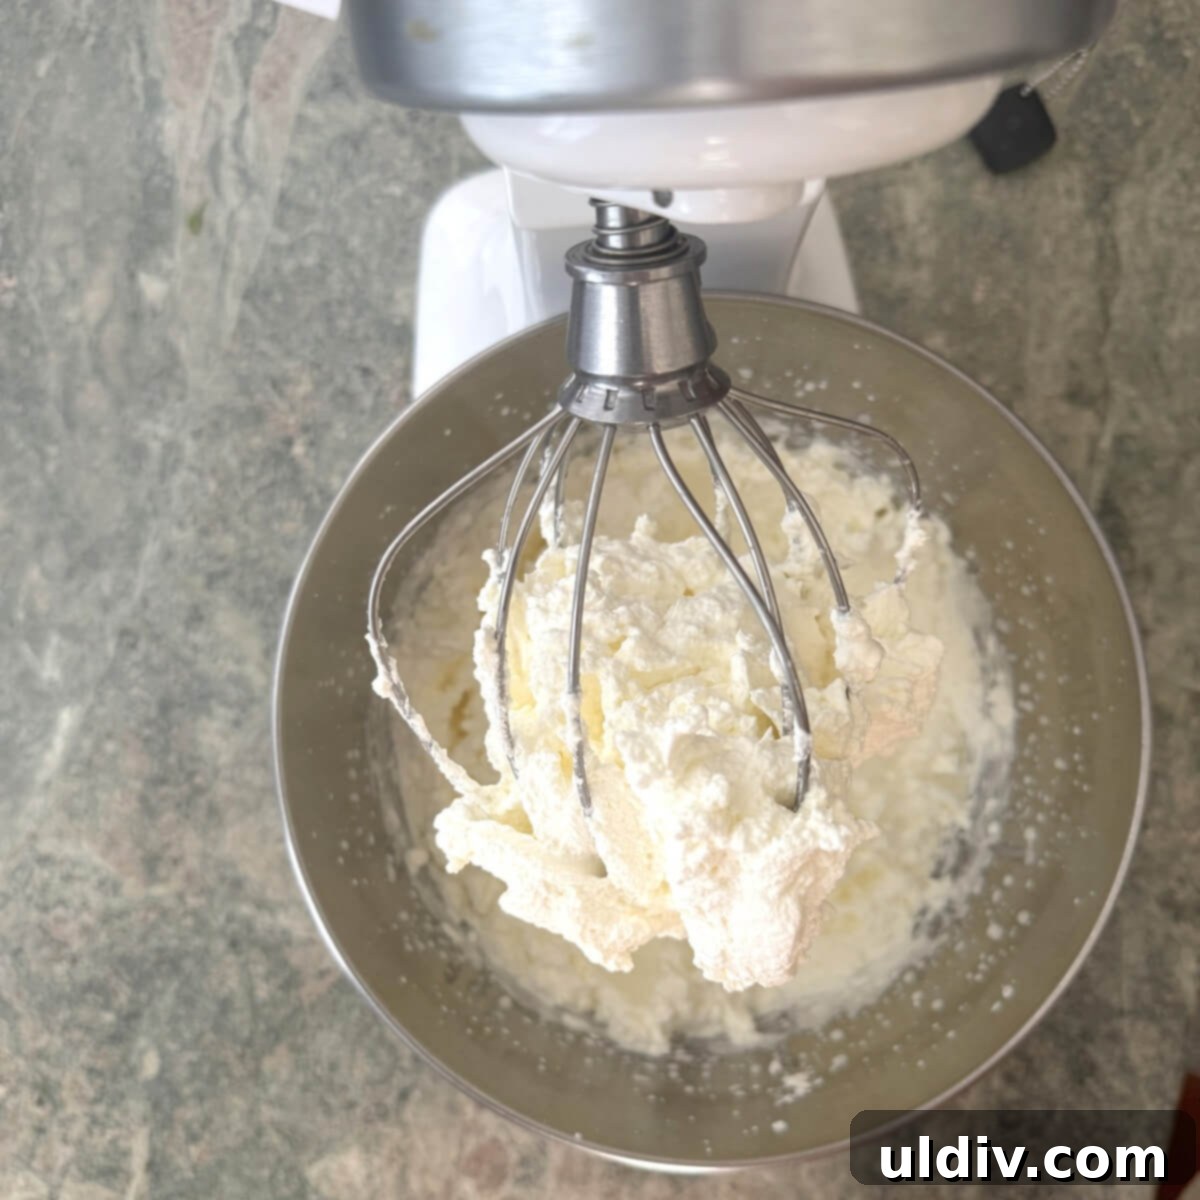
- Step 2: Whip the Heavy Cream. In a separate, large mixing bowl, using a stand mixer fitted with a whisk attachment, a hand mixer, or a sturdy manual whisk, whip the very cold heavy cream until stiff peaks form. Be vigilant not to over-whip, as it can quickly turn into butter. Stiff peaks mean the cream holds its shape firmly when the whisk is lifted.
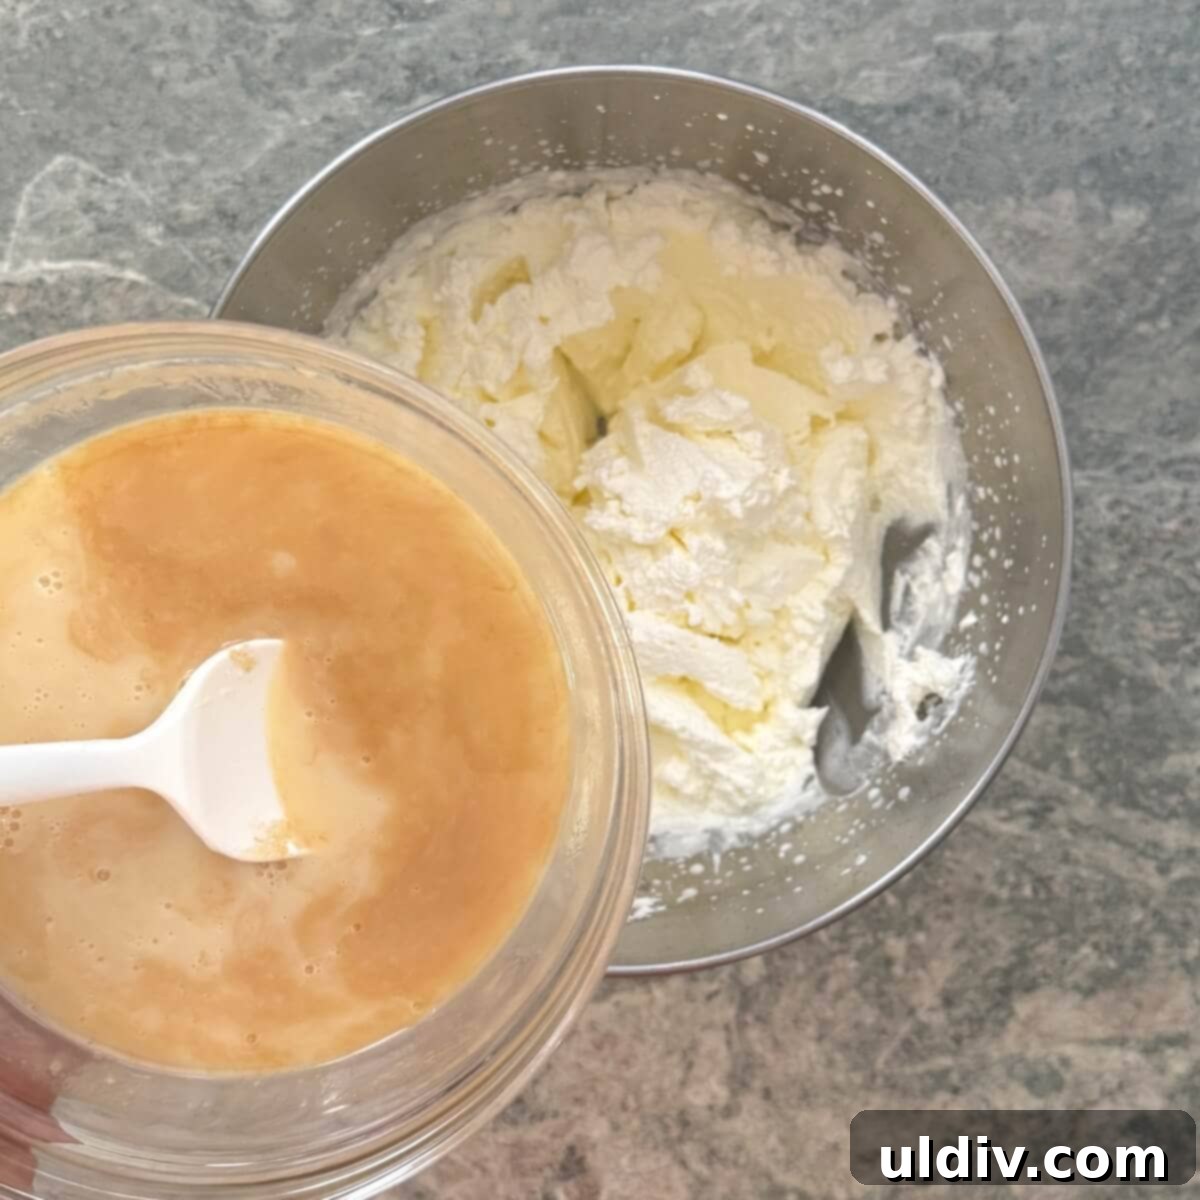
- Step 3: Fold Mixtures Together. Carefully pour the condensed milk mixture into the whipped cream. Using a rubber spatula, gently fold the two mixtures together until they are just combined. The key is to maintain as much of the air in the whipped cream as possible, so avoid vigorous stirring.
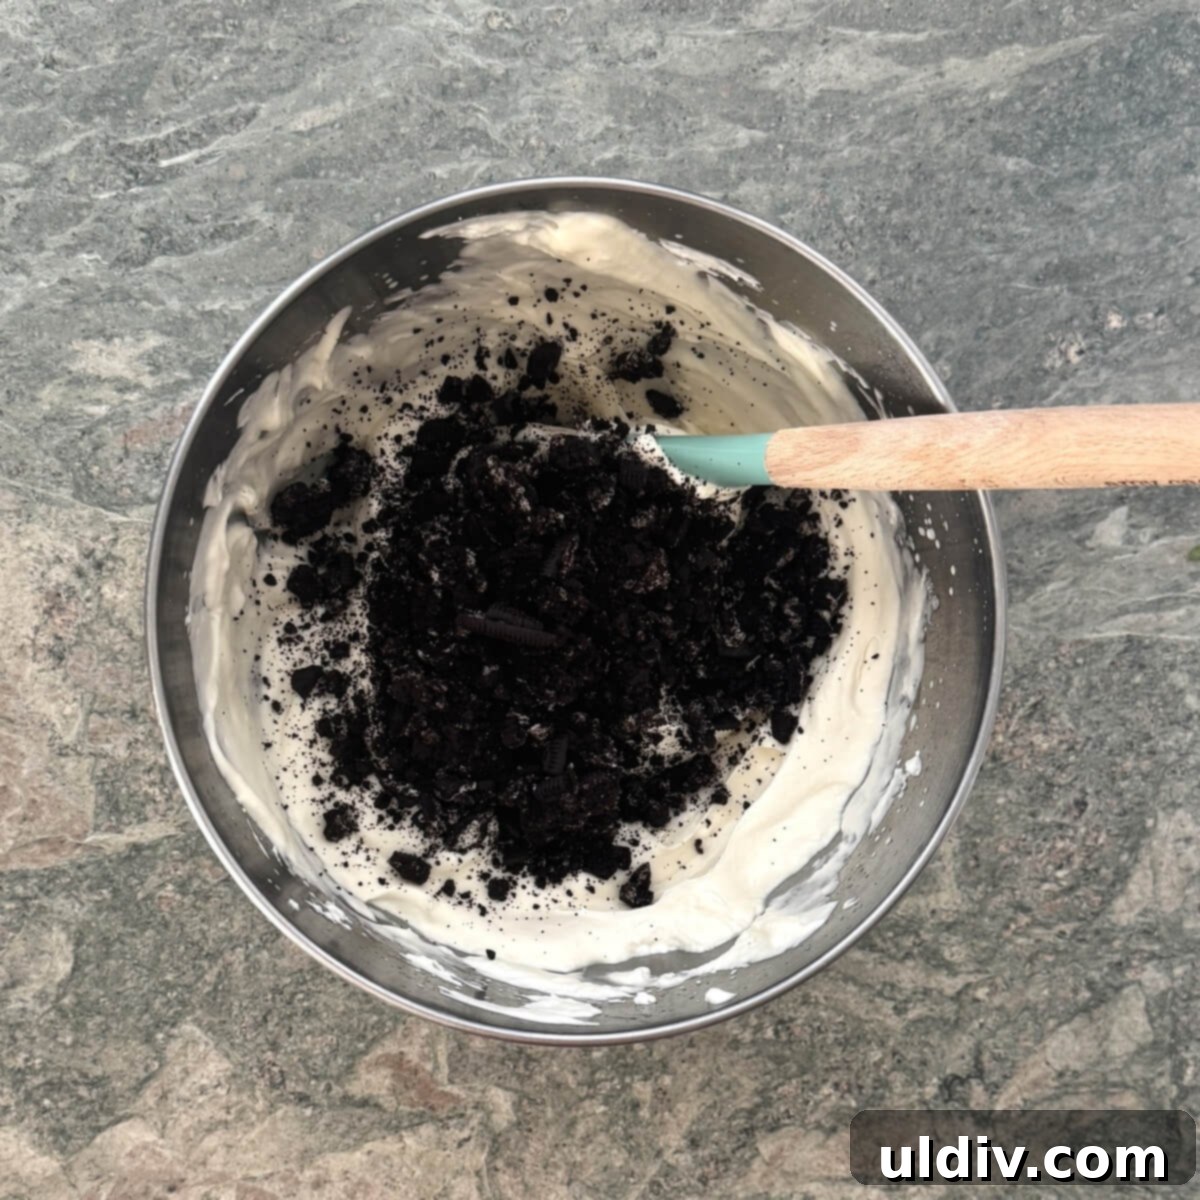
- Step 4: Incorporate Mix-ins. If you’re adding mix-ins like crushed cookies (as shown here for cookies and cream), gently fold them into the ice cream base until evenly distributed. This is your chance to get creative with flavors!
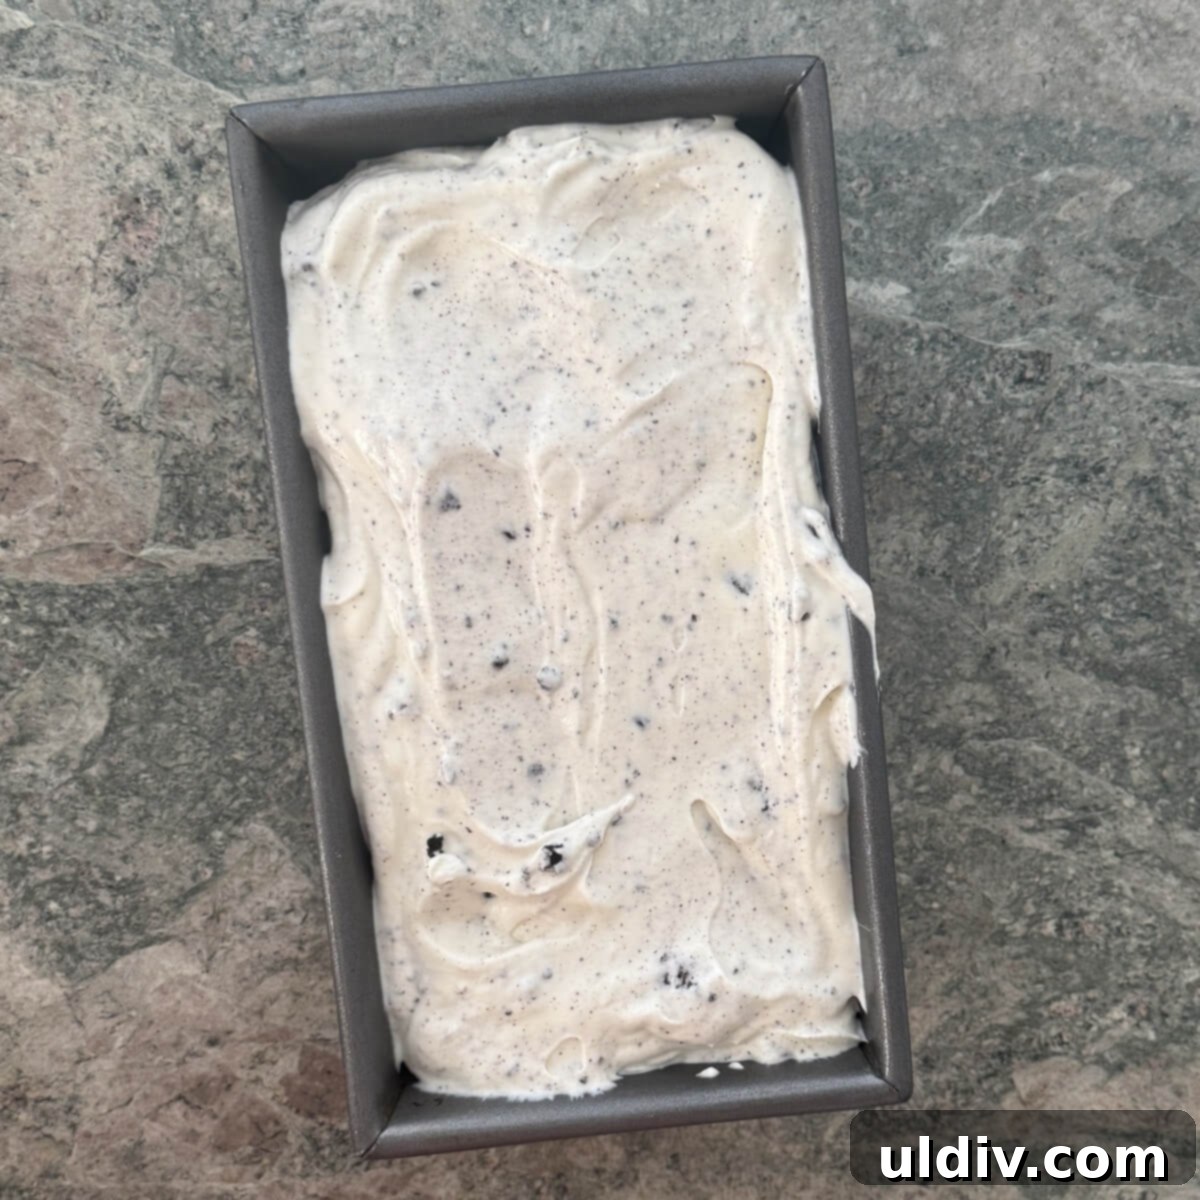
- Step 5: Freeze Until Solid. Spread the finished ice cream mixture evenly into a pre-chilled metal loaf pan. Cover the pan tightly with plastic wrap, pressing it directly onto the surface of the ice cream to prevent ice crystals. Freeze for at least 6 hours, or preferably overnight, until it is firm enough to scoop. Once perfectly frozen, your homemade ice cream will be ready to scoop into bowls, served alongside a delicious chocolate cake, or sandwiched between delectable chocolate chip cookies or soft sugar cookies.
Making this **easy homemade ice cream** is truly a rewarding experience. The process is straightforward, and the results are consistently delicious. The lack of an ice cream maker makes it accessible to everyone, ensuring that a rich and creamy dessert is always within reach. Experiment with various mix-ins to discover your personal favorite flavor combinations, and enjoy the satisfaction of serving a frozen treat made with love and minimal fuss.
Amy’s Expert Tips for Perfect No-Churn Ice Cream
- Chill Your Equipment: For the best results when whipping cream, place your mixing bowl and whisk attachment in the freezer for 10-15 minutes before you begin. Cold equipment helps the cream whip faster and achieve stiffer peaks.
- Don’t Overwhip the Cream: This is crucial! Whip the heavy cream until stiff peaks form – meaning the cream holds its shape when the whisk is lifted. If you continue whipping past this point, the cream will separate and turn into butter, which won’t yield creamy ice cream. Keep a close eye on it!
- Pre-Chill the Loaf Pan: Always place your empty loaf pan in the freezer for at least 30 minutes before adding the ice cream mixture. The colder the pan, the faster the ice cream will freeze. Rapid freezing helps create **smaller ice crystals**, which is the secret to achieving **extra creamy and smooth ice cream** without an ice cream machine.
- Gentle Folding is Key: When combining the sweetened condensed milk mixture with the whipped cream, use a gentle folding technique with a rubber spatula. This preserves the air that has been incorporated into the whipped cream, contributing to the light and airy texture of your finished ice cream.
- Cover Tightly: After pouring the mixture into the chilled loaf pan, cover it very tightly with plastic wrap. Press the plastic wrap directly onto the surface of the ice cream to prevent any air from touching it. This step is essential to prevent freezer burn and the formation of unwanted ice crystals on the surface, ensuring a consistently smooth texture.
- Quality Ingredients Matter: While this recipe is simple, using high-quality heavy whipping cream and vanilla extract will significantly impact the final flavor of your ice cream.
Delicious No-Churn Ice Cream Flavor Ideas
The beauty of this **basic no-churn ice cream recipe** is its incredible versatility. Once you’ve mastered the simple base, you can let your imagination run wild with flavor combinations. Here are some fantastic ideas to get you started on your journey to creating unique and delicious **homemade frozen treats**:
- Classic Cookies & Cream: As featured in this recipe! Crush your favorite chocolate sandwich cookies (like Oreos) into small pieces and gently fold them into the base. For extra texture, leave some larger chunks.
- Peanut Butter Chocolate Chip: Swirl in creamy peanut butter and generously sprinkle in semi-sweet, milk, or dark chocolate chips. For a ripple effect, add dollops of melted peanut butter and chocolate sauce before lightly swirling.
- Blueberry Bliss: Gently fold in fresh blueberries or a blueberry compote for a refreshing, fruity flavor. A dash of lemon zest can brighten it further.
- Tropical Peach and Banana: Mash ripe peaches and bananas and fold them into the mixture. For an intensified peach flavor, lightly cook diced peaches with a touch of sugar before chilling and adding.
- Rocky Road Revival: Combine fudge sauce swirls, mini marshmallows, and crunchy chopped salted peanuts for a delightful textural and flavor contrast.
- Toffee Crunch Pecan: Mix in crushed toffee candy pieces and toasted chopped pecans for a buttery, nutty, and satisfyingly crunchy ice cream.
- Mint Chocolate Chip: Add 1 teaspoon of mint or peppermint extract along with the vanilla. Fold in mini chocolate chips or finely chopped dark chocolate for a refreshing classic.
- Strawberry Swirl: Puree fresh strawberries with a little sugar, then swirl the vibrant puree through the ice cream base for a beautiful and delicious treat.
- Coffee Lover’s Dream: Dissolve 1-2 tablespoons of instant espresso powder in a small amount of hot water, let it cool, then mix it into the condensed milk mixture for a robust coffee flavor.
- Birthday Cake Fun: Fold in colorful sprinkles and crumbled vanilla cake bits for a festive and nostalgic flavor. A touch of almond extract can enhance the cake-like taste.
- Lemon Raspberry Ripple: Gently fold in a lemon curd and a vibrant raspberry jam or puree for a tart and sweet combination.
Remember to adjust the amount of mix-ins to your personal preference. For best results, ensure any fruit purees or sauces are chilled before adding them to the ice cream base.
Storage for Your Homemade No-Churn Ice Cream
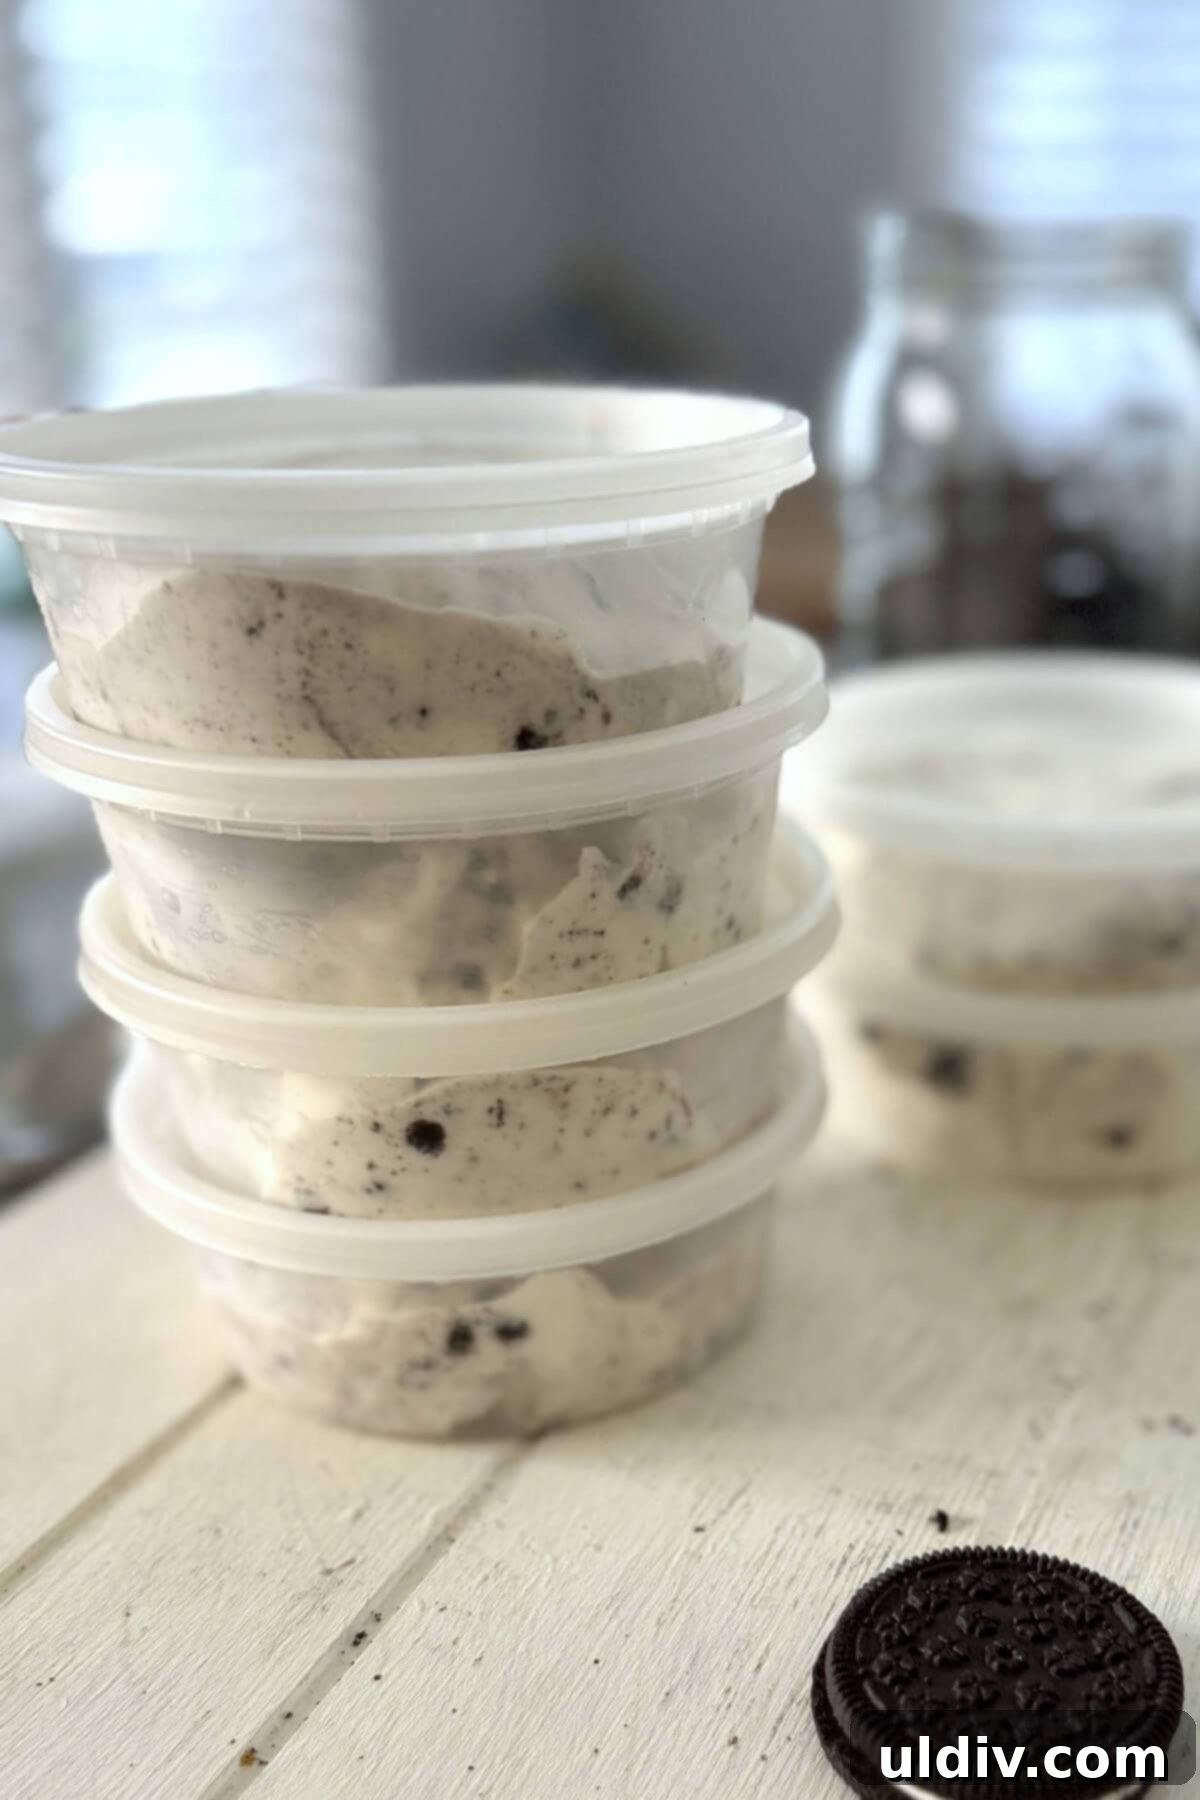
Proper storage is key to maintaining the delightful creamy texture and preventing ice crystals in your **homemade no-churn ice cream**. Here are some tips for keeping your frozen treat fresh and delicious:
If you plan to enjoy the ice cream within a couple of days, leaving it in the original loaf pan, tightly covered with plastic wrap pressed directly onto the surface, is generally sufficient. Ensure the plastic wrap creates an airtight seal to protect against freezer odors and freezer burn.
For longer storage, or for convenient individual servings, I highly recommend transferring the ice cream to airtight containers. These 1-cup deli containers are fantastic for creating single portions of creamy **homemade ice cream** that are easy to grab and go for a quick frozen snack. Storing in smaller containers also helps reduce the amount of air exposure each time you open the freezer.
Always ensure that the lid of your chosen container is tightly sealed to minimize air exposure. This simple step will significantly extend the life of your **easy ice cream recipe** and keep it tasting freshly made.
Frequently Asked Questions About No-Churn Ice Cream
Sweetened condensed milk is a powerhouse ingredient in **no-churn ice cream** for several reasons. Firstly, it acts as the primary sweetener for the ice cream base. Secondly, and most importantly, its high sugar content and thick consistency serve as a natural stabilizer. It interferes with the formation of large ice crystals during freezing, which is what gives traditional ice cream its smooth texture. Without an ice cream machine churning to break up crystals, condensed milk ensures your **homemade ice cream** is extra creamy and delightfully smooth.
You can safely store **homemade no-churn ice cream** in an airtight container in the freezer for up to a month. However, for the absolute best rich flavor and creamy texture, it is ideally enjoyed within about 2 weeks. Beyond that, while still edible, the texture might begin to degrade slightly, becoming a bit firmer or developing more ice crystals.
Yes, you can adapt this **easy ice cream recipe** to be dairy-free! Simply substitute the heavy whipping cream with full-fat coconut cream (chilled overnight, use the thick cream layer only) and use a dairy-free sweetened condensed milk alternative. The texture will be slightly different, often a bit denser and with a subtle coconut flavor, but still incredibly delicious.
If your **no-churn ice cream** turns out icy, it’s typically due to one of a few factors: not whipping the heavy cream to stiff enough peaks (which means not enough air is incorporated), not using enough sweetened condensed milk (which prevents ice crystals), or improper storage (not covering it tightly enough, leading to freezer burn). Ensure your cream is very cold before whipping, fold gently, and cover the pan completely with plastic wrap pressed onto the surface.
One More Thing & A Call to Action!

Did you try this incredible No-Churn Ice Cream recipe?
I would absolutely love to hear about your experience! Please let me know by leaving a comment and a star rating below. Your feedback helps me and other home cooks. Don’t forget to share your delicious creations on Pinterest, Instagram, and Facebook. Tag me so I can see your amazing work!
Happy cooking ~ Amy
Recipe
How to Make No-Churn Ice Cream at Home
Print
Pin
Rate
10 minutes
6 hours
6 hours 10 minutes
8
391kcal
Amy Casey
Equipment
-
metal loaf pan
-
rubber spatulas
-
stand mixer (or hand mixer/whisk)
Ingredients
- 1 can (14-ounce) sweetened condensed milk
- 2 teaspoons vanilla extract
- ¼ teaspoon kosher salt
- 2 cups heavy whipping cream (very cold)
- 12 chocolate sandwich cookies (broken into pieces, optional for cookies & cream)
Instructions
-
Place a metal loaf pan (approx. 9×5 inches) in the freezer to chill thoroughly for at least 30 minutes.
-
In a small bowl, combine the sweetened condensed milk, vanilla extract, and kosher salt. Stir well until the salt is dissolved and the mixture is smooth. Set aside.
-
In a large, chilled mixing bowl (preferably from the freezer), use a stand mixer with a whisk attachment, a hand mixer, or a sturdy manual whisk to whip the very cold heavy cream until stiff peaks form. Be careful not to over-whip the cream, as it will curdle and turn into butter. This usually takes 2 to 4 minutes depending on your mixer.
-
Gently pour the sweetened condensed milk mixture into the whipped cream. Using a rubber spatula, carefully fold the two mixtures together until they are just fully combined. Be gentle to maintain the airiness of the whipped cream.
-
If adding mix-ins, such as the chocolate sandwich cookie pieces for cookies & cream, gently stir them into the ice cream base until evenly distributed.
-
Carefully spread the ice cream mixture evenly into the chilled loaf pan. Cover the pan tightly with plastic wrap, pressing the wrap directly onto the surface of the ice cream to prevent ice crystals from forming. Freeze for at least 6 hours, or ideally overnight, until the ice cream is firm and scoopable.
-
For longer-term storage, transfer the frozen ice cream to an airtight container. This will help maintain its creamy texture and prevent freezer burn.
Video
Notes
- Mint Chocolate Chip: Add 1 teaspoon of mint or peppermint extract along with the vanilla in Step 2. Fold in mini chocolate chips or finely chopped dark chocolate.
- Peanut Butter Swirl: Swirl in creamy peanut butter (melted slightly for easier swirling) and chocolate chips into the base.
- Berry Delight: Fold in fresh blueberries, raspberries, or a swirl of blueberry or raspberry jam.
- Fruity & Fresh: Mash and fold in chopped fresh peaches and bananas for a natural sweetness.
- Rocky Road: Mix in fudge sauce, mini marshmallows, and chopped salted peanuts for a classic favorite.
- Toffee Crunch: Incorporate crushed toffee candy pieces and toasted chopped pecans for a delightful crunch.
- Coffee: Add 1-2 tablespoons of instant espresso powder (dissolved and cooled) to the condensed milk mixture.
- Salted Caramel: Swirl in homemade or store-bought salted caramel sauce.