
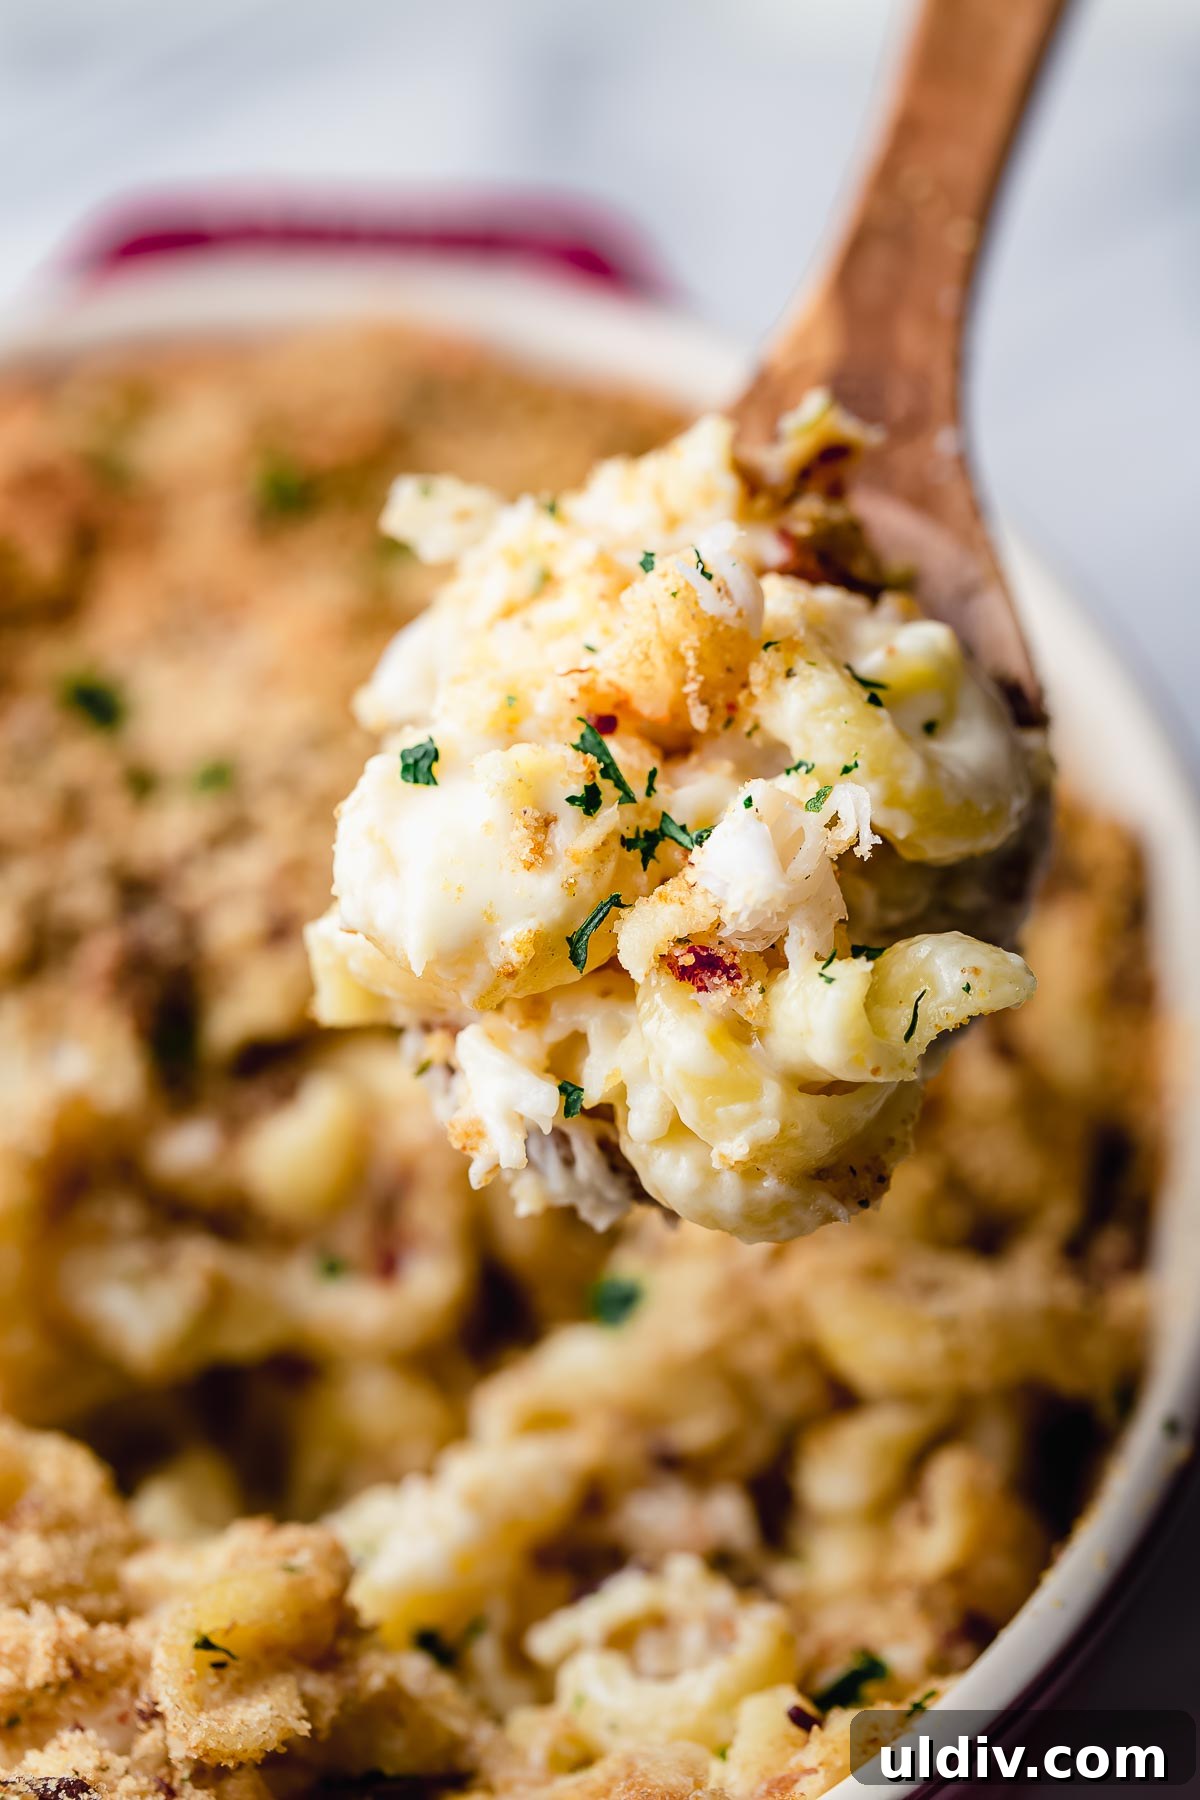
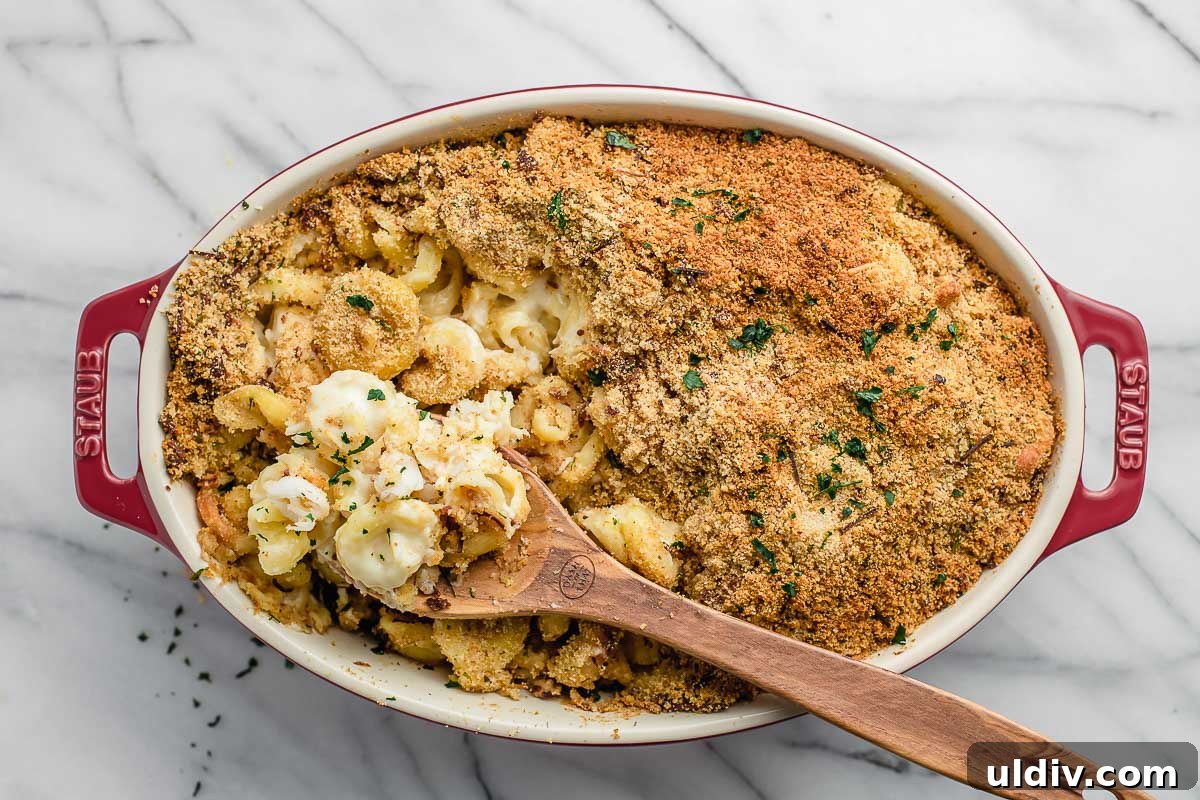
Lobster Mac and Cheese is a rich, comforting pasta dish made with three cheeses, tender lobster chunks and a crispy bacon-breadcrumb topping. This version is straightforward to prepare and perfect for a special weeknight meal or cozy weekend dinner.
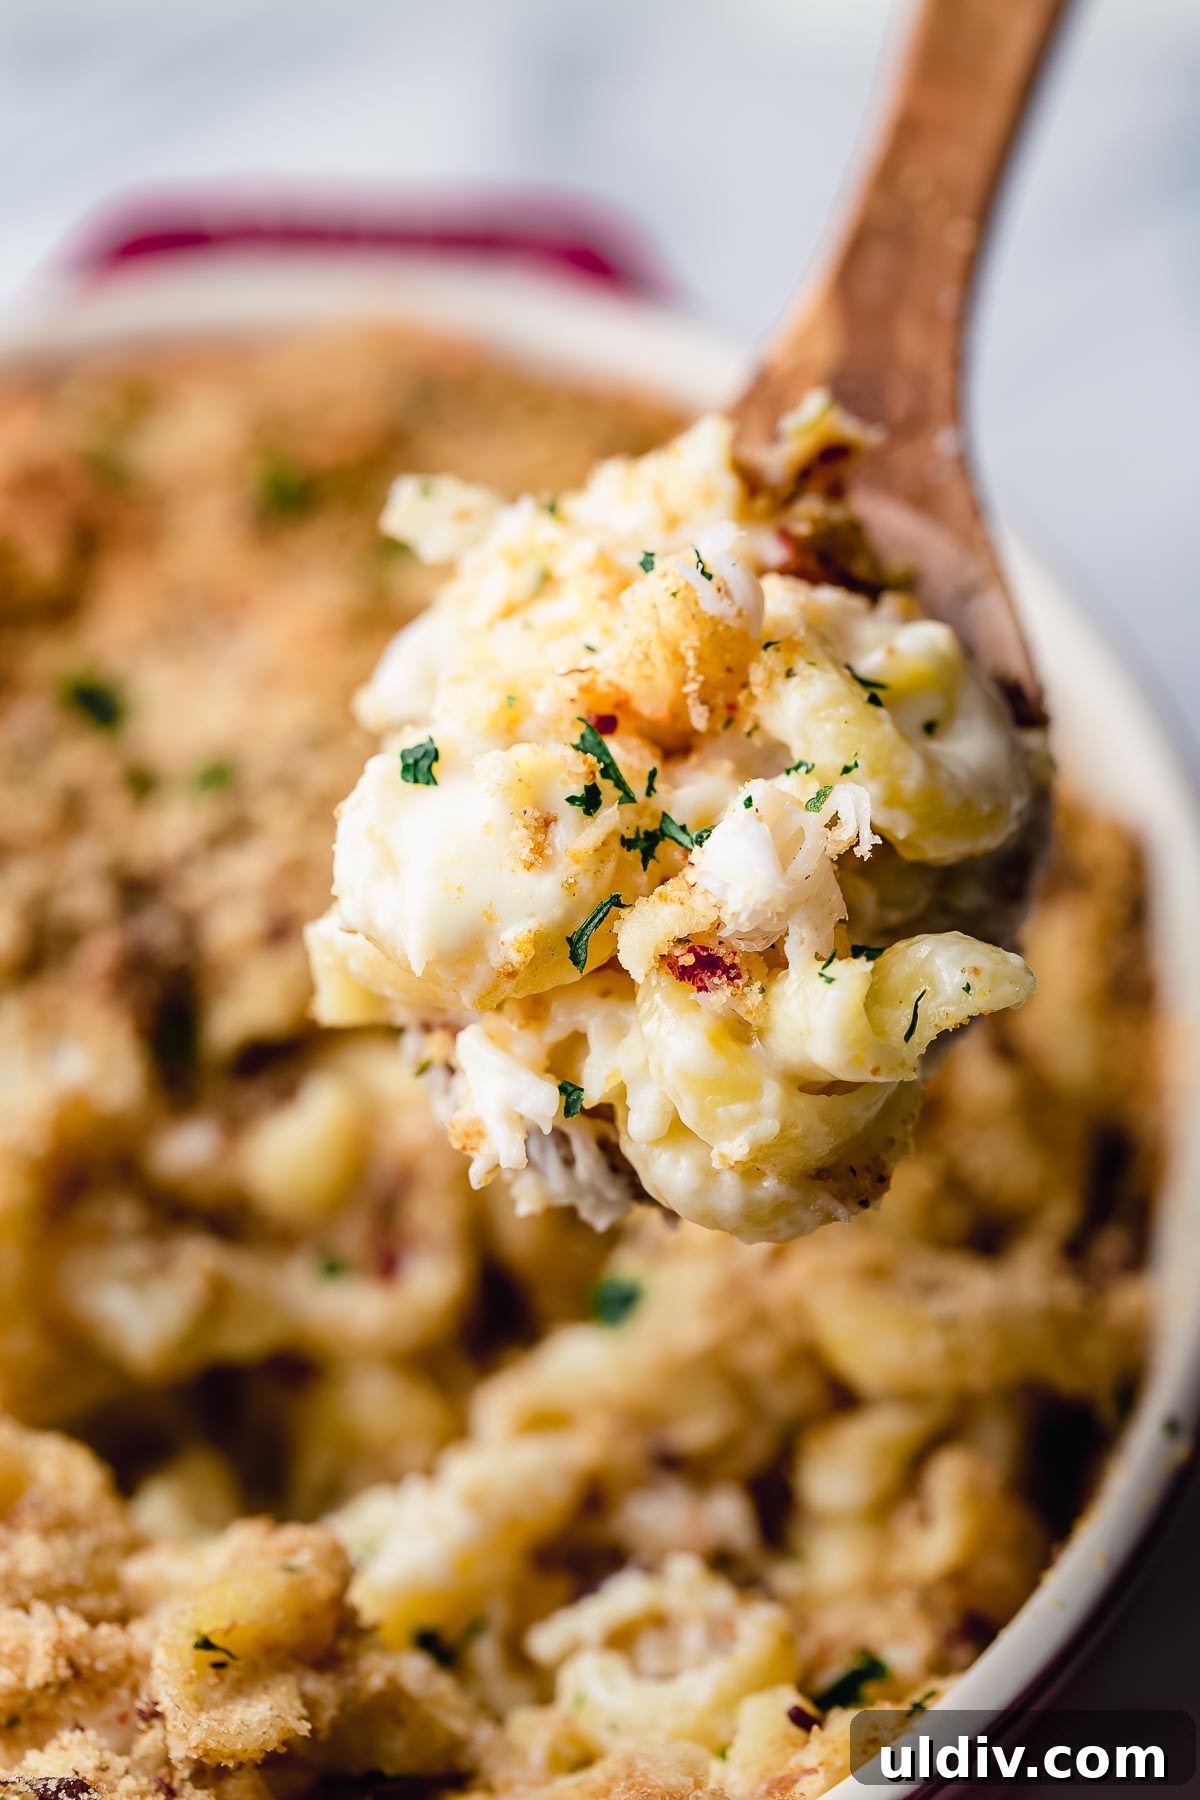
If you enjoy pasta with seafood, this lobster mac and cheese joins other favorites like blackened shrimp ravioli. It’s satisfying, creamy and easy to throw together when you want something indulgent without a lot of fuss.
Ingredients
- Lobster tails: About 4 lobster tails (in-shell or peeled). If the lobster is already cooked, skip the cooking step.
- Pasta: 12 oz dry pasta (elbow macaroni or your preferred shape).
- Cheeses: Shredded white cheddar, shredded Swiss and shredded Parmesan.
- Roux and milk: Butter and flour to make a roux, plus whole milk to form the cheese sauce.
- Breadcrumbs: Italian or plain breadcrumbs for the topping.
- Bacon: About 4 strips, cooked until extra crispy and chopped.
- Seasonings: Salt, pepper and a pinch of cayenne for a subtle kick.
How to make lobster mac and cheese
Follow these steps for a creamy, flavorful lobster mac and cheese with a crunchy topping.
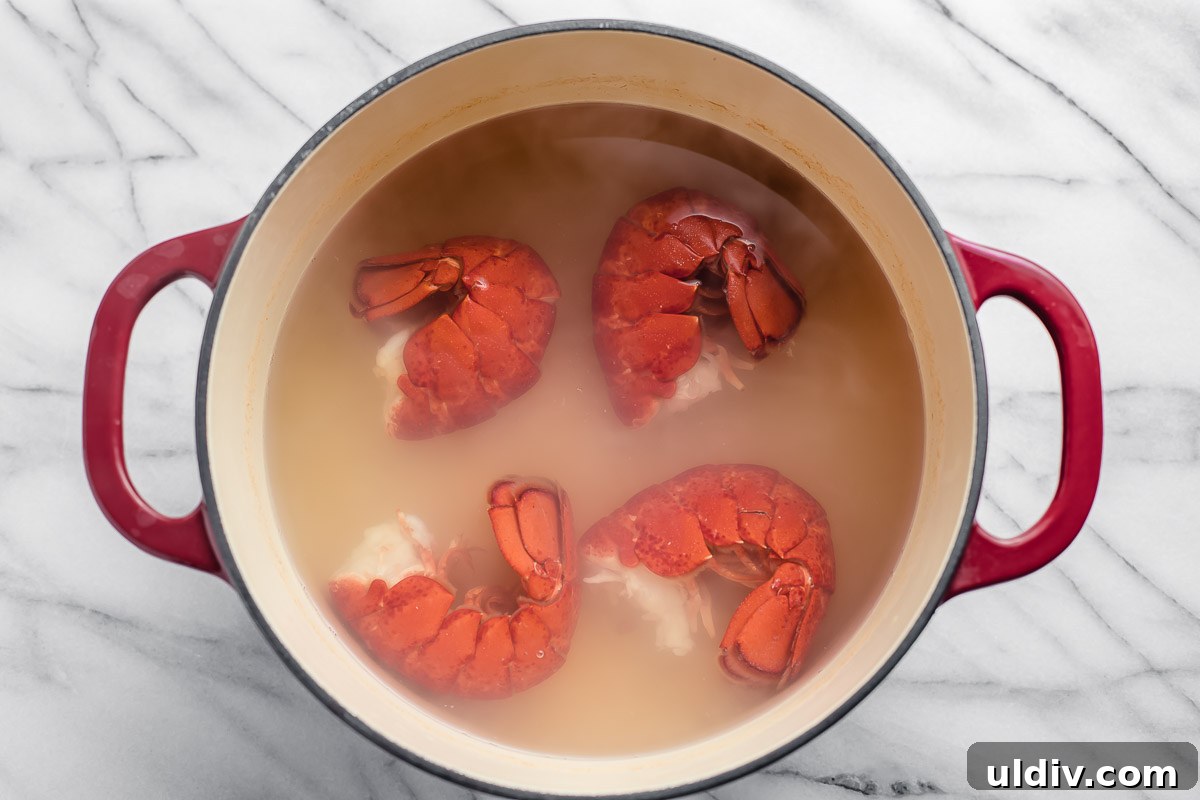
Step 1: Preheat the oven to 425°F (220°C). Boil the lobster tails in salted water for 8–10 minutes, then remove and cool. Remove the meat from the shells and cut into bite-sized pieces. Cook the pasta according to package directions until al dente, drain and set aside.
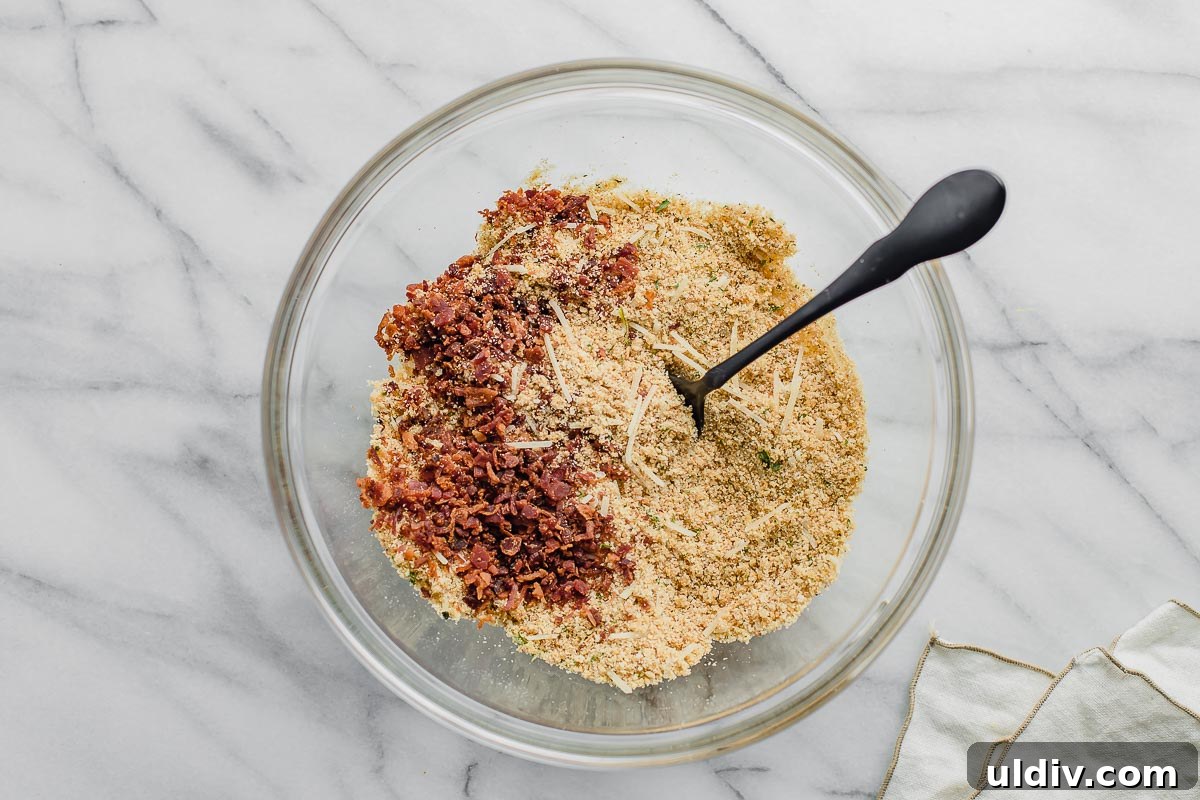
Step 2: Cook the bacon until crisp, drain and chop. In a small bowl combine the melted butter, chopped bacon, breadcrumbs and 1/4 cup shredded Parmesan; set aside.
Step 3: Make the cheese sauce: In a heavy pot melt 2 tablespoons of butter. Stir in 2 tablespoons of all-purpose flour and cook briefly to form a roux. Gradually whisk in 2 cups of whole milk until smooth and slightly thickened. Remove from heat and stir in 2 cups shredded white cheddar, 1 1/2 cups shredded Swiss and 1/2 cup shredded Parmesan until melted. Season with 1/2 teaspoon salt, 1/2 teaspoon pepper and 1/4 teaspoon cayenne (adjust to taste).
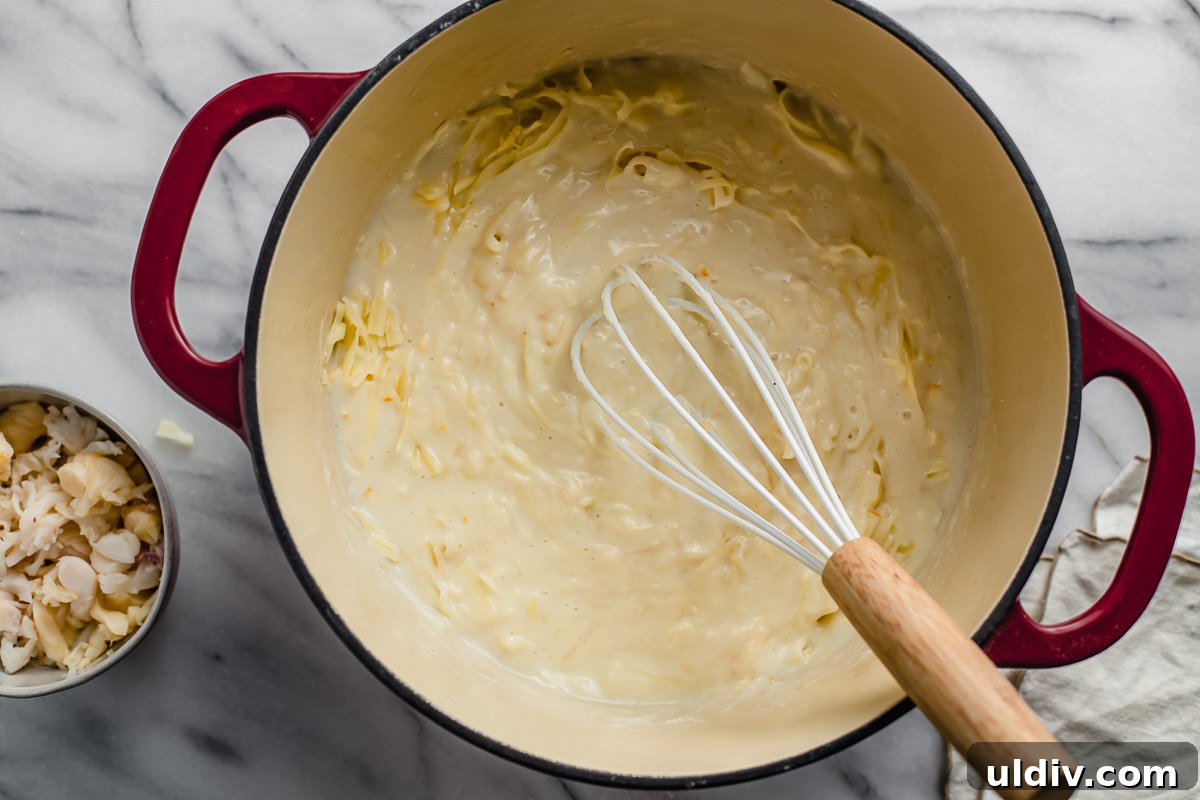
Step 4: Stir the drained pasta and lobster pieces into the cheese sauce until evenly coated. Transfer the mixture to a lightly greased 8 x 8-inch casserole dish.
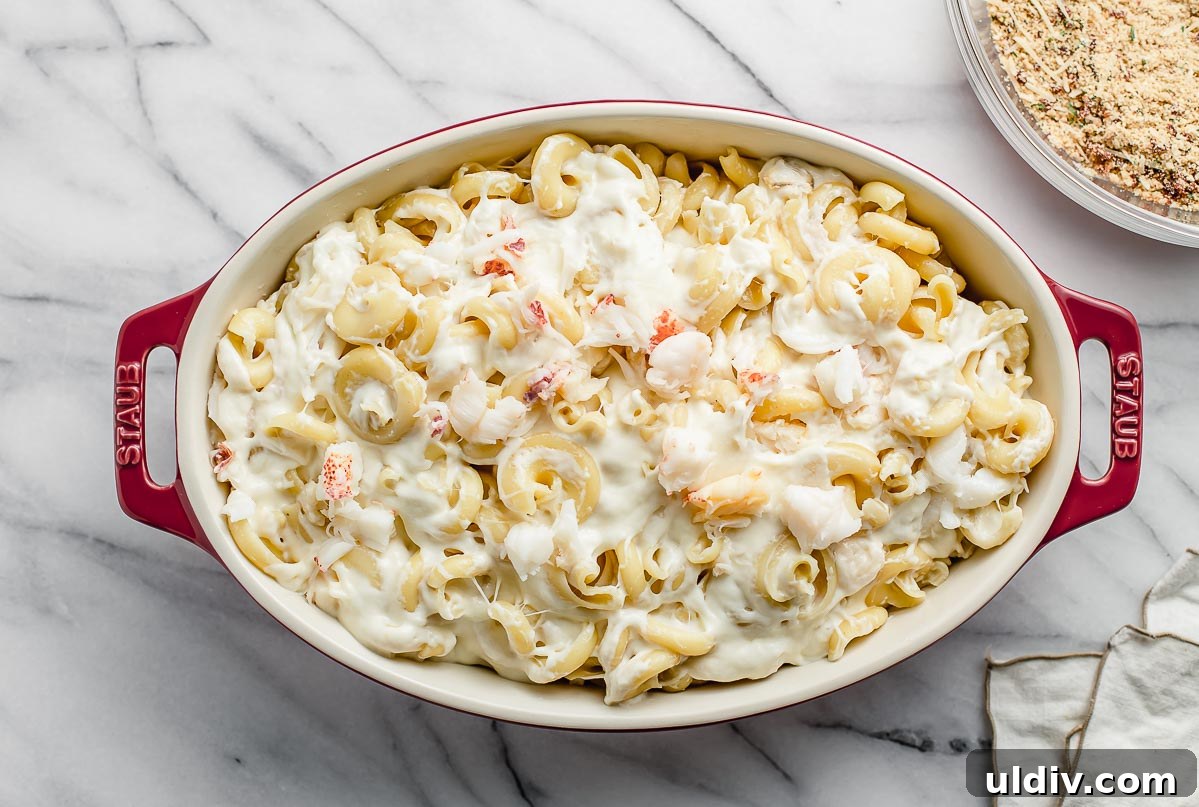
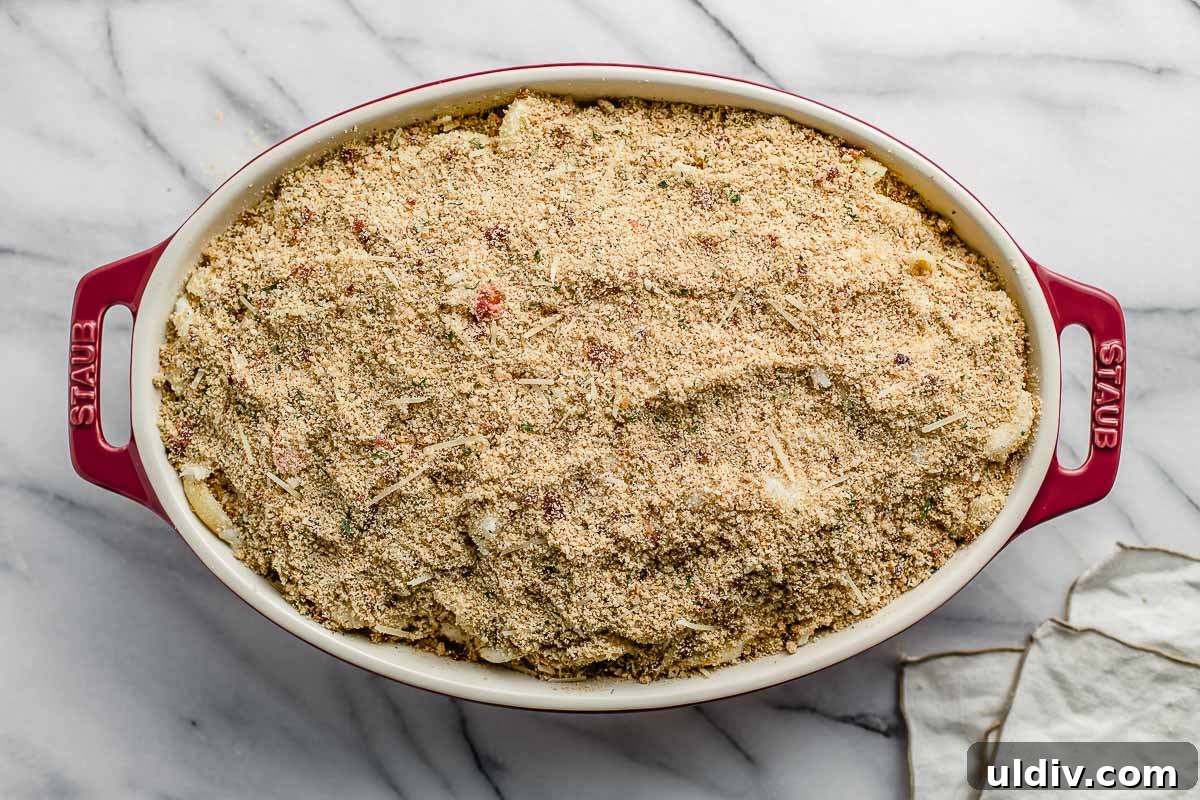
Step 5: Evenly sprinkle the breadcrumb and bacon mixture over the top. Bake in the preheated 425°F oven for 10–15 minutes, or until the topping is golden and the edges are bubbly. Remove from the oven and serve hot.
How to store lobster mac and cheese
Store leftovers covered in the refrigerator for up to 3 days.
To reheat: warm single portions in the microwave, or place in an oven-safe dish and reheat at 425°F for about 10–15 minutes until heated through and bubbly.
Easy pasta recipes
- Garlic Butter Shrimp Pasta
- Sun-dried Tomato Basil Pasta (dairy-free option)
- Blackened Shrimp and Ravioli
- Southwest Pasta Salad

Lobster Mac and Cheese Recipe
Ingredients
- 4 lobster tails
- 12 oz elbow macaroni
Breadcrumb Topping
- 1 tablespoon butter
- 1 cup Italian breadcrumbs
- 4 strips bacon, cooked and chopped
- 1/4 cup shredded Parmesan
Cream Sauce
- 2 tablespoons butter
- 2 tablespoons all-purpose flour
- 2 cups whole milk
- 1/2 teaspoon salt
- 1/2 teaspoon pepper
- 1/4 teaspoon cayenne pepper
- 2 cups shredded white cheddar
- 1 1/2 cups shredded Swiss
- 1/2 cup shredded Parmesan
Instructions
- Preheat oven to 425°F and grease an 8″ x 8″ baking dish.
- Boil lobster tails 8–10 minutes, cool, remove meat from shells and cut into bite-sized pieces.
- Cook pasta until al dente, drain and set aside.
- In a heavy pot, melt 2 tablespoons butter, whisk in 2 tablespoons flour and cook briefly. Gradually whisk in milk until smooth and slightly thickened. Stir in salt, pepper, cayenne and the three cheeses until melted.
- Stir cooked pasta and lobster into the cheese sauce. Pour into the prepared baking dish, top with the breadcrumb-bacon mixture and bake 10–15 minutes, until golden and bubbly. Serve hot.
Notes
Store covered in the refrigerator for up to 3 days. Reheat in the microwave or in a 425°F oven in an oven-safe dish until warmed through, about 10–15 minutes.
This recipe was originally posted in 2014 and has since been updated with clarified ingredients, streamlined instructions and new photos.