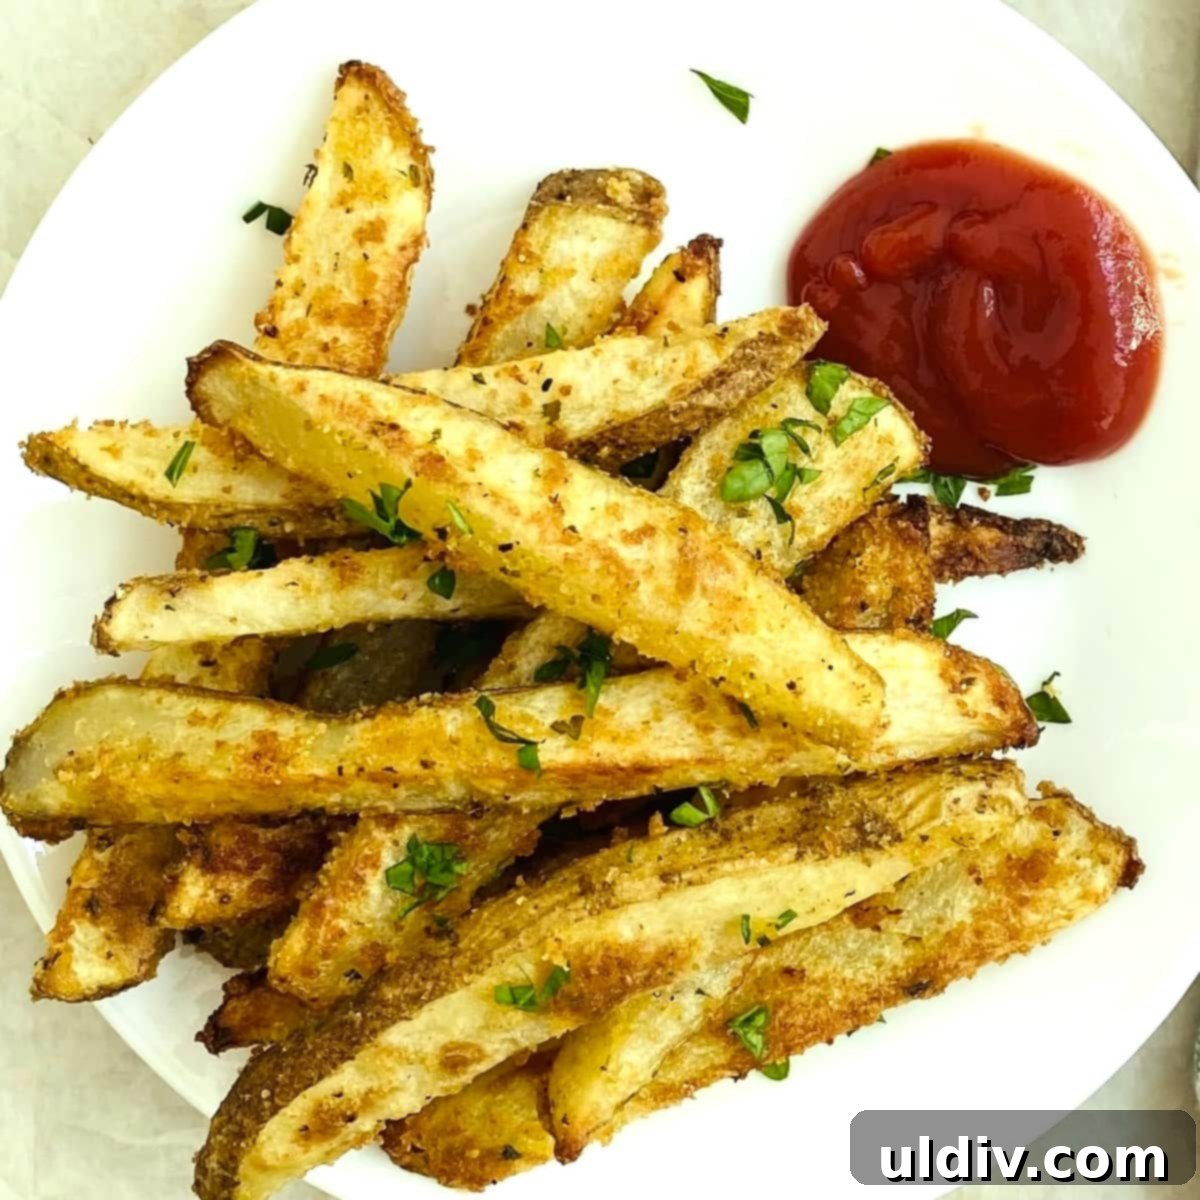
Forget the greasy mess and hassle of deep frying! Achieve perfectly golden, incredibly crispy, and undeniably delicious homemade French fries right in your oven. These Crispy Oven Fries are not just a convenient alternative; they are truly the best you’ll ever make at home, letting your oven do all the hard work for you.
“This is the recipe I have been looking for for years! Fantastic recipe and thanks so much! Preheating the pan is a game changer. I really appreciate you.”
Carrie
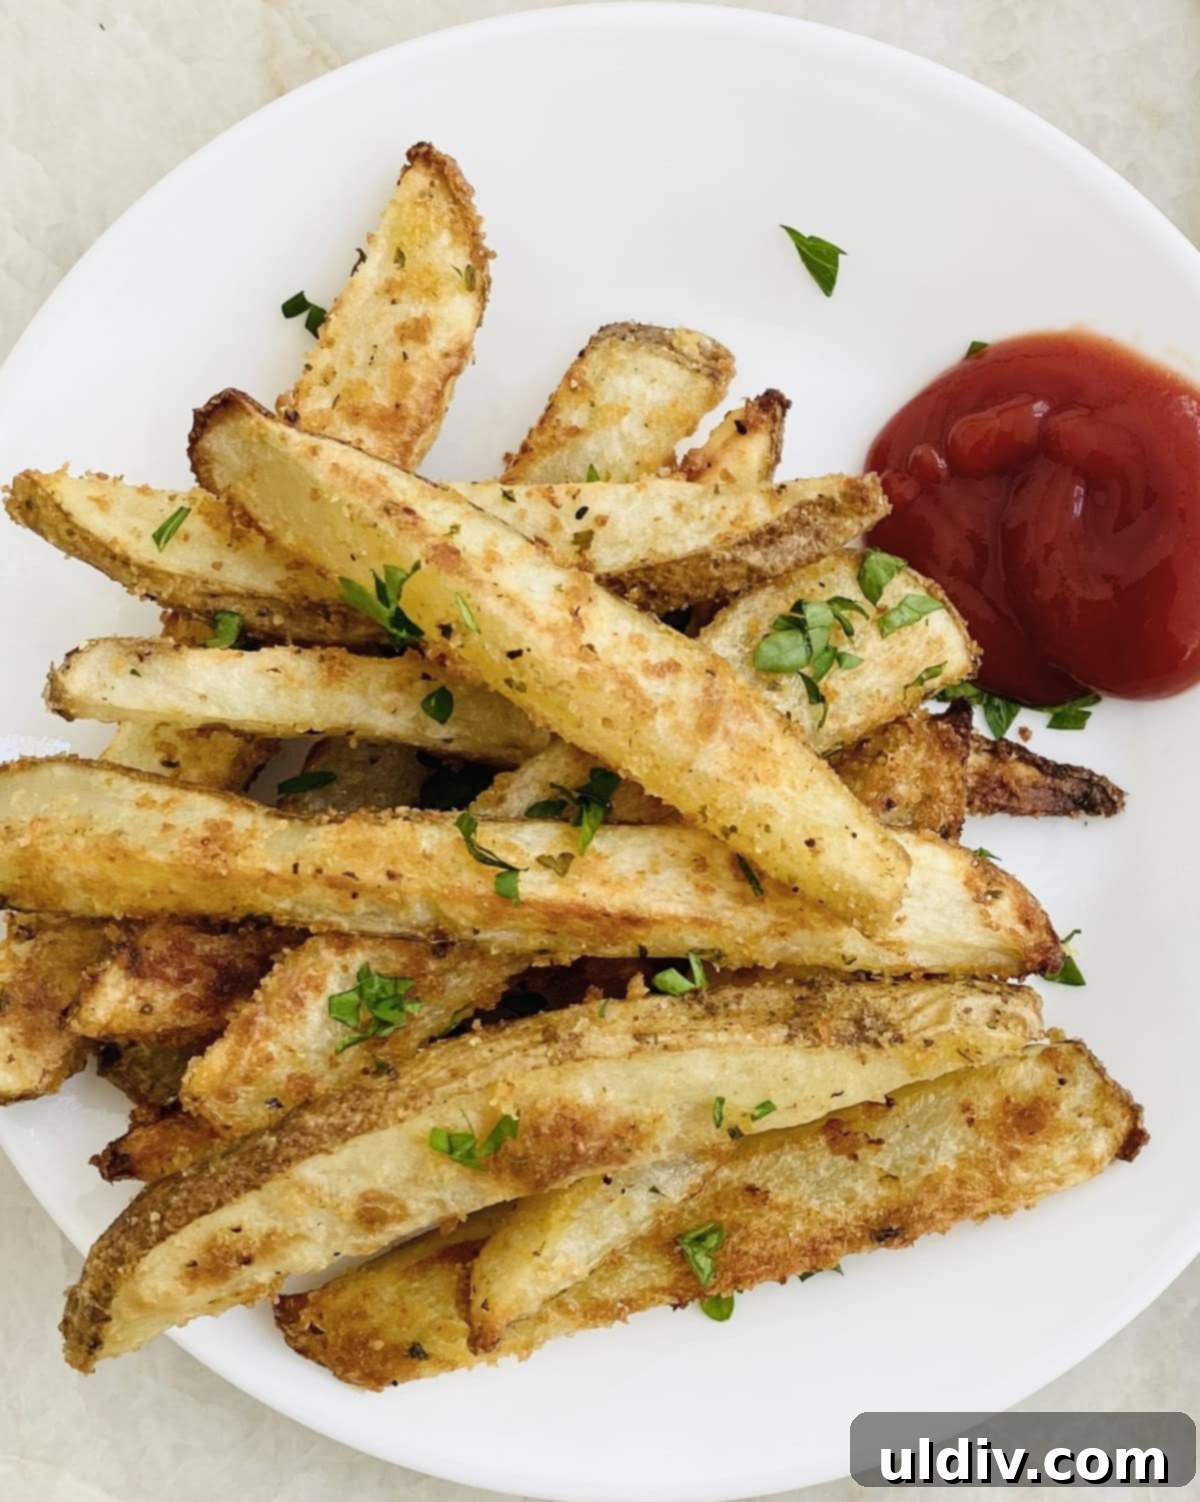
Crispy French fries are a universally adored classic side dish, a comforting treat that elevates any meal. These homemade oven baked fries offer the perfect blend of crunchy exterior and fluffy interior, making them an ideal accompaniment to virtually any main course. Imagine them alongside a succulent slow-roasted prime rib roast, paired with my go-to juicy burger recipe, complementing an easy 30-minute baked cod, or as the ultimate partner to my favorite Instant Pot beef brisket sandwich. Their versatility and irresistible flavor make them a staple you’ll want to master.
Crafting the perfect oven fries might seem intimidating, but with this foolproof method, you’ll achieve restaurant-quality results every time. We’ll dive into the simple secrets to crispy perfection, from selecting the right potatoes to the crucial preheating step and effective seasoning. Get ready to impress your family and friends with these healthier, easier, and incredibly delicious baked French fries!
Why You’ll Fall in Love with This Crispy Oven Fries Recipe
This easy method for making the best oven fries is more than just a recipe; it’s a game-changer for your kitchen. You’ll quickly discover many compelling reasons why these homemade baked fries will become a cherished favorite.
- Effortless to Prepare: Say goodbye to the tedious process of deep frying. Making fries in the oven requires minimal hands-on effort. You can even choose to skip peeling the potatoes for a rustic touch, saving you precious prep time. The oven handles the majority of the cooking, freeing you from the need to stand over a hot pot of oil, frying batch after batch. This streamlined process makes delicious homemade fries accessible on even the busiest weeknights.
- A Healthier Indulgence: Compared to their deep-fried counterparts, oven baked fries offer a significantly healthier alternative without sacrificing flavor or crispiness. By using just a small amount of oil, these fries are typically lower in fat and calories, allowing you to enjoy this beloved snack or side dish with less guilt. It’s a smart way to satisfy those French fry cravings while maintaining a balanced diet.
- Unbeatable Flavor and Texture: This oven French fries recipe consistently delivers the most delicious, perfectly crispy fries with a wonderfully fluffy interior. The unique cooking technique ensures a golden-brown crunch that rivals any restaurant-style fry. Once you taste the incredible texture and rich potato flavor, enhanced by a simple yet effective seasoning, you’ll find yourself making them again and again. They are truly the perfect side dish for any occasion.
- Ultimate Versatility: Not only are these oven fries delicious on their own or with classic ketchup, but they also serve as a fantastic base for countless variations. From spicy loaded fries to cheesy creations, their neutral yet satisfying flavor profile makes them incredibly adaptable to different seasonings and toppings.
Essential Ingredients & Smart Substitutions for Your Baked French Fries
To create these incredibly crispy oven fries, you’ll only need a few simple ingredients. Each component plays a crucial role in achieving that coveted golden crunch and rich flavor. Should you need to make substitutions, I’ve listed viable alternatives below. For the precise quantities of each ingredient, please refer to the comprehensive recipe card at the end of this article.
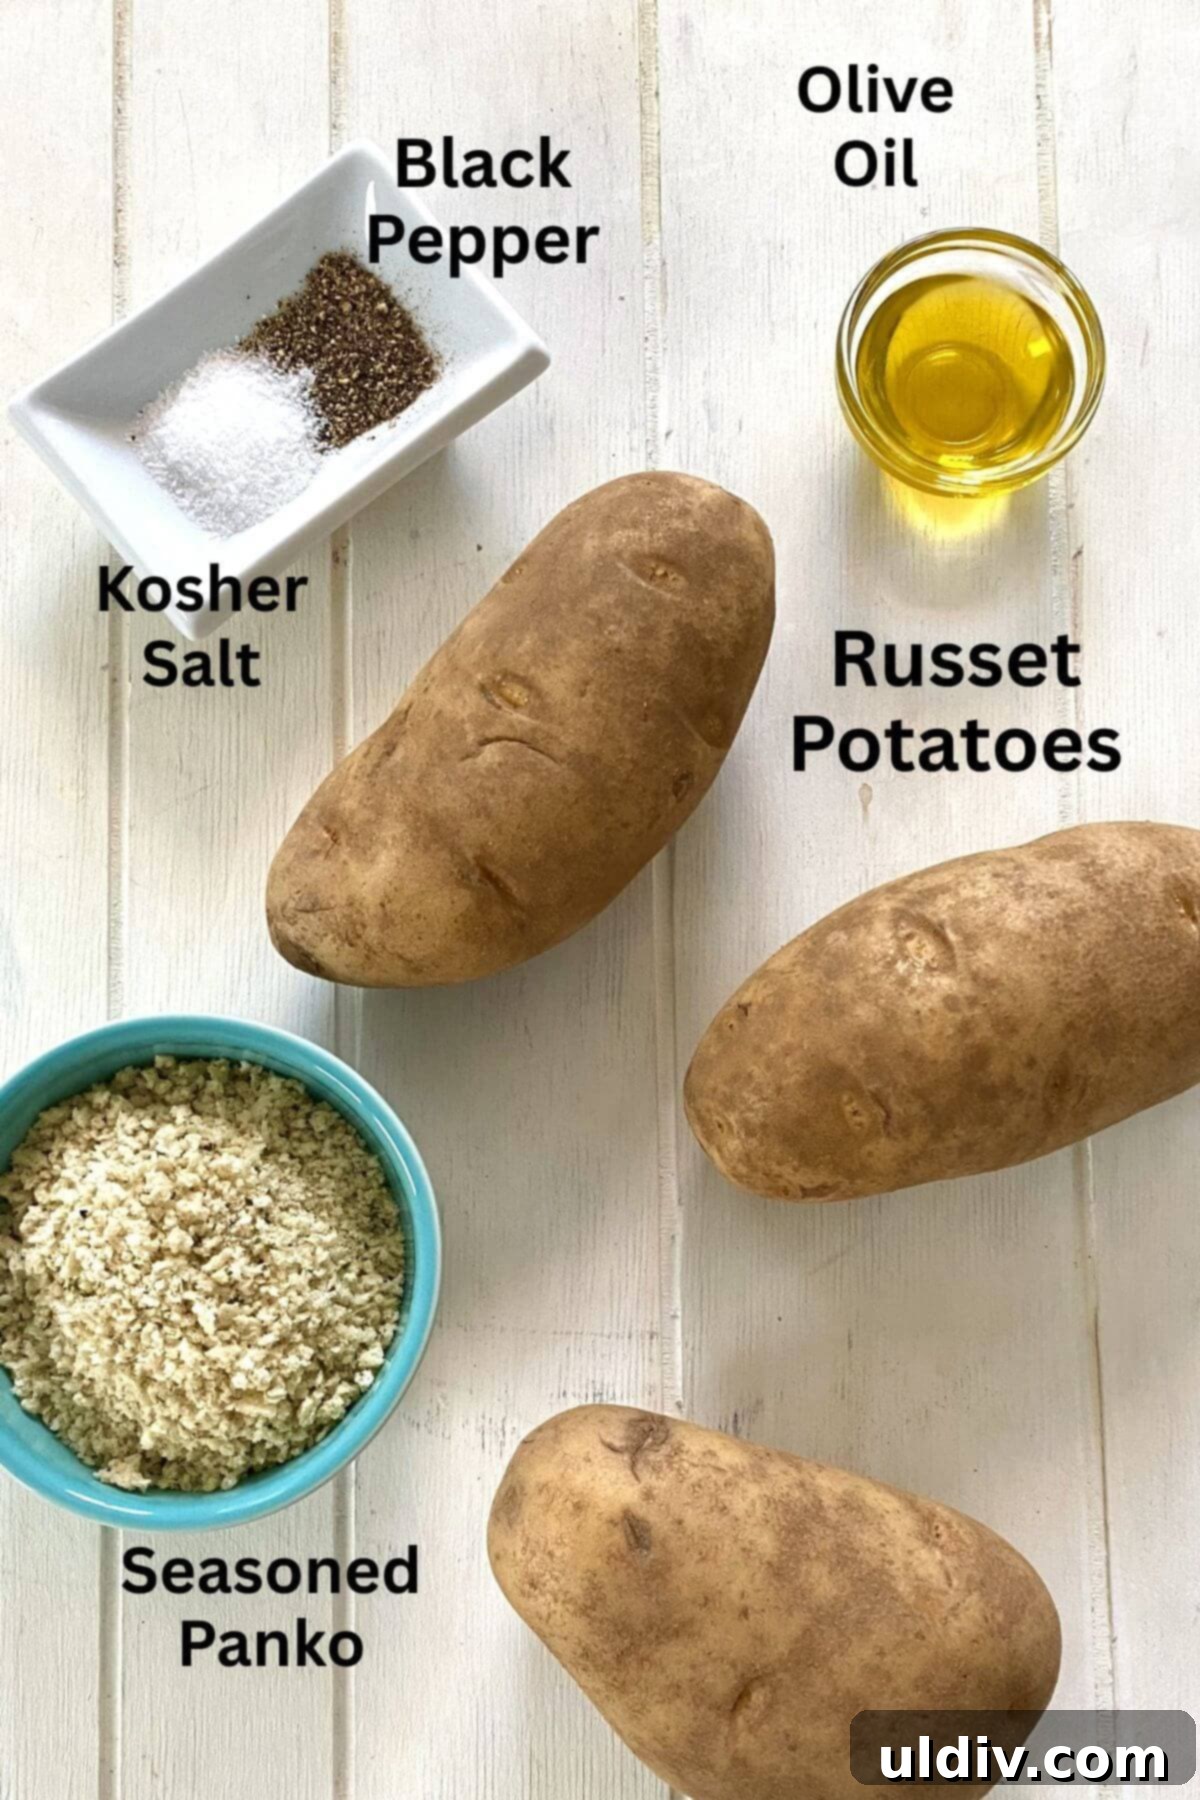
- Russet Potatoes: These are the undisputed champions for making crispy baked French fries. Their high starch content and low moisture profile are key to achieving that desirable fluffy interior and extra-crispy exterior. While other potato varieties like Yukon Golds can work, russets deliver superior results for ultimate crispiness. Look for firm, unblemished potatoes for the best quality.
- Olive Oil: A good quality olive oil coats the potatoes beautifully, aiding in the browning and crisping process while adding a subtle, rich flavor. For alternatives, both avocado oil and canola oil are excellent choices due to their high smoke points, ensuring your fries cook perfectly without burning.
- Seasoned Panko Breadcrumbs: This is a secret weapon for achieving an extra layer of crunch and a wonderful golden finish. Seasoned panko adheres to the potatoes, creating an incredibly satisfying texture that sets these oven fries apart. If you don’t have seasoned panko, plain panko mixed with a pinch of garlic powder, onion powder, and a dash of dried herbs (like parsley or oregano) will work wonderfully.
- Kosher Salt: The larger grain of kosher salt is perfect for seasoning fries. It adheres well, distributes evenly, and enhances the natural flavor of the potatoes without making them excessively salty. Fine table salt can be used in a pinch, but you might need to adjust the quantity to prevent over-salting.
- Freshly Ground Black Pepper: There’s no substitute for the vibrant, aromatic flavor of freshly ground black pepper. Grinding your own pepper immediately before use releases its full potency, adding a delightful subtle kick that complements the other seasonings. Pre-ground pepper can be used, but fresh grinding truly makes a difference.
Crafting the BEST Crispy Oven Fries: A Step-by-Step Guide
Making golden brown and crispy oven fries is surprisingly simple, and it requires very little kitchen labor. My foolproof method ensures perfect results every time, transforming humble potatoes into an irresistible side dish. This is a brief overview of the process; for a visual guide, please refer to the step-by-step cooking video above. For complete, detailed instructions and quantities, be sure to consult the recipe card below.
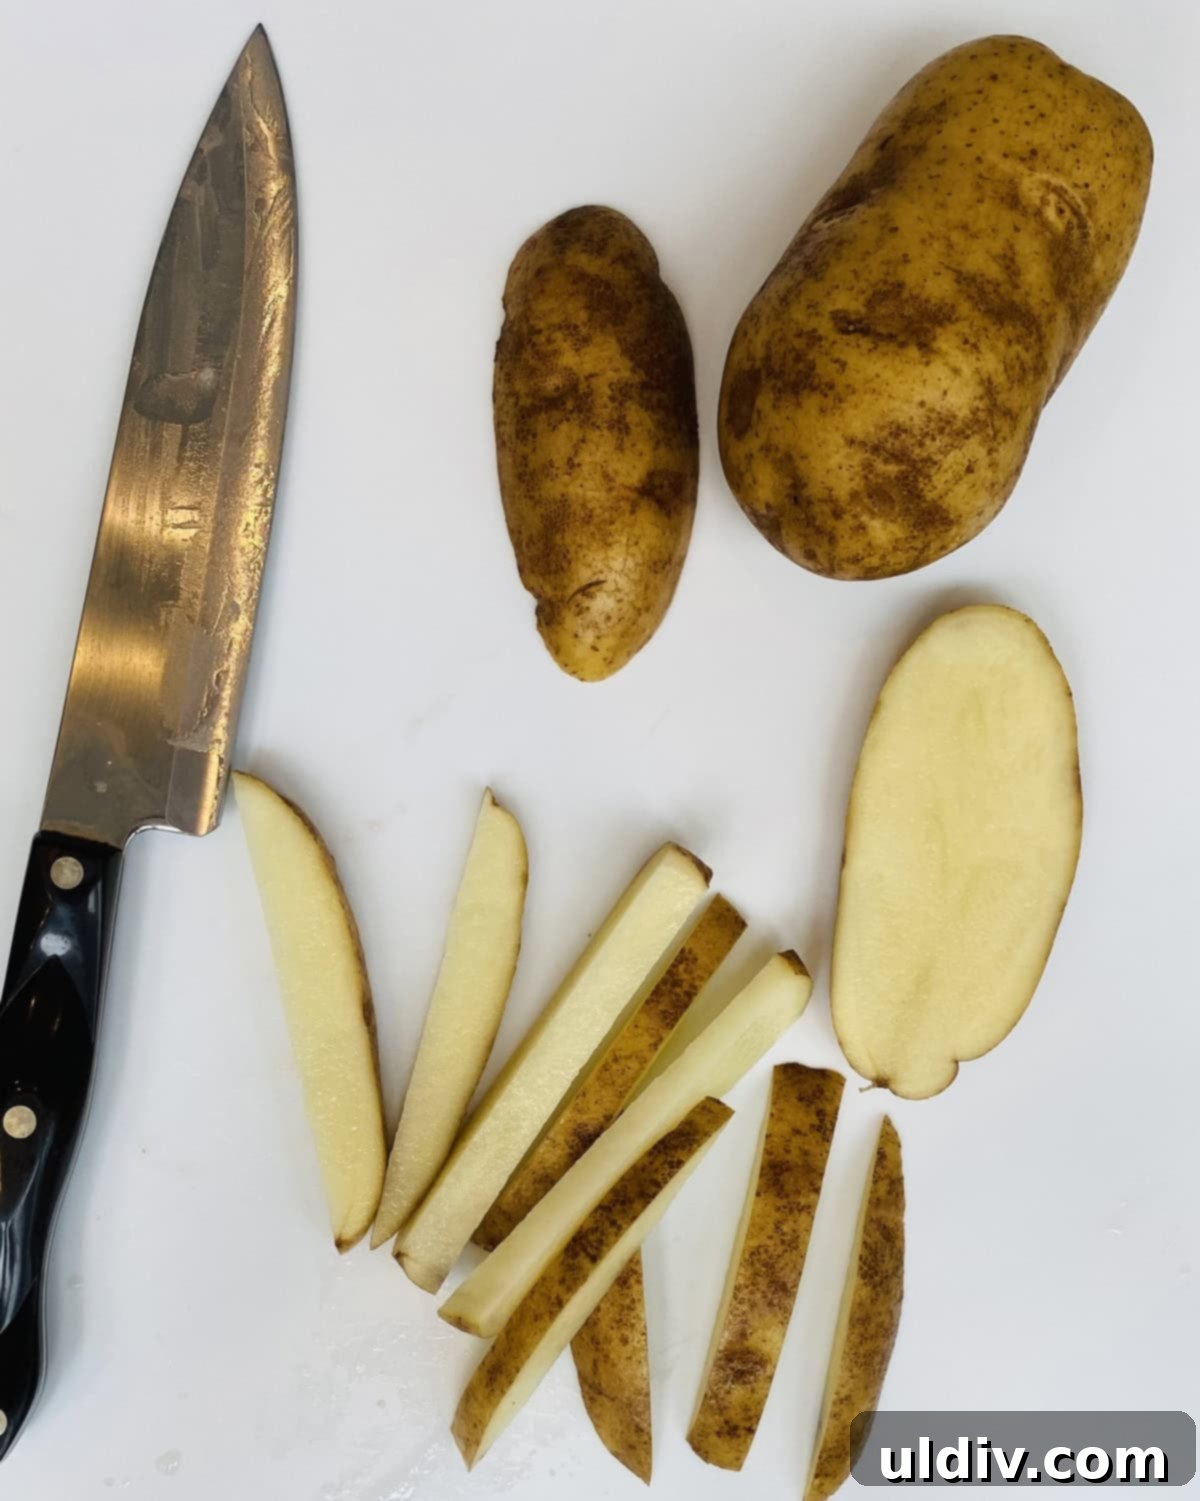
Step 1: Preheat and Prepare. Begin by preheating your oven to 425 degrees F (220 degrees C). A critical step for maximum crispiness is to place a large, rimmed baking sheet on the middle rack while the oven preheats. This ensures the pan is scorching hot when the potatoes hit it, preventing sticking and kickstarting the crisping process. While the oven preheats, carefully cut your russet potatoes into uniform french fry shapes, aiming for approximately 1/4 to 1/2 inch thickness for even cooking.
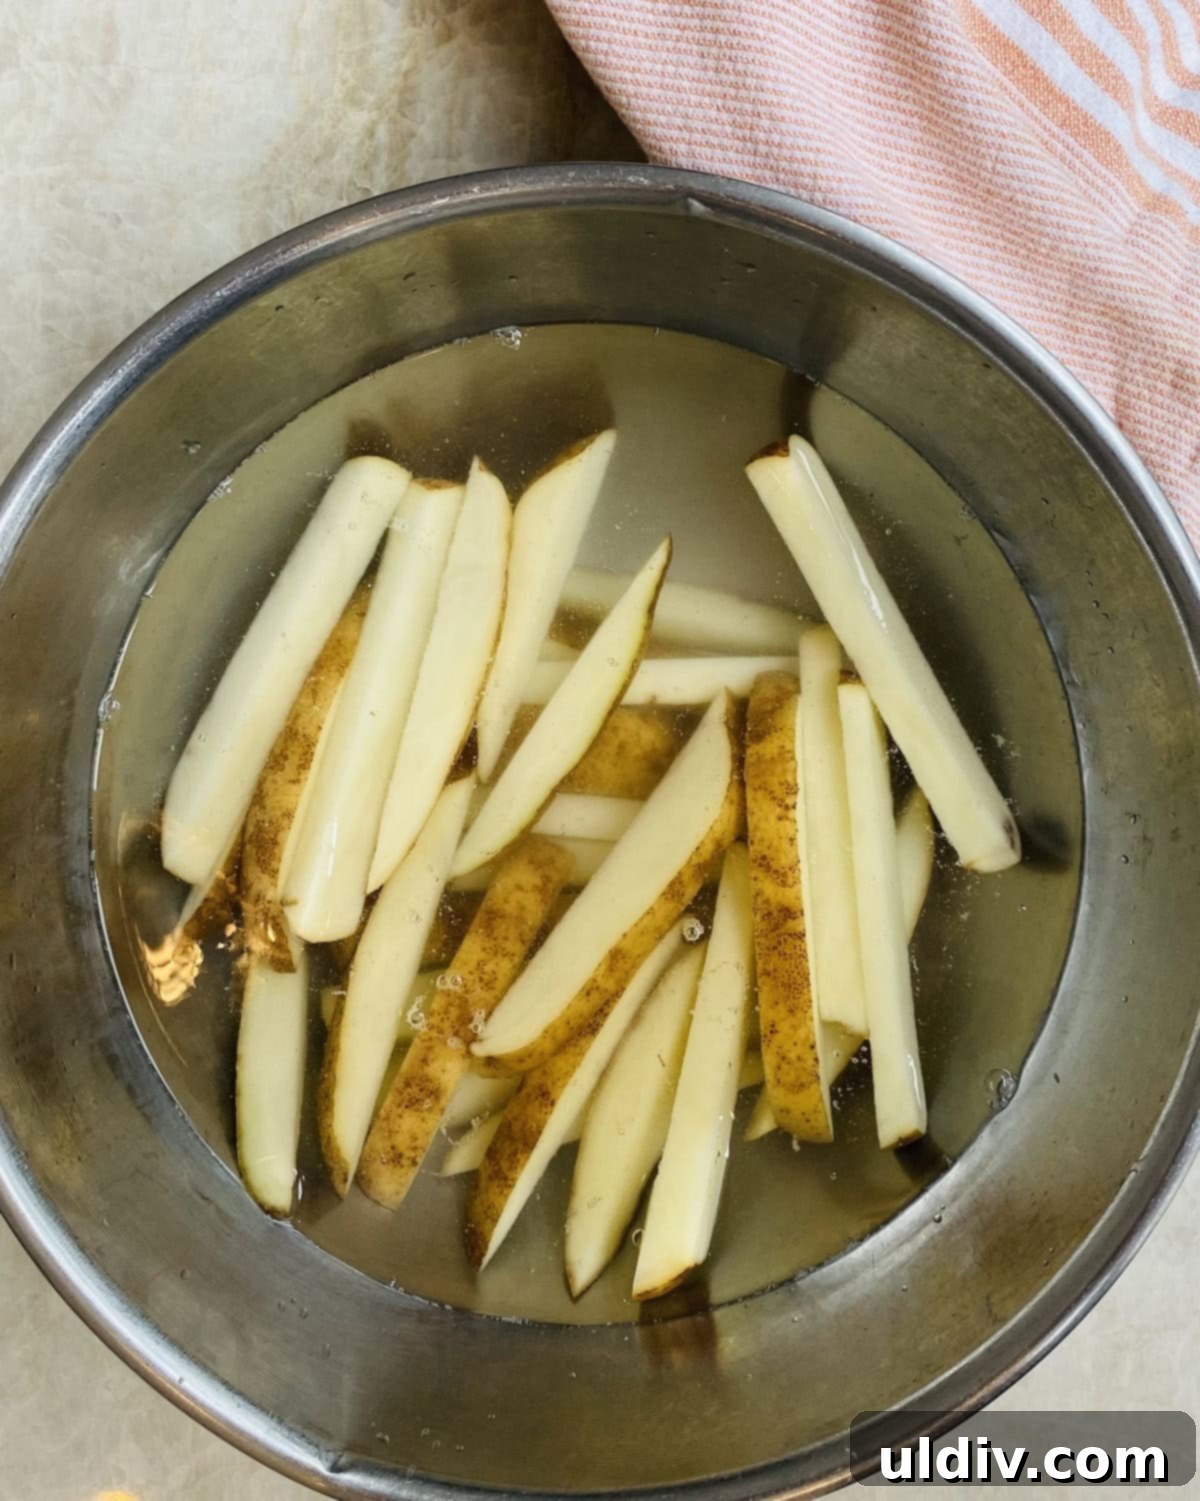
Step 2: The Starch Soak. Fill a large bowl with cold water and add your freshly cut potatoes. Give them a gentle swish to dislodge any excess starch. Let the potatoes soak for about 30 minutes. This essential step removes some of the surface starch, which is a key factor in achieving that desirable crispy texture, preventing soggy fries. It’s a simple yet powerful technique for elevated crispiness.
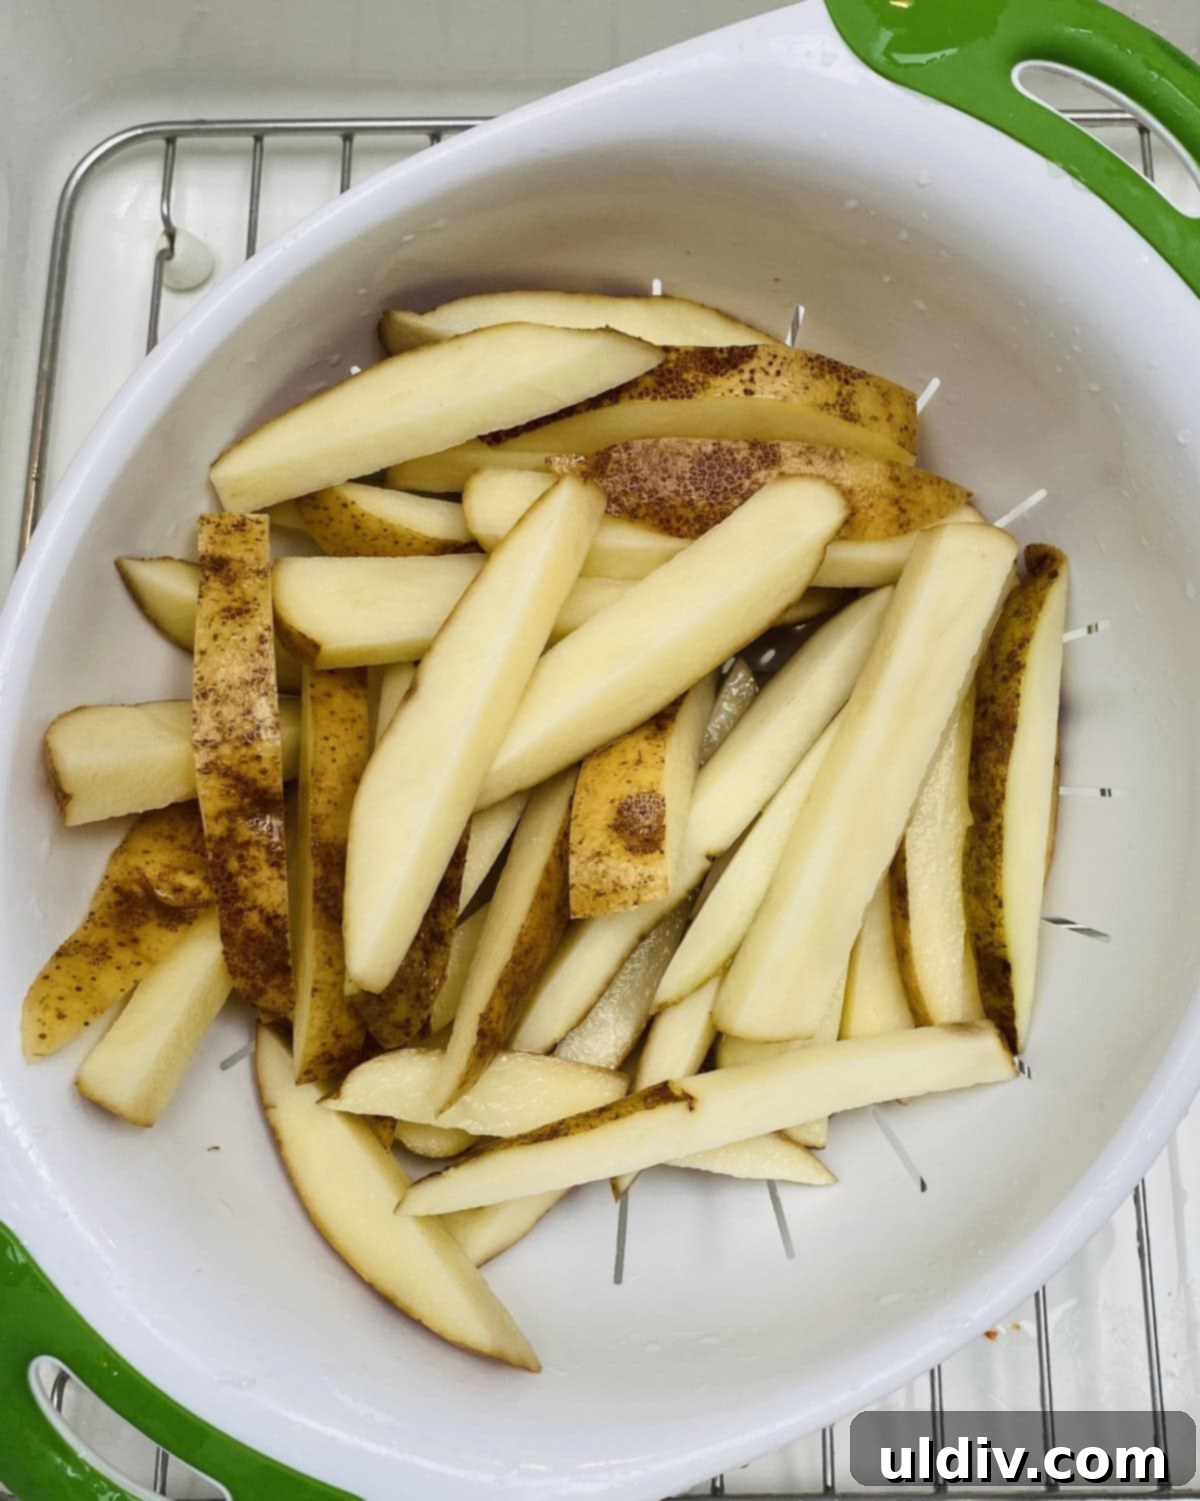
Step 3: Thorough Drying. After soaking, drain the potatoes thoroughly using a colander. Transfer the drained potatoes to a large, clean dish towel or several layers of paper towels. The goal here is to blot off as much excess water as possible. Moisture is the enemy of crispiness, so take your time with this step. For even more efficiency, you can use a salad spinner to remove the excess water, ensuring your fries are perfectly dry before seasoning.
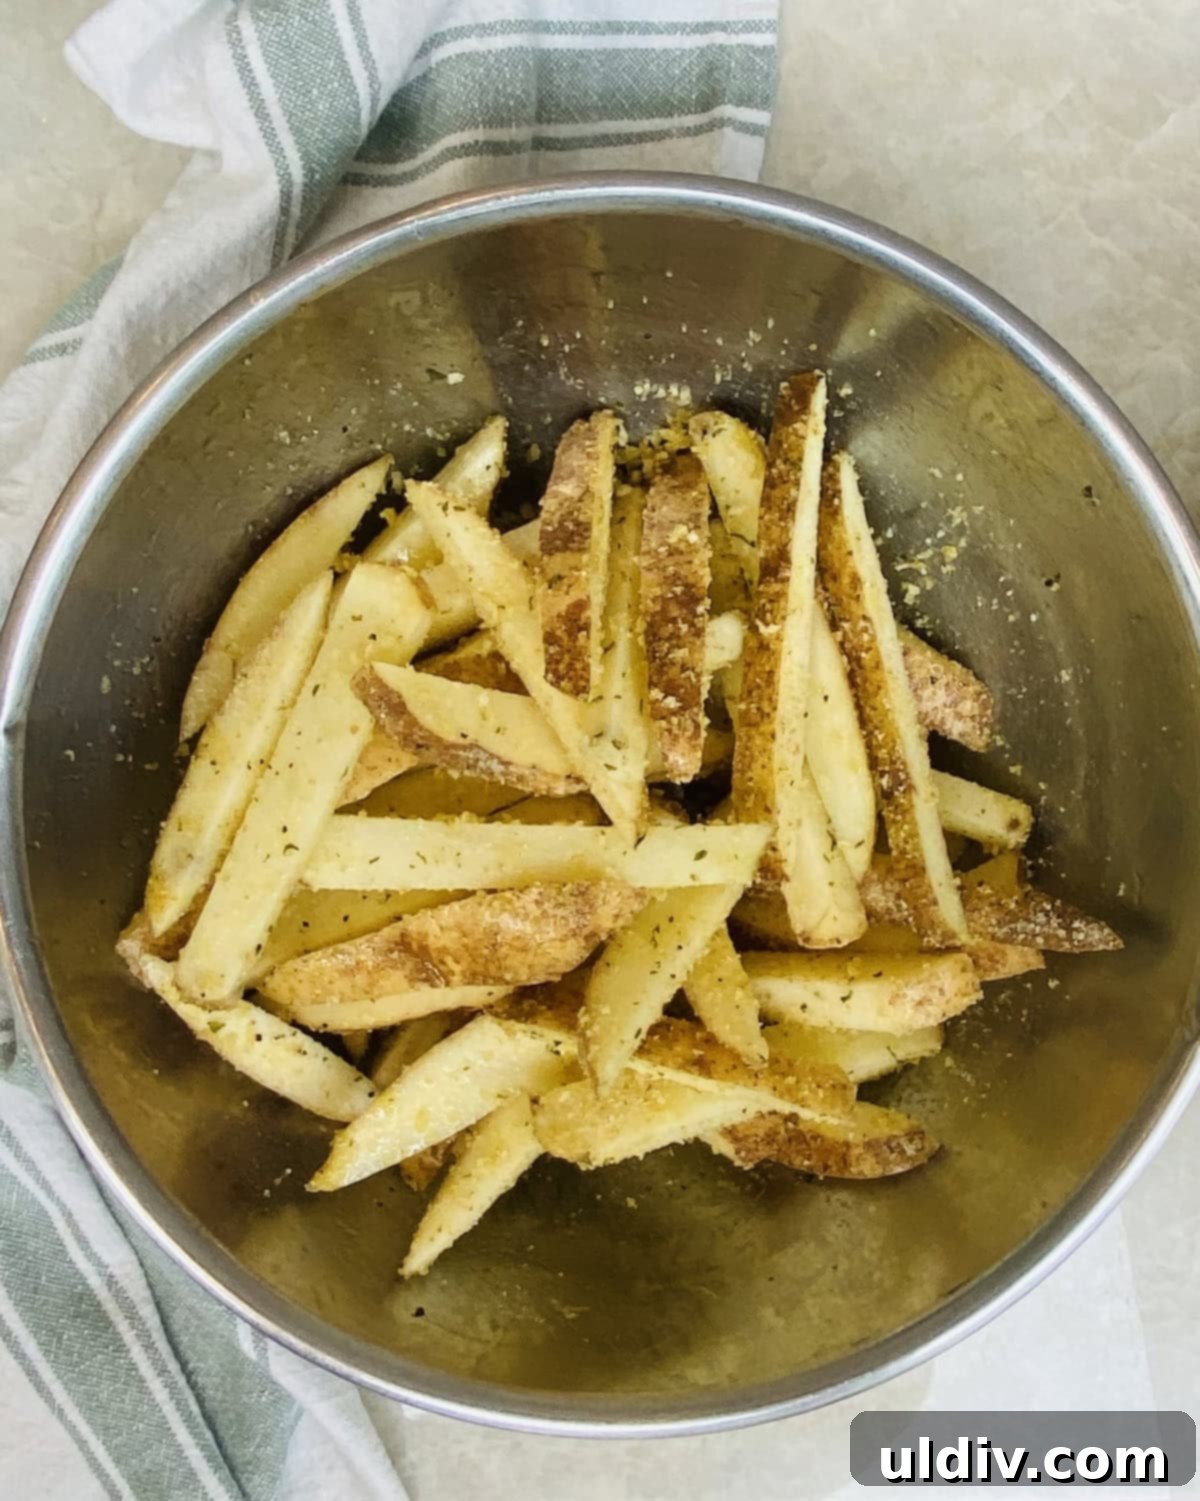
Step 4: Seasoning for Success. Transfer the thoroughly dried potatoes to a large mixing bowl. Drizzle them generously with olive oil, ensuring every piece is lightly coated. Then, sprinkle with seasoned panko breadcrumbs, kosher salt, and freshly ground black pepper. Toss everything together vigorously until the potatoes are evenly coated with the oil and seasonings. The panko will create an extra crispy crust, while the salt and pepper build the foundational flavor.
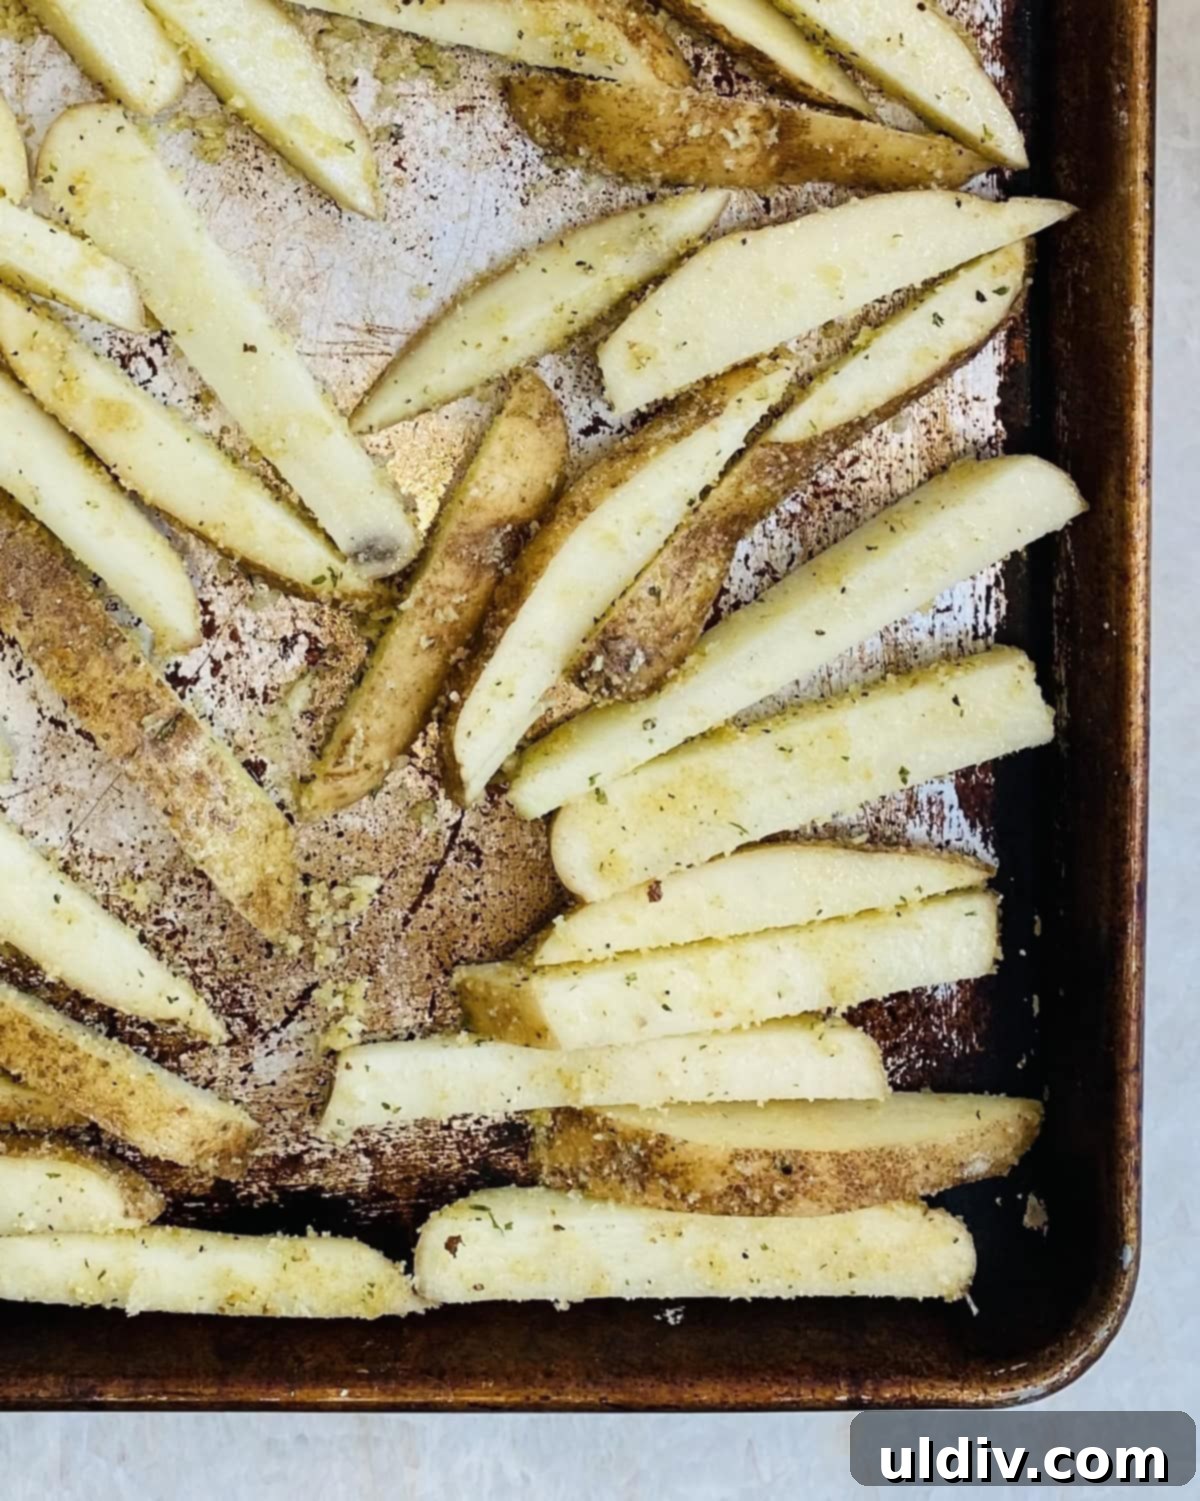
Step 5: Baking for Ultimate Crispiness. Carefully remove the preheated baking sheet from the oven – remember, it’s scorching hot! Immediately spread the seasoned potato slices in a single layer across the pan. This is crucial: for the crispiest and crunchiest oven fries, make absolutely sure that no potato pieces are touching each other. Crowding the pan will cause the potatoes to steam rather than roast, leading to a soft, soggy texture instead of a crisp one. Return the sheet pan to the oven.
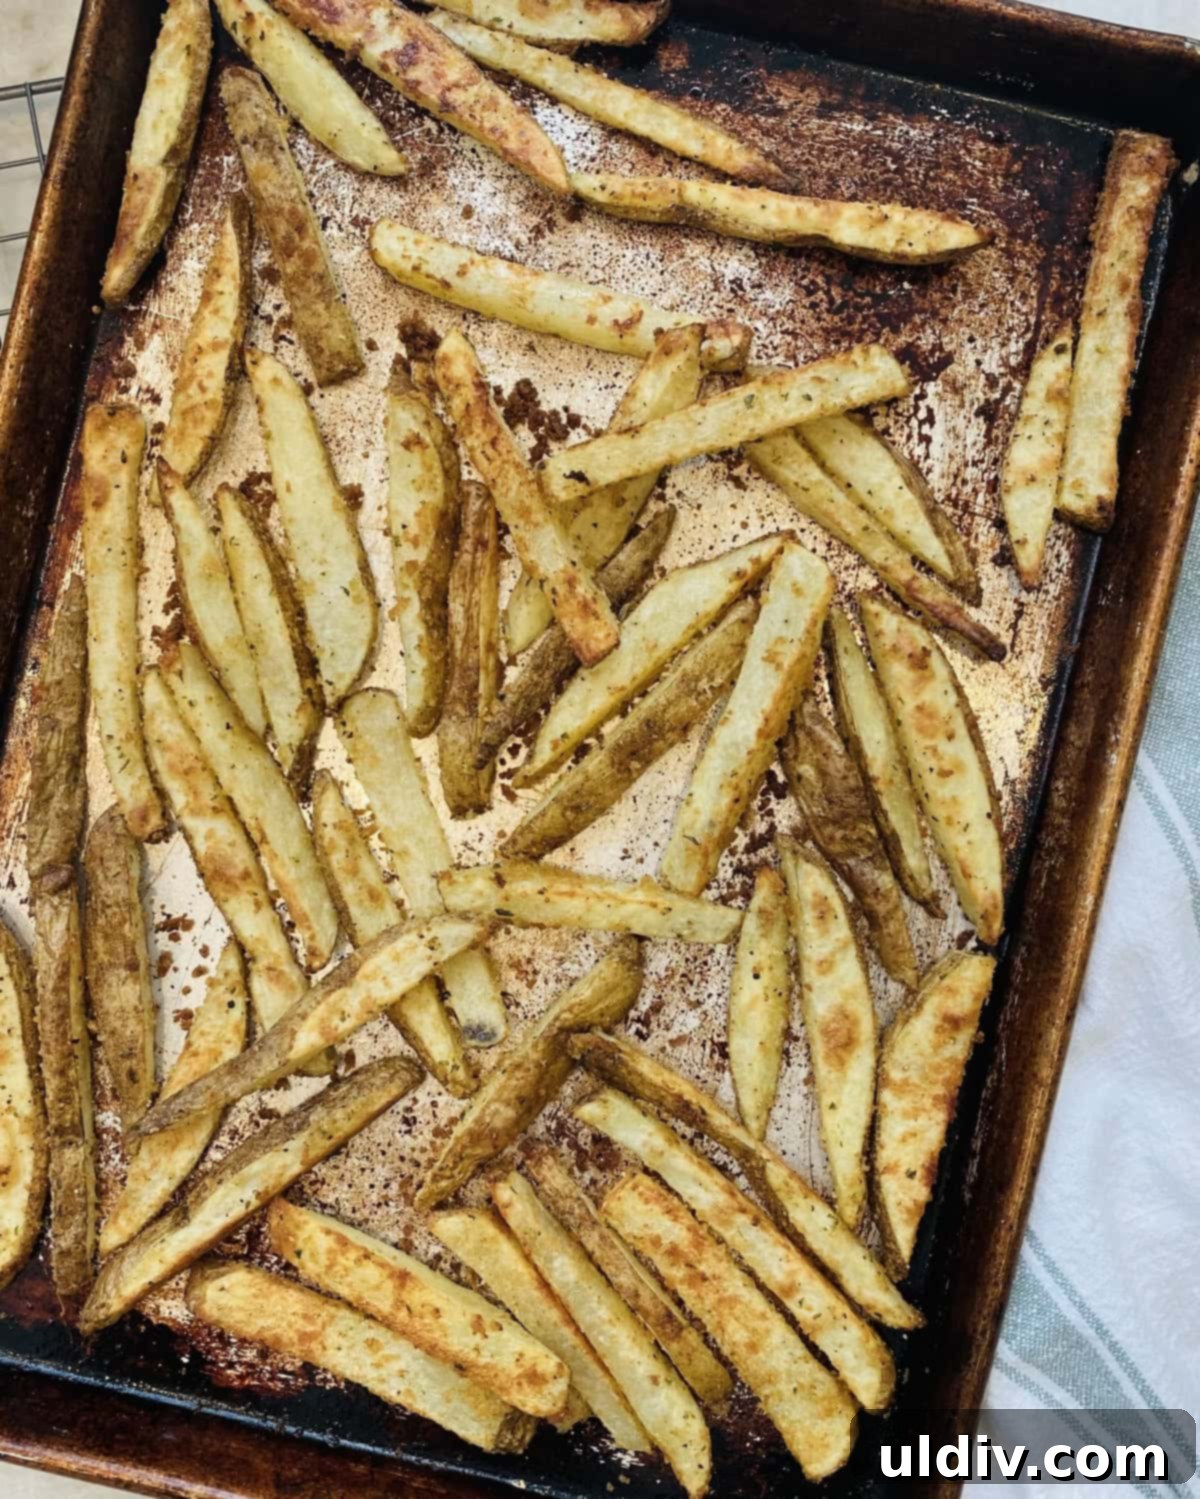
Step 6: Roast, Flip, and Finish. Roast the fries for 25 minutes. After this initial bake, carefully remove the pan from the oven. Gently shake the pan to redistribute the potatoes, or use a large spatula to flip each fry, ensuring even browning on all sides. Return the baking sheet to the oven and continue roasting for another 15-20 minutes, or until the fries are beautifully golden brown and irresistibly crispy. Once they reach your desired level of crispness, they’re ready to be devoured!
Amy’s Expert Tips for Perfect Crispy Oven Fries
Achieving truly exceptional crispy oven fries involves a few simple yet critical techniques. Beyond the steps outlined in the recipe, consider these expert tips to elevate your homemade baked fries to new heights:
- Immediate Seasoning for Maximum Flavor: Always season your crispy baked fries the moment they come out of the oven. The heat helps the kosher salt and any other desired seasonings adhere better to the hot potato surface, ensuring every bite is bursting with flavor. Don’t wait, as cooled fries won’t absorb seasonings as effectively.
- Don’t Skip the Soak: Soaking the cut potatoes in cold water is paramount. This process draws out excess starch, which is the primary culprit behind soggy fries. A good soak ensures a lighter, fluffier interior and a significantly crispier exterior.
- Dry, Dry, Dry: After soaking, ensuring the potatoes are bone-dry is just as important. Any residual moisture will create steam in the oven, preventing proper browning and crisping. Use a clean kitchen towel or paper towels to blot them thoroughly.
- The Power of Preheat: Preheating your baking sheet along with the oven is a game-changer. Placing the seasoned potatoes directly onto a hot surface creates an instant sear, preventing sticking and immediately initiating the crisping process.
- Give Them Space: Never overcrowd the baking sheet. Each fry needs its own personal space to roast and crisp up. If potatoes are too close, they’ll steam each other, resulting in soft instead of crispy fries. If you’re making a larger batch, use two baking sheets and rotate them halfway through cooking.
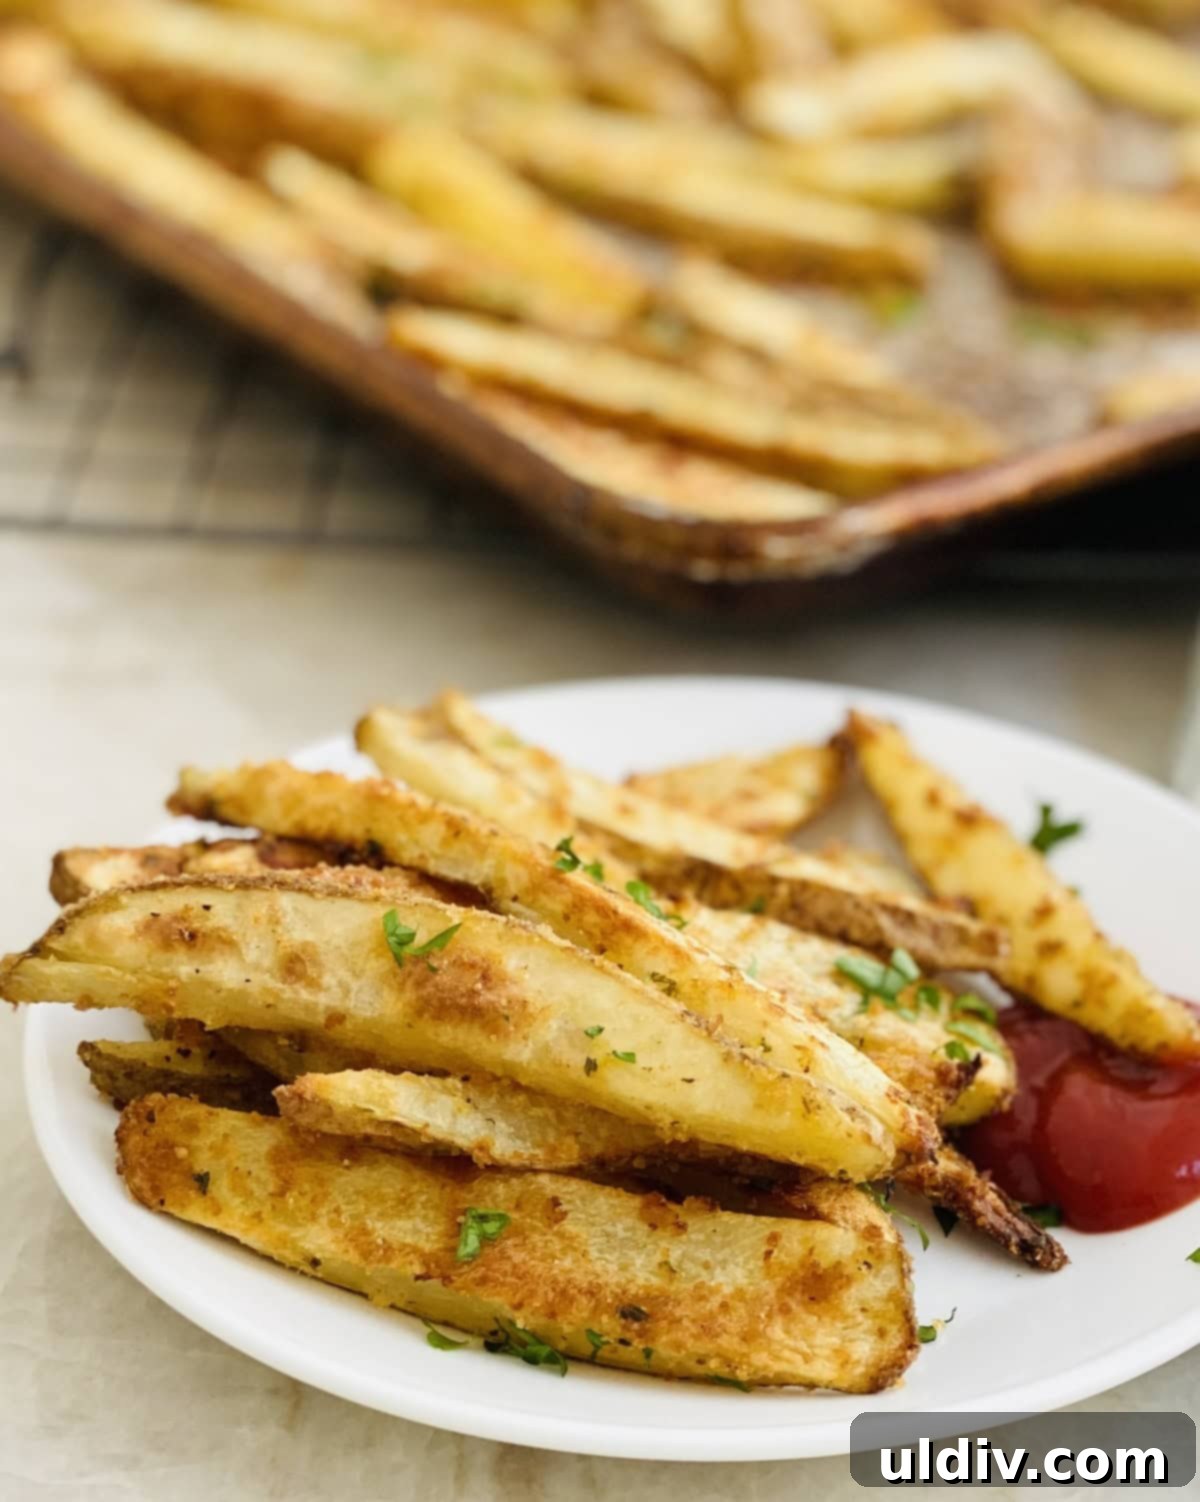
Creative Variations to Elevate Your Baked French Fries
While classic crispy oven fries are perfectly delicious on their own, don’t hesitate to get creative with this versatile baked french fries recipe. Here are some fantastic ways to customize them and make them truly your own:
- Spicy Kick: For those who love a bit of heat, simply add ½ teaspoon of smoked paprika and ¼ teaspoon of cayenne pepper to the potatoes along with the other seasonings. Adjust the cayenne to your desired spice level for a fiery, flavorful fry.
- Cheesy Goodness: Transform your fries into a decadent treat. During the final 5 minutes of cooking, sprinkle your favorite shredded cheese over the fries. Mozzarella, sharp cheddar, Gruyere, or even dollops of my creamy Pimento Cheese melt beautifully, creating gooey, savory perfection.
- Saucy Delight (Poutine Inspired): For a nod to Canadian poutine, pour warm, rich gravy over the crispy fries immediately after baking. Then, sprinkle generously with shredded cheddar cheese or fresh cheese curds. The heat from the fries and gravy will melt the cheese into a luscious, comforting dish.
- The Dip Station: The right dipping sauce can take your oven fries from great to extraordinary. Stock up on classics like ketchup, or explore options like tangy honey mustard, creamy ranch dressing, zesty creamy cilantro lime dressing, rich Caesar dressing, or even a simple, homemade garlic aioli or spicy mayo for an elevated experience.
- Hearty Entree Fries: Turn these crispy baked fries into a satisfying meal. Place a generous serving of fries in a bowl, then top with a ladle of warm chili (my Vegetable Chili is a delicious pairing!). Finish with shredded cheddar cheese, a dollop of sour cream, and a scoop of fresh guacamole for a loaded fry experience that’s perfect for dinner.
How to Reheat Oven Baked French Fries for Optimal Crispiness
Leftover crispy oven fries are a rarity, but should you find yourself with some, reheating them properly is key to bringing back their glorious crisp texture. Avoid the microwave if you want to retain any crispiness!
- Oven Method (Recommended for Best Results): This is hands down the best way to reheat oven fries and restore their crispness. Preheat your oven to 400 degrees F (200 degrees C). While the oven preheats, place a clean baking sheet inside to get hot. Once heated, carefully spread your leftover fries in a single layer on the preheated baking sheet. Heat for 5-10 minutes, or until they are thoroughly heated through and have regained their desired level of crispiness.
- Stovetop Method (Quick & Effective): If you’re only reheating a small batch, the stovetop can work wonders. Heat a large nonstick sauté pan over medium-high heat. Once the pan is hot (a drop of water should sizzle and evaporate), add the fries in a single layer. Heat for 5-8 minutes, flipping the fries once halfway through, until they are hot and crispy again. The direct heat helps to re-crisp the surface effectively.
- Microwave Method (Last Resort): While convenient, the microwave is generally not recommended for reheating oven baked fries if you prioritize crispiness. They will likely become soft and a little soggy, though they will be heated through. If it’s your only option, place the fries on a microwave-safe plate and microwave on 60 percent power at 30-second intervals until heated. Stirring occasionally can help with even heating.
Frequently Asked Questions About Crispy Oven Fries
Several factors can contribute to less-than-crispy oven fries. One of the most important keys to achieving maximum crispiness is soaking the cut potatoes in cold water for about 30 minutes. This essential step removes some of the excess starchiness from the potato surface. High starch content on the exterior can lead to a gummy or soggy texture. Additionally, ensuring the potatoes are thoroughly dry after soaking, not crowding the baking sheet, and preheating the pan are all crucial for a truly crispy result.
For the crispiest oven fries, it’s generally best not to line your baking sheet with foil or parchment paper. While these might seem convenient for easy cleanup, they create an extra layer that can trap moisture and inhibit direct heat transfer to the potatoes. This means the potatoes (or any other vegetable you’re roasting) will tend to steam more than they roast, resulting in a softer, less crispy texture. The direct contact with a hot, unlined pan is key for browning and crisping.
The best way to prevent your baked oven fries from sticking to the pan is to preheat the baking sheet thoroughly in the oven before adding the potatoes. A scorching hot pan creates an immediate sear on the potato surface, which helps them release cleanly. Additionally, ensure the potatoes are well-coated with oil. Try not to flip the potatoes too early, ideally not before 20-25 minutes of roasting. Flipping them prematurely, when they haven’t yet formed a good crust, can cause them to tear and stick.
More Delicious Side Dish Recipes You’ll Love
If you enjoyed making these crispy oven fries, you’ll be delighted by these other easy and flavorful side dish recipes:
- Crispy Garlic Broiled Broccoli
- How to Microwave Artichokes
- Roasted Carrot and Parsnip Fries
- Roasted Fall Squash with Cinnamon and Nutmeg
Explore all my Side Dish Recipes
A Final Thought

Did You Master This Recipe?
I would absolutely love to hear about your experience! Please let me know how your crispy oven fries turned out by leaving a comment and a star rating below. Your feedback is incredibly valuable. Don’t forget to share your delicious creations on Pinterest, Instagram, and Facebook – be sure to tag @amycaseycooks so I can see your masterpieces!
Thank you for cooking with me! ~ Amy
Recipe Card: The BEST Crispy Oven Fries
Baked Crispy Oven Fries
Print
Pin
Rate
45 minutes
45 minutes
4
servings
253
kcal
Amy Casey
Equipment
-
baking sheet
-
chef knife
-
cutting boards
-
large spatula
-
stacking glass bowls
Ingredients
-
4
medium russet potatoes
(cut into 1-inch fries) -
3
tablespoons
olive oil -
½
cup
seasoned panko breadcrumbs -
1
teaspoon
kosher salt -
½
teaspoon
freshly ground black pepper -
Optional for serving:
ketchup, ranch dressing, creamy cilantro lime dressing, Caesar dressing or mayo
Prevent your screen from going dark
Instructions
-
1. Prep the Oven and Pan: Preheat your oven to 425 degrees F (220 degrees C). Place a large, rimmed baking sheet on the middle rack of the oven to preheat along with the oven. This is a crucial step for achieving crispy fries and preventing sticking.
-
2. Cut and Soak Potatoes: While the oven preheats, cut your russet potatoes into uniform 1-inch thick fries. Place the cut potatoes into a large bowl filled with cold water. Allow them to soak for approximately 30 minutes. This step draws out excess starch, which helps ensure a crispy texture. After soaking, drain the potatoes thoroughly and lay them flat on a clean dish towel or several layers of paper towels. Blot them dry as much as possible to remove all excess moisture.
-
3. Season Potatoes: Transfer the thoroughly dried potatoes to a large mixing bowl. Drizzle with the olive oil and toss well to ensure every potato piece is lightly coated. Next, add the seasoned panko breadcrumbs, kosher salt, and freshly ground black pepper. Toss again vigorously until the potatoes are evenly coated with all the seasonings.
-
4. Roast Initial Batch: Carefully remove the hot baking sheet from the oven (use oven mitts!). Spread the seasoned potatoes onto the pan in a single layer, ensuring they are not crowded and ideally not touching each other. This is vital for crispiness. Return the baking sheet to the oven and roast for 25 minutes.
-
5. Flip and Continue Roasting: Remove the baking sheet from the oven again. Carefully shake the pan to redistribute the potatoes, or use a large spatula to flip each fry over to ensure even browning. Return the baking sheet to the oven and continue roasting for another 15-20 minutes, or until the potatoes are beautifully golden brown and crispy to your liking. Once done, remove them from the oven immediately.
-
6. Final Season and Serve: Immediately after removing the hot fries from the oven, sprinkle them with a little more kosher salt (this helps the salt adhere better). Transfer the crispy fries to a large bowl and serve hot with your favorite dipping sauce. Enjoy!
Video
Recipe Notes & Tips
- Preheating the Pan is Key: Ensure your baking sheet is thoroughly preheated in the oven. This crucial step prevents the potatoes from sticking and initiates the crisping process immediately. Additionally, resist the urge to flip the potatoes before 20 to 25 minutes of initial roasting; they need time to form a crust before being disturbed.
- Avoid Lining the Baking Sheet: For truly crispy results, do not line your baking sheet with aluminum foil or parchment paper. While these can simplify cleanup, they create a barrier that traps moisture, causing the potatoes to steam rather than roast. Direct contact with the hot metal pan is essential for achieving that coveted golden-brown crispness.
- Season While Hot: Always season your crispy oven fries as soon as they are removed from the oven. The heat from the freshly baked potatoes allows the kosher salt and any other desired seasonings to adhere better, ensuring optimal flavor distribution and enhancing the overall eating experience.
Nutritional information is an estimate and based on the ingredients and cooking methods used in this recipe.
Nutrition Information
Serving Size:
1
/4 of recipe
|
Calories:
253
kcal
|
Carbohydrates:
36
g
|
Protein:
4
g
|
Fat:
11.2
g
|
Saturated Fat:
1.6
g
|
Sodium:
641
mg
|
Fiber:
5.2
g
|
Sugar:
2.5
g
Did you make this recipe?
Tag @amycaseycooks on Instagram so we can all admire your work