
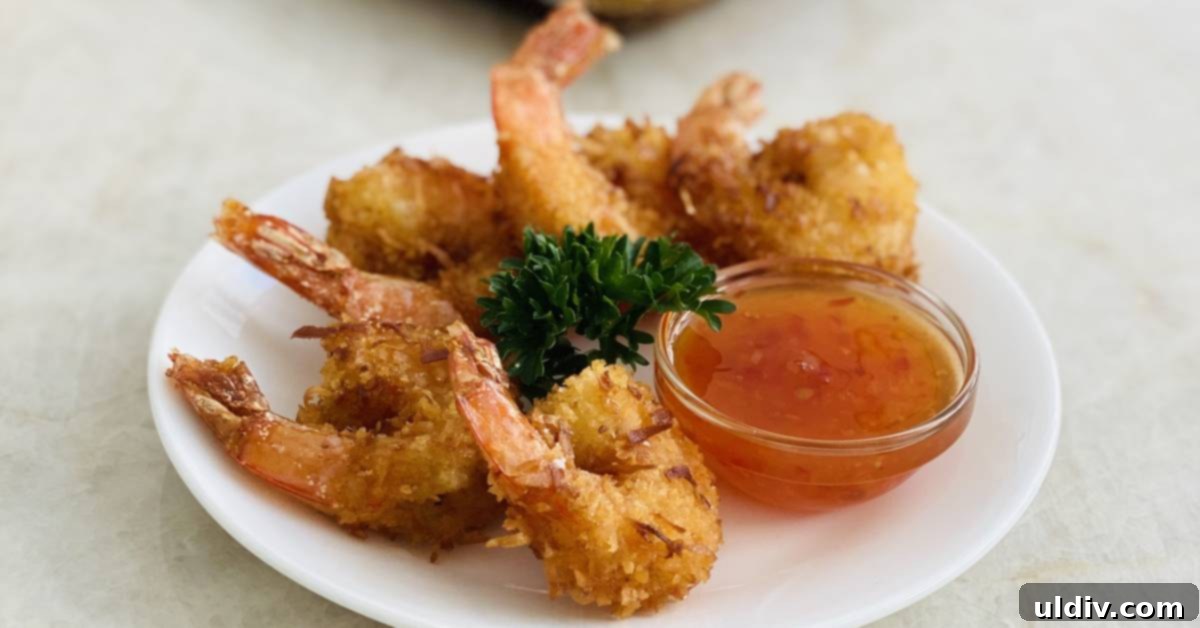
The Ultimate Guide to Making Crispy, Restaurant-Quality Coconut Shrimp at Home
Craving the BEST coconut shrimp without leaving your house? Look no further! This comprehensive guide reveals the secrets to crafting perfectly crispy, crunchy coconut shrimp that strike an irresistible balance of savory and subtly sweet. Forget expensive restaurant appetizers; with this easy-to-follow recipe, you’ll create a dish so delicious and utterly addictive, it will become an instant family favorite.
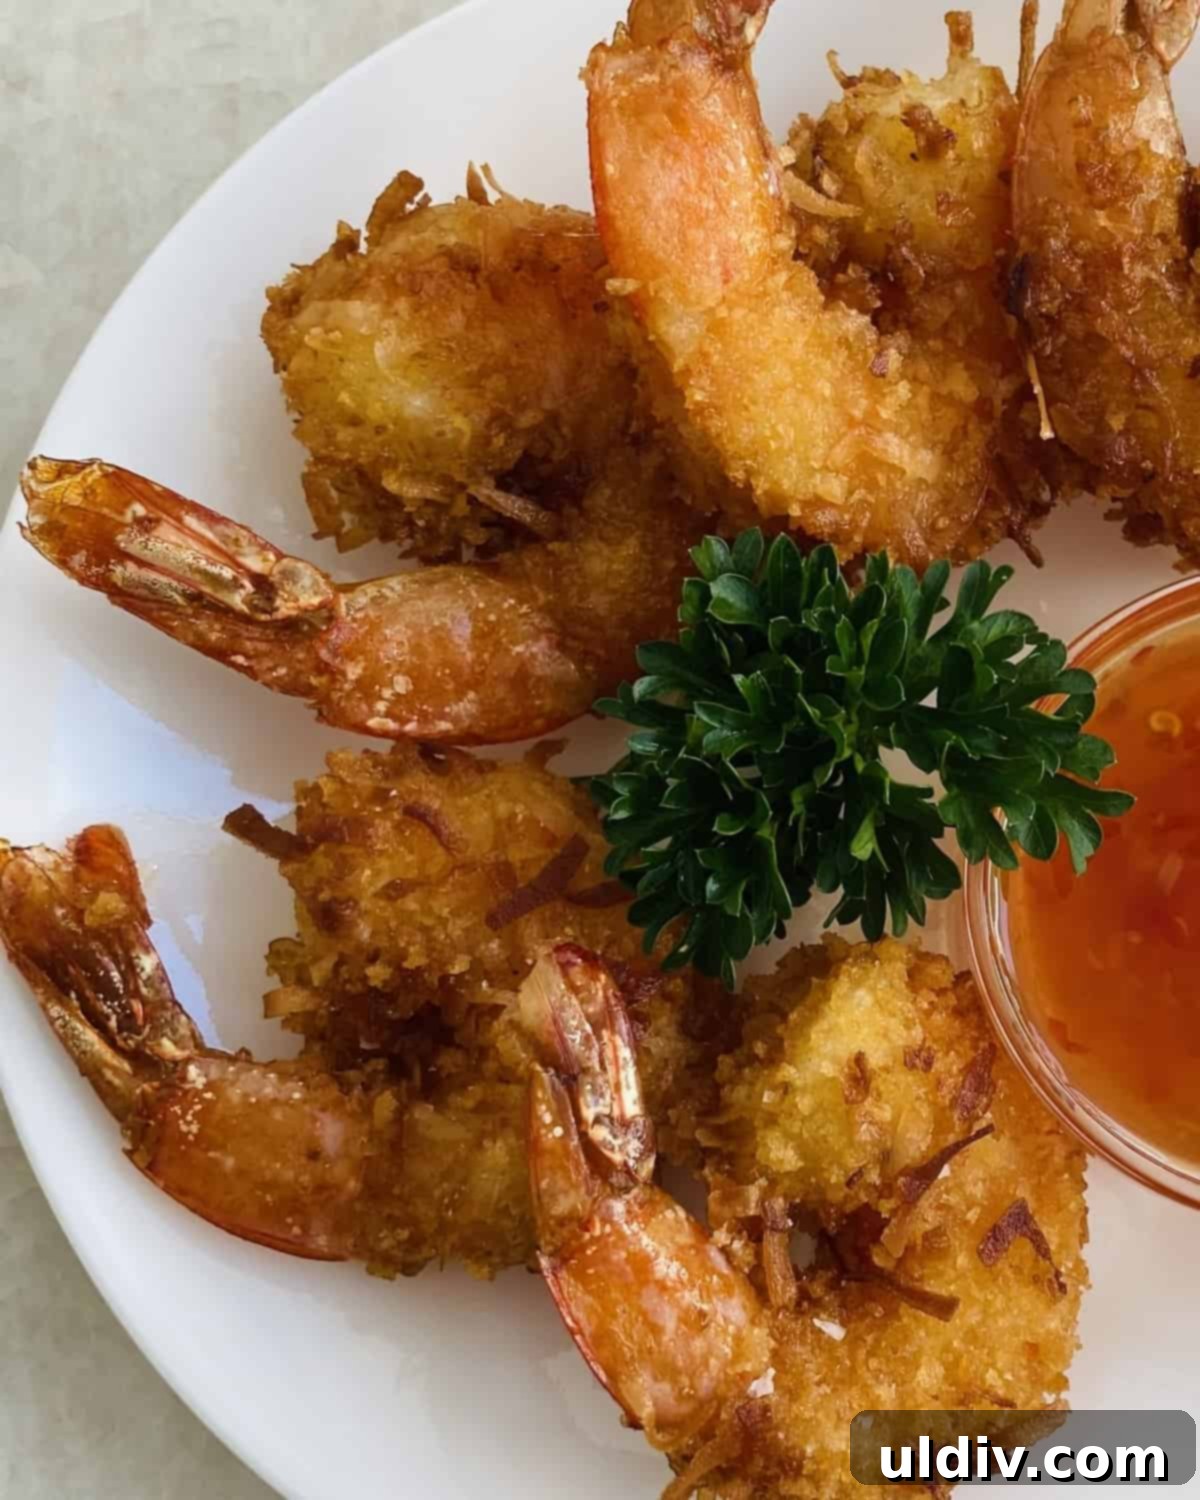
As a personal chef, I constantly strive to bring restaurant-quality dining experiences into the comfort of my clients’ homes. From classics like Oven Fried Eggplant Parmesan and sophisticated Salmon with Creamy Coconut and Spinach Sauce, to family favorites like Crispy Baked Chicken Wings (which, frankly, are healthier and often tastier than anything you’ll find out!), and the ever-popular Lemon and Garlic Butter Shrimp Scampi, my repertoire is built on delivering exceptional flavor and ease. Among these beloved dishes, one new addition has quickly risen to star status: our Crispy Coconut Shrimp. It’s a truly irresistible creation that never fails to impress and delight.
This recipe isn’t just about frying shrimp; it’s about mastering a few simple techniques to unlock an explosion of flavor and texture. We’ll guide you through selecting the freshest ingredients, setting up an efficient dredging station, perfecting the frying process, and even adapting the dish for various dietary preferences. Get ready to impress your family and friends with an appetizer or main course that tastes like it came straight from a gourmet kitchen!
Essential Ingredients for Perfect Coconut Shrimp
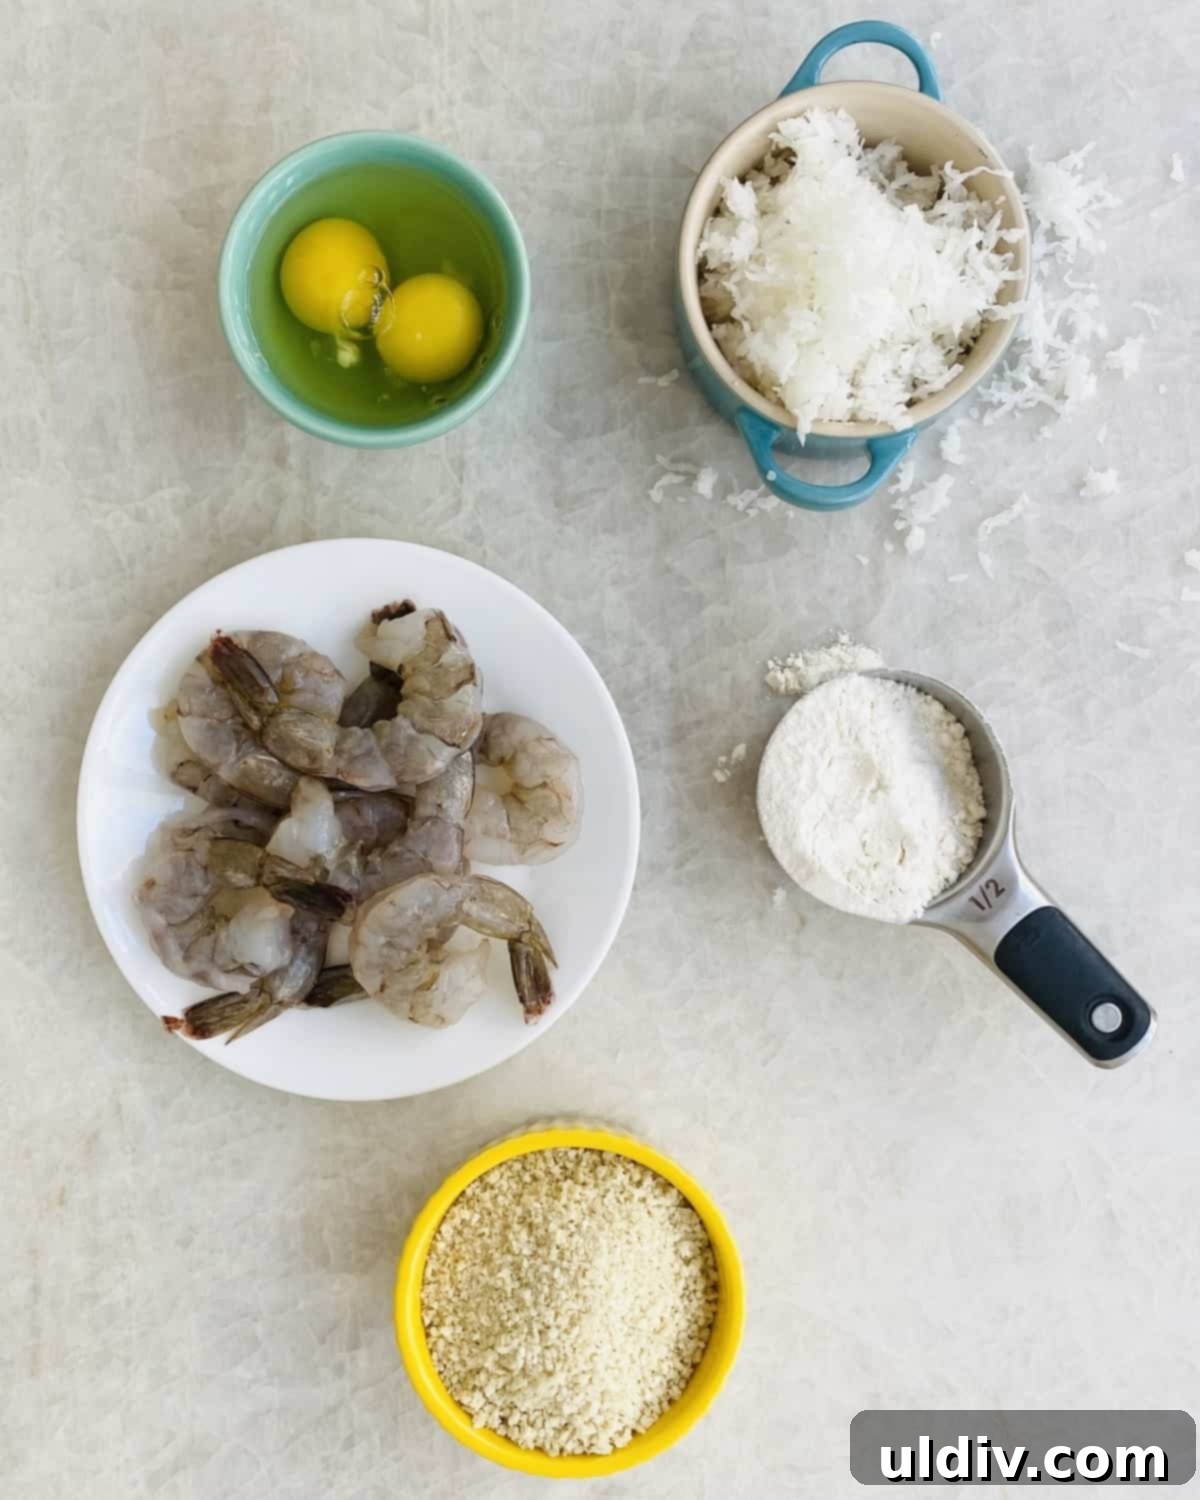
The success of any great dish begins with quality ingredients. For our crispy coconut shrimp, each component plays a crucial role in achieving that sought-after texture and flavor. Here’s what you’ll need:
- All-purpose flour: Forms the initial dry layer, helping the egg adhere to the shrimp.
- Old Bay seasoning: A classic seafood seasoning that adds a fantastic savory depth.
- Large eggs: The binder that helps the coconut and panko stick to the shrimp.
- Sweetened shredded coconut: Provides the signature coconut flavor and a delightful sweetness that caramelizes when fried.
- Panko breadcrumbs: Crucial for the ultimate crispiness, panko creates a lighter, airier crunch compared to traditional breadcrumbs.
- Shrimp (16/20 per pound): Opt for large or extra-jumbo shrimp for a substantial bite. Freshness is key! Look for firm, translucent shrimp with a mild scent. Peeled and deveined with tails on is ideal for ease of eating.
- Canola, peanut, or avocado oil: These oils have high smoke points, making them perfect for frying and ensuring your shrimp cooks evenly without imparting unwanted flavors.
- Kosher salt: For seasoning immediately after frying, enhancing the flavor and contributing to the overall crispness.
- Thai sweet chili dipping sauce: The classic accompaniment, offering a sweet, tangy, and slightly spicy counterpoint to the rich shrimp.
Mastering the Art of Crispy Coconut Shrimp: A Step-by-Step Guide
Making restaurant-quality coconut shrimp at home is surprisingly straightforward, relying on two fundamental cooking techniques: proper dredging and precise frying. Master these, and you’ll be creating culinary magic in no time!
1. Preparing Your Shrimp
Begin with premium shrimp. I highly recommend using extra jumbo shrimp (typically 16 to 20 shrimp per pound) for a more substantial and satisfying bite. Ensure your shrimp are peeled and deveined. Leaving the tails on serves a dual purpose: it makes for a convenient handle when dipping and eating, and it adds to the aesthetic appeal of the finished dish. Pat the shrimp thoroughly dry with paper towels; excess moisture can prevent the coating from sticking properly.
2. Setting Up Your Dredging Station
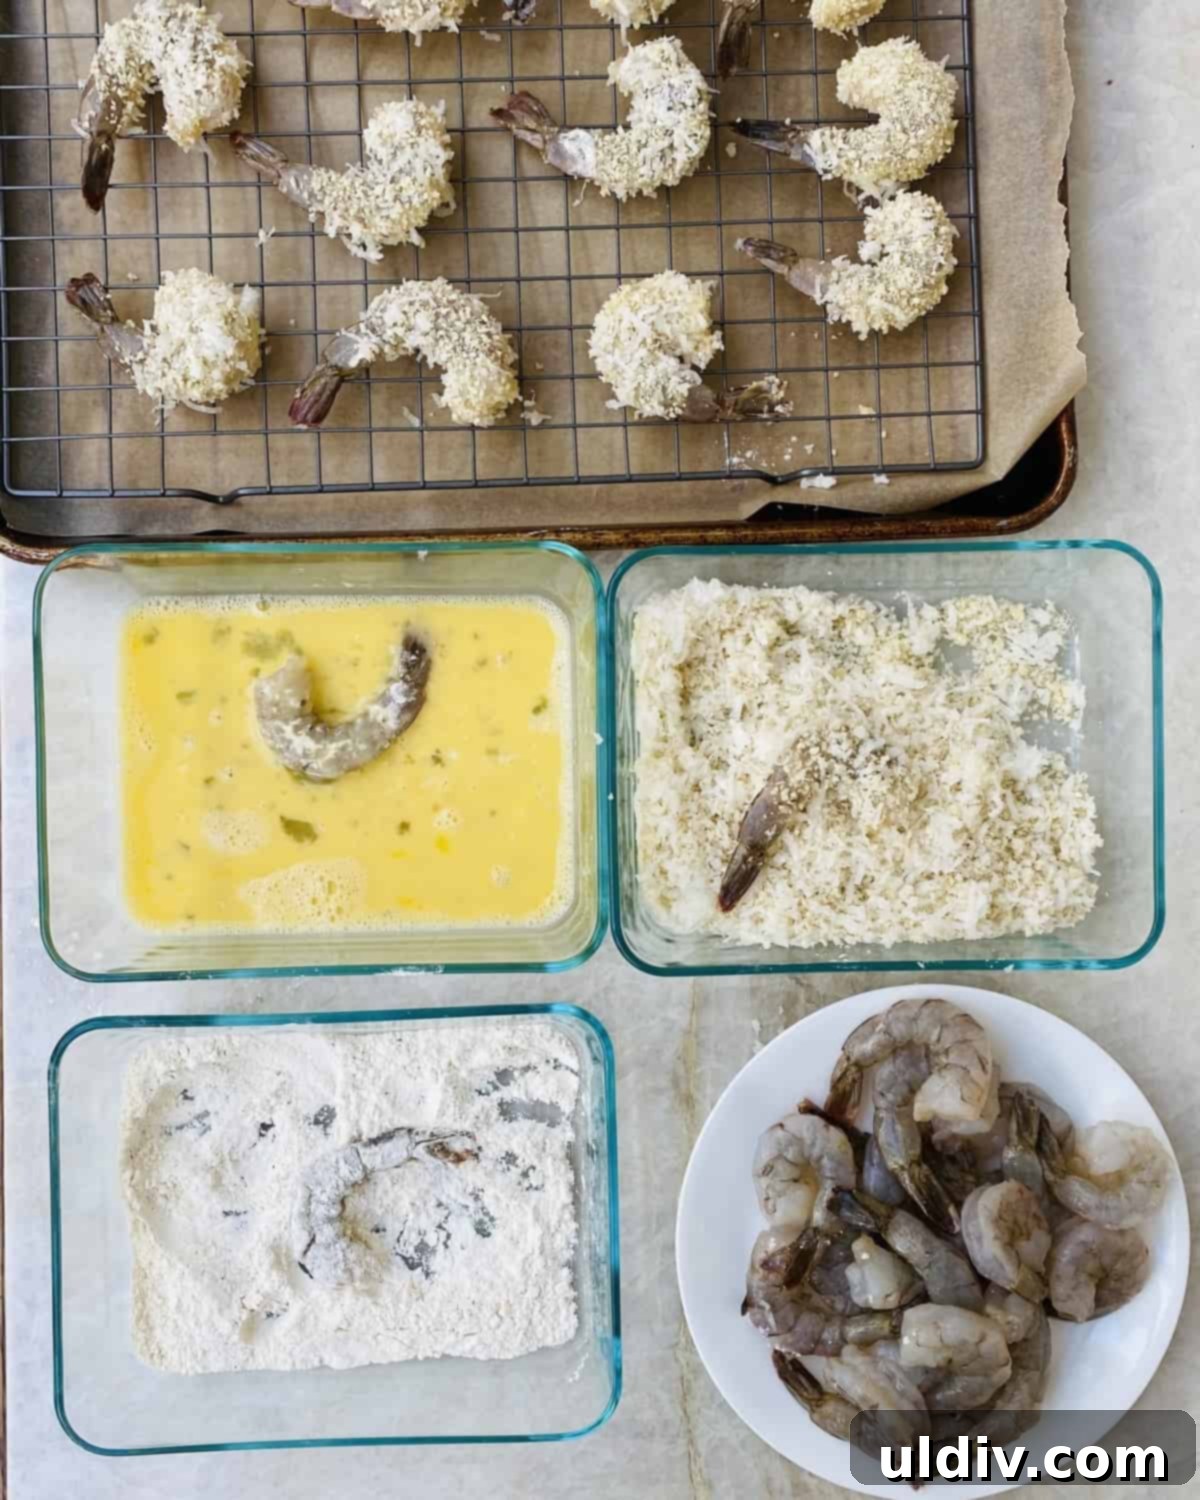
An organized dredging station is key to an efficient and less messy cooking process. Use three shallow bowls or pie plates, arranged in a row. This setup allows for a seamless workflow:
- Bowl 1 (Flour): Combine all-purpose flour with Old Bay seasoning. Whisk lightly to ensure the seasoning is evenly distributed. This seasoned flour provides the first layer and a savory base.
- Bowl 2 (Eggs): Whisk several large eggs until well combined and slightly frothy. This acts as the sticky bridge between the dry flour and the crunchy coating.
- Bowl 3 (Coconut & Panko): Mix sweetened shredded coconut and panko breadcrumbs. The panko’s unique texture creates an exceptionally crispy exterior, while the coconut delivers that unmistakable sweet and tropical aroma.
3. Coating the Shrimp to Perfection
Working one shrimp at a time, ensure each piece is fully coated at every stage, leaving only the tail bare:
- Flour Dip: Dredge each shrimp in the seasoned flour, ensuring it’s completely covered. Shake off any excess flour.
- Egg Wash: Dip the flour-coated shrimp into the beaten egg, allowing any extra egg to drip off.
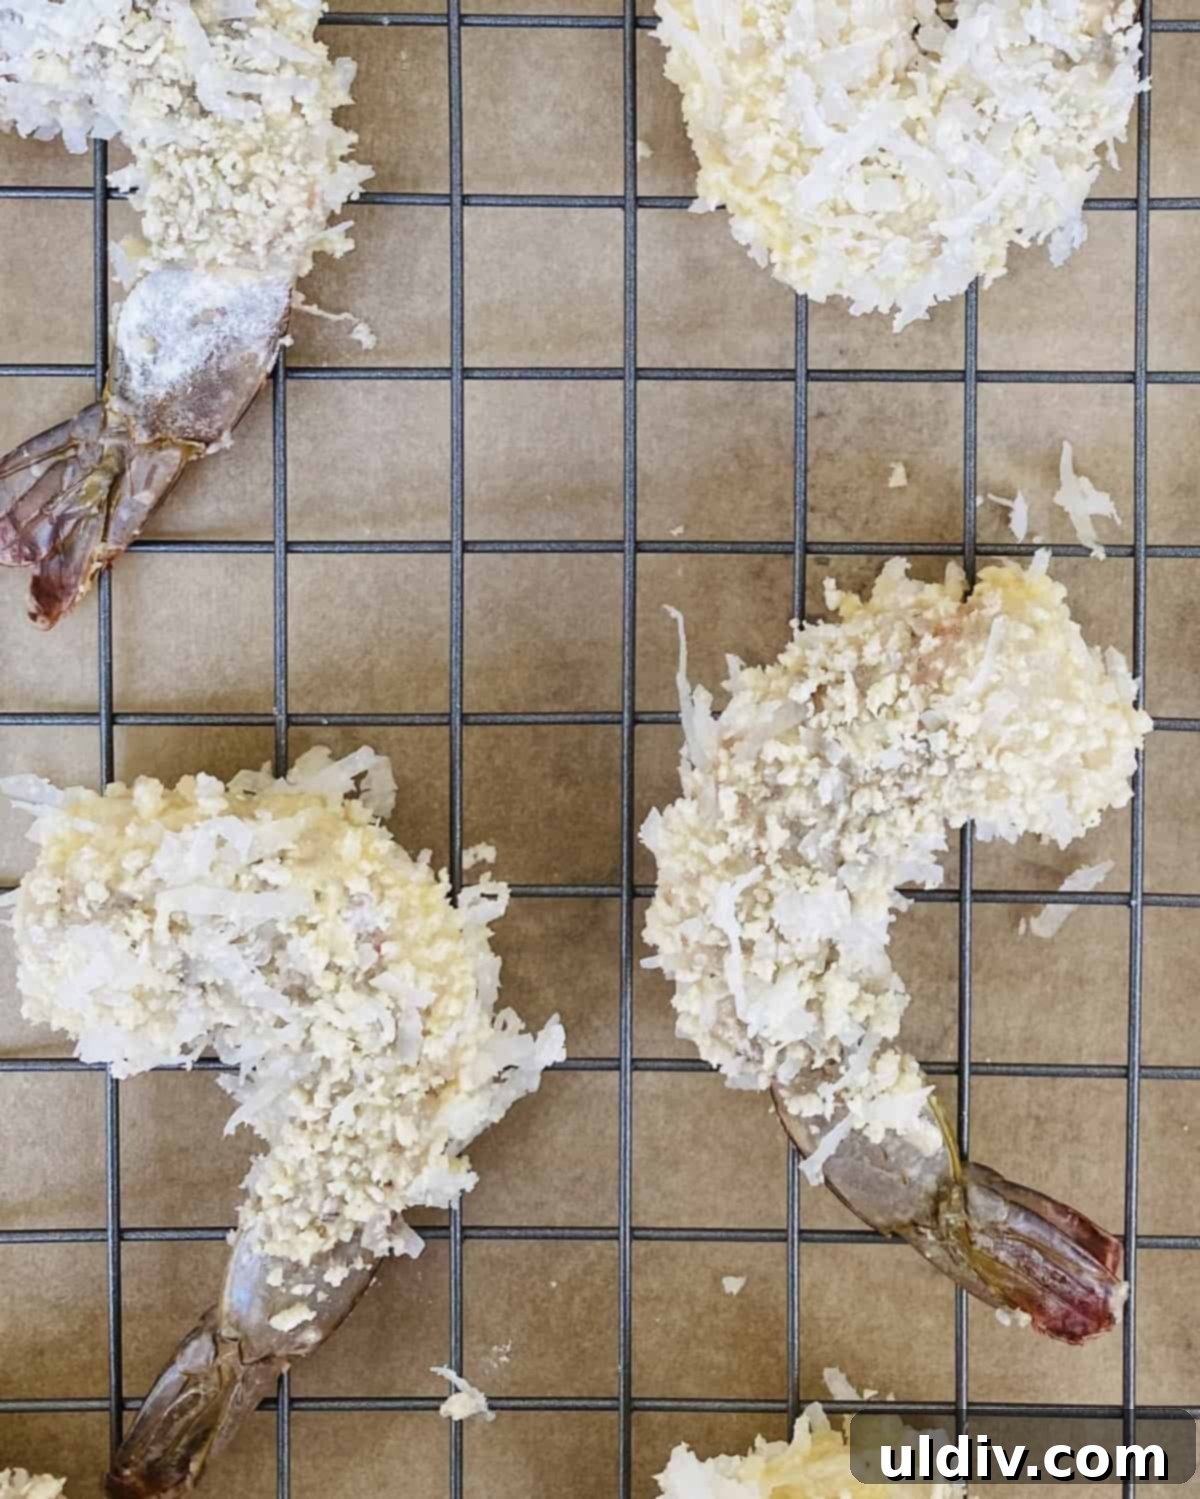
- Coconut-Panko Mixture: Press the shrimp firmly into the coconut and panko mixture, ensuring an even and generous coating on all sides. The more coating, the crispier your shrimp will be!
Place the fully coated shrimp on a clean plate or a baking sheet lined with parchment paper. It’s best to dredge all your shrimp before you begin frying to streamline the cooking process and ensure consistent results.
4. Frying to Golden Crispiness
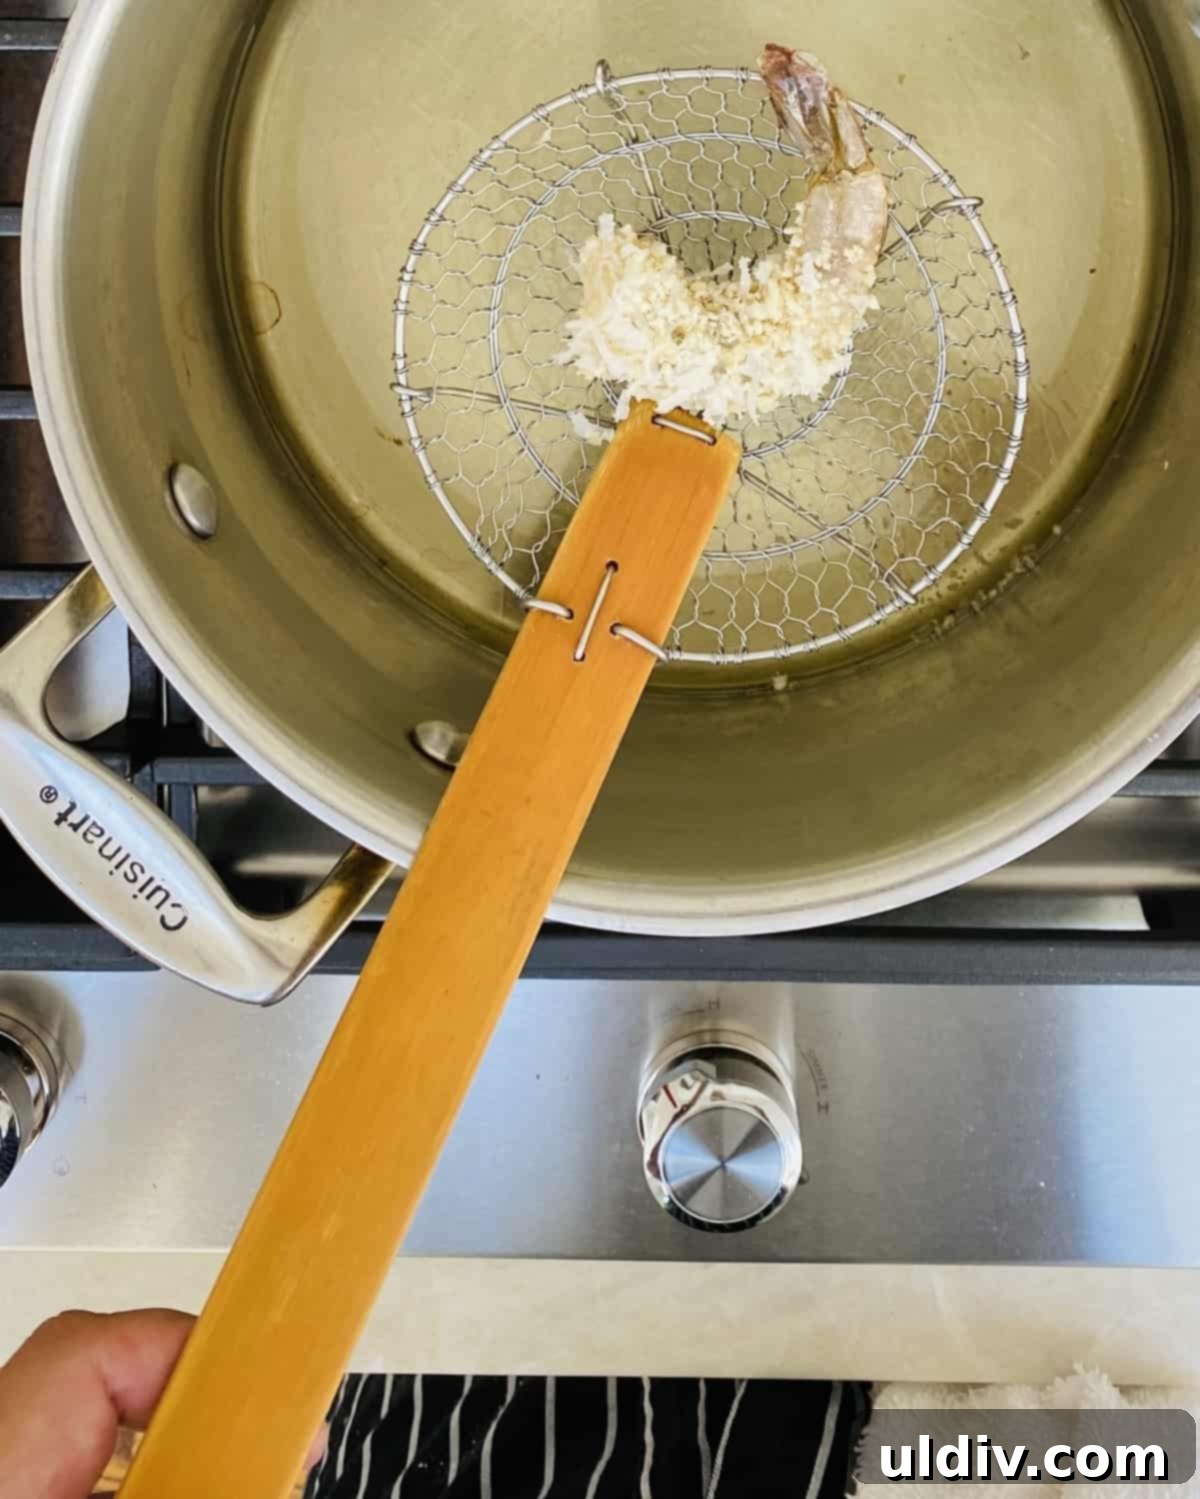
Frying requires attention to detail, especially regarding oil temperature. Heat a large stockpot or deep skillet over medium to medium-high heat. Add enough oil (canola, peanut, or avocado work best due to their high smoke points) to reach at least ½ inch depth. The optimal frying temperature is between 350°F and 375°F (175°C to 190°C). A kitchen thermometer is ideal for accuracy, but if you don’t have one, you can test the oil by dropping a tiny pinch of the panko mixture; it should sizzle immediately and turn golden in about 15-20 seconds.
Carefully add the coconut-coated shrimp to the hot oil, ensuring not to overcrowd the pot. Fry in batches of about 4-6 shrimp, depending on the size of your pot. Cook for approximately 2 to 3 minutes per side, or until the coating is beautifully golden brown and the shrimp is opaque and cooked through. Keep a close eye on them, as the coconut can burn quickly.
5. Draining and Serving
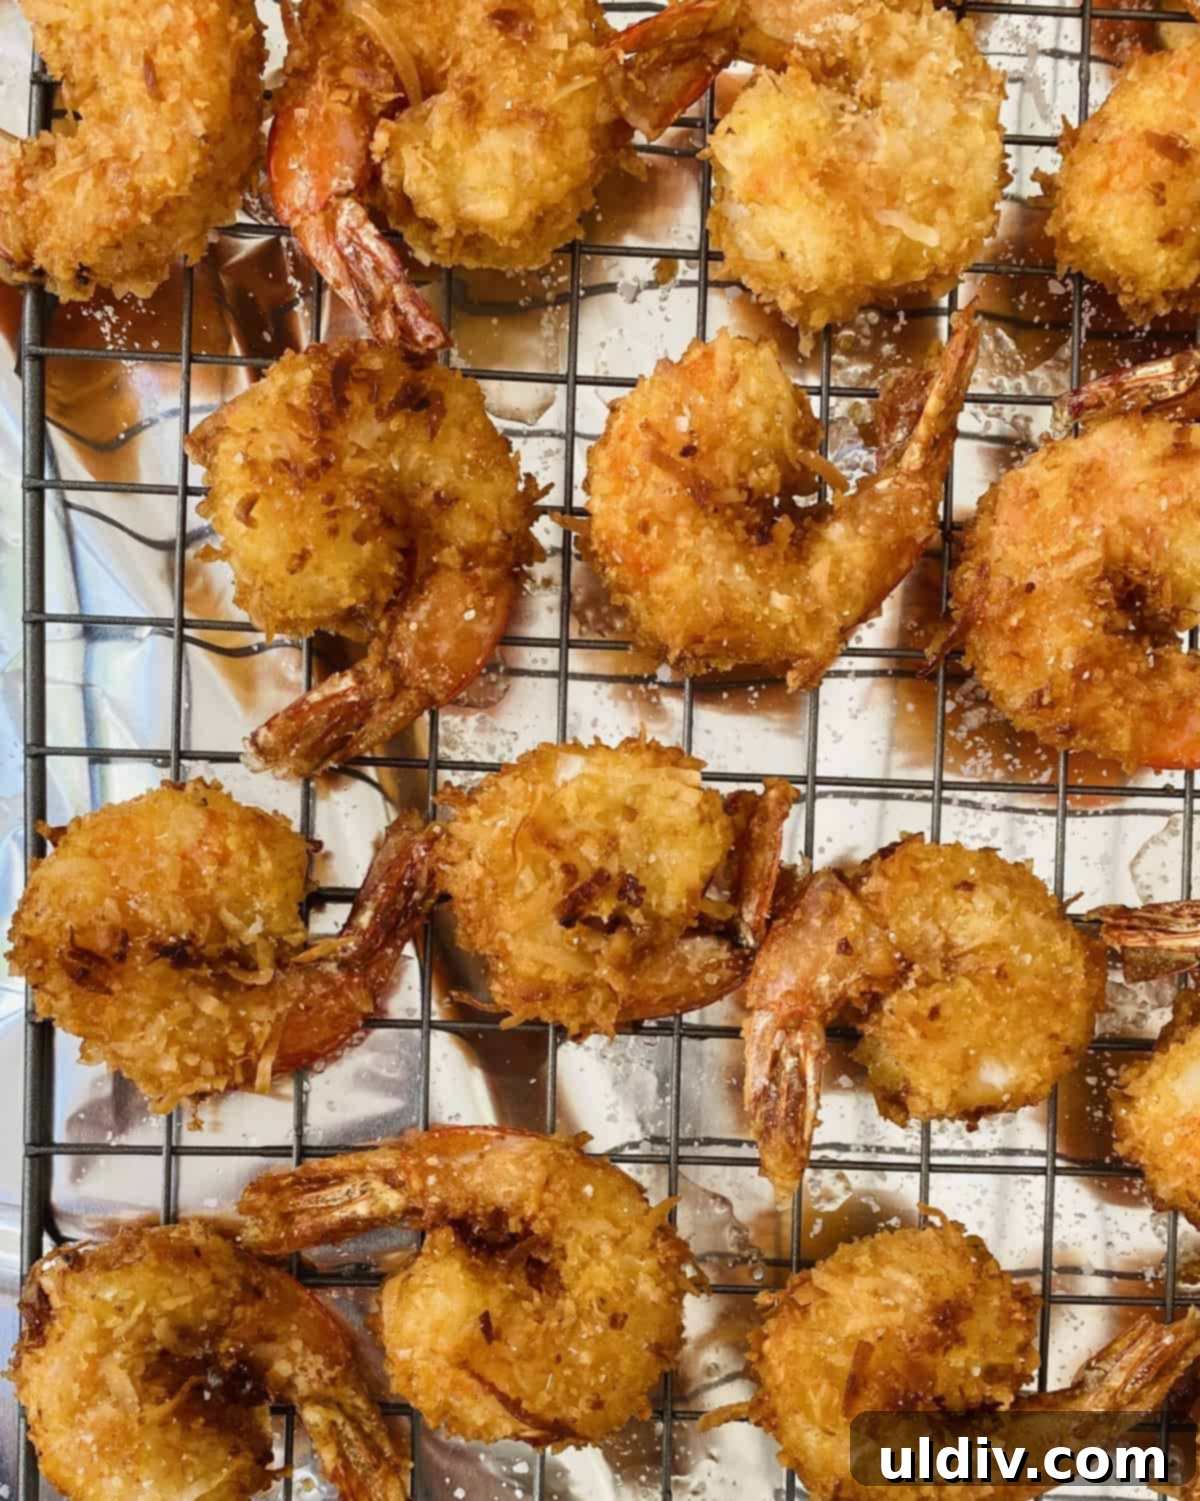
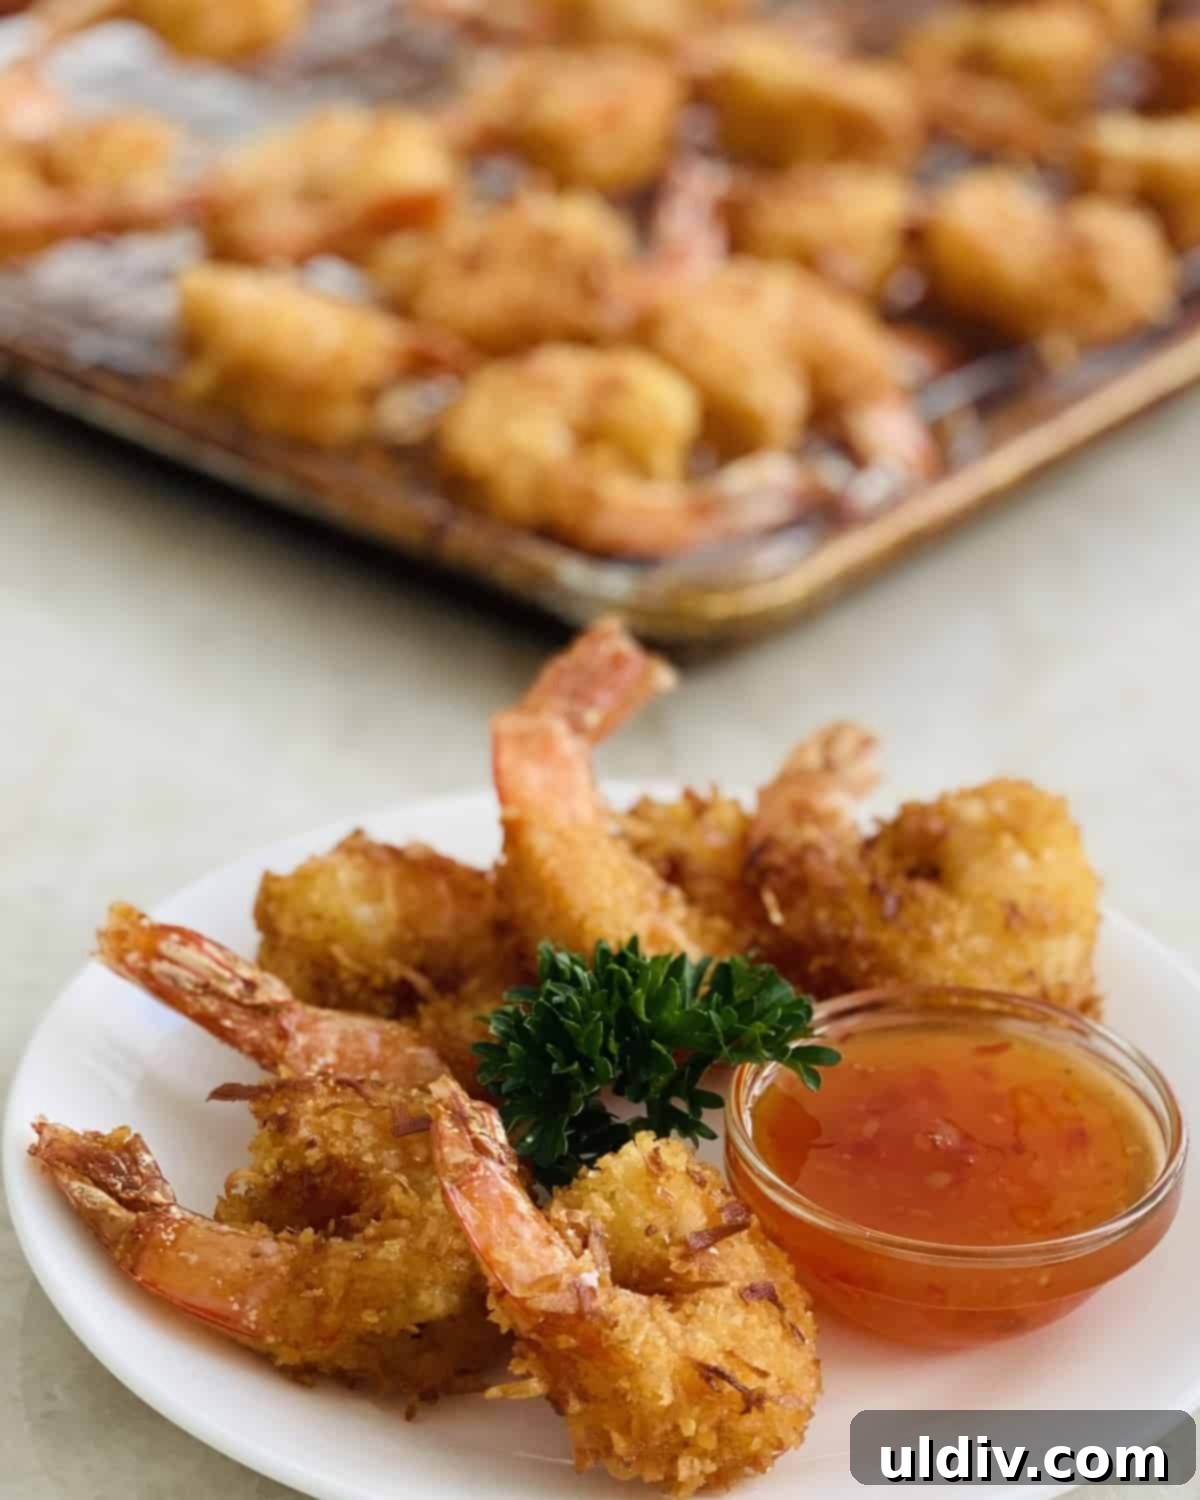
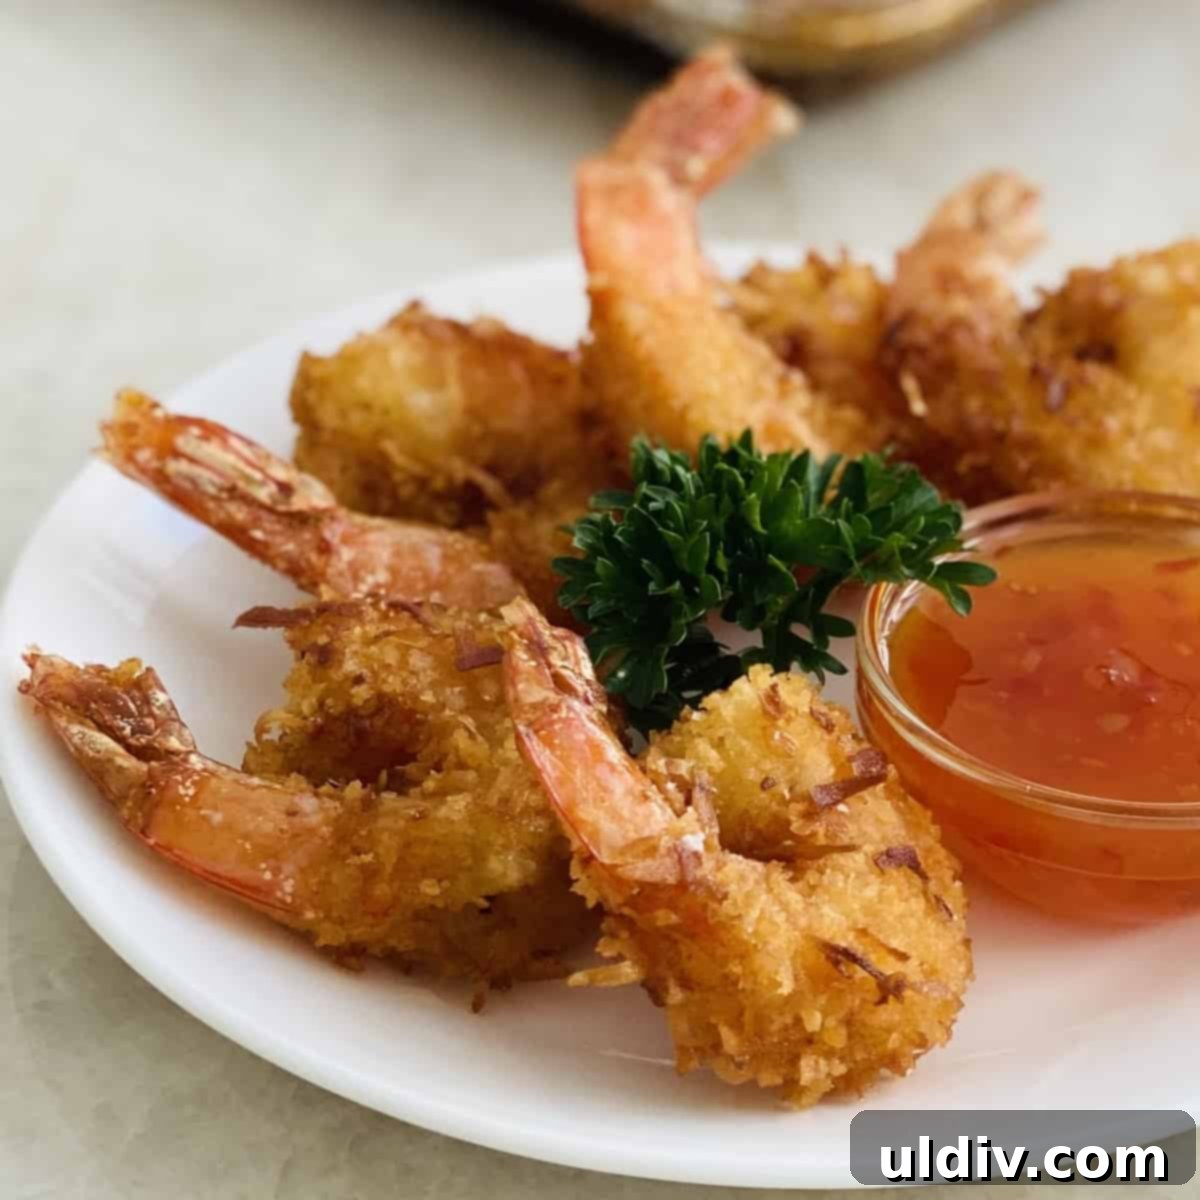
As each batch of shrimp finishes frying, promptly remove them from the oil using a slotted spoon or tongs. Transfer them to a cooling rack set over a rimmed baking sheet. This allows excess oil to drain away, preventing the bottom from becoming soggy and ensuring crispiness all around. Immediately sprinkle the hot shrimp generously with kosher salt to enhance their flavor. Serve your homemade crispy coconut shrimp immediately with a side of Thai sweet chili dipping sauce for a truly unforgettable culinary experience.
Can Coconut Shrimp Be Made Paleo or Keto? Absolutely!
For those following paleo or keto diets, you don’t have to miss out on the incredible taste and texture of coconut shrimp. With a few smart substitutions, you can easily adapt this recipe to fit your nutritional needs without sacrificing flavor or crispiness. Here’s how:
- 1. Flour Substitute: Instead of all-purpose flour, use almond flour. It’s naturally gluten-free and low in carbs, making it suitable for both paleo and keto diets. Ensure it’s finely ground almond flour for best coating results.
- 2. Coconut Choice: Swap sweetened shredded coconut for unsweetened shredded coconut. This reduces the sugar content significantly, aligning with both dietary goals. You’ll still get that fantastic coconut flavor and texture.
- 3. Panko Alternative: For the ultimate crisp, substitute panko with either coconut flour or finely crushed pork rinds. Coconut flour adds another layer of coconut flavor and absorbs moisture well, while crushed pork rinds offer a savory, super-crispy, and zero-carb coating that’s highly popular in keto cooking.
- 4. Frying Oil: For frying, stick to avocado oil. It’s a fantastic choice for both paleo and keto diets due to its high smoke point and healthy monounsaturated fats. Avoid canola or peanut oil, which are generally not compliant with these diets.
- 5. Dipping Sauce: Traditional Thai sweet chili sauce contains sugar. To make a compliant dipping sauce, combine ¼ cup of a no-sugar apricot all-fruit spread, 1 tablespoon of rice wine vinegar, and ¼ to ½ teaspoon of red pepper flakes. Adjust the amount of red pepper flakes to your preferred level of spiciness. This yields a delicious, tangy, and subtly sweet sauce that complements the shrimp perfectly.
With these simple yet effective ingredient substitutions, preparing a paleo or keto-friendly coconut shrimp dish is not only possible but incredibly easy and delicious!
Expert Tips for the Crispiest Coconut Shrimp
Achieving perfectly crispy and flavorful coconut shrimp every time comes down to a few key techniques and considerations. Heed these expert tips to elevate your homemade dish:
- Dredging Efficiency: For the easiest and cleanest dredging process, always use shallow bowls or pie plates. Their wide surface area allows for full coverage without making a huge mess, and helps keep your hands cleaner.
- Prep Before You Fry: Make sure all the shrimp are fully coated and ready on a platter before you even begin heating your oil. This ensures a continuous frying process and prevents uneven cooking or burnt batches.
- Maintain Oil Temperature: The oil must be adequately hot, ideally between 350°F and 375°F (175°C to 190°C), before you add the shrimp. If the oil isn’t hot enough, the coating will absorb too much oil, resulting in soggy, greasy shrimp instead of a desired crispy texture.
- Avoid Overheating the Oil: Conversely, do not let the oil get too hot (above 375°F or 190°C). Overheated oil will cause the coconut coating to cook too quickly and burn before the shrimp inside has a chance to cook through, leaving you with burnt exteriors and raw interiors.
- Don’t Crowd the Pot: Always fry the shrimp in small batches. Overcrowding the pot will drastically drop the oil temperature, leading to soggy shrimp. It also prevents the shrimp from browning evenly. Give each shrimp enough space to cook freely.
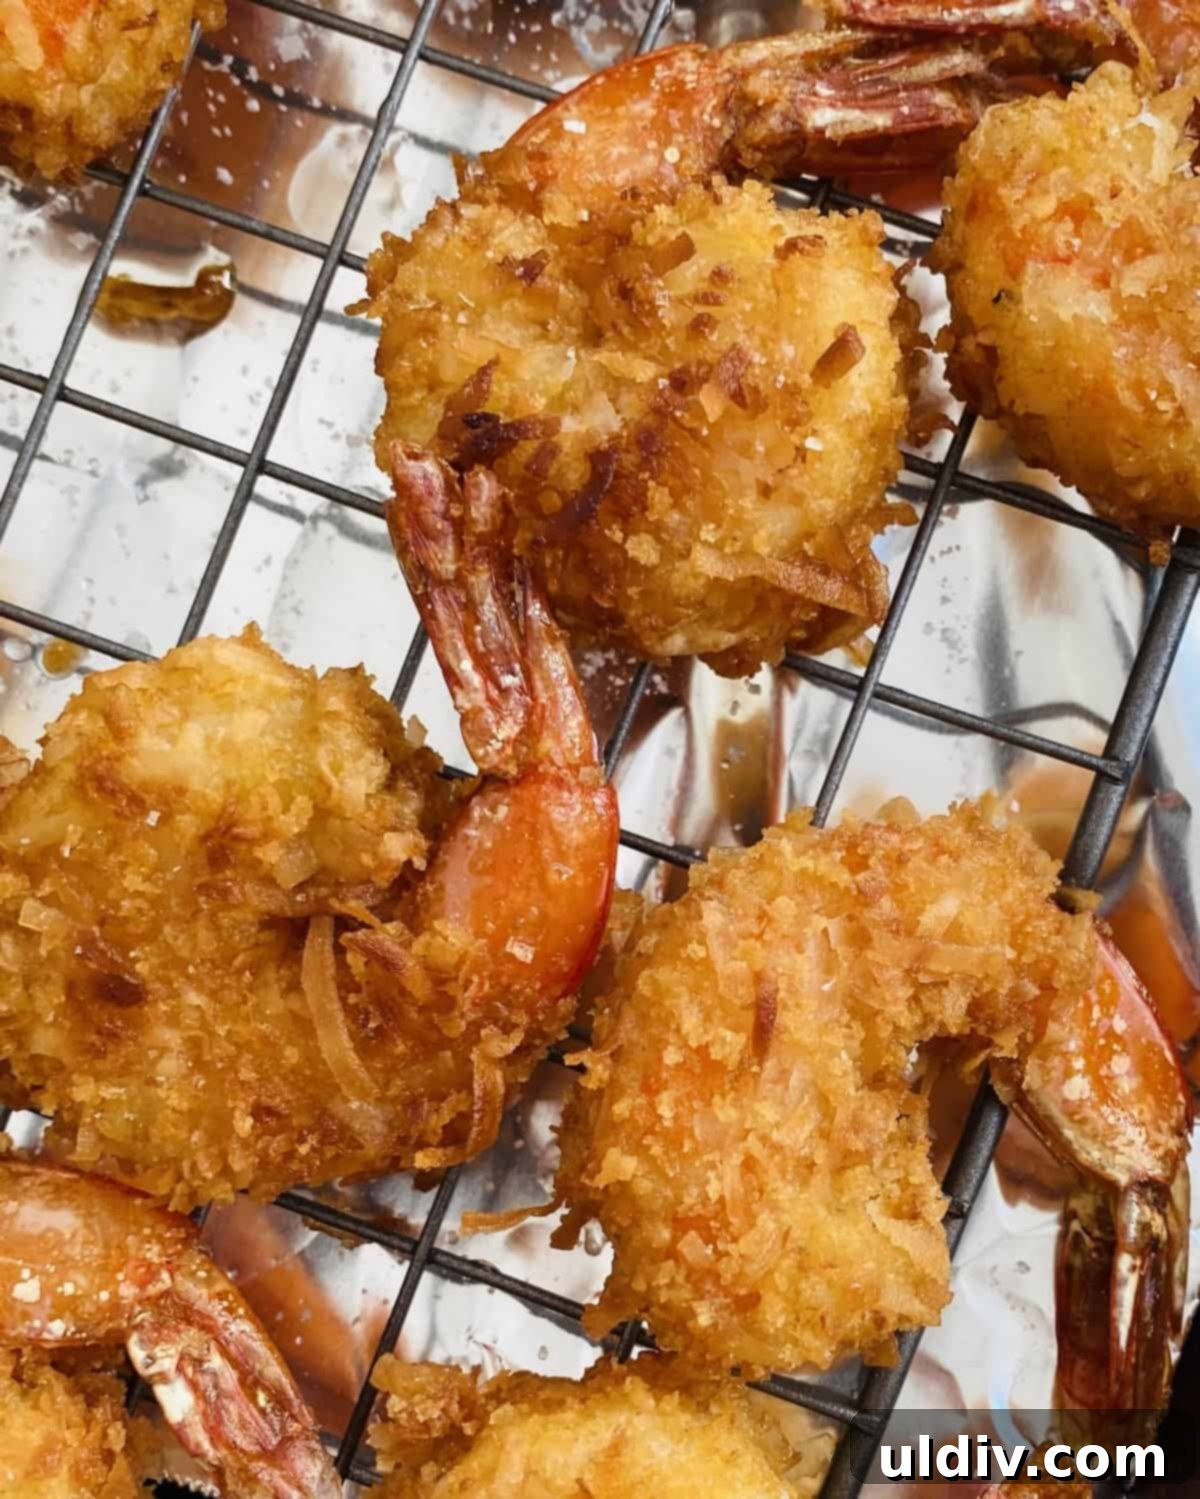
- Optimal Draining: To ensure maximum crispness on all sides, drain your freshly fried coconut shrimp on a cooling rack set over a rimmed baking sheet. This allows air circulation around the entire shrimp, preventing steam from accumulating and making the bottom soggy.
- Season Immediately: As soon as the shrimp comes out of the oil and onto the cooling rack, immediately sprinkle it with kosher salt. The salt adheres best to the hot oil, enhancing the flavor and contributing to the coating’s overall crunch.
- Pat Dry for Better Adhesion: Before you even start dredging, ensure your shrimp are thoroughly patted dry with paper towels. Any excess moisture will prevent the flour and subsequent coatings from sticking properly.
How to Reheat Coconut Shrimp to Maintain Crispiness
While coconut shrimp is undoubtedly best enjoyed fresh, sometimes you’ll have leftovers. The key to reheating without losing that beloved crispiness is using dry heat. Avoid the microwave, as it will inevitably make the coating soggy.
The best method for reheating coconut shrimp is in the oven or an air fryer. Preheat your oven to 400°F (200°C). Place a cooling rack on a rimmed baking sheet. Arrange the shrimp on the cooling rack, ensuring they are about 1 inch apart to allow for even heat circulation. Heat in the oven for approximately 10 minutes, or until thoroughly heated through and the coating has regained its crunch. For an air fryer, set it to 375°F (190°C) and cook for 5-7 minutes, shaking the basket halfway through.
More Delicious Seafood Recipes to Explore
If you’re a fan of succulent seafood, you’ll love these other popular recipes that are perfect for any occasion:
- Baked Shrimp with Feta and Tomatoes: A simple, flavorful dish combining tender shrimp with tangy feta and juicy tomatoes.
- Lemon and Garlic Butter Shrimp Scampi: A classic, quick-cooking favorite bursting with zesty lemon and rich garlic butter.
- Shrimp with Roasted Tomato Sauce with Goat Cheese: A sophisticated yet easy recipe featuring sweet roasted tomatoes and creamy goat cheese alongside perfectly cooked shrimp.
Share Your Culinary Creations!
There’s nothing more rewarding than seeing your kitchen triumphs! If you decide to make this delightful coconut shrimp recipe, I would absolutely love to hear from you. Please take a moment to leave a comment below and consider giving this recipe a rating – your feedback truly helps me improve and connect with fellow food enthusiasts. I do my best to reply to every single comment!
Don’t forget to snap a photo of your crispy coconut shrimp masterpiece and post it to Instagram, tagging @amycaseycooks. I love featuring your amazing creations in my Insta stories! Also, be sure to check out my Facebook and Pinterest pages for a continuous stream of fabulous foodie stories, instructional videos, invaluable cooking tips, and, of course, many more delicious recipes. Happy cooking!
Recipe Card: Easy Crispy Coconut Shrimp
Easy Crispy Coconut Shrimp
Print Recipe
Pin Recipe
Ingredients
- ½ cup all-purpose flour
- ½ teaspoon Old Bay seasoning
- 3 large eggs
- 1 ½ cups sweetened shredded coconut
- 1 cup panko
- 2 pounds shrimp (16/20 per pound, peeled, deveined, with tails on)
- 2 cups canola, peanut, or avocado oil
- kosher salt
- Thai sweet chili dipping sauce (for dipping)
Instructions
- Place a cooling rack in a large rimmed baking sheet. Set aside.
- Assemble the dredging station for the shrimp. Gather 3 shallow bowls. In one bowl combine the flour and Old Bay seasoning. In a second bowl, add the eggs and beat to combine. In a third bowl, combine the coconut and panko.
- Dredge the shrimp in the flour, then the egg, and lastly the coconut/panko. Coat all the shrimp and place on a large platter.
- In a large stock pot over medium heat, add the oil. There should be at least ½ inch of oil in the bottom of the pot. Heat the oil to about 350 degrees F (175°C).
- Add about 6 shrimp to the pot making sure they do not touch. Fry for about 2 to 3 minutes per side. Watch closely as the coconut burns easily.
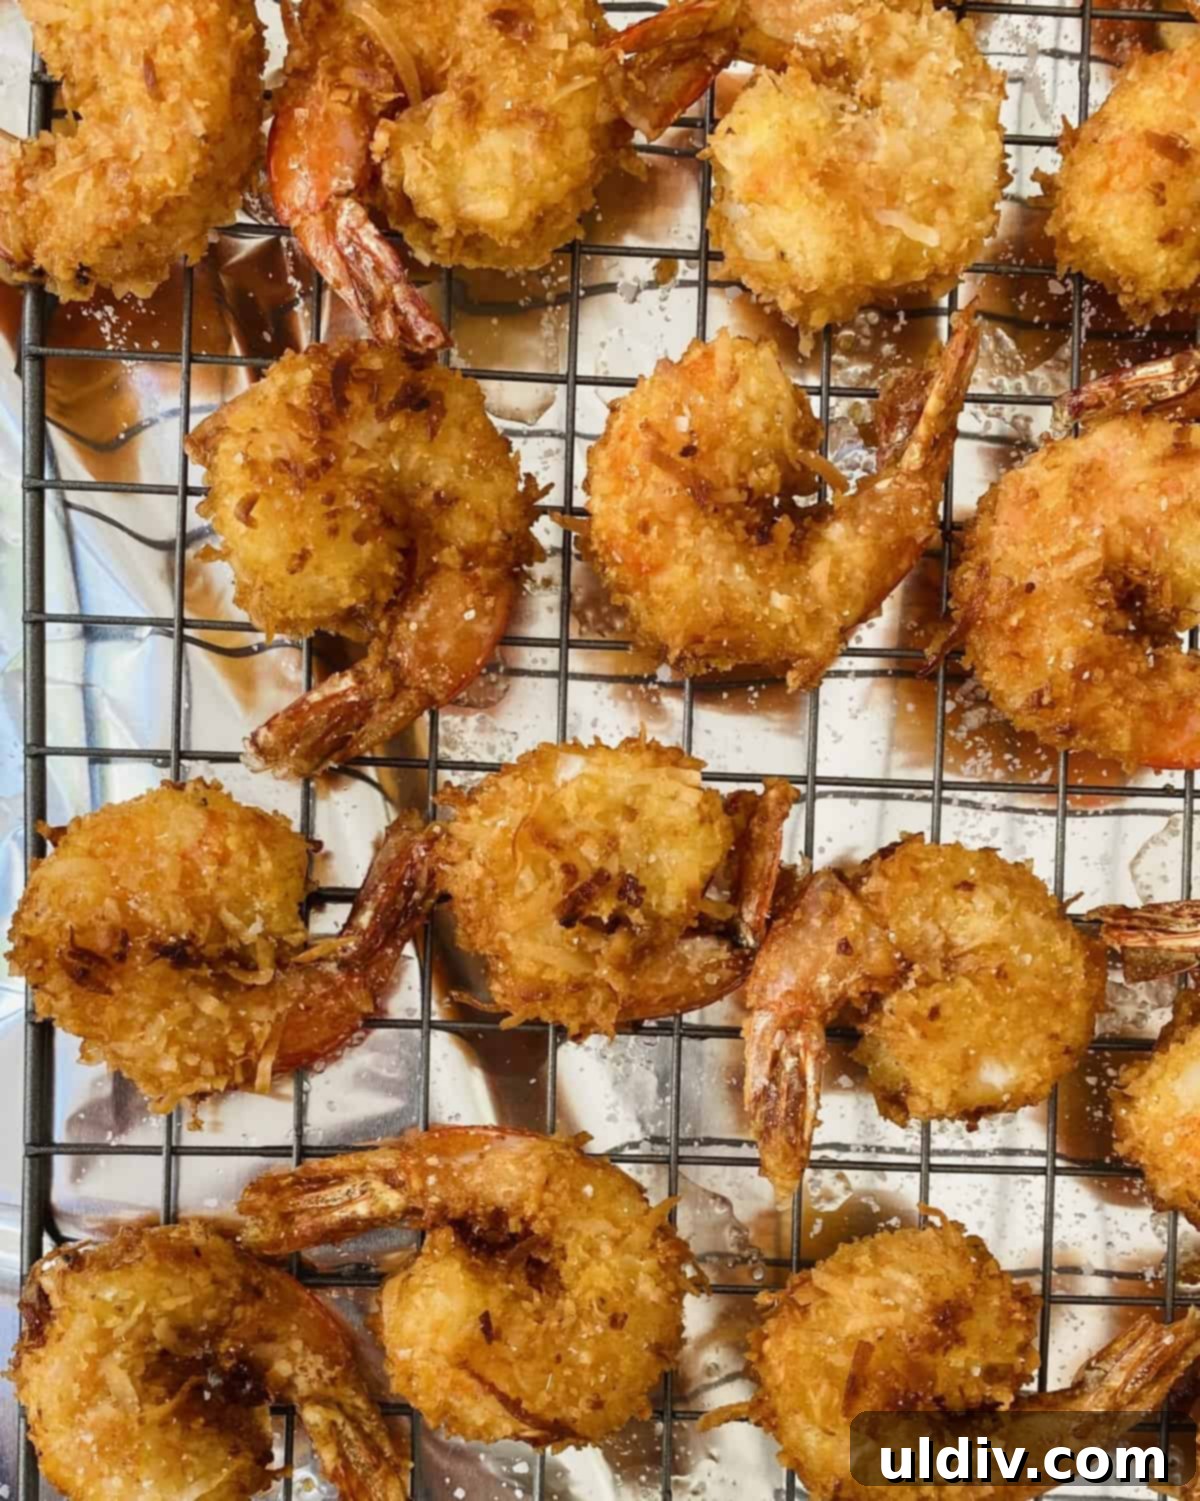
- Remove the shrimp from the pot and place them on the cooling rack set inside the baking sheet. Immediately sprinkle with kosher salt. The shrimp are ready when the outside is golden brown and the shrimp is just cooked.
- Continue frying the shrimp in batches until all the shrimp is cooked.
- Serve with Thai sweet chili dipping sauce for dipping.
Notes
- For easy dredging, use shallow bowls or pie plates.
- Coat all the shrimp before starting to fry them.
- Make sure the oil is hot before starting to fry the shrimp. It should be between 350 and 375 degrees F. If the oil isn’t hot enough, the coconut coating will soak up the oil and the shrimp will be soggy instead of crispy.
- On the other hand, don’t get the oil too hot. If the oil is above 375 degrees F, the coating will cook too quickly and burn. Also, the shrimp will remain raw as the coating cooks too fast.
- Don’t crowd the pot when frying the shrimp.
- Drain the fried coconut shrimp on a cooling rack set in a baking sheet. This will ensure the coating is crispy on both sides. Immediately sprinkle with kosher salt too.
Nutrition Facts
Serving: 1/6 of recipe
Calories: 604 kcal
Carbohydrates: 47.4g
Protein: 41.1g
Fat: 26.1g
Saturated Fat: 5.8g
Cholesterol: 411mg
Sodium: 749mg
Fiber: 5.1g
Sugar: 1.3g
Did you make this recipe?
Tag @amycaseycooks on Instagram so we can all admire your work!