

The Ultimate Crispy Chicken Parmesan Sandwich: A Flavorful Twist on an Italian Classic
Experience a delightful culinary fusion with the **Chicken Parmesan Sandwich**, a casual yet incredibly satisfying spin on the beloved traditional chicken Parmesan. Imagine sinking your teeth into perfectly crispy, panko-crusted chicken cutlets, nestled between soft, toasted rolls generously brushed with aromatic garlic herb butter. Each bite is a symphony of flavors and textures, with rich basil marinara sauce and luscious, melted mozzarella cheese completing this irresistible creation. Whether you’re planning a quick weeknight dinner, a hearty lunch, or searching for the perfect appetizer to impress guests at your next gathering, these sandwiches are guaranteed to be a hit. They offer all the beloved flavors of classic chicken parm in a convenient, handheld format that’s perfect for any occasion.
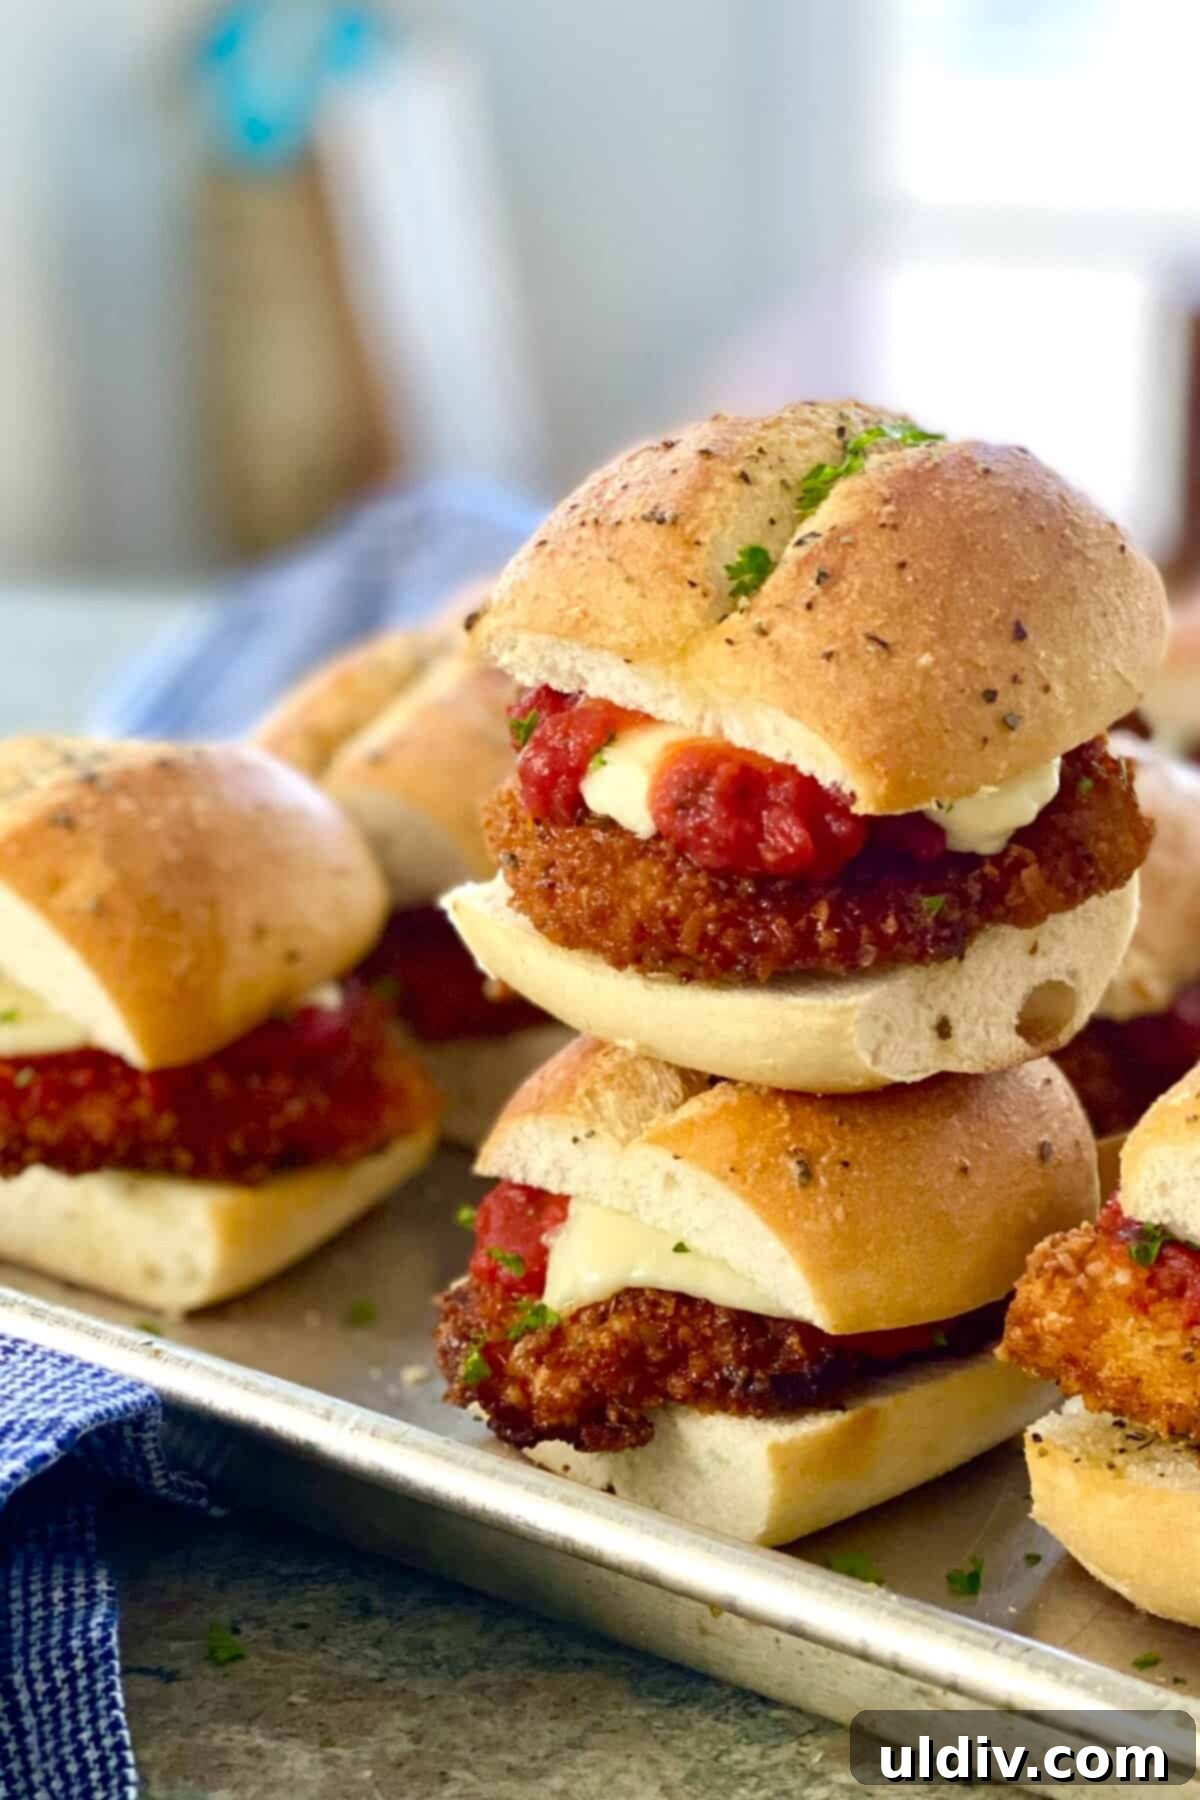
Who can resist the allure of a perfectly crafted chicken Parmesan sandwich? It starts with the star of the show: incredibly crispy, golden-brown chicken, coated in a savory panko and Parmesan crust. This tender, juicy chicken is then generously slathered with a vibrant, fresh basil marinara sauce, adding a layer of tangy sweetness. Next comes the crowning glory – a blanket of creamy, melty mozzarella cheese that stretches with every bite. All these delectable components are tucked into a soft roll, toasted to perfection and infused with a fragrant garlic butter blend. The result is a handheld masterpiece that offers a fantastic blend of crunch, savoriness, and cheesy goodness. Serve these delights with an extra side of warm marinara for dipping, and watch as they disappear in no time. Get ready to elevate your mealtime with these exceptional sandwiches!

Essential Ingredients for Your Chicken Parm Masterpiece
Crafting the perfect Chicken Parmesan Sandwich begins with selecting high-quality ingredients. Here’s what you’ll need, along with some helpful substitution notes:
- Boneless, Skinless Chicken Breasts: Lean and quick-cooking, chicken breasts are ideal for cutlets. For a richer flavor and even more tender texture, boneless, skinless chicken thighs can be a fantastic alternative. Ensure they are pounded to an even thickness for consistent cooking.
- Italian Seasoned Panko Breadcrumbs: Panko breadcrumbs are key to achieving that signature extra-crispy exterior. The Italian seasoning adds an immediate flavor boost, but plain panko can also be used with added herbs and spices. To make this recipe gluten-free, opt for a high-quality gluten-free panko blend.
- Parmesan Cheese: Freshly grated Parmesan cheese adds a salty, umami depth to the breading and the final sandwich. Always choose a good quality Parmesan for the best flavor.
- Large Eggs: Eggs serve as the essential binder, helping the breading adhere perfectly to the chicken cutlets.
- All-Purpose Flour: The initial coating of flour creates a dry surface, allowing the egg wash to stick better, which in turn helps the panko crust stay on during frying. For a gluten-free version, a 1-to-1 gluten-free flour blend works beautifully.
- Kosher Salt and Freshly Ground Black Pepper: These fundamental seasonings enhance the flavor of the chicken and the breading. Adjust to your taste.
- Olive Oil: Used for frying the chicken to a golden, crispy finish. A good quality olive oil can impart a subtle flavor, but any neutral oil with a high smoke point (like canola or vegetable oil) can also be used.
- Salted Butter: Melted butter forms the base for our flavorful garlic herb spread for the rolls. Unsalted butter can be used, just adjust the amount of salt added.
- Garlic Powder: A must-have for infusing the rolls with a savory garlic aroma without the risk of fresh garlic burning.
- Dried Oregano and Dried Basil: These classic Italian herbs contribute to the aromatic and traditional flavor profile of the sandwich rolls, complementing the marinara beautifully.
- Marinara Sauce: A delicious, robust marinara sauce is crucial. While a homemade basil marinara sauce offers unparalleled freshness and flavor, there are many excellent store-bought brands available that make for a convenient and tasty alternative. Choose your favorite!
- Small Sandwich Rolls: The choice of bread is vital. Small, sturdy sandwich rolls (around 3 inches, like slider buns, brioche buns, or even small ciabatta rolls) are perfect for holding all the delicious fillings. For a gluten-free meal, select suitable gluten-free rolls.
- Mozzarella Cheese: Sliced mozzarella cheese provides that signature gooey, melty texture. Low-moisture, whole-milk mozzarella is often preferred for its excellent melt, but fresh mozzarella can also be used for a creamier texture.
These carefully chosen ingredients come together to create a Chicken Parmesan Sandwich that is truly unforgettable. The full quantities for each ingredient are provided in the detailed recipe card below.
Step-by-Step Guide to Crafting Your Perfect Chicken Parmesan Sandwiches
This easy-to-follow recipe transforms traditional chicken Parmesan into a fun, casual sandwich that everyone will adore. Follow these detailed steps to create your own:
1. Prepare the Chicken Cutlets
Start by preparing your chicken. Place each boneless, skinless chicken breast on a cutting board. Carefully slice each breast horizontally to create two thinner cutlets. Then, cut each thin cutlet into two smaller, manageable pieces, suitable for your sandwich rolls. To ensure even cooking and maximum tenderness, cover the chicken pieces with plastic wrap and lightly pound them with a meat mallet. Aim for an even thickness, typically about 1/4 to 1/2 inch. This step is crucial for quick cooking and tender results.
2. The Breading Process
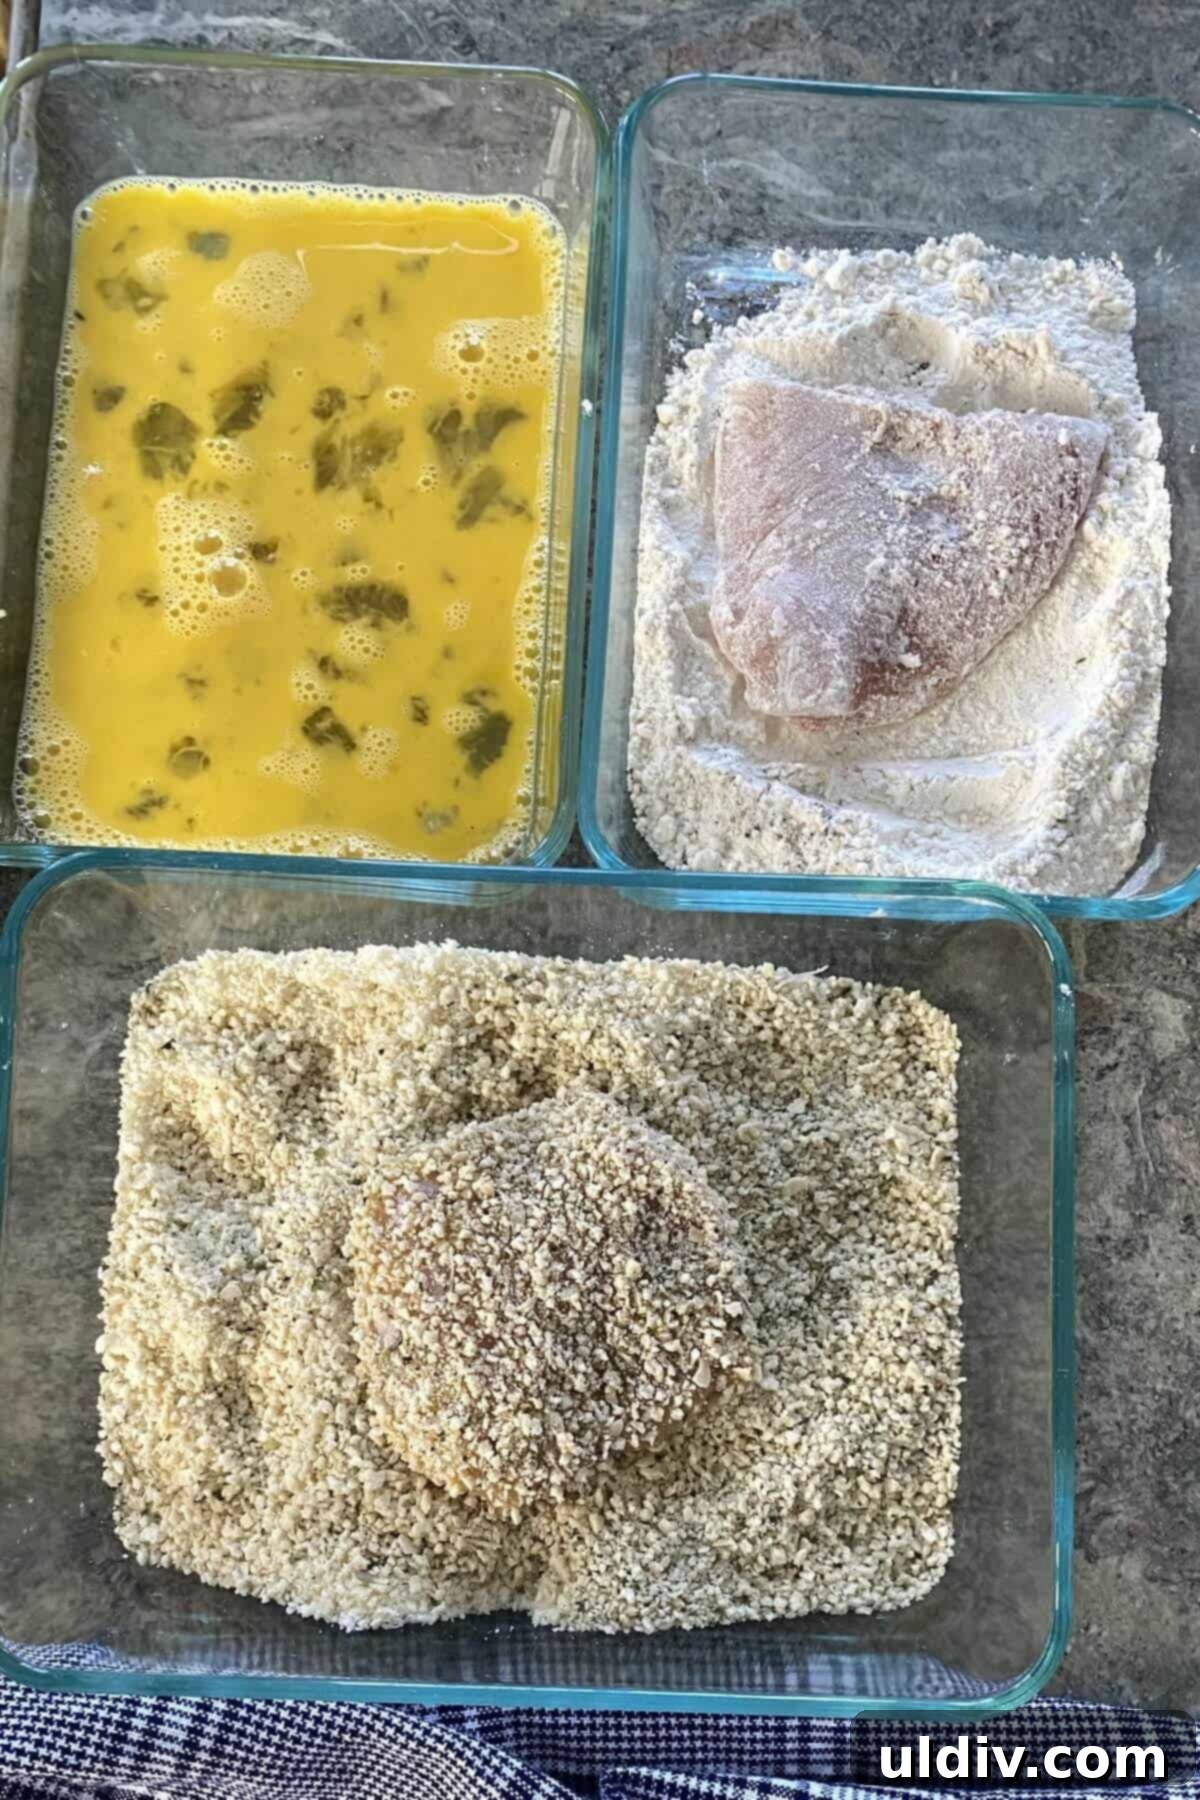
Next, set up a classic three-station breading assembly. In three separate shallow dishes, prepare your coatings: first, the all-purpose flour seasoned with a pinch of kosher salt and fresh ground pepper; second, the two large eggs, lightly beaten; and third, the Italian seasoned panko breadcrumbs mixed with grated Parmesan cheese. Dredge each chicken cutlet first in the seasoned flour, ensuring it’s fully coated and shaking off any excess. Then, dip it into the beaten egg, allowing any extra to drip off. Finally, press the chicken firmly into the panko and Parmesan mixture, making sure both sides are thoroughly coated for a truly crispy crust. Set the breaded chicken aside on a clean plate or baking sheet.
3. Frying for Golden Perfection
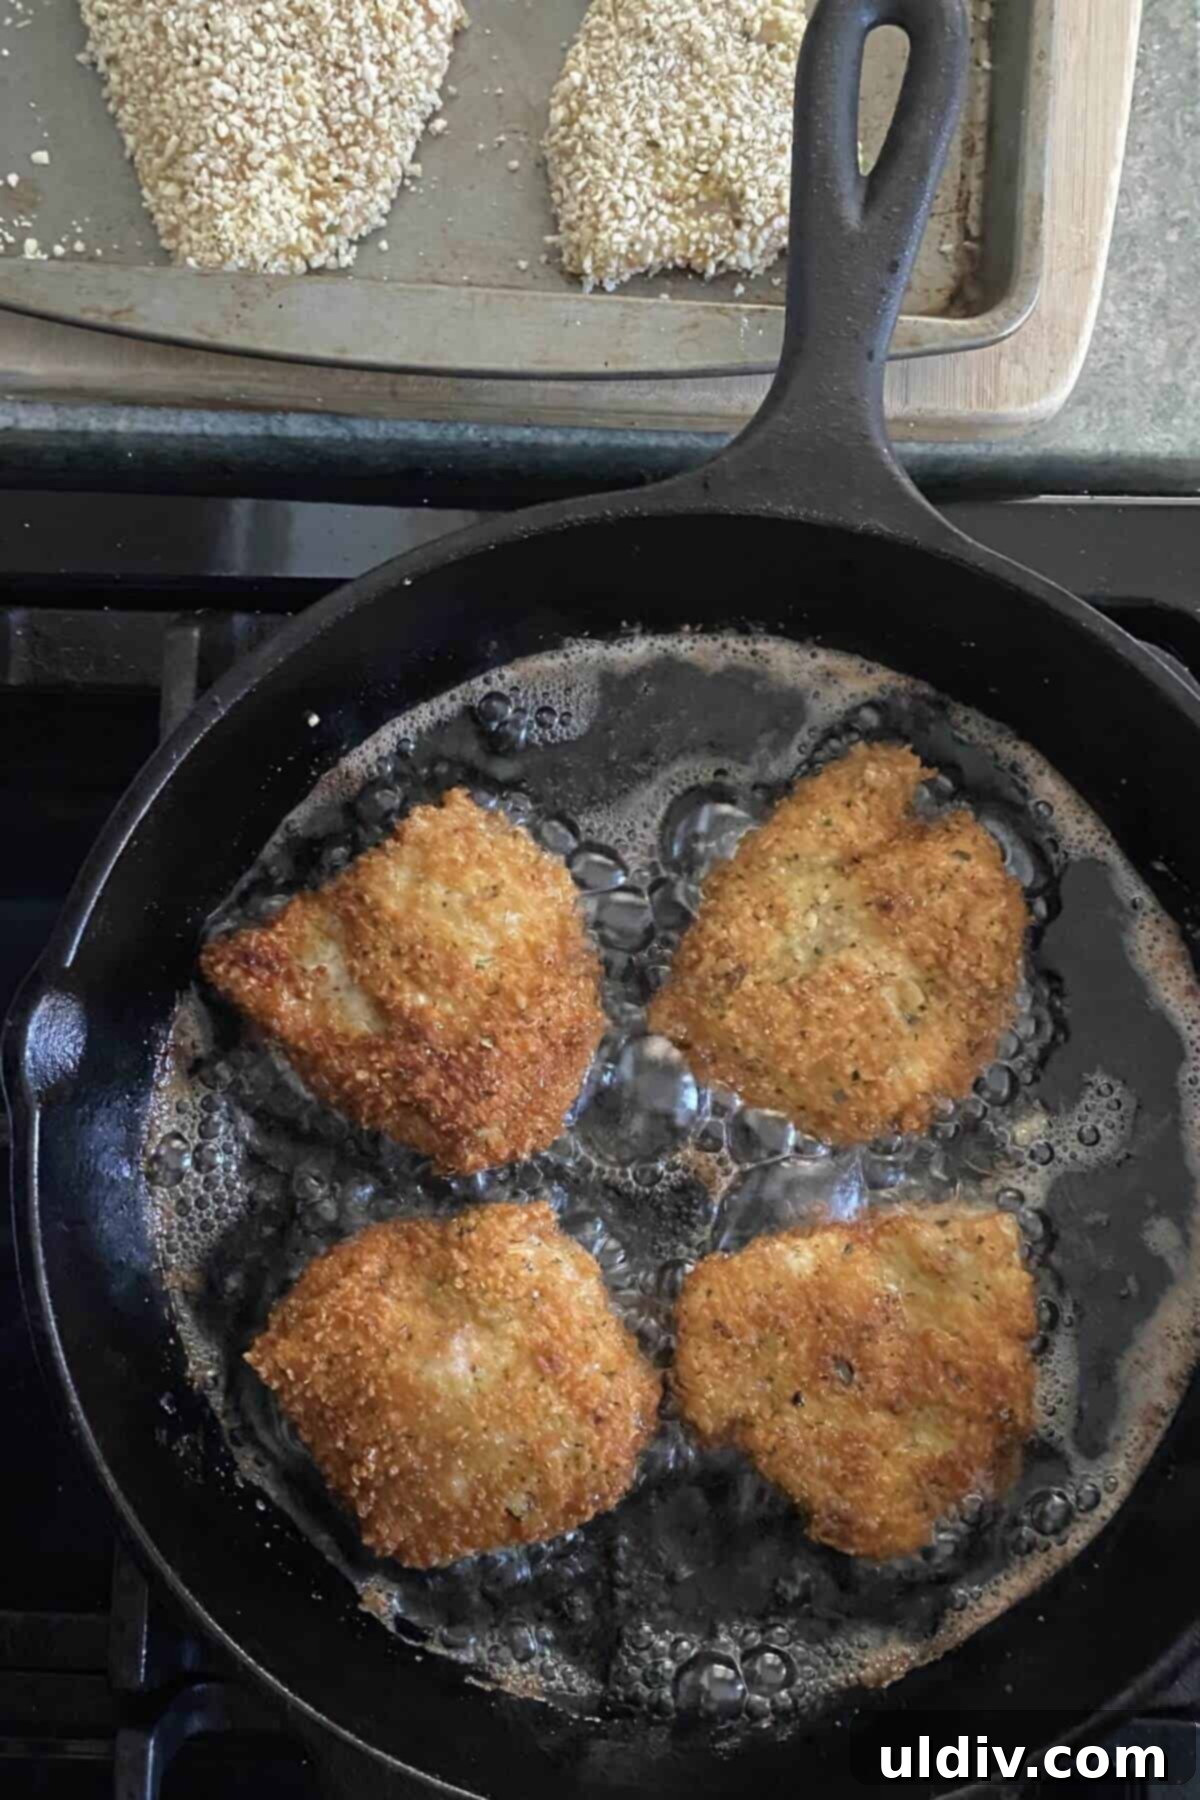
Heat about an inch of olive oil in a cast iron skillet or a large sauté pan over medium heat. The ideal oil temperature for frying is between 350 and 375 degrees F (175-190°C); use a digital thermometer to confirm. Frying at the correct temperature prevents the chicken from becoming greasy (if too low) or burning the breading before the chicken cooks through (if too high). Fry the coated chicken in batches, being careful not to overcrowd the pan, for about 2 minutes per side, or until it’s golden brown, crispy, and cooked through. Once fried, remove the chicken to a cooling rack set over a baking sheet to allow any excess oil to drip off and maintain crispiness. Immediately sprinkle the hot fried chicken with a little extra kosher salt and Parmesan cheese for enhanced flavor.
4. Prepare the Garlic Herb Butter Rolls
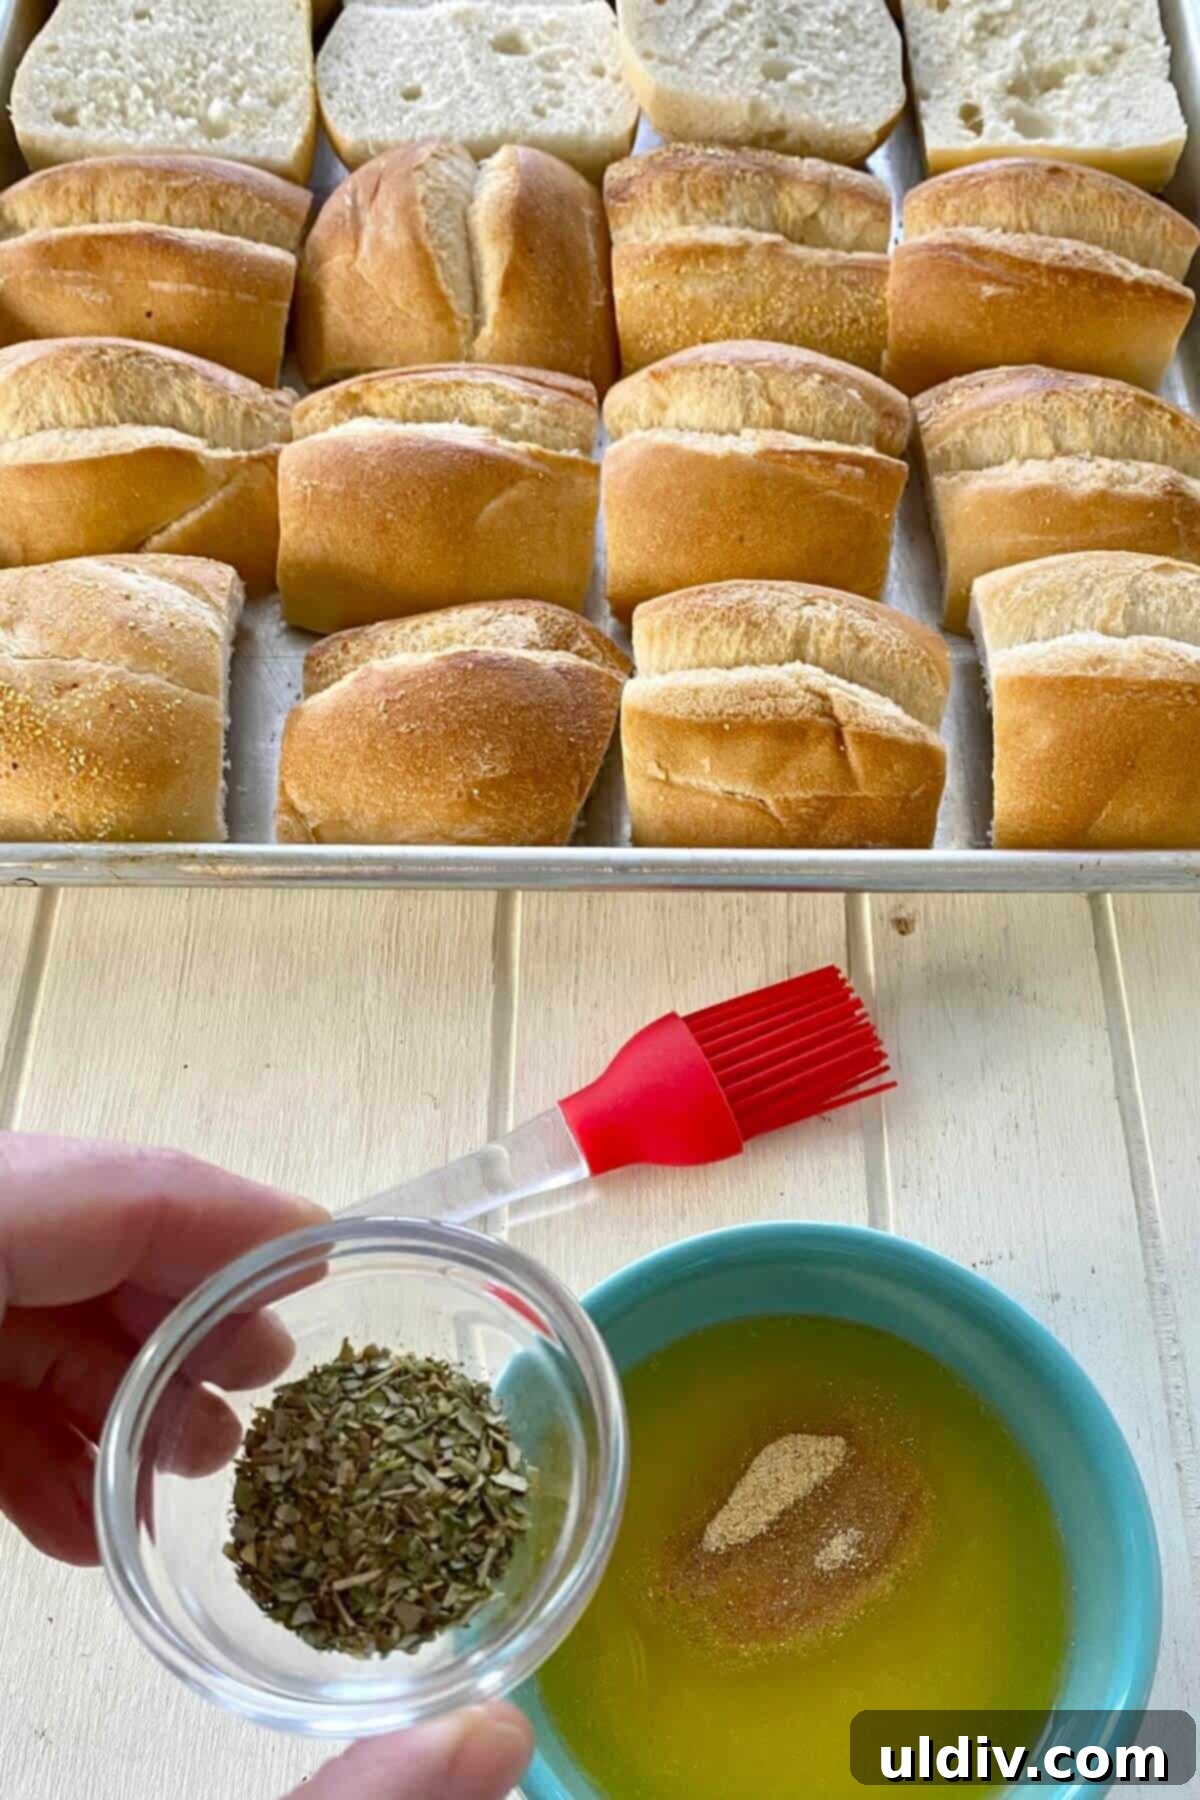
While the chicken is cooking, prepare your rolls. In a small bowl, whisk together the melted salted butter with garlic powder, dried oregano, and dried basil. Slice your small sandwich rolls in half. Place the roll tops cut-side down and the roll bottoms cut-side up on a large rimmed baking sheet. Brush both the tops and bottoms generously with the fragrant garlic herb butter mixture. Toast them in a preheated oven (425 degrees F / 220°C) for about 5 minutes, or until they are lightly golden brown and fragrant. Remove from the oven and set the toasted roll tops aside, keeping the bottoms on the baking sheet for assembly.
5. Assembling and Baking for Melty Goodness
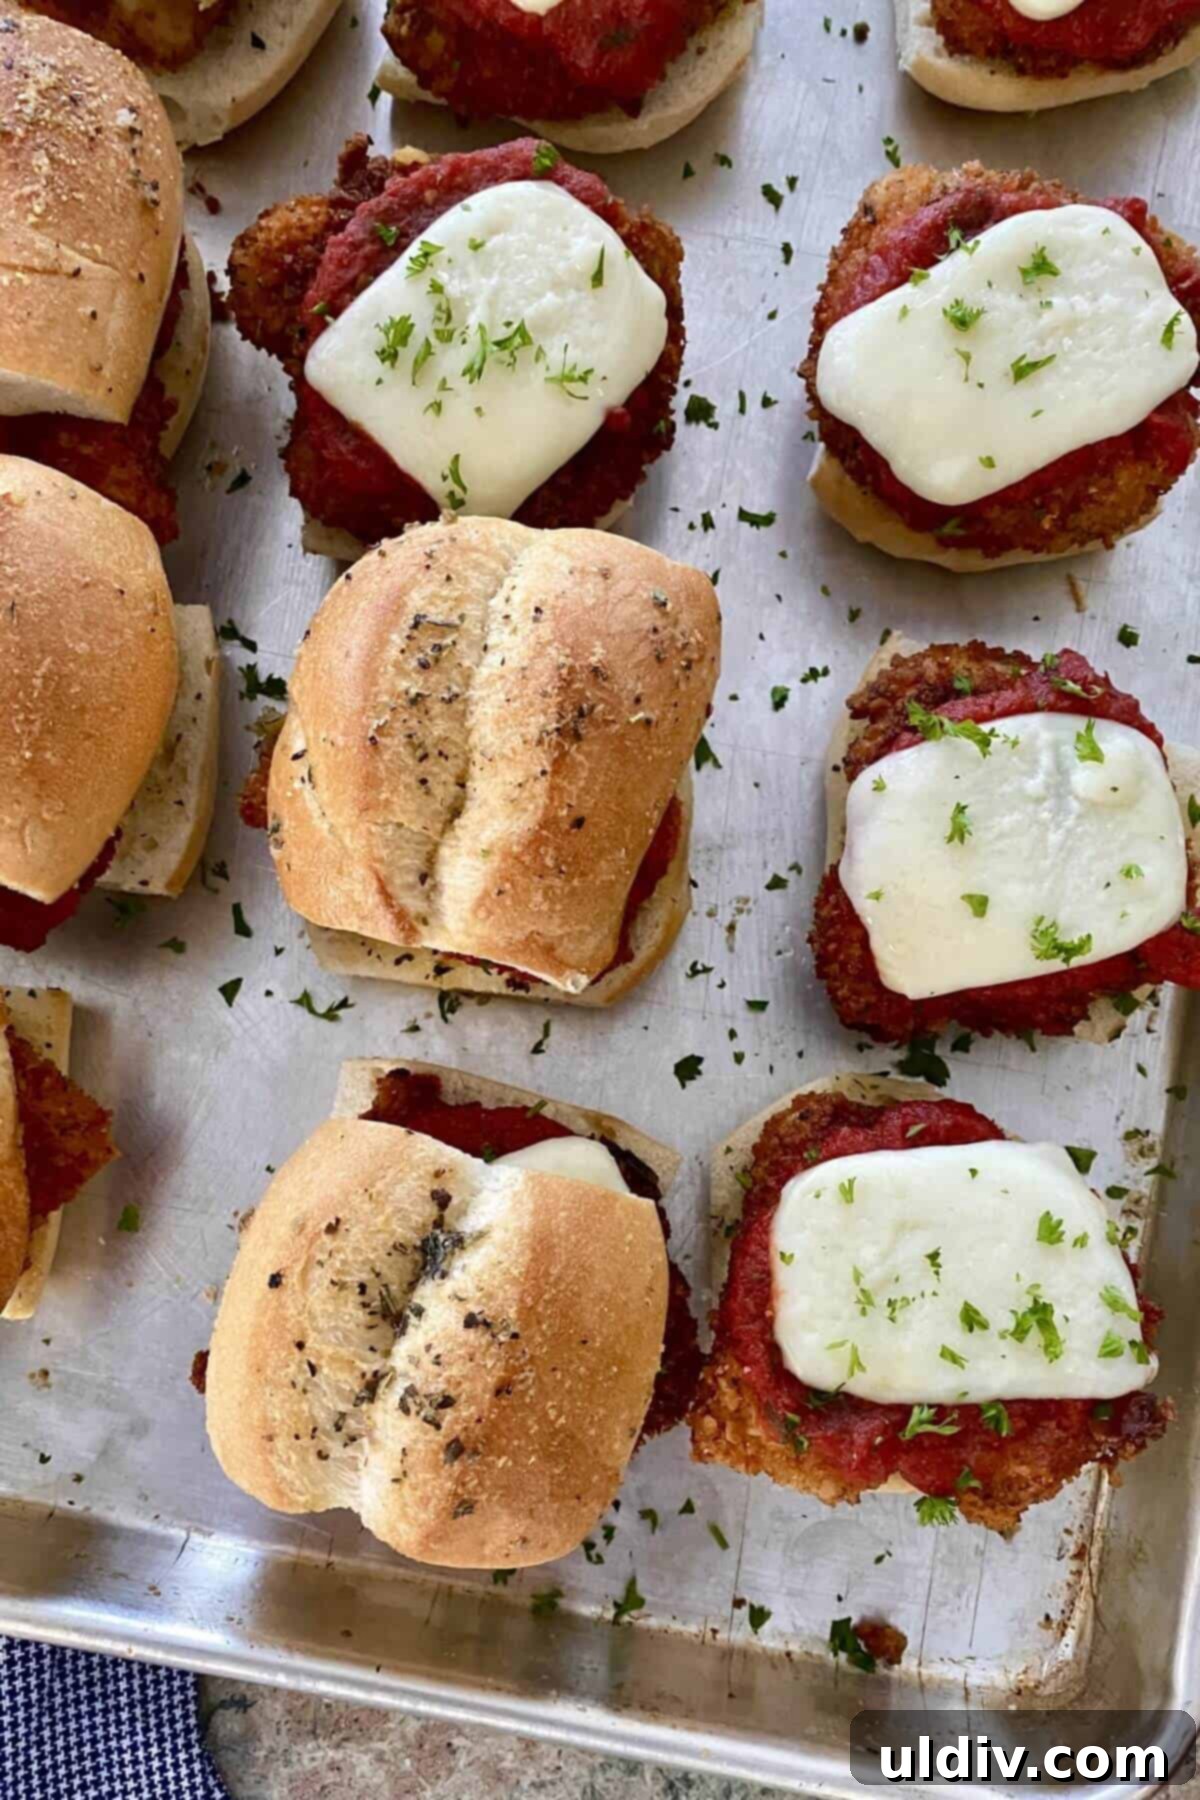
Now, it’s time to assemble your sandwiches. On the toasted roll bottoms, spread a thin layer of basil marinara sauce. Place one piece of the crispy chicken cutlet on top of the marinara. Add another spoonful or two of marinara sauce over the chicken, followed by a slice of mozzarella cheese. Return the baking sheet with the assembled sandwiches to the oven for 5 to 8 minutes, or until the mozzarella is beautifully melted and bubbly. During the last couple of minutes of baking, add the reserved roll tops back to the baking sheet, allowing them to warm through without becoming overly toasted.
6. Serving Your Masterpiece
While the sandwiches are baking, gently warm the remaining marinara sauce on the stovetop or in the microwave for dipping. Once the sandwiches are out of the oven, give them a final sprinkle of freshly grated Parmesan cheese and, if desired, a few fresh basil leaves for garnish. Serve immediately with the warm marinara sauce on the side for an extra burst of flavor. These irresistible Chicken Parmesan Sandwiches are perfect for sharing or enjoying all to yourself!
Expert Tips & Variations for the Best Chicken Parm Sandwiches
Elevate your Chicken Parmesan Sandwich game with these expert tips and creative variations:
- Achieving Ultimate Crispy Chicken: The key to truly crispy chicken lies in maintaining the correct oil temperature (350-375°F or 175-190°C) during frying. Too low, and your chicken absorbs oil and becomes greasy; too high, and the breading burns before the chicken is cooked through. Use a digital thermometer for precision. After frying, place the chicken on a cooling rack set over a baking sheet to allow excess oil to drain, which helps maintain crispness.
- Marinara Sauce Matters: While store-bought marinara is convenient, a homemade basil marinara sauce will undoubtedly make your sandwiches sing. The freshness of real tomatoes and basil truly elevates the flavor. If using store-bought, choose a high-quality brand you love. Consider stirring in extra fresh basil and a pinch of red pepper flakes for an added kick.
- Pounding Chicken for Tenderness: Don’t skip pounding the chicken! This step not only tenderizes the meat but also ensures an even thickness, leading to uniform cooking. This prevents one part of the cutlet from being dry while another is still undercooked.
- Preventing Soggy Sandwiches: To avoid a soggy bun, ensure your rolls are well-toasted before assembly. Also, don’t overload the sandwich with too much marinara sauce on the bottom bun. A thin layer is usually sufficient, as extra sauce can be served on the side for dipping. The crispy chicken also acts as a barrier.
- Make-Ahead Options: You can prepare the chicken cutlets (pound and bread them) a few hours in advance and keep them refrigerated until ready to fry. The marinara sauce can also be made a day or two ahead, saving valuable time on busy cooking days.
- Spice It Up! For those who enjoy a little heat, add a pinch of red pepper flakes to your marinara sauce or directly into the flour mixture for the chicken breading.
- Cheese Varieties: While mozzarella is traditional, experiment with other cheeses. A slice of provolone underneath the mozzarella can add a sharper, more complex flavor. Fontina or even a blend of Italian cheeses can also be delicious.
- Add Fresh Herbs: Garnish your finished sandwiches with a few fresh basil leaves. The bright, aromatic fresh basil provides a lovely contrast to the rich flavors and adds a pop of color.
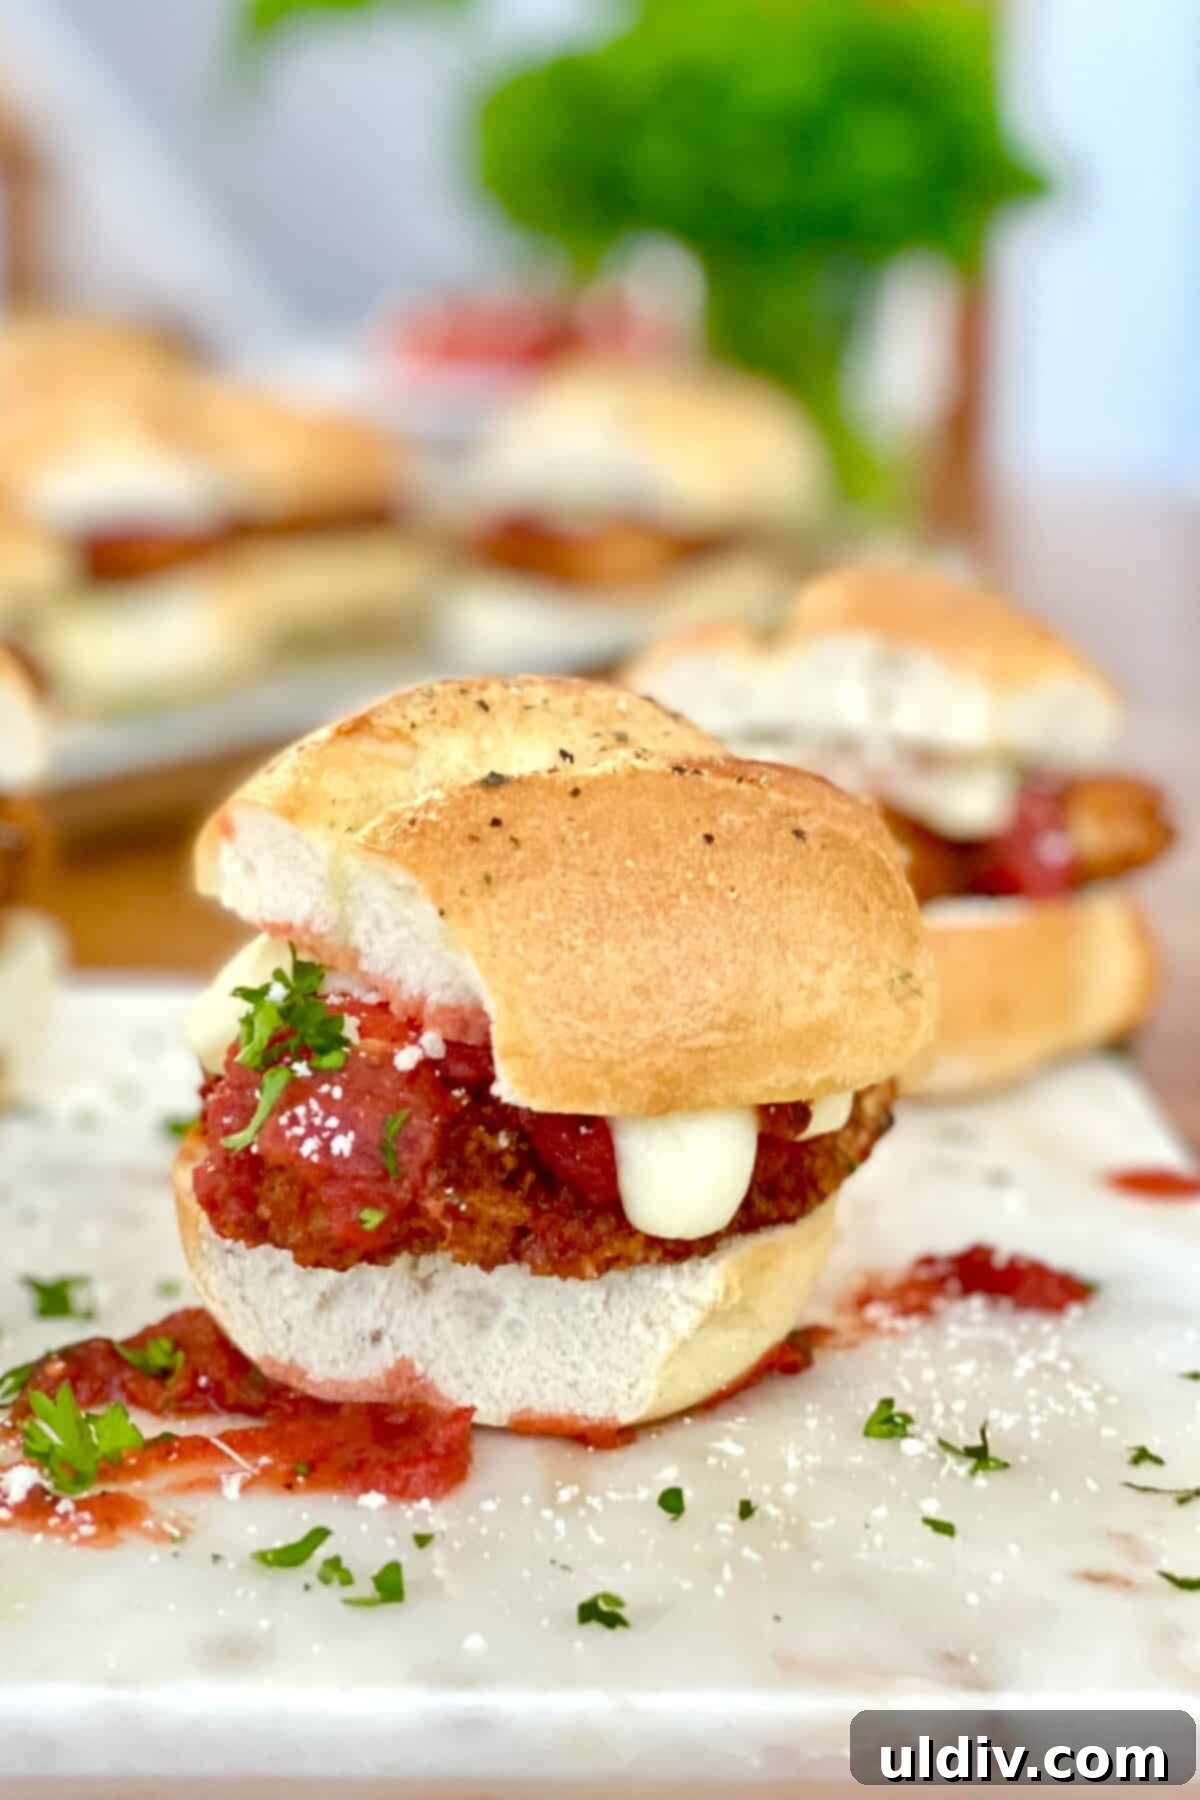
Reheating Your Chicken Parmesan Sandwiches
While Chicken Parmesan Sandwiches are undoubtedly best enjoyed fresh, hot, and crispy straight from the oven, there are certainly times when leftovers are a welcome sight. Here’s how to reheat them effectively, keeping in mind that the texture of the bread may soften slightly upon reheating:
- Oven Method (Recommended for Best Crispness): This method is ideal for retaining as much of the chicken’s crispiness as possible. Preheat your oven to 375 degrees F (190°C). Place the assembled sandwiches (without the top bun if you want the chicken crispiest) on a baking sheet. Loosely cover the sandwiches with aluminum foil to prevent excessive browning and drying out. Heat for 15 to 20 minutes, or until the cheese is re-melted and the chicken is warmed through. If you removed the top bun, add it back for the last few minutes to warm.
- Air Fryer Method (Great for Individual Servings): For a single sandwich or a small batch, an air fryer can bring back a surprising amount of crispness. Preheat your air fryer to 350 degrees F (175°C). Place the sandwich directly in the air fryer basket. Heat for 5-8 minutes, checking periodically, until the chicken is hot and crispy and the cheese is melted.
- Microwave Method (Quickest, but Softer Texture): If time is of the essence, the microwave is your fastest option, though it won’t yield crispy results. Wrap an individual sandwich in a paper towel to absorb moisture. Heat on 60 percent power at 1-minute intervals, checking for warmth, until the sandwich is heated through. Be mindful not to overheat, as this can make the chicken tough and the cheese rubbery.
Frequently Asked Questions (FAQs) About Chicken Parm Sandwiches
What kind of chicken is best for these sandwiches?
Boneless, skinless chicken breasts are most commonly used due to their leanness and ease of pounding into cutlets. However, boneless, skinless chicken thighs can also be an excellent choice for a richer flavor and even juicier results. The key is to pound them to an even, thin thickness for consistent cooking.
Can I bake the chicken instead of frying it?
Yes, you can certainly bake the chicken for a lighter version, though it might not achieve the same crispiness as frying. To bake, after breading the chicken, lightly spray both sides with cooking spray or drizzle with a little olive oil. Bake in a preheated oven at 400°F (200°C) for about 20-25 minutes, flipping halfway through, until golden brown and cooked through (internal temperature of 165°F/74°C).
What type of bread rolls work best?
Small, sturdy sandwich rolls are ideal to hold all the delicious fillings without falling apart. Slider buns, brioche buns, or even small ciabatta rolls work wonderfully. The most important thing is that the bread can handle the sauce and cheese without becoming soggy too quickly, and that it’s toasted properly with the garlic herb butter.
How can I prevent my Chicken Parmesan sandwich from getting soggy?
Several tips can help: 1) Ensure your chicken is extra crispy from proper frying and draining. 2) Toast your rolls thoroughly with the garlic herb butter to create a slight barrier. 3) Don’t overdo the marinara sauce on the bottom bun; a thin layer is sufficient, and you can serve extra for dipping. 4) Assemble and serve the sandwiches immediately after baking to enjoy them at their peak crispiness.
More Delicious Sandwich Recipes to Explore
If you’ve enjoyed these amazing Chicken Parmesan Sandwiches, here are some other fantastic sandwich recipes to try that will keep your taste buds delighted:
- Wild Cod Fish Reubens with 30 Second Russian Dressing
- Instant Pot Barbecue Brisket Sandwiches
- Grilled Balsamic Chicken Caprese Sandwiches
- Barbecue Pork Tenderloin Sliders
- Sweet and Tangy Meatball Hoagies
Your Feedback Matters!
Did you try making this irresistible Chicken Parmesan Sandwich recipe? We would absolutely love to hear about your experience! Your comments and ratings are invaluable and help us continue to create and share delicious recipes.
Please take a moment to leave a comment below and consider giving this recipe a rating. We read and do our best to reply to all your feedback. If you snapped a photo of your culinary creation, share it with us on Instagram! Tag @amycaseycooks, and we’ll be thrilled to feature your photos in our Insta stories. We truly love seeing all your amazing cooking adventures.
Also, don’t forget to check out our Facebook and Pinterest pages for a wealth of fabulous foodie stories, inspiring videos, practical cooking tips, and an endless stream of new recipes. And if you want to ensure you never miss out on our latest culinary delights, be sure to sign up for our newsletter!
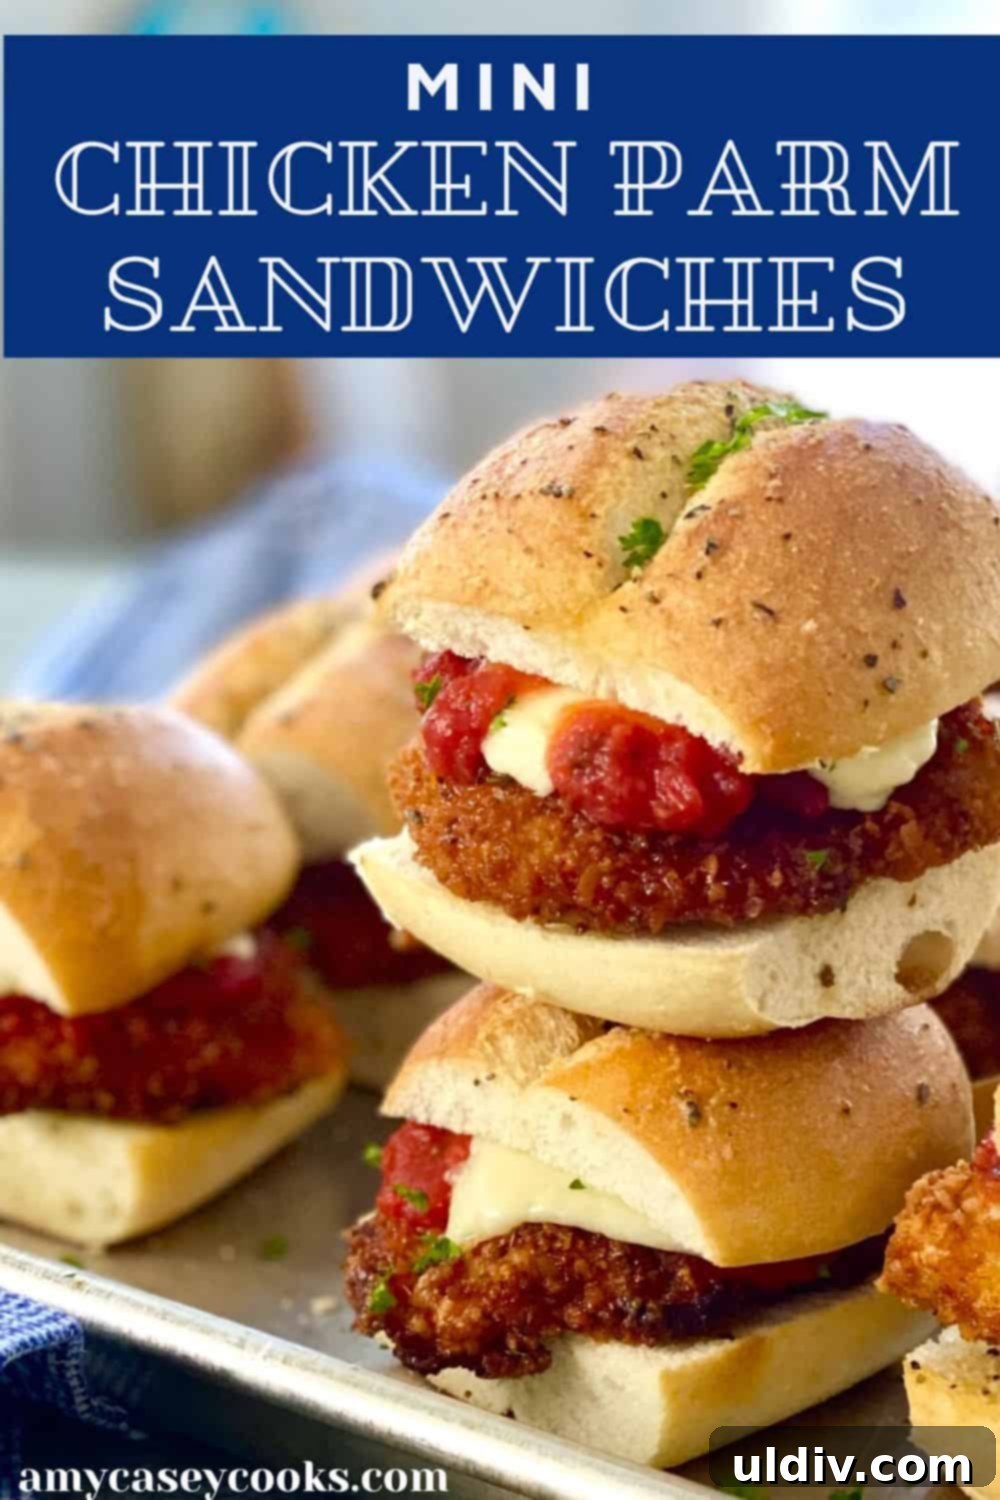
Recipe: Crispy Chicken Parmesan Sandwiches

Mini Chicken Parmesan Sandwich Recipe
Traditional chicken Parmesan gets a casual twist as a delicious mini chicken parmesan sandwich. Tuck crispy panko Parmesan chicken cutlets between toasty garlic herb butter rolls with basil marinara and melted mellow mozzarella cheese. Serve for lunch or dinner. They are perfect for party snacks too.
Prep Time: 20 minutes
Cook Time: 20 minutes
Total Time: 40 minutes
Servings: 12 sandwiches
Calories: 441 kcal per sandwich
Author: Amy Casey
Equipment
- Meat Mallet
- Large Cast Iron Skillet or Sauté Pan
- Digital Thermometer (optional, for oil)
- Cooling Rack and Baking Sheet
- Shallow Dishes for Breading
Ingredients
- 3 boneless, skinless chicken breasts (about 2 pounds)
- 1 ½ cups Italian seasoned panko breadcrumbs
- ½ cup grated Parmesan cheese (plus more for serving)
- 2 large eggs, beaten
- ½ cup all-purpose flour
- Kosher salt, to taste
- Freshly ground black pepper, to taste
- 1 cup olive oil (for frying)
- ¼ cup salted butter, melted
- ½ teaspoon garlic powder
- ½ teaspoon dried oregano
- ½ teaspoon dried basil
- 12 small sandwich rolls (about 3 inches)
- 3 cups marinara sauce (homemade or store-bought), warmed for dipping
- 8 ounces mozzarella cheese, cut into 12 slices
Instructions
- Preheat oven to 425 degrees F (220°C). Place a cooling rack in a rimmed baking sheet. Set aside.
- Prepare the chicken: Place chicken breasts on a cutting board. Slice horizontally into 2 thin cutlets each. Then, slice each cutlet into 2 pieces. Cover the cutlets with plastic wrap and lightly pound with a meat mallet to an even thickness (about 1/4 to 1/2 inch). Set aside.
- Coat the chicken: In 3 separate shallow dishes, place: (1) the Italian seasoned panko and ½ cup Parmesan cheese; (2) the beaten eggs; and (3) the flour seasoned with ½ teaspoon kosher salt and ¼ teaspoon pepper. Dredge each chicken piece first in the seasoned flour (shake off excess), followed by the beaten egg (let excess drip off), and then the panko mixture (press firmly to coat completely). Set the breaded chicken aside.
- Fry the chicken: In a cast iron skillet or large sauté pan, heat 1 cup of olive oil over medium heat until it reaches 350-375 degrees F (175-190°C). Fry the coated chicken in batches for about 2 minutes per side, until golden brown, crispy, and cooked through (internal temperature 165°F/74°C). Remove the chicken to the prepared cooling rack. Immediately sprinkle with a little extra kosher salt and Parmesan cheese.
- Prepare garlic herb butter for rolls: In a small bowl, whisk the melted butter, garlic powder, dried oregano, and dried basil. Set aside.
- Toast the rolls: Slice the sandwich rolls in half. Place the roll tops cut-side down and the bottoms cut-side up on a large rimmed baking sheet. Brush the cut sides of both tops and bottoms with the melted butter mixture. Toast in the preheated oven for 5 minutes, or until the rolls are lightly browned and fragrant. Remove from the oven.
- Remove the roll tops from the baking sheet and set them aside.
- Assemble the sandwiches: Brush the toasted roll bottoms with a thin layer of marinara sauce. Top each with a piece of the cooked, crispy chicken. Add about 2 tablespoons more of marinara sauce over the chicken, and then top with a slice of mozzarella cheese.
- Bake the assembled sandwiches: Return the baking sheet with the assembled sandwiches to the oven. Bake for 5 to 8 minutes, or until the cheese is beautifully melted and bubbly. Add the reserved roll tops to the baking sheet during the last couple of minutes of baking time, just to warm them through.
- While the sandwiches bake, warm the remaining marinara sauce for dipping.
- Serve: Remove the sandwiches from the oven. Serve immediately, sprinkled with more Parmesan cheese and accompanied by the warm marinara sauce for dipping.
Video: Cheesy Chicken Parmesan Slider Sandwiches | With Garlic Butter Buns
Notes
- A homemade basil marinara sauce offers superior flavor, but a good quality store-bought brand is a convenient alternative.
- For the most tender chicken, lightly pound it with a meat mallet to ensure even cooking and a tender bite.
- For the crispiest chicken, ensure your frying oil is heated to between 350 and 375 degrees F (175-190°C). Oil that is too cool will result in greasy chicken, while oil that is too hot will burn the breading before the chicken is cooked through. Use a candy thermometer or instant-read digital thermometer to monitor the oil temperature accurately.
- After frying, place the chicken on a cooling rack set over a baking sheet. This allows any excess oil to drip off, helping the chicken stay wonderfully crispy.
Nutrition Information
Serving: 1 sandwich | Calories: 441kcal | Carbohydrates: 33.9g | Protein: 30.7g | Fat: 20.6g | Saturated Fat: 7g | Cholesterol: 100mg | Sodium: 722mg | Fiber: 2.1g | Sugar: 6.8g
Did you make this recipe? Tag @amycaseycooks on Instagram so we can all admire your work!