
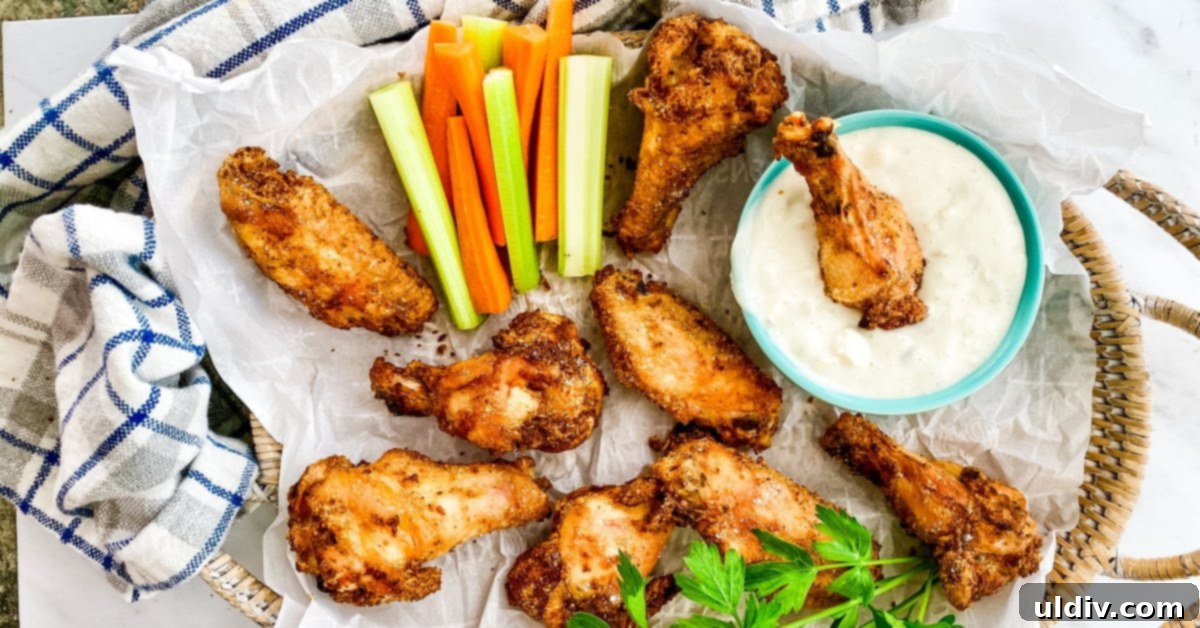
Unlock the secret to perfectly crispy, undeniably delicious Oven Baked Chicken Wings that are a true crowd-pleaser for any occasion. Forget the mess and fuss of deep-frying; with just a few simple pantry staples and a clever trick, you can achieve restaurant-quality wings right in your home oven. These wings are not just easy to make, they’re so flavorful and satisfying, they’re sure to become a beloved staple in your recipe repertoire.
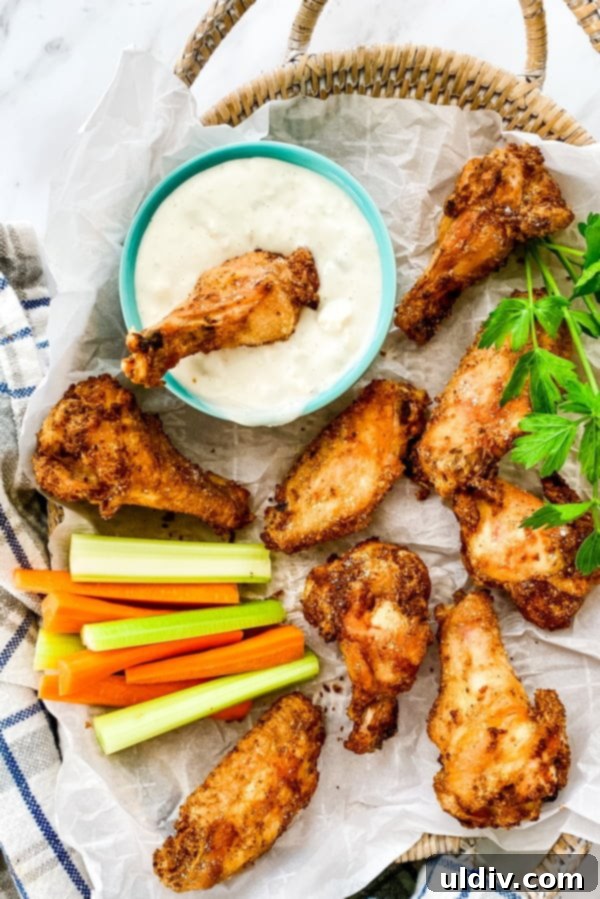
As a personal chef by day and a food blogger by night, I’ve had the unique opportunity to refine countless recipes for discerning palates. My kitchen is a laboratory of flavors, where every dish is tested and perfected for client families who appreciate both convenience and gourmet taste. Among the most frequently requested recipes, especially during peak football season and holiday gatherings, are these incredibly easy and crispy baked chicken wings. They consistently earn rave reviews from both children and adults, proving that you don’t need a deep fryer to achieve that coveted golden, crunchy exterior.
Table of Contents
- Why Baked Wings are a Game Changer
- Essential Ingredients for Crispy Wings
- The Science Behind Super Crispy Wings
- Expert Tips for Perfect Baked Chicken Wings
- Optimal Baking Time for Doneness and Crispness
- More Appetizer & Snack Recipes to Explore
- Full Recipe: Oven Baked Chicken Wings
Why Baked Wings Are a Game Changer
While some adventurous eaters enjoy the classic fried chicken wings, this baked alternative has surged in popularity, and for good reason. Not only are baked wings a healthier option compared to their deep-fried counterparts, but they also eliminate the messy cleanup associated with frying oil. My baked chicken wing recipe consistently delivers a satisfyingly crispy and crunchy texture every single time, making it an effortless choice for entertaining or a simple weeknight meal.
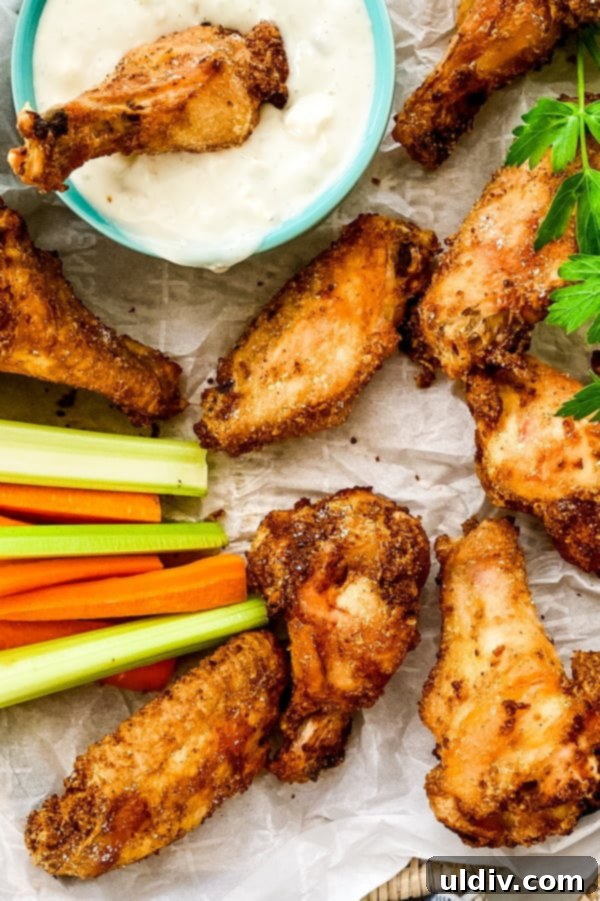
The magic happens when you simply toss the chicken wings with a thoughtfully curated blend of pantry spices and, crucially, a touch of baking powder – the secret ingredient that unlocks unparalleled crispiness. After a quick toss, these seasoned wings go straight into the oven, requiring just one flip for even cooking and browning. And to elevate this experience even further, I’ve included the recipe for my incredibly simple yet delicious 3-ingredient blue cheese dip, which perfectly complements the savory, crispy wings.
Essential Ingredients for Crispy Wings
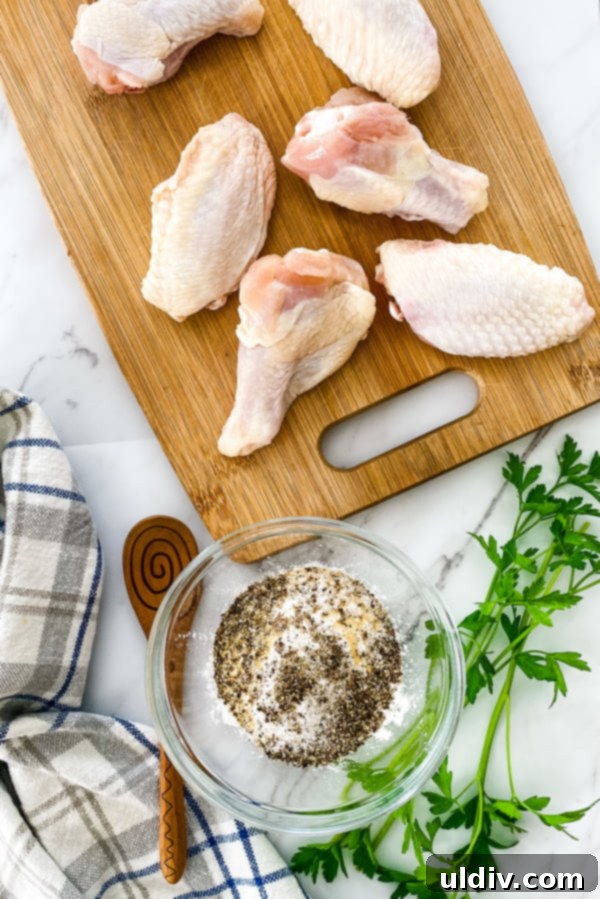
Crafting these delectable baked chicken wings requires a surprisingly short and accessible list of ingredients. Most are likely already in your pantry! Here’s what you’ll need:
- Cooking spray
- Chicken wings (flats and drumettes)
- Baking powder (crucial for crispiness!)
- Kosher salt and freshly ground black pepper
- Onion powder
- Garlic powder
- Paprika
- Sour cream
- Mayonnaise
- Blue cheese, crumbled
When selecting your chicken wings, aim for a good mix of flats and drumettes for variety in texture and eating experience. Fresh, never-frozen wings yield the best results, but thawed frozen wings can work too if properly patted dry. The quality of your spices also makes a difference; ensure they are fresh and fragrant for the most robust flavor. For the blue cheese dip, using a good quality crumbled blue cheese will give you the best authentic taste.
The Science Behind Super Crispy Wings: Baking Powder!
It might seem counterintuitive to add baking powder to savory chicken wings, but this is the ultimate game-changer for achieving that desired crispy skin without frying. Here’s how it works:
Baking powder is a leavening agent typically used in baking to create rise. However, in this application, its magic lies in its alkalinity. When mixed with salt and tossed with chicken wings, the baking powder raises the pH level on the chicken skin. This elevated pH breaks down the proteins in the chicken skin, allowing them to render fat more efficiently and creating tiny air bubbles. As the wings bake in the hot oven, these tiny bubbles expand, drying out the skin and creating an incredibly thin, crisp, and crunchy crust that mimics the texture of fried wings.
It’s important to stress one critical point: **always use baking powder, NOT baking soda.** While they sound similar, baking soda is far more alkaline and can leave a metallic, unpleasant taste if used incorrectly, and it won’t yield the same crispy results. The unique composition of baking powder, including a small amount of acid, ensures the perfect chemical reaction for crispy perfection. This simple trick is a super easy and healthier way to enjoy delicious, satisfying wings right from your oven.
Expert Tips for Perfect Baked Chicken Wings
Achieving the best possible crispy baked wings is simple when you follow a few key tips:
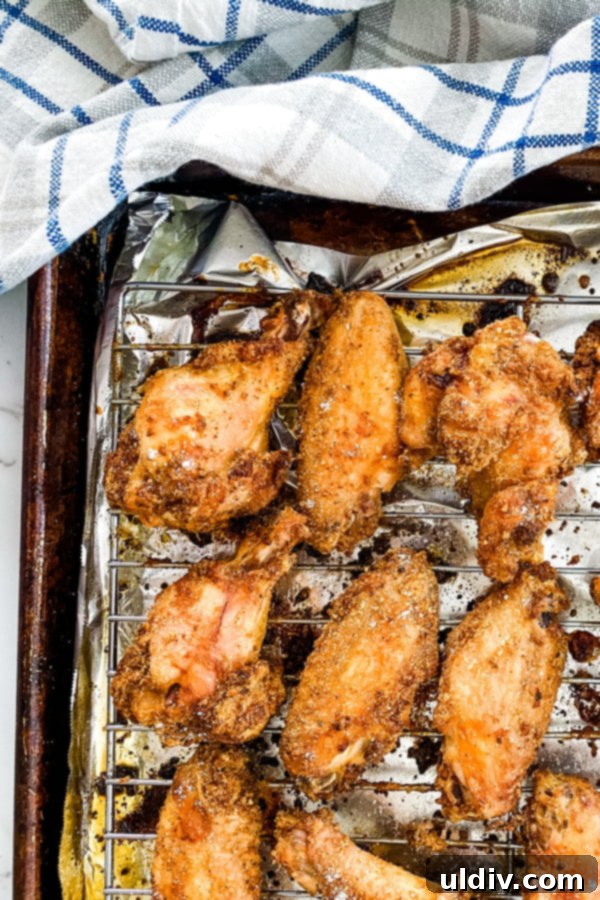
- Effortless Cleanup: Make post-dinner cleanup a breeze by lining your baking sheet with aluminum foil. This catches any drips and rendered fat, keeping your pan pristine.
- The Ultimate Crispness Setup: For truly super crispy wings, never place them directly on the baking sheet. Instead, arrange them on a cooling rack set inside the foil-lined baking sheet. This allows air to circulate around each wing, ensuring all sides get evenly cooked and crispy. Don’t forget to lightly spray the cooling rack with cooking spray to prevent sticking.
- Baking Powder vs. Baking Soda: This is crucial! As mentioned, **always use baking powder**, not baking soda. Baking powder’s unique properties are what dry out the chicken skin and create the desired crispiness. Baking soda will not yield the same result and can leave an unpleasant taste.
- Pat Dry Thoroughly: Before tossing the wings with spices, pat them down thoroughly with paper towels. Removing excess moisture from the skin is a vital first step to achieving maximum crispiness.
- Even Spacing is Key: When placing the wings on the cooling rack, ensure they are in a single layer and not touching each other. Overcrowding the pan will steam the wings instead of baking them, leading to soggy skin. If necessary, use two baking sheets.
- The Final Heat Blast: For that perfect golden-brown color and extra crunch, increase the oven temperature for the last 15 to 20 minutes of baking. This final blast of high heat helps caramelize the skin and finishes the crisping process beautifully.
- Flavor Variations: These baked chicken wings are scrumptious as is, but they also serve as a fantastic canvas for various flavors. Once baked, you can toss them with your favorite hot sauce for a spicy kick, BBQ sauce for a smoky twist, or even a sticky sweet chili glaze.
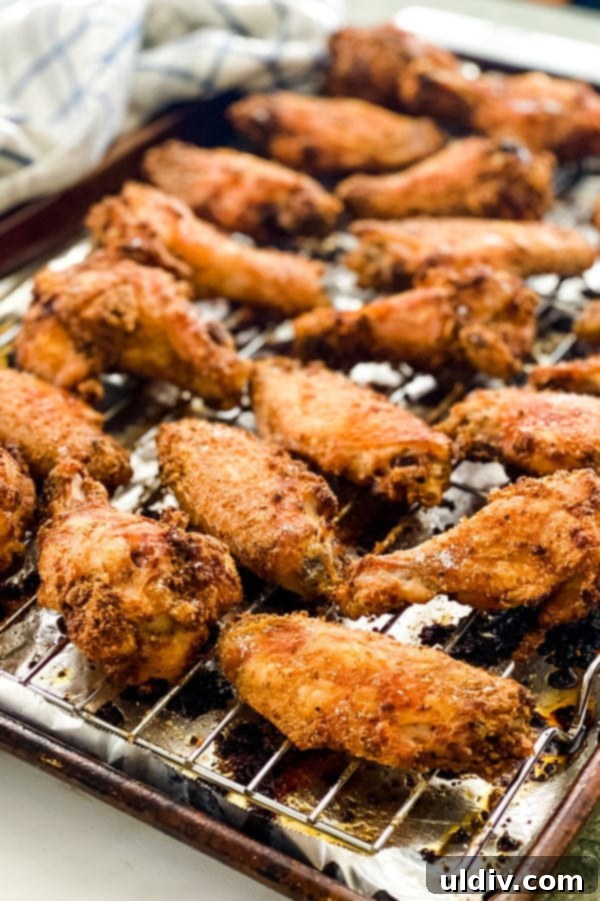
Optimal Baking Time for Doneness and Crispness
Patience is a virtue, especially when it comes to achieving perfectly cooked and crispy chicken wings. Rushing the baking process will unfortunately result in rubbery-skinned wings rather than the desired crisp texture. The total baking time for this recipe is approximately 1 hour and 10 to 20 minutes, depending on your oven and the size of your wings.
Here’s a breakdown of the baking phases:
- **Initial Bake (425°F):** Start at a moderate-high temperature for about 50-60 minutes, flipping the wings halfway through. This initial phase cooks the chicken through and begins the crisping process. Flipping ensures even cooking and browning on both sides.
- **Final Crisp (450°F):** Increase the oven temperature to 450°F for the last 10-20 minutes. This high heat finish is crucial for developing that beautiful golden-brown color and ultimate crispy texture.
Always keep a watchful eye on your wings during the final 10-15 minutes of baking, as oven temperatures can vary, and you don’t want them to overcook or burn. The internal temperature of fully cooked chicken should reach 165°F (74°C) when measured with a meat thermometer, but the visual cues of golden-brown, crispy skin are usually a good indicator that they’re ready to enjoy.
More Appetizer & Snack Recipes to Explore
If you’re looking to expand your appetizer menu or need more fantastic snack ideas for game day or gatherings, here are some other tried-and-true recipes that my clients and readers adore:
- Creamy Corn Dip Recipe with Cream Cheese
- Barbecue Pork Tenderloin Sliders with Tangy Cole Slaw
- Classic Cheeseburger Sliders
- Creamy Artichoke Dip Turkey Sliders
- Zesty Texas Caviar
These recipes are perfect for pairing with your crispy baked chicken wings to create an unforgettable spread!
I hope you thoroughly enjoy preparing and savoring these crispy baked chicken wings. They represent the perfect balance of simplicity, flavor, and that irresistible crunch everyone craves. Happy cooking!
Recipe Card: Oven Baked Chicken Wings
Oven Baked Chicken Wings
Print
Pin
Equipment
-
Baking Sheet
-
Cooling Rack
Ingredients
- Cooking spray
- 4 to 4 ½ pounds chicken wings ~ about 20 each of flats and drumettes
- 2 tablespoons baking powder
- 1 teaspoon kosher salt
- ½ teaspoon freshly ground pepper
- 1 ½ teaspoons onion powder
- 1 ½ teaspoons garlic powder
- 2 teaspoons paprika
- ½ cup sour cream
- ½ cup mayonnaise
- ¼ cup blue cheese crumbled
- celery and carrot sticks
Instructions
-
Preheat oven to 425 degrees F (218°C).
-
Line a large baking sheet with foil for easy cleanup. Place a cooling rack on top of the foil and spray the rack generously with cooking spray to prevent sticking.
-
In a small bowl, combine the baking powder, kosher salt, pepper, onion powder, garlic powder, and paprika. Stir well to mix all the spices evenly. Set aside.
-
Place the chicken wings in a large bowl. Ensure they are thoroughly patted dry with paper towels to remove any excess moisture. Sprinkle the prepared spice mixture over the wings. Toss vigorously to completely coat all the wings evenly with the seasoning blend.
-
Arrange the seasoned wings on the cooling rack in the prepared baking sheet, making sure that the wings are in a single layer and do not touch each other. This is crucial for optimal air circulation and crispiness.
-
Bake in the preheated 425°F (218°C) oven for 25 to 30 minutes. Carefully flip the wings over to the other side and bake for another 25 to 30 minutes. This ensures even cooking and browning. Flip the wings one more time for the final crisping stage.
-
Increase the oven temperature to 450 degrees F (232°C). Continue to bake the wings for an additional 10 to 20 minutes. During this final stage, watch the wings closely to ensure they reach a beautiful golden brown color and become wonderfully crispy and crunchy. The internal temperature should be 165°F (74°C).
-
Once perfectly crispy, remove the wings from the oven and carefully transfer them to a serving platter.
-
For the blue cheese dip: In a small bowl, combine the sour cream, mayonnaise, and crumbled blue cheese. Stir gently to combine.
-
Serve the hot, crispy wings immediately with the homemade blue cheese dip and a refreshing side of celery and carrot sticks.
Notes
- To make cleanup effortless, always line your baking sheet with aluminum foil.
- For the crispiest results, arrange the chicken wings on a cooling rack set within the baking sheet, ensuring even air circulation.
- Crucially, use baking powder, not baking soda. Baking powder facilitates the necessary chemical reaction for crispy skin.
- Patience is key with this recipe. Ensure you flip the wings regularly during baking to achieve crispiness on all sides.
- A final temperature boost to 450°F (232°C) for the last 15-20 minutes of baking will give your wings a gorgeous golden-brown finish and extra crunch.