
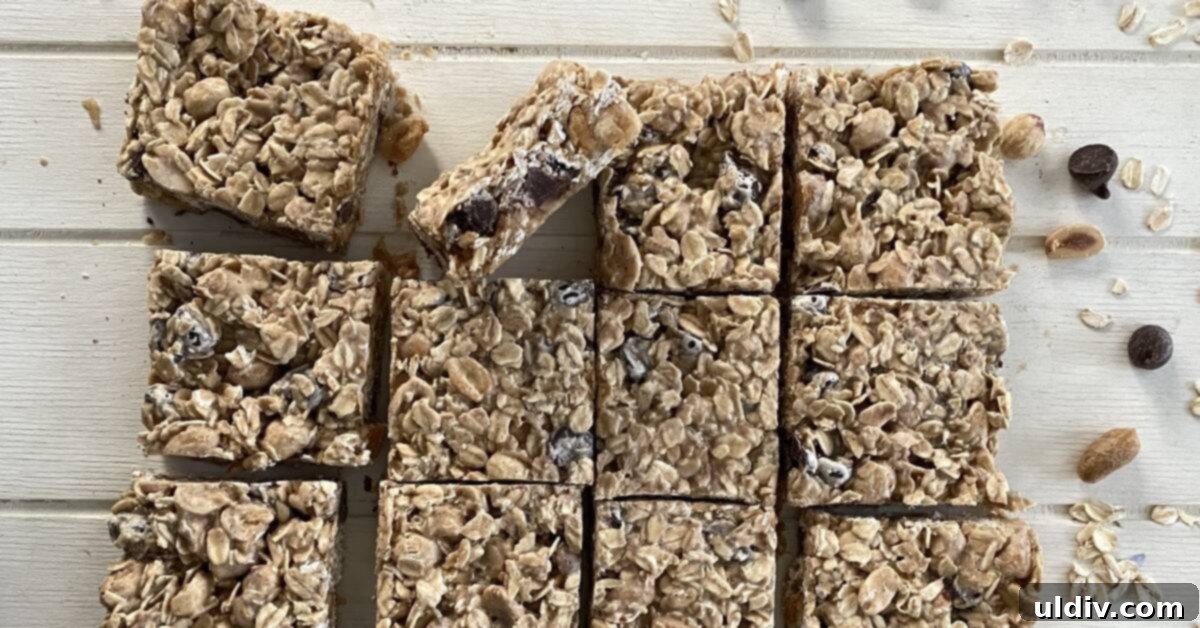
These incredibly satisfying Peanut Butter Oat Bars with Chocolate Chips are the ultimate grab-and-go solution for busy mornings or an energizing midday snack. Crafted in a single bowl, they are brimming with wholesome rolled oats, crunchy salted peanuts, rich peanut butter, and delightful chocolate chips, making them a family favorite that’s surprisingly effortless to prepare. Whether you’re fueling up for a workout, packing a lunchbox, or simply craving a delicious treat, these baked oatmeal bars deliver on flavor, convenience, and wholesome goodness.
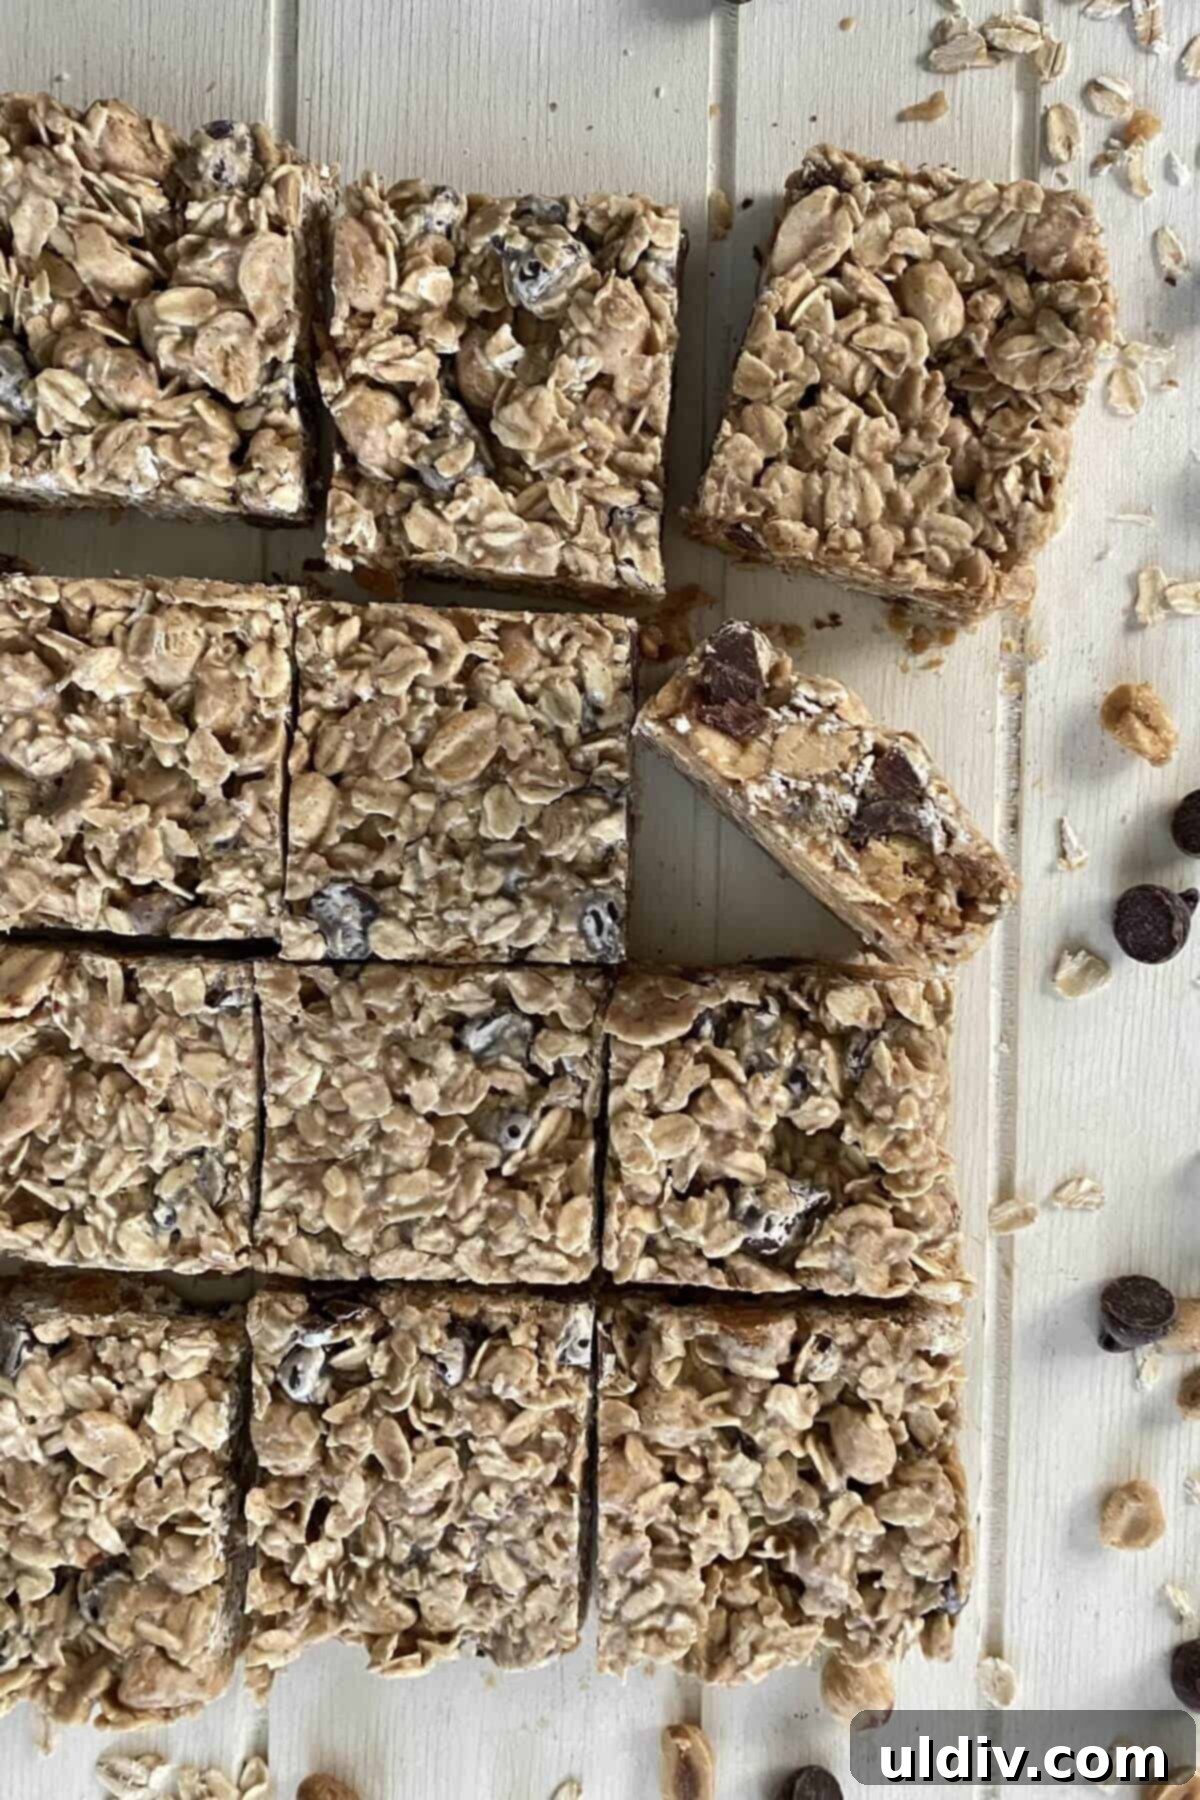
Hello, fellow food enthusiasts! Today, I’m thrilled to share an oat snack bar recipe that consistently wows with its simplicity and incredible taste. I’ve often tucked these hearty, baked oatmeal bars into my kids’ sports bags – whether it was for track practice or a softball game – knowing they’d provide the perfect energy boost to prevent any late-day slumps. It wasn’t long before their friends started requesting any leftover peanut and chocolate chip bars, a testament to their irresistible appeal.
Over the years, I’ve baked countless batches of these oat bars for my family, friends, and even personal chef clients. The process has become so ingrained that I could practically make them in my sleep! Their consistent popularity and ease of preparation have cemented their place as a staple in my kitchen, and I’m confident they’ll become a beloved addition to yours too.
Why These Peanut Butter Oat Bars Are a Must-Try
After experimenting with dozens of recipes for homemade granola and snack bars, this particular baked oat bar recipe stands out as my absolute favorite. It strikes the perfect balance of flavors and textures, making it a truly satisfying treat. What makes them so special?
- Double the Peanut Power: We’re talking serious peanut goodness here! These bars feature both creamy peanut butter and crunchy, salted peanuts, delivering an intense, nutty flavor in every bite.
- Wholesome Hearty Oats: Rolled oats form the base, providing a chewy texture and a boost of fiber that keeps you feeling full and energized.
- Sweet Chocolate Surprises: Generous handfuls of semi-sweet chocolate chips are sprinkled throughout, melting into gooey pockets that complement the savory peanut notes perfectly.
- Effortless One-Bowl Preparation: Forget about complicated steps and excessive cleanup. This recipe is designed for maximum convenience, mixing everything in a single bowl.
- The Perfect Binder: The secret to their sturdy, yet wonderfully chewy texture lies in sweetened condensed milk. Many attempts at homemade bars result in crumbly messes, but this ingredient ensures your bars hold their shape beautifully without being sticky.
These bars are more than just a snack; they’re a reliable source of energy for busy individuals, a comforting breakfast option, and a wholesome treat for kids and adults alike. Their portability makes them ideal for packing into lunchboxes, gym bags, or for taking on road trips.
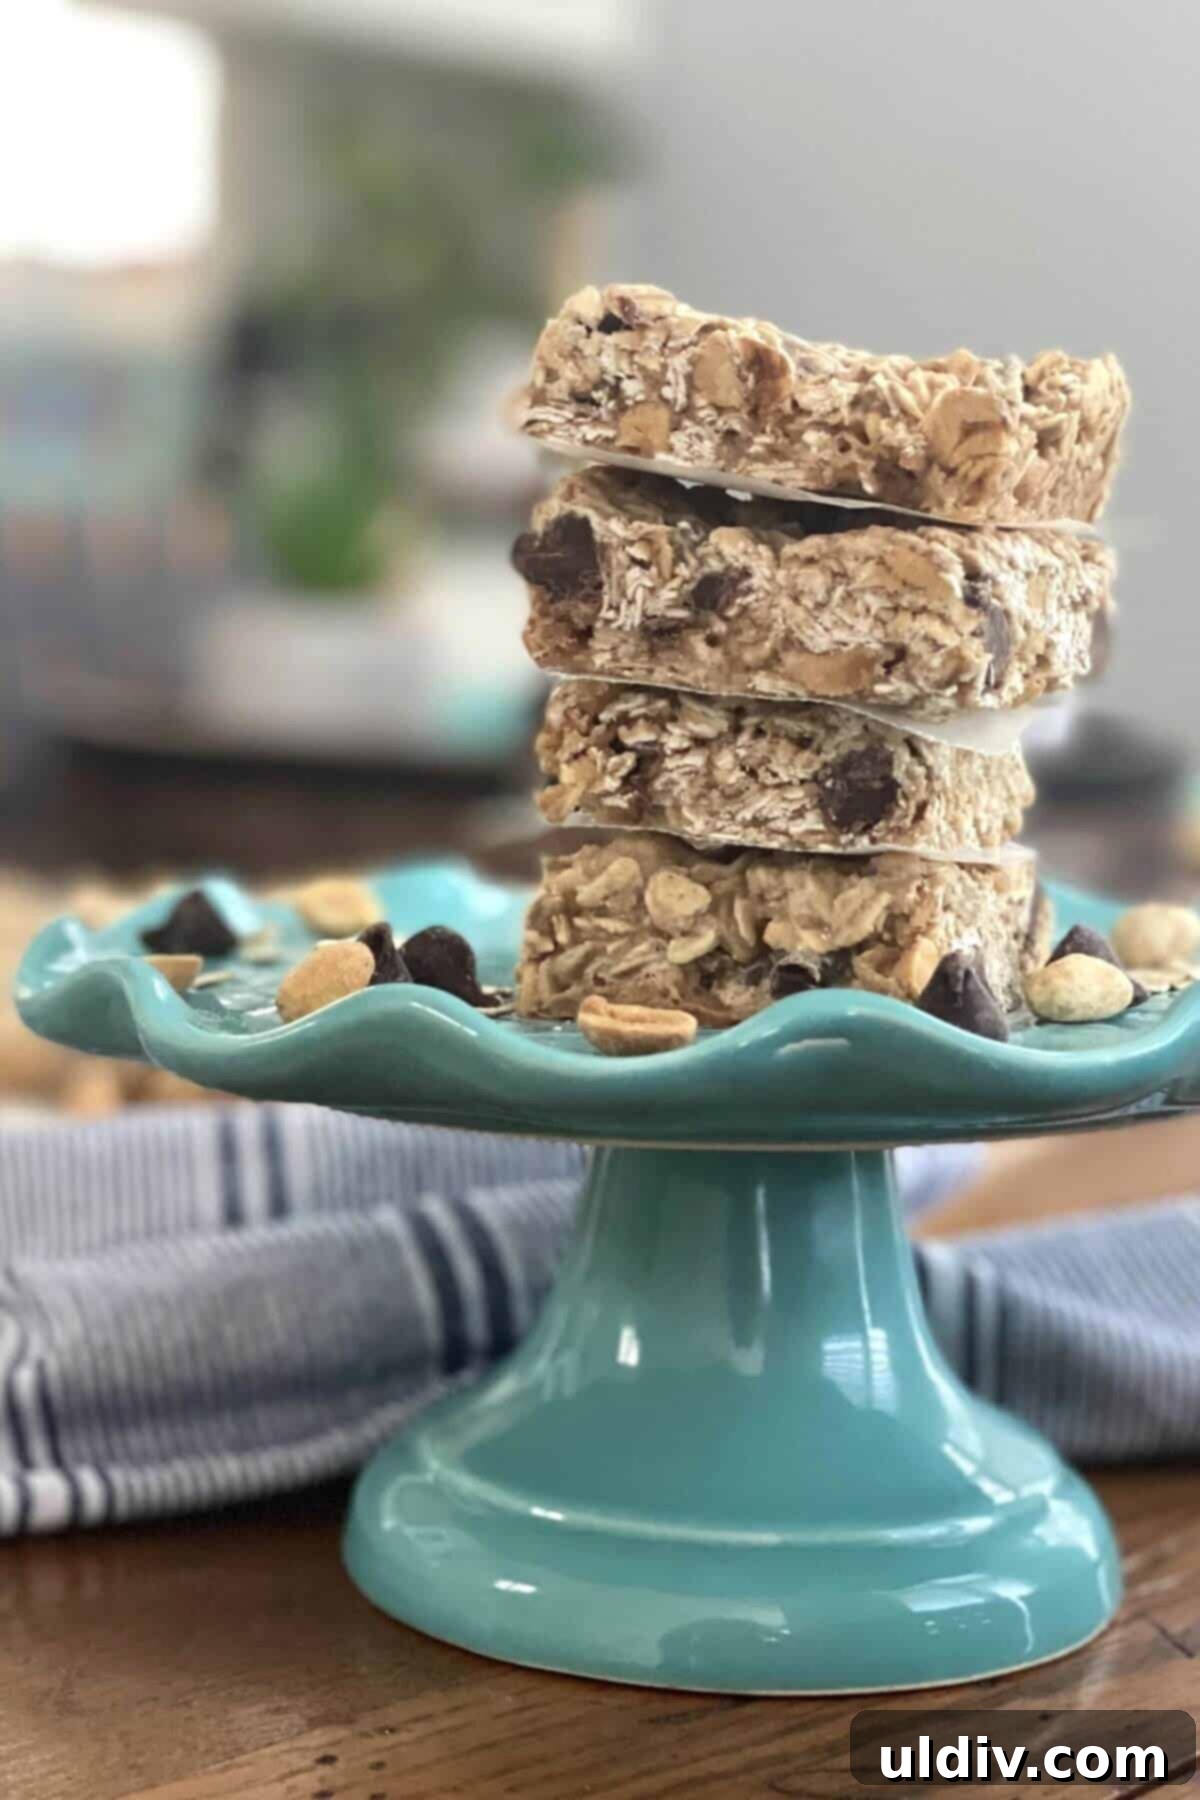
The journey to perfecting these bars involved extensive testing, primarily to find a binder that would create a sturdy, yet delightfully chewy texture. Many attempts at creating homemade granola bars ended up as more of a crumbly granola, failing to maintain a bar shape. Sweetened condensed milk proved to be the ideal solution. It’s the magical ingredient that provides the perfect stickiness and sweetness, ensuring these bars hold together beautifully, resist crumbling, and offer a satisfying chew without being overly sticky to the touch. This makes them incredibly easy to handle and enjoy on the go.
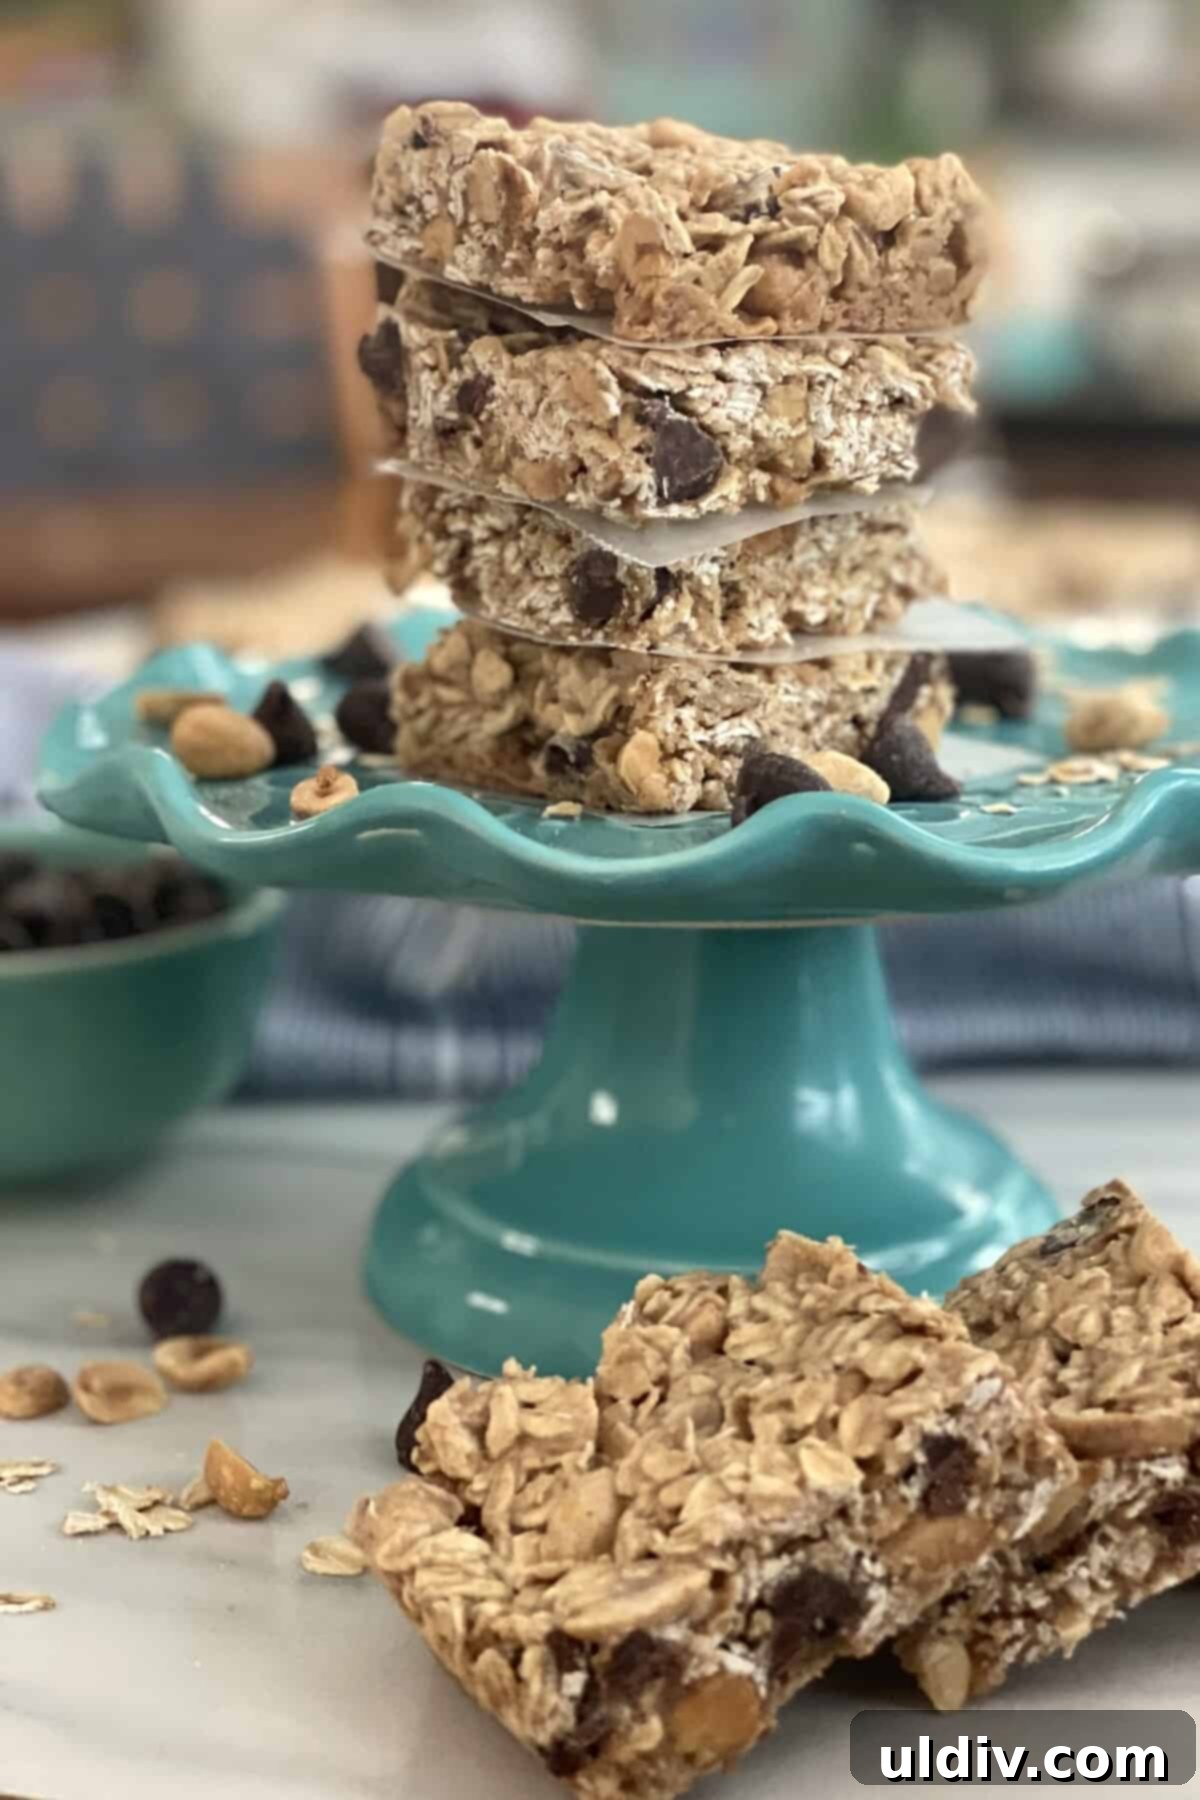
To maximize their convenience and portability, I often individually package them in self-sealing cellophane bags. This ensures they stay fresh and are ready to grab whenever hunger strikes. I typically prepare a double batch, knowing how quickly they disappear. Some are immediately tucked into the freezer, where they can be stored for up to two months, ready to be thawed for a quick snack. The remaining bars stay fresh for about a week when kept in an airtight container at room temperature.
Gather Your Simple Ingredients
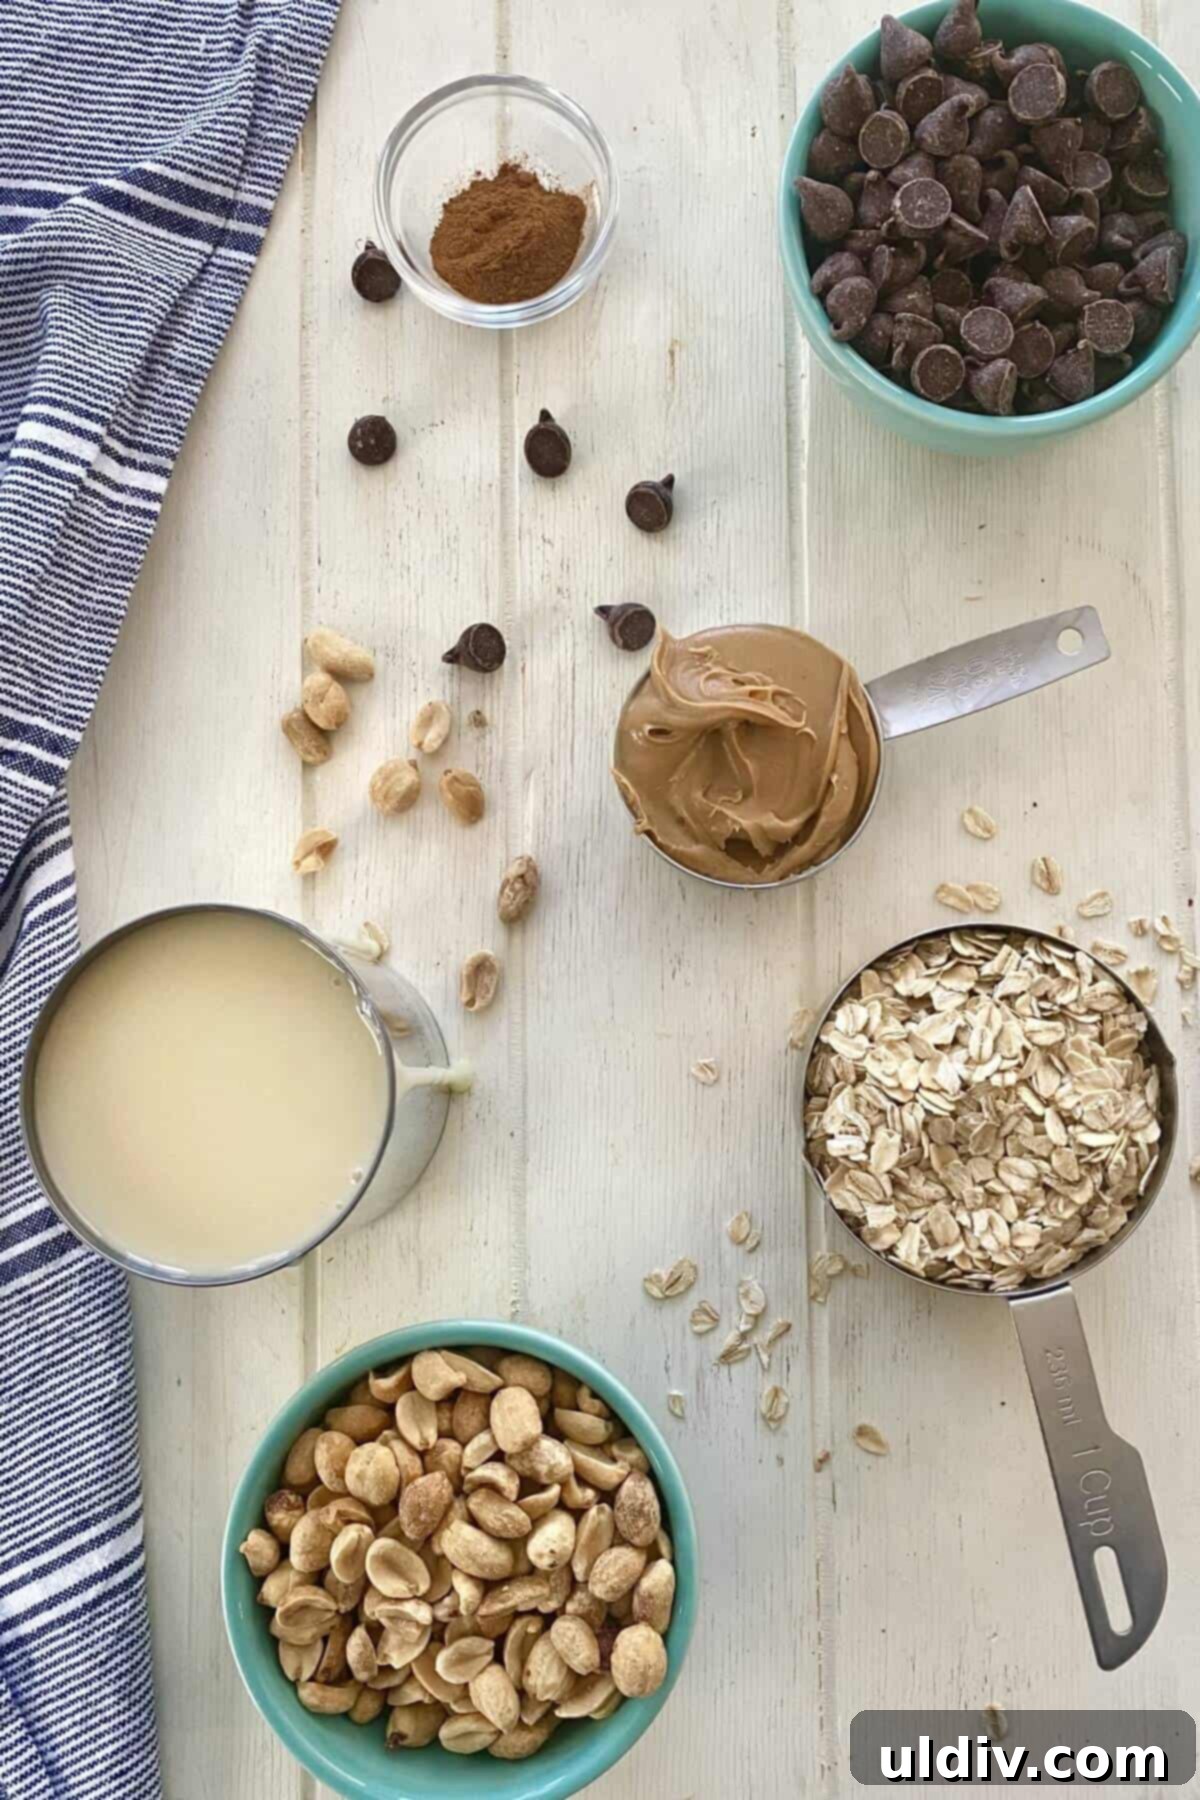
One of the beauties of this recipe is its reliance on readily available, wholesome ingredients. You likely have most of these in your pantry already! For these delicious peanut butter oat bars, you will need:
- Rolled Oats: The foundation of our bars, providing structure, fiber, and a satisfying chew. Ensure you use old-fashioned rolled oats, not instant oats, for the best texture.
- Semi-Sweet Chocolate Chips: These add pockets of melted chocolatey goodness. Feel free to adjust the quantity to your liking or experiment with milk chocolate or dark chocolate chips.
- Salted Peanuts: These provide a delightful crunch and a savory contrast to the sweetness, enhancing the overall peanut flavor. If you only have unsalted, add a tiny pinch more salt to the mixture.
- Creamy Peanut Butter: The star of the show! Use your favorite creamy peanut butter. Natural peanut butter can work, but sometimes its oil separation can affect the consistency slightly, so traditional creamy varieties are often preferred for their binding properties.
- Sweetened Condensed Milk: The magic binder that gives these bars their perfect chewy texture and holds everything together without being sticky. It also adds a lovely sweetness.
- Cinnamon: A warm spice that perfectly complements the peanut butter and chocolate, adding a subtle depth of flavor.
With these few simple ingredients, you’re well on your way to creating a batch of irresistible peanut butter chocolate chip oat bars!
Step-by-Step Recipe Details
You’ll be amazed at how straightforward and easy it is to prepare these baked peanut butter oat bars. The process involves just a few simple steps, making it ideal for even novice bakers.
First, preheat your oven to 250 degrees F (120 degrees C). This lower temperature allows the bars to bake slowly, ensuring they are firm but still chewy. Next, prepare your baking pan. I highly recommend using a 9×9 inch silicone baking pan for these tasty oat bars. They slide out incredibly easily once cooled, eliminating the need for parchment paper. If you’re using a metal baking pan, make sure to coat it thoroughly with cooking spray and then line it with parchment paper, leaving a 2-inch overhang on two opposite sides. This parchment paper sling will allow you to easily lift the cooled bars out of the pan. Don’t forget to spray the parchment paper too, for extra non-stick insurance. Set your prepared pan aside.
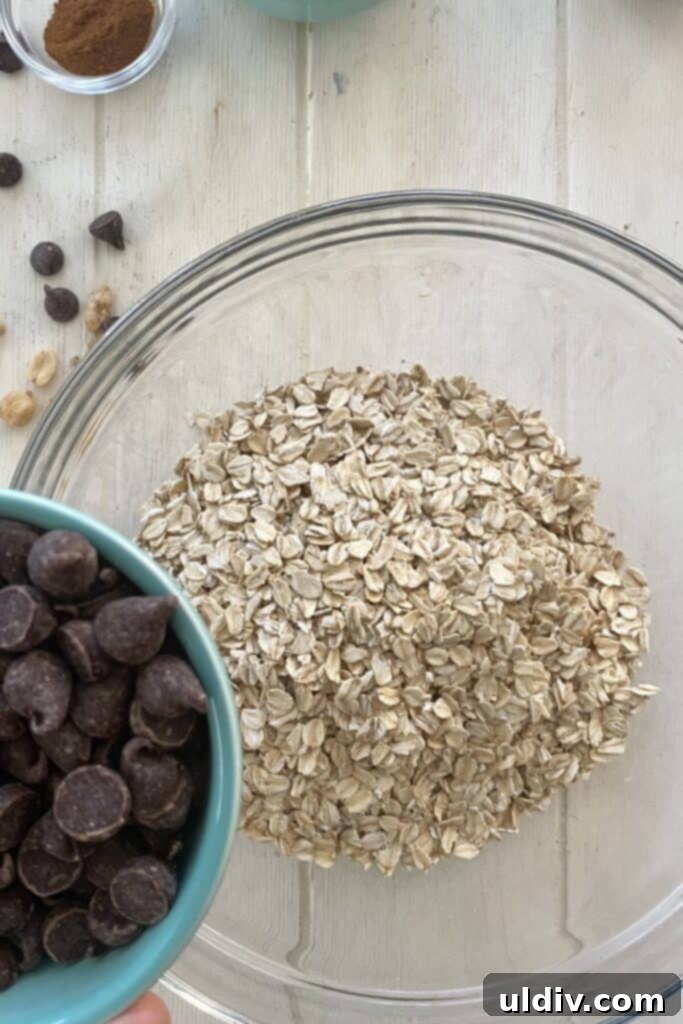
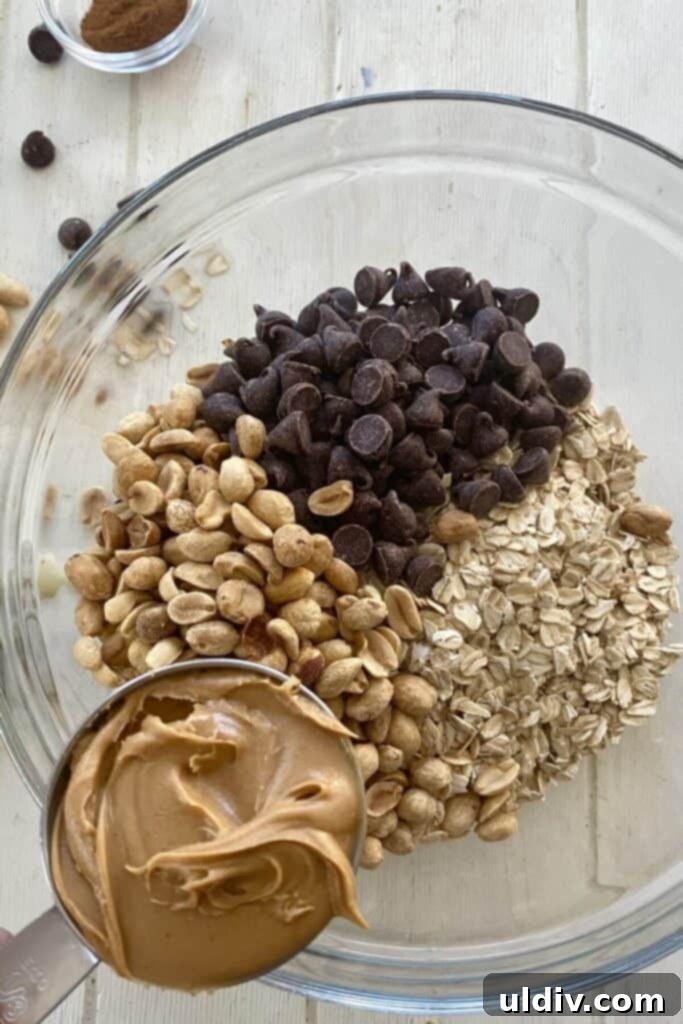
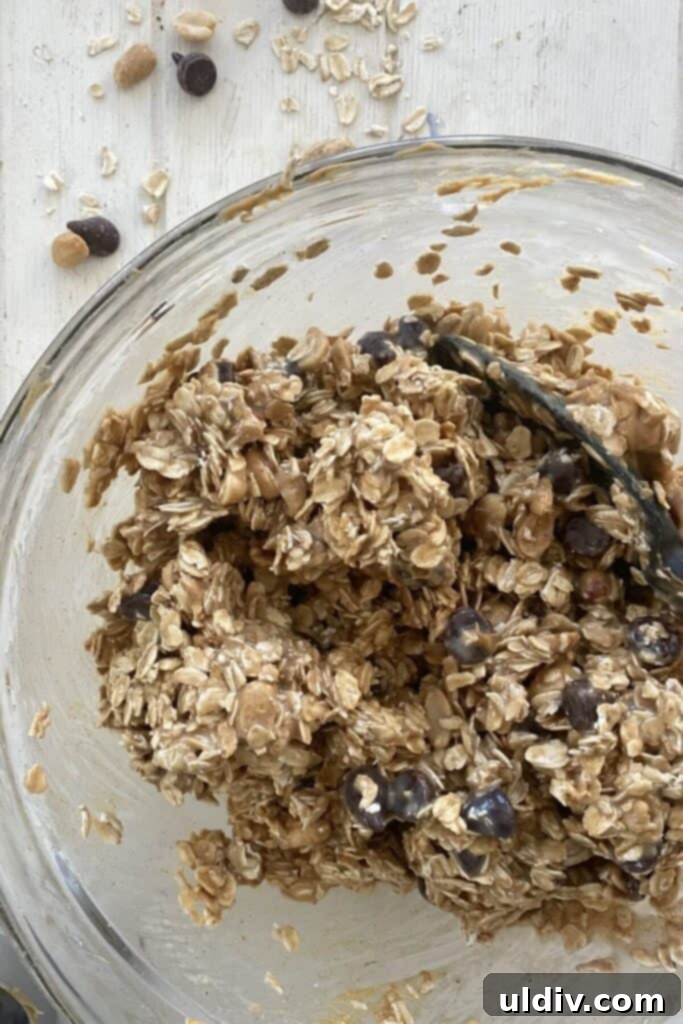
In a large mixing bowl, combine the rolled oats, semi-sweet chocolate chips, salted peanuts, creamy peanut butter, sweetened condensed milk, and cinnamon. It’s important to combine all the ingredients in one go. This mixture will be quite thick and dense, so arm yourself with a sturdy spatula or a strong mixing spoon. Mix vigorously until all the ingredients are thoroughly combined and evenly distributed. Ensure that the peanut butter and condensed milk have coated all the dry ingredients, creating a uniform, sticky mass.
Once mixed, transfer the oat mixture into your prepared 9×9 inch pan. This next step is crucial for well-formed bars: press the mixture down firmly and evenly into the pan. You want a smooth, compacted surface that fills the pan from edge to edge. Using the back of your spatula or your hands (lightly greased if it’s too sticky), apply consistent pressure across the entire surface to eliminate any air pockets and ensure your bars will have a consistent thickness and texture.
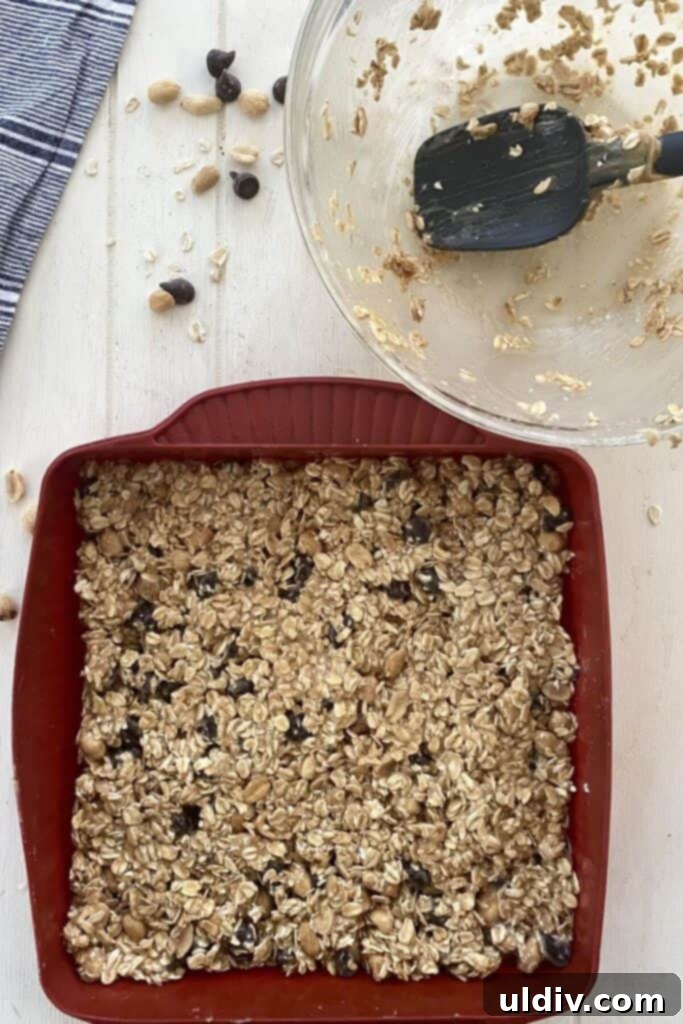
Bake the bars in the preheated oven for approximately 45 to 50 minutes. You’ll know they’re ready when they are firm to the touch and the edges have turned a beautiful light golden brown. Once baked, remove the pan from the oven and place it on a wire cooling rack. It’s crucial to let the bars cool completely in the pan for at least an hour before attempting to remove them. This allows them to firm up properly.
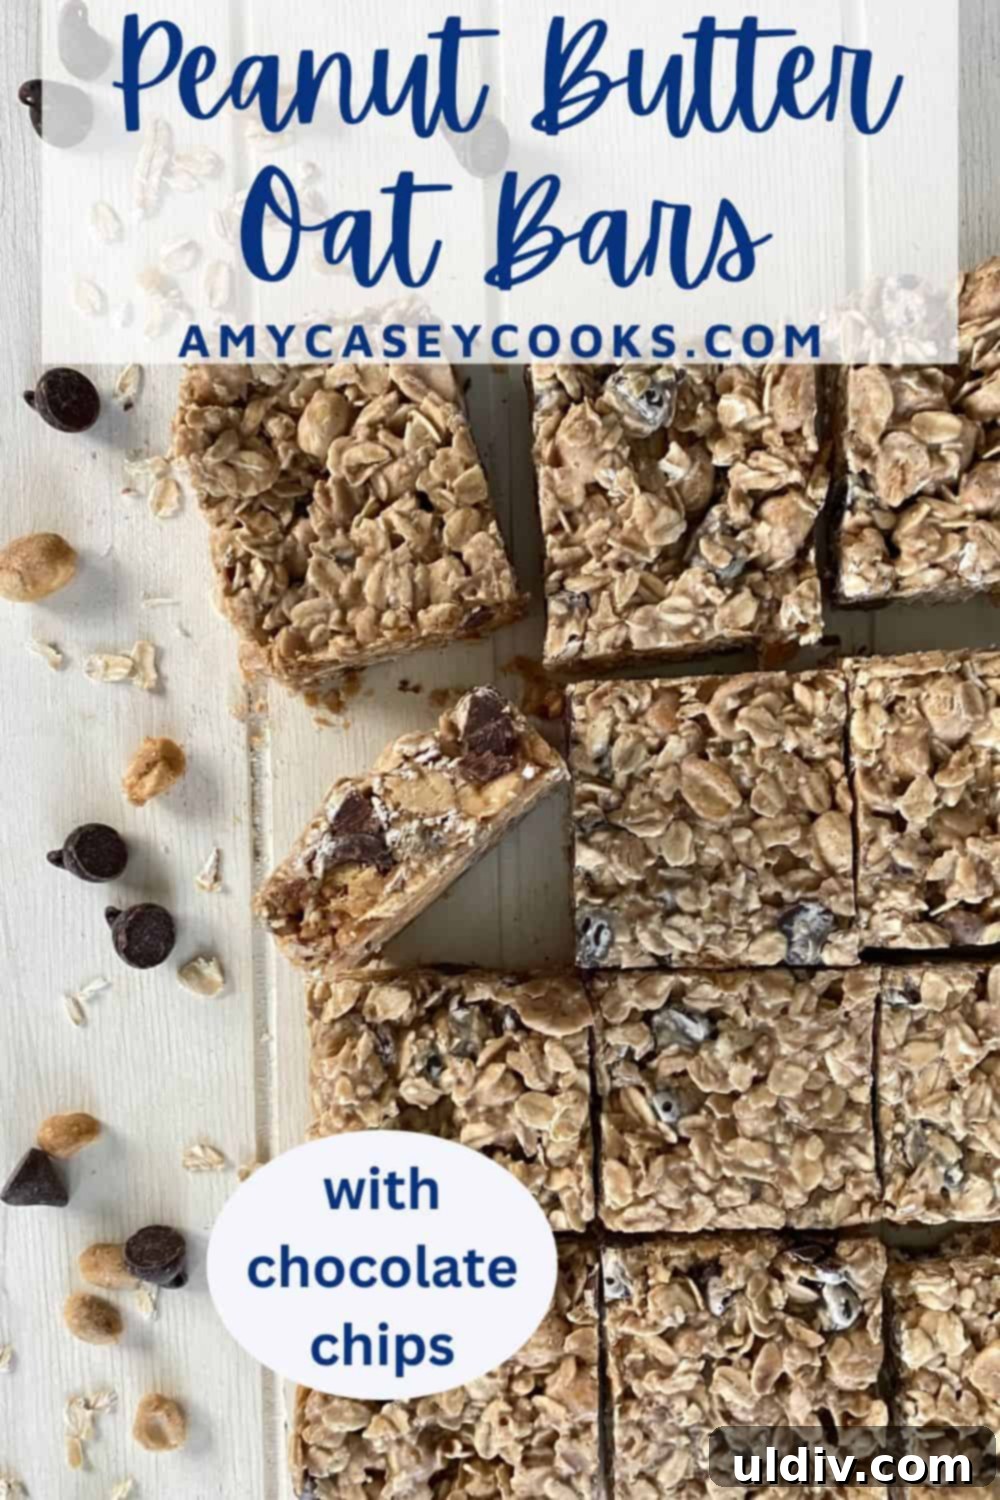
After cooling in the pan, if you used a silicone pan, simply invert it onto a cutting board. The bars should release easily. If you used a metal pan with parchment paper, use the overhang to lift the entire slab of bars out of the pan and place it upside down on a cooling rack. You want the bottom side of the bars facing up. If the bottom feels slightly sticky, allow them to air dry on the rack for an additional hour or so. This extra drying time helps them firm up even more. Finally, once completely cool and firm, cut the large slab into 16 uniform squares. Store the finished bars in an airtight container at room temperature for up to a week, or individually wrap and freeze them for up to 2 months for longer storage.
Expert Tips and Smart Suggestions
Achieving perfect peanut butter oat bars every time is easy with a few insider tips:
- The Right Baking Pan Makes a Difference: As mentioned, a 9×9 inch silicone baking pan is my absolute first choice. Its non-stick properties mean you don’t need to fuss with parchment paper; the bars simply slide right out. If a metal pan is your only option, ensure you grease it well and use parchment paper with an overhang for effortless removal.
- Evenly Pressed Mixture: For oat bars that are uniform in size, thickness, and chewiness, firmly and evenly press down the oat mixture into the baking pan. This eliminates air pockets and creates a dense, cohesive bar. A flat-bottomed glass or a second piece of parchment paper on top can help you achieve a perfectly smooth, level surface.
- Patience for Perfect Cuts: To easily cut the bars into neat squares, allow them to cool completely, unmolded and uncut, on a cooling rack for at least 4 hours at room temperature. Even better, chill them in the refrigerator for an hour after the initial cooling. This crucial step allows the chocolate chips to harden and the bars to firm up completely, preventing them from crumbling or tearing when sliced. A sharp, non-serrated knife works best for clean cuts.
- Storage Solutions: For daily enjoyment, store your peanut butter oat bars in an airtight container at room temperature for up to a week. For longer preservation, wrap individual bars tightly in plastic wrap or cellophane bags and freeze them for up to two months. They thaw beautifully at room temperature or can be gently warmed for a few seconds in the microwave.
Delicious Variations to Explore
While classic peanut butter chocolate chip oat bars are undeniably my all-time favorite flavor combination, these bars are incredibly versatile! Don’t hesitate to get creative and customize the ingredients to suit your taste preferences or whatever you have on hand. Here are some fantastic variations to try, transforming these basic oat bars into new and exciting treats:
- Nut Butter Swaps:
- Almond Butter Bliss: Substitute peanut butter with creamy almond butter, and pair it with dried cranberries and white chocolate chips for a sophisticated, fruity-nutty profile.
- Cashew Craze: Use cashew butter as the base, add salted cashews for extra crunch, and mix in butterscotch chips for a sweet and rich flavor.
- Sunflower Seed Sensation: For a nut-free option (or just a different flavor!), try sunflower butter, combined with crunchy pecans and chopped dried apricots for a vibrant, chewy twist.
- Chocolate Alternatives:
- Beyond semi-sweet, experiment with milk chocolate, dark chocolate, white chocolate, or even a mix of different chocolate types.
- Chocolate chunks instead of chips can provide a more irregular, satisfying melt.
- Fruity Additions:
- Peanut Butter & Raisin Revival: Combine the classic peanut butter with sweet raisins and creamy white chocolate chips for a nostalgic flavor.
- Other dried fruits like chopped dates, figs, blueberries, or cherries can add natural sweetness and chewiness.
- Spice It Up:
- A pinch of nutmeg, a dash of ginger, or even a tiny amount of cardamom can add warmth and complexity to your bars.
- A touch of sea salt sprinkled on top before baking can enhance all the flavors, especially the chocolate.
- Extra Crunch:
- Incorporate various nuts like walnuts, pecans, almonds, or even pumpkin seeds and sunflower seeds for added texture and nutrition.
- Toasted coconut flakes can add a tropical dimension and a lovely chew.
More Delicious Snack Recipes to Enjoy
If you love these peanut butter oat bars, you’re sure to enjoy these other wholesome and tasty snack ideas from my kitchen:
- Healthy Oatmeal Cookies with Coconut: Chewy, flavorful, and packed with good-for-you ingredients.
- Crispy and Chewy Almond Butter Chocolate Chip Cookies: The perfect balance of textures in a delightful cookie.
- The Ultimate Banana Bread Muffins: Moist, tender muffins bursting with banana flavor.
- Peanut Butter Chocolate Chip Energy Balls: A no-bake, protein-packed snack perfect for a quick boost.
Share Your Creations!
I genuinely hope you take the time to make these delicious peanut butter oat bars! If you do, I would absolutely love to hear from you. Your feedback and creations truly make my day. Please be sure to leave a comment below and consider giving this recipe a rating. I do my best to reply to all your wonderful comments and questions.
Don’t forget to snap a photo of your beautiful bars and share it on Instagram! Tag @amycaseycooks so I can see your culinary masterpieces. I often feature your photos in my Insta stories, celebrating all the amazing dishes you create. Also, be sure to check out my Facebook and Pinterest pages for a wealth of fabulous foodie stories, engaging videos, practical cooking tips, and a constant stream of new recipes. And to ensure you never miss out on my latest culinary adventures, sign up for my newsletter – it’s packed with inspiration directly to your inbox!
Recipe
Peanut Butter Oat Bars with Chocolate Chips
Print
Pin
Rate
Ingredients
- 3 ¼ cups rolled oats
- 1 cup semi-sweet chocolate chips
- 1 cup salted peanuts
- ⅓ cup creamy peanut butter
- 1 14-ounce can sweetened condensed milk
- 1 teaspoon cinnamon
Instructions
-
Preheat oven to 250 degrees F (120°C). Coat a 9×9 inch silicone baking pan with cooking spray. If using a 9×9 inch metal baking pan, coat with cooking spray, then line with parchment paper, allowing the side edges to overhang by 2 inches. Coat the parchment paper with cooking spray. Set aside.
-
In a large bowl, add the rolled oats, chocolate chips, peanuts, peanut butter, sweetened condensed milk, and cinnamon. Stir vigorously with a sturdy spatula until all ingredients are well combined and the mixture is uniform.
-
Spread the oat mixture into the prepared pan. Press down firmly and evenly to ensure the top is smooth and the mixture completely fills the pan without gaps.
-
Bake for 45 to 50 minutes, or until the bars are set and the edges are lightly golden brown.
-
Remove the pan from the oven and place it on a cooling rack. Let the bars cool completely in the pan for at least 1 hour.
-
If using a silicone pan, simply flip the bars over onto a cooling rack. If using a metal baking pan, use the parchment paper overhang to lift the entire slab of bars from the pan and flip them over onto a cooling rack, so the bottom side is facing up. If the bottom feels sticky, let them air dry for about an hour or until firm.
-
Once fully cooled and firm, cut into 16 bars. Store in an airtight container at room temperature for up to a week, or wrap individually in cellophane bags and freeze for up to 2 months.
Video
Notes
For uniformly sized and thick oat bars, firmly and evenly press the oat mixture into the baking pan.
To ensure easy cutting into squares, allow the completely cooled, unmolded, and uncut oat bars to rest on a cooling rack for approximately 4 hours at room temperature, or chill in the refrigerator for an hour. This allows the chocolate chips to harden and the bars to firm up properly for clean cuts.