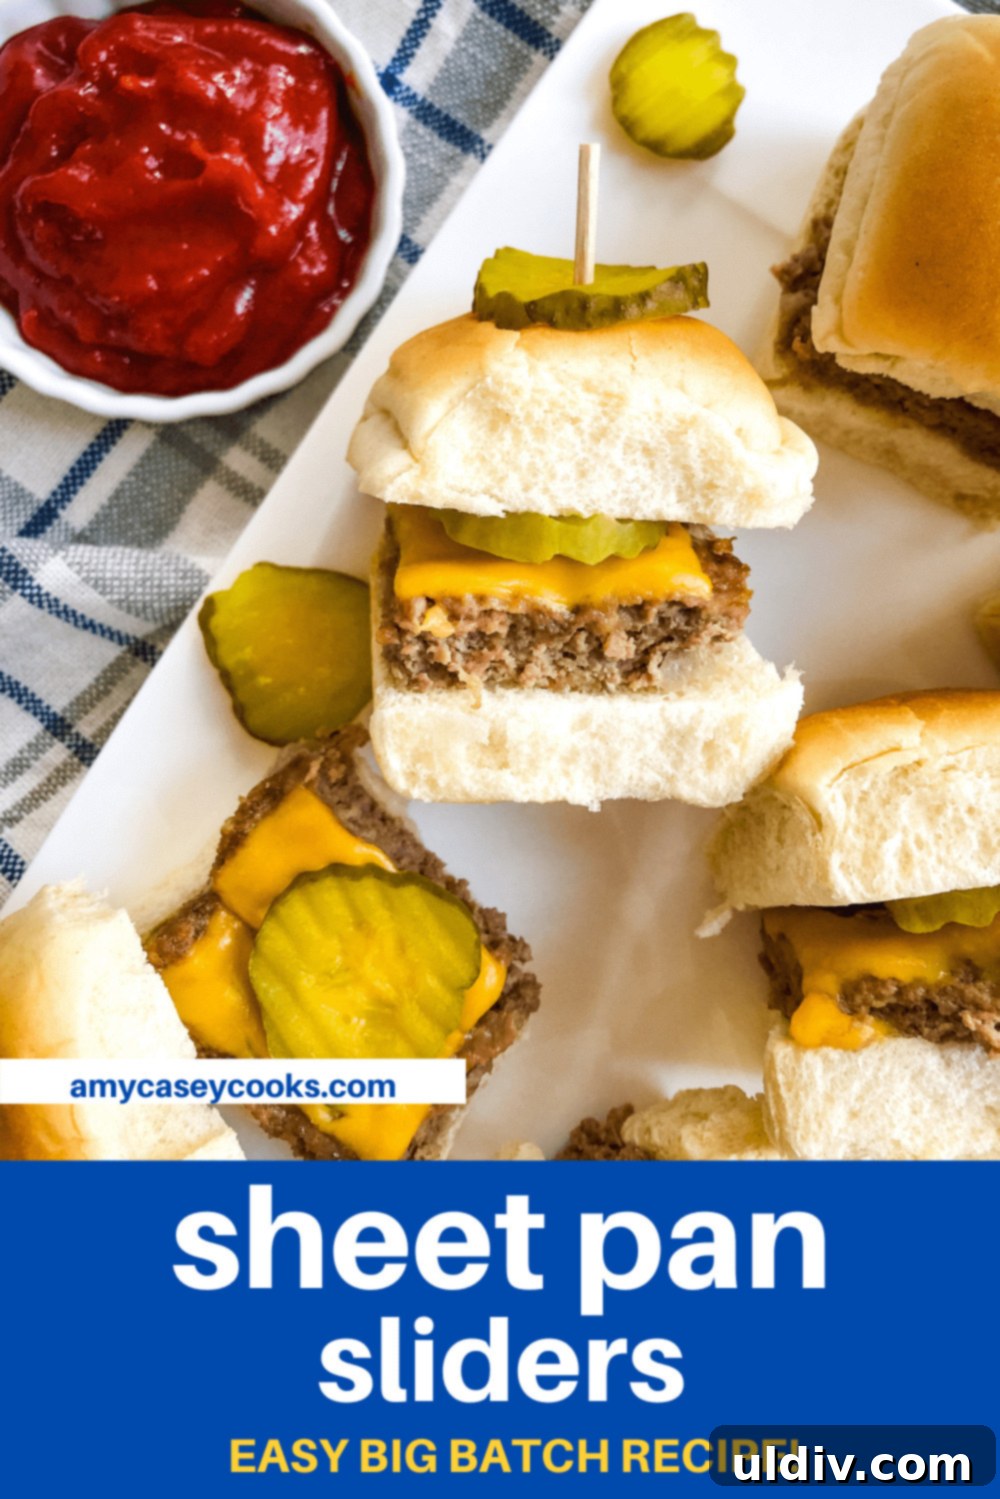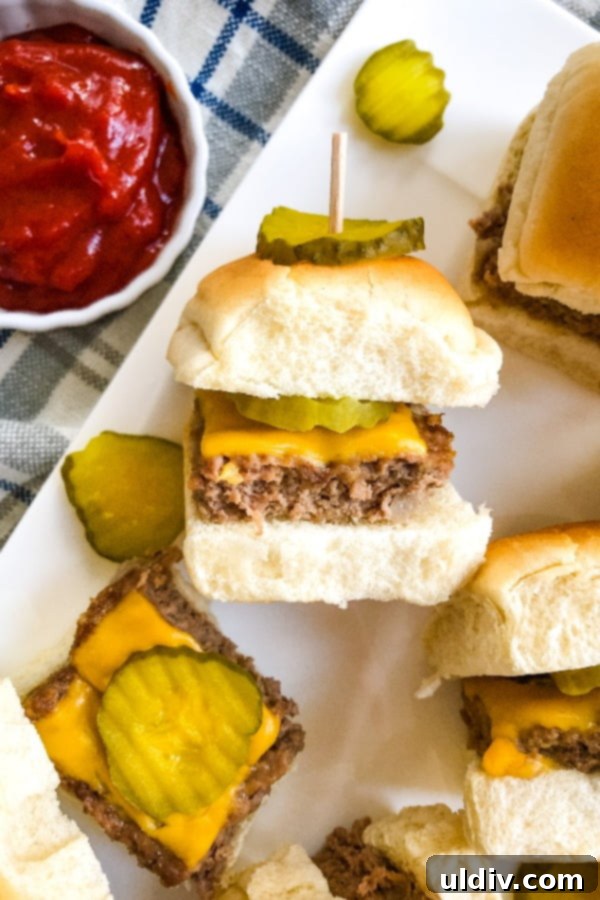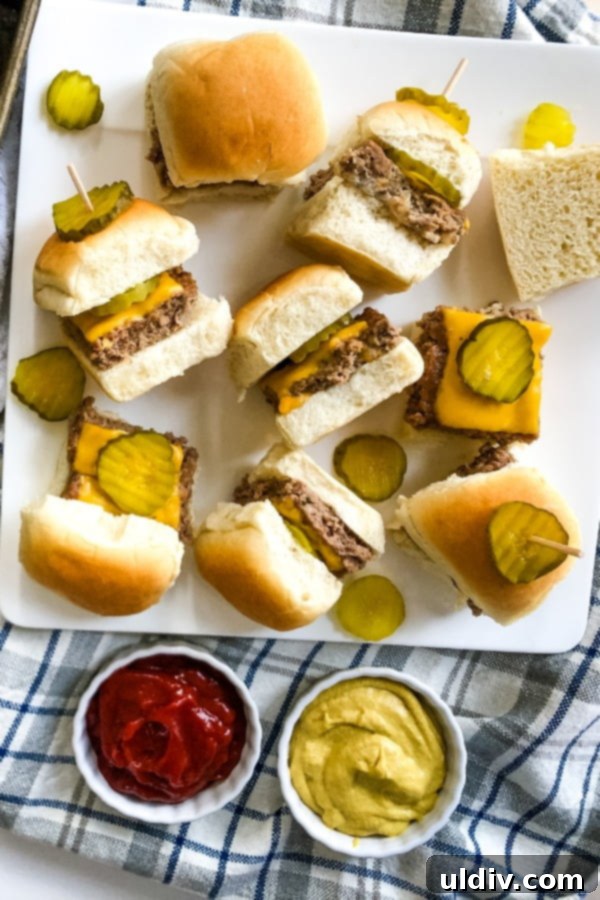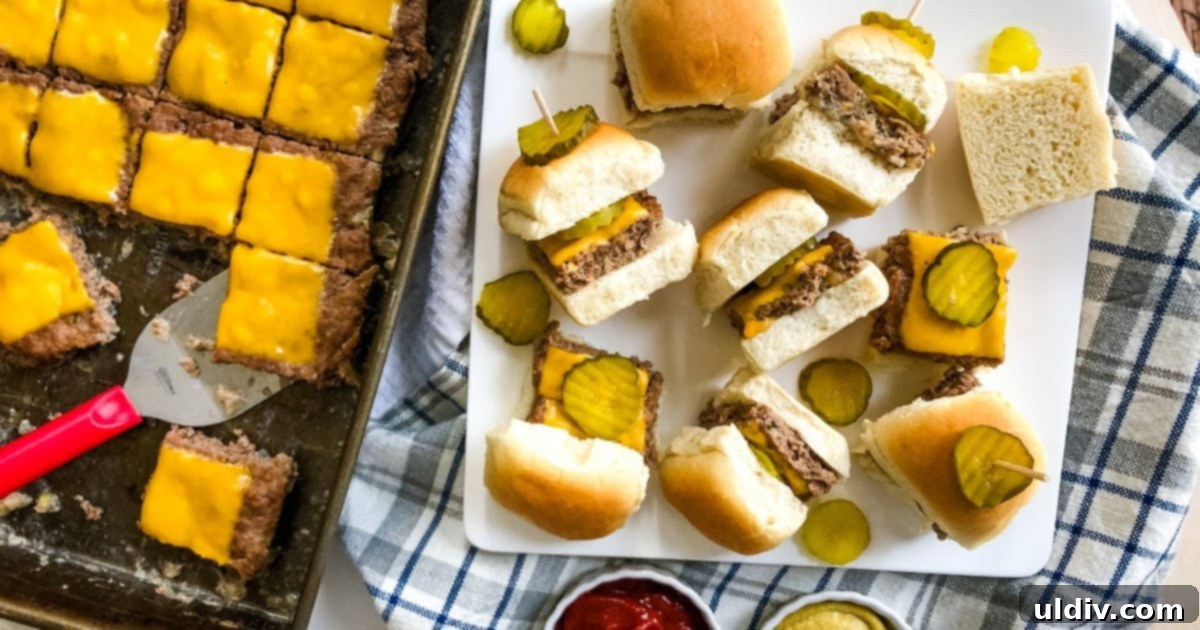
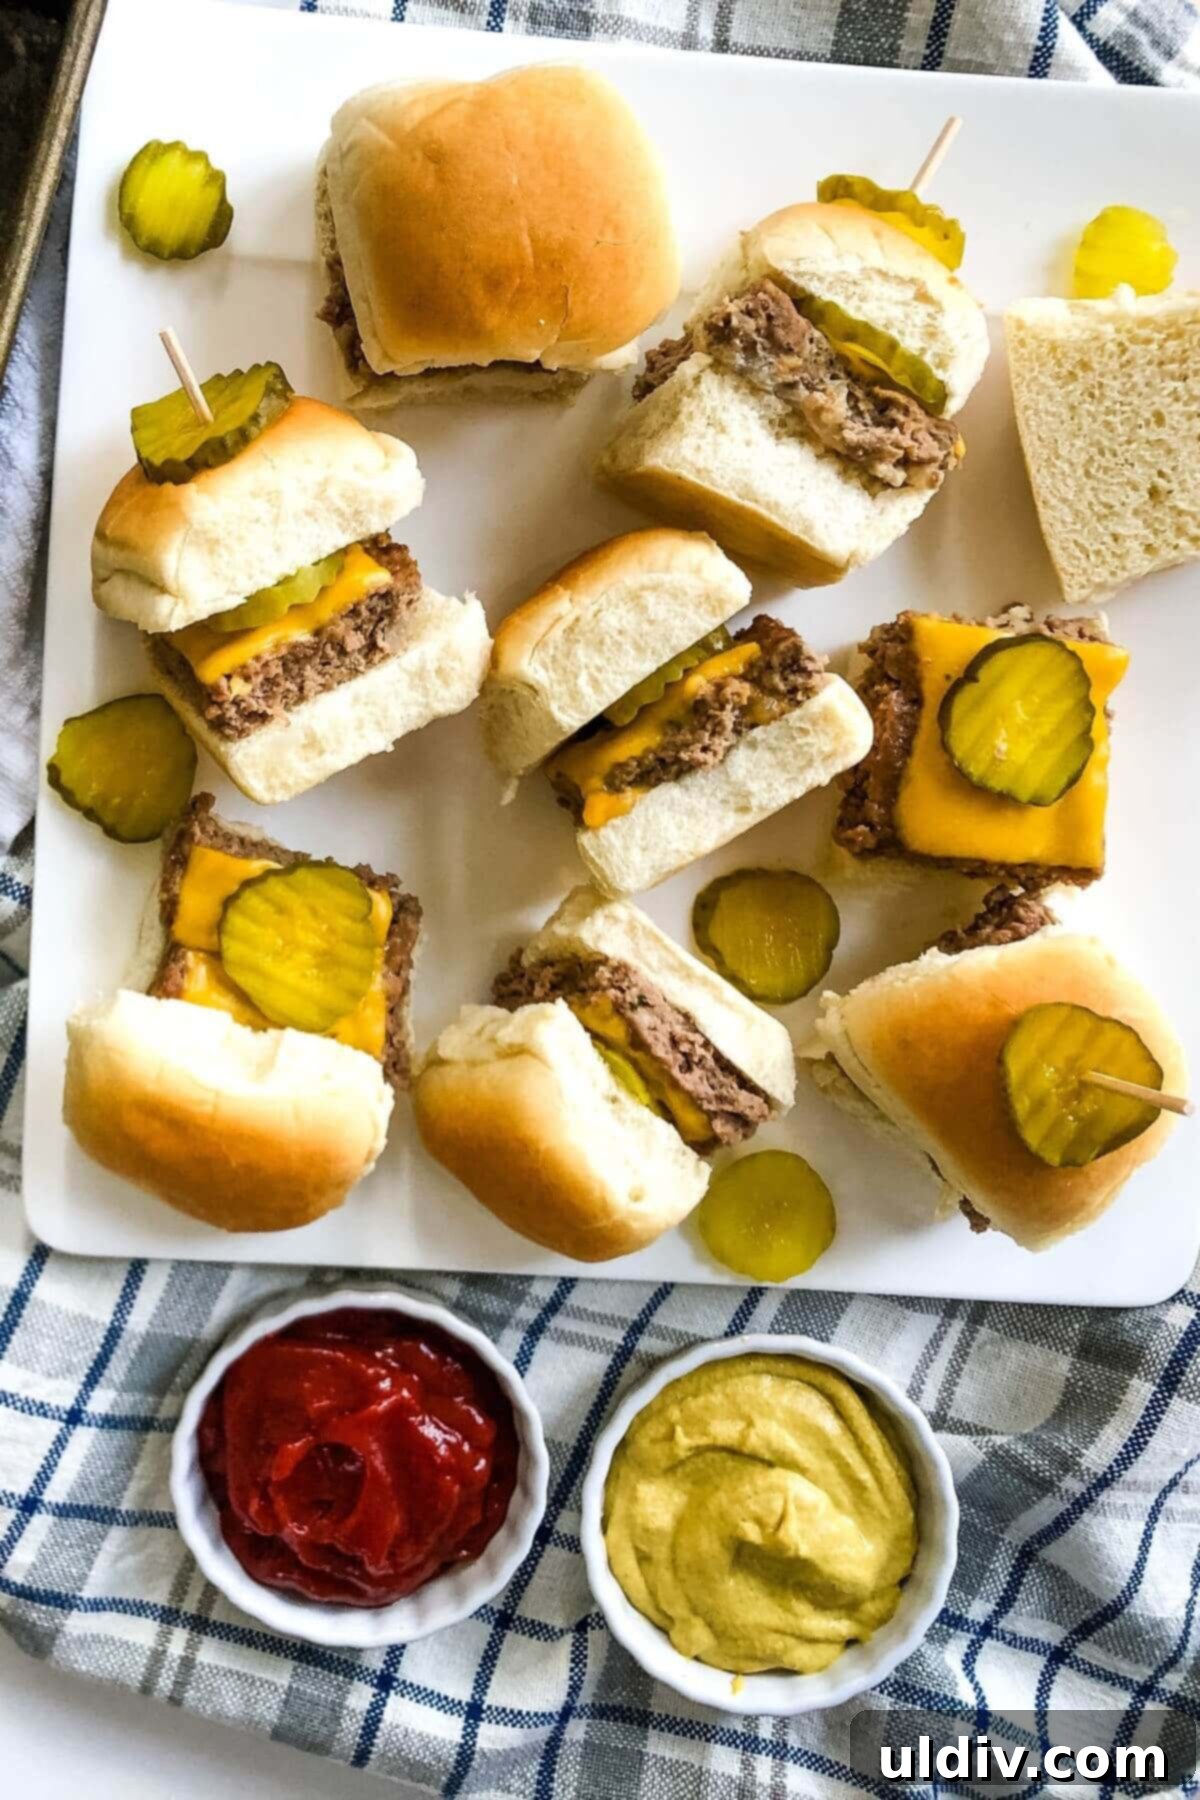
This easy-to-follow recipe is your ultimate guide to preparing a generous batch of Cheeseburger Sliders for a crowd. Forget individual patty forming; this ingenious method involves baking one large patty in a standard 9×13 inch pan, topping it with melted cheese, and then effortlessly cutting it into 24 perfect mini sliders. Served on soft rolls with classic accompaniments like pickles, ketchup, and mustard, these delightful mini beef sliders are the ideal choice for quick family dinners, convenient snacks, or as the star attraction at your next party or game day gathering.
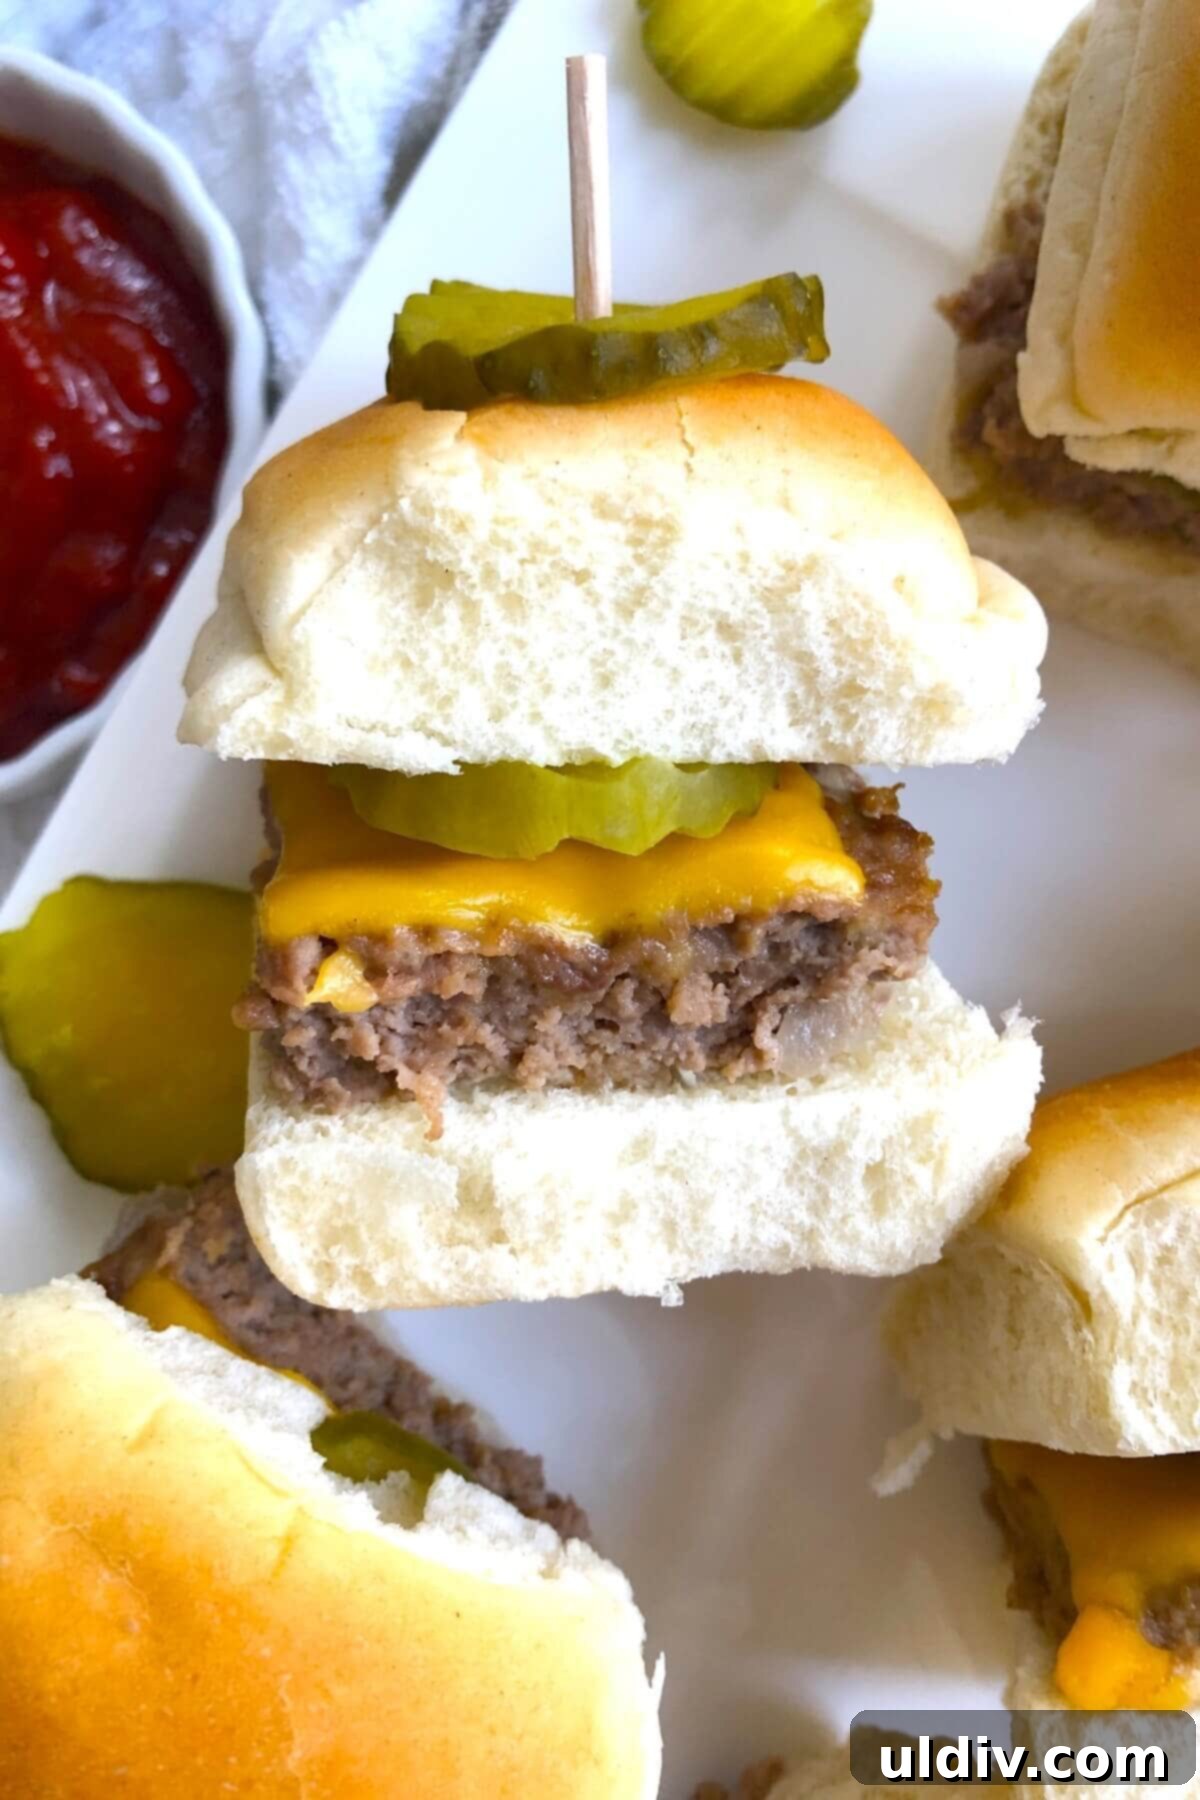
Whether sizzling on the grill in our backyard along the beautiful Jersey shore or enjoyed at a local diner, burgers have always been a beloved family favorite. Our trusty Weber grill often works overtime, churning out a variety of burger recipes. From my popular smash burgers with deliciously melty cheese, to these robust beefy burgers topped with fresh tomato relish, and even flavorful smoky Monterey Jack turkey burgers, they are consistently a hit with everyone.
However, when the occasion calls for feeding a large crowd, or I simply want to have plenty of burgers on hand for spontaneous quick meals or the perfect snack, this baked cheeseburger slider recipe is my absolute go-to. It’s not just about quantity; it’s about delivering that classic cheeseburger taste in a convenient, bite-sized package that’s perfect for any event.
The brilliance of this recipe lies in its incredibly efficient method for preparing 24 mini burgers simultaneously. Instead of painstakingly forming and cooking individual patties, you create one large, perfectly seasoned ground beef patty directly in a baking dish. This large patty is then baked to juicy perfection, topped generously with slices of your favorite cheese, and finally, easily cut into small, slider-sized portions. Each mini hamburger slider is then placed on a soft bun and served warm. It’s an incredibly simple and streamlined process that guarantees delicious results every time!
Why You’ll Adore This Easy Hamburger Sliders Recipe
These cheeseburger sliders are more than just mini burgers; they’re a smart solution for feeding many people with minimal effort. Here’s why this recipe will become your new favorite:
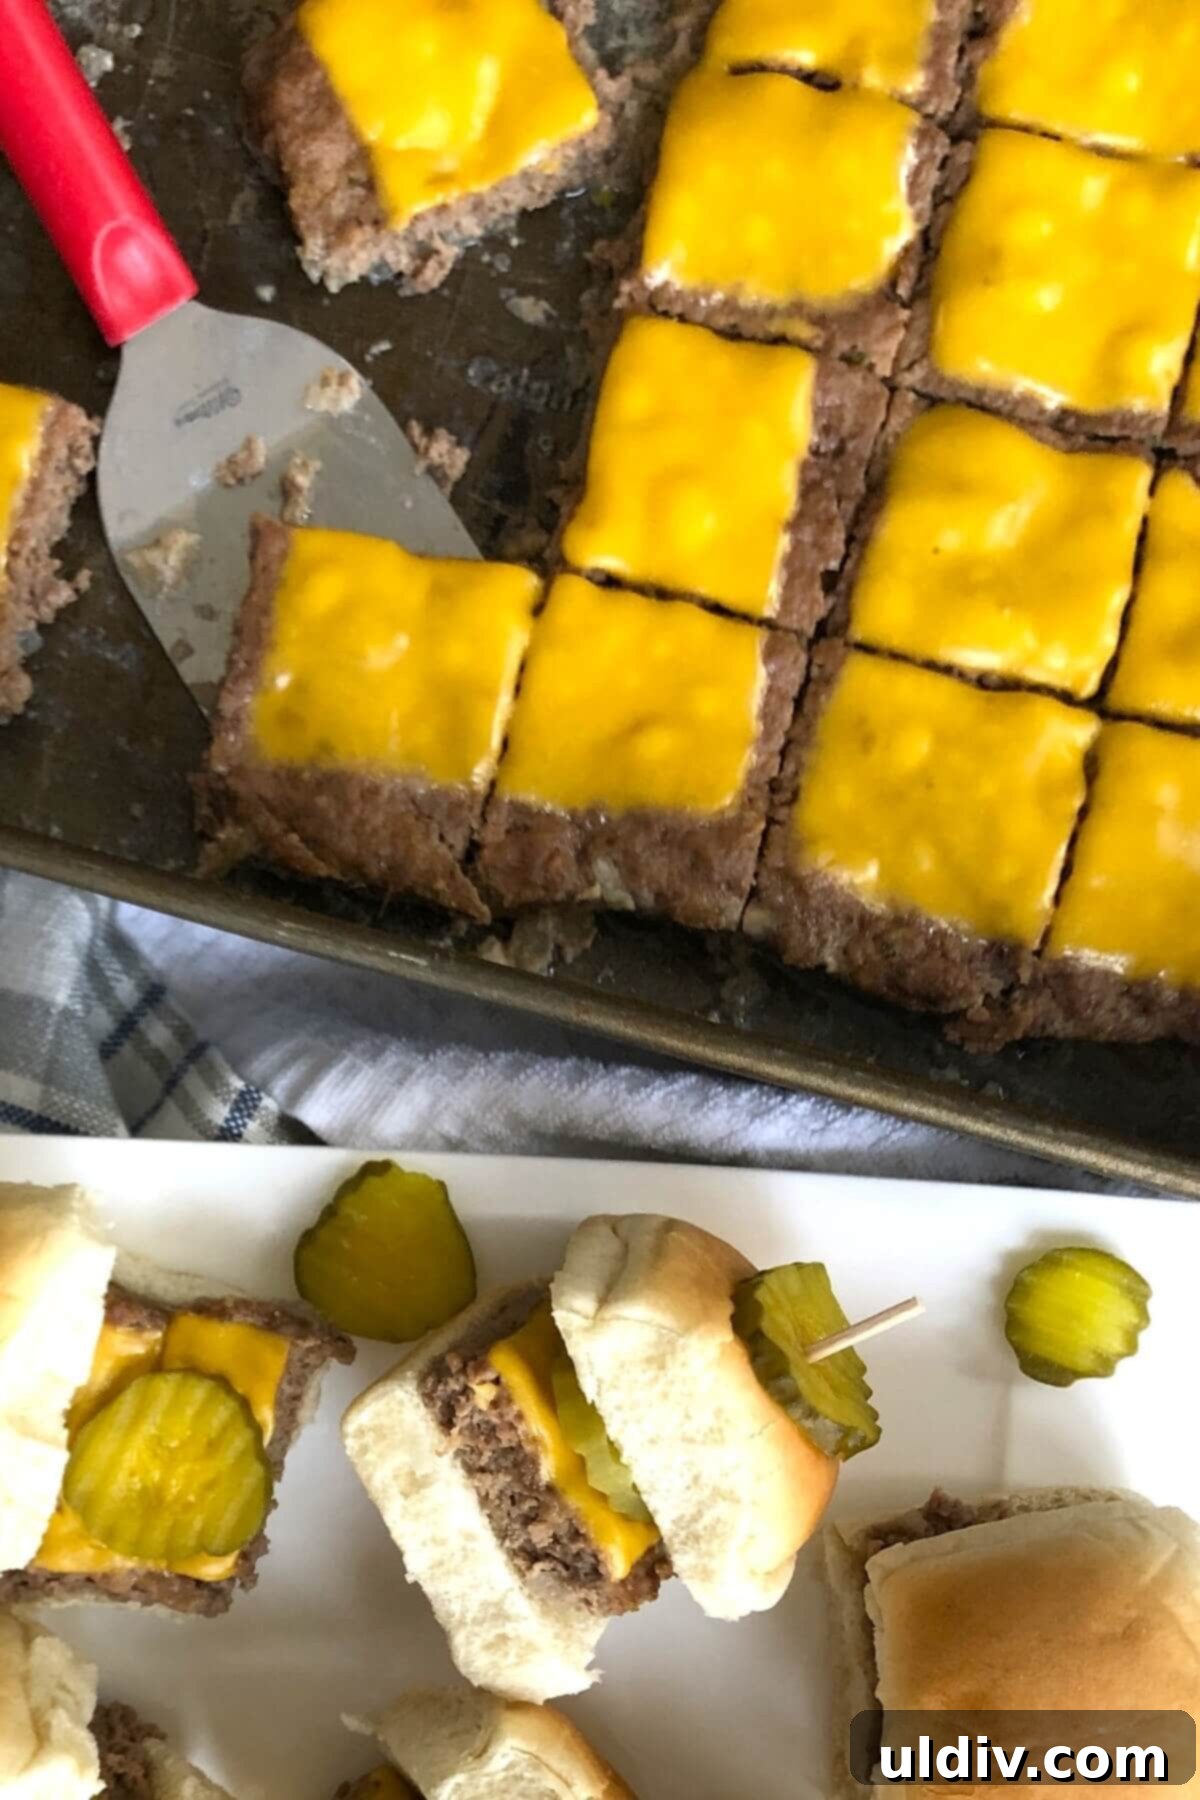
- Effortlessly Simple to Prepare: Say goodbye to the tedious task of shaping individual burger patties. This recipe streamlines the process by having you form and bake one large burger patty in a single baking dish. Once cooked, simply top with sliced cheese, cut into 24 mini slider burgers, and serve on soft rolls. It’s a game-changer for batch cooking!
- Generous Portions for Everyone: Designed specifically for feeding a crowd, this recipe yields a full two dozen mini burgers. This means there’s more than enough to go around, ensuring all your guests or family members can enjoy these savory treats without you having to constantly cook.
- Perfect for Any Party or Gathering: Mini sandwiches are universally loved, making these cheeseburger sliders an ideal choice for virtually any social event. Their convenient 2-3 bite size makes them perfect for cocktail parties, casual backyard barbecues, elegant bridal showers, spirited game day spreads (especially for a Super Bowl party!), and relaxed movie nights at home. They’re guaranteed to be a crowd-pleaser.
- Excellent Make-Ahead Option: To save precious time on the day of your event, you can easily prepare these burgers in advance. Simply cook the patty, slice, and assemble the sliders, then store them. When you’re ready to serve, reheating is a breeze using either the microwave for a few or the oven for a larger batch. Refer to our detailed Storage and Reheating directions below for best results.
Essential Ingredients & Smart Substitutions
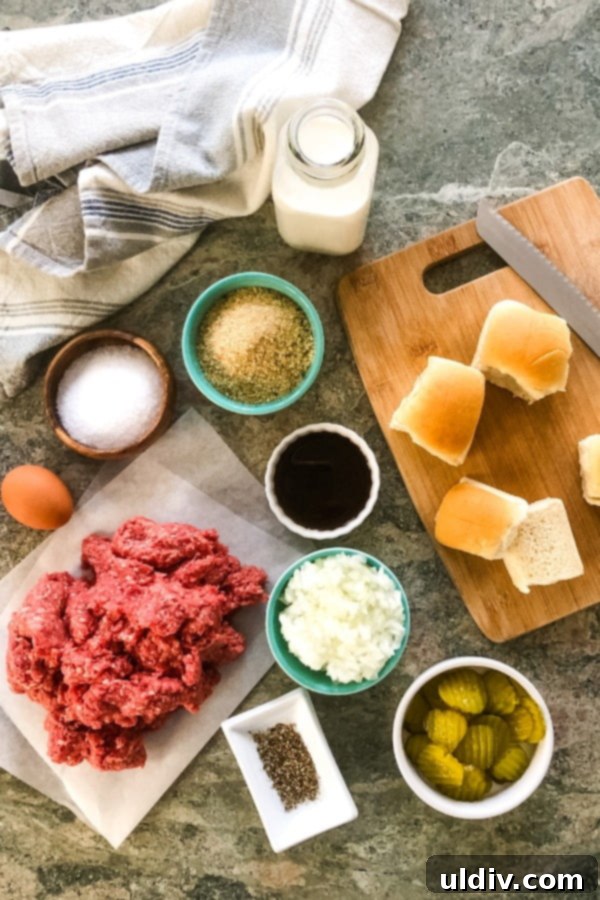
Gathering fresh and pantry staples for this recipe is straightforward. We’ve listed the core ingredients and provided flexible substitution options where applicable. For precise quantities and measurements, please refer to the comprehensive recipe card located further down the page.
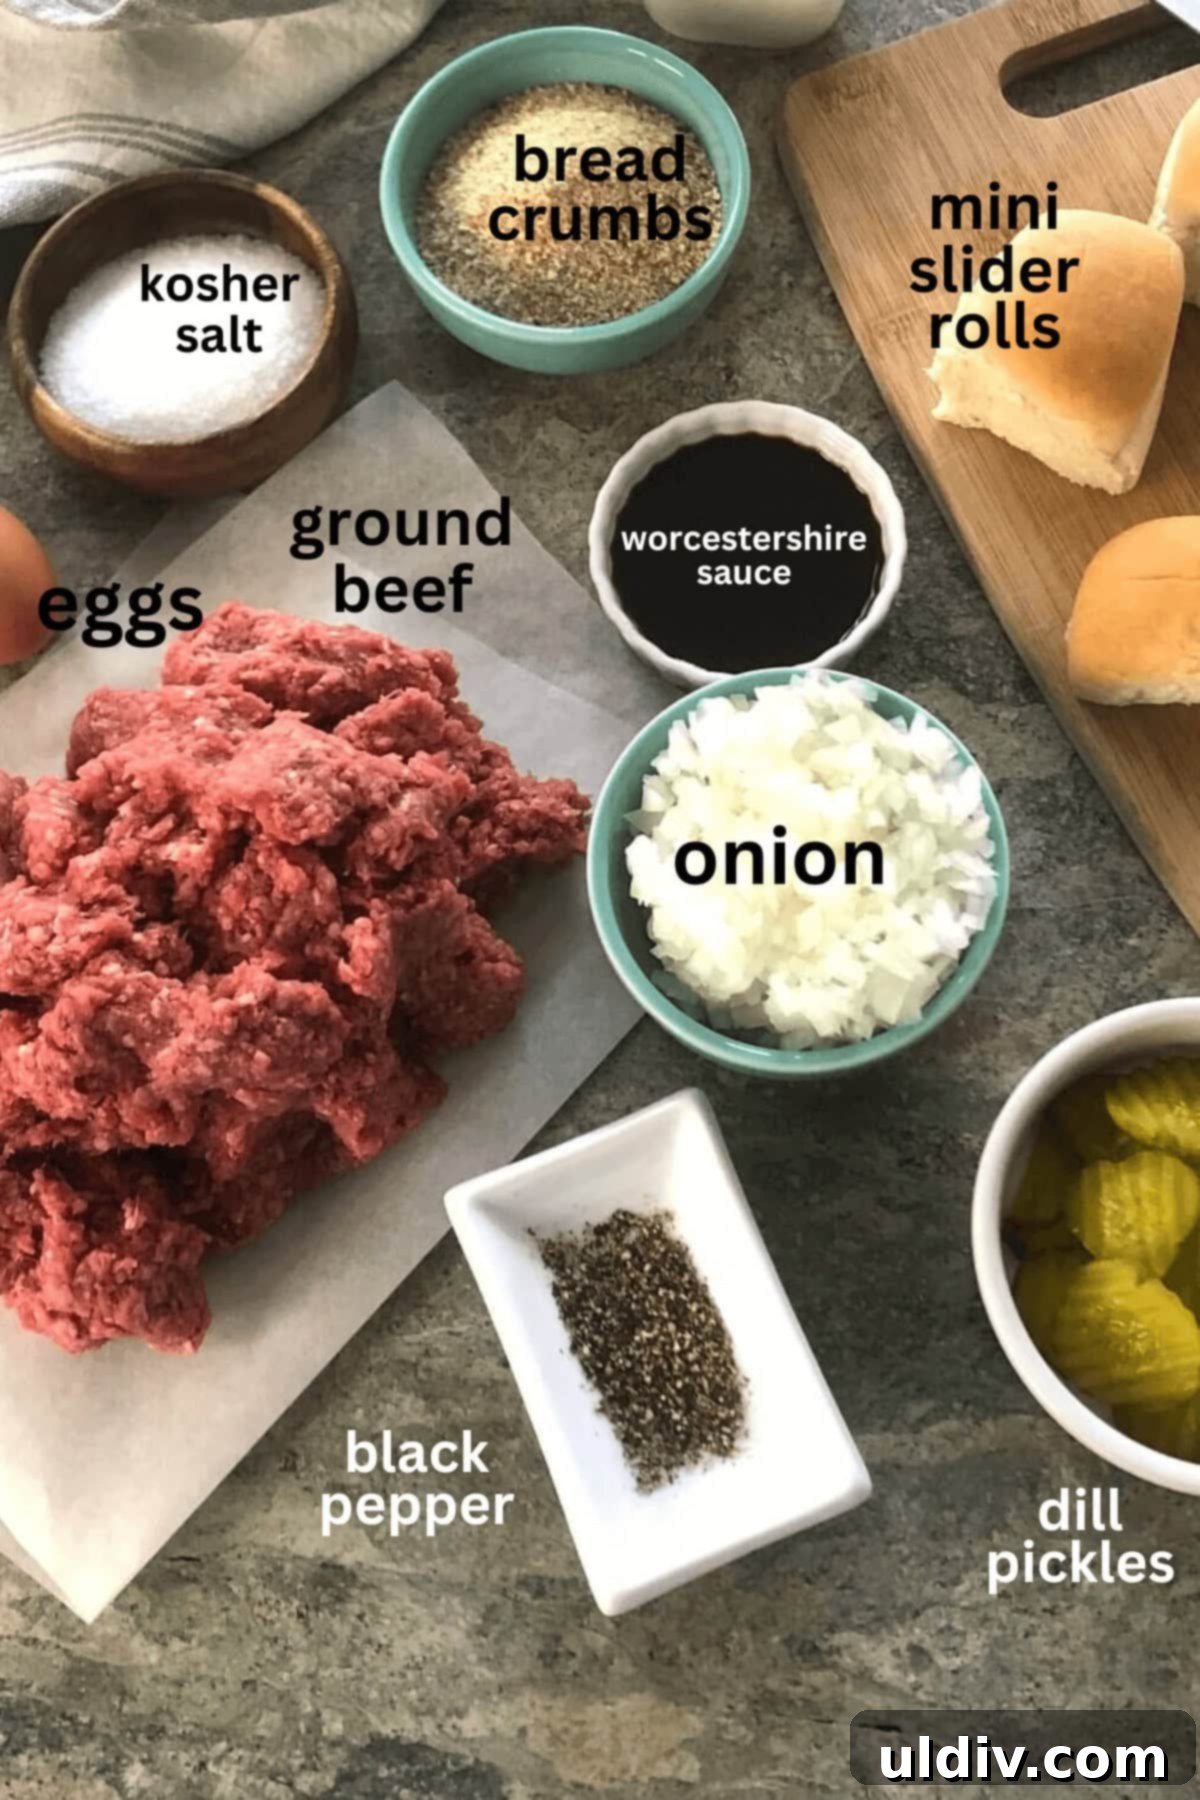
- Onion: We recommend using a yellow or Vidalia onion, finely diced. The onion is crucial as it adds essential moisture and a deeper, more savory flavor profile to the burger patty, preventing it from drying out.
- Ground Beef: For the juiciest and most flavorful sliders, an 85/15 blend of ground beef is ideal. This ratio provides enough fat to keep the patties moist without being overly greasy. For alternative options, ground turkey or ground chicken can also be used, though they may result in a slightly leaner and less rich slider.
- Plain Dried Bread Crumbs: These act as a binder, helping the patty hold its shape and absorb some moisture, resulting in a tender texture.
- Large Eggs: Eggs are another key binding agent, ensuring the large patty stays cohesive during baking and doesn’t crumble.
- Worcestershire Sauce: This ingredient is a secret weapon for adding a rich, umami depth that enhances the beefy flavor, giving the sliders that irresistible classic burger taste.
- Kosher Salt: Essential for seasoning, kosher salt brings out the natural flavors of the beef. Adjust to your personal preference.
- Fresh Ground Black Pepper: A dash of freshly ground black pepper adds a subtle kick and aromatic warmth to the patty.
- American Cheese Slices: A true classic for cheeseburgers, American cheese melts beautifully and offers a creamy texture. However, feel free to substitute with other melting cheeses like mozzarella, Swiss, Monterey Jack, spicy pepper jack, or sharp cheddar cheese to customize the flavor.
- Dill Pickle Chips: These provide a delightful tangy crunch that perfectly complements the rich burger. Bread and butter pickle chips are also a fantastic, slightly sweeter alternative.
- Mini Slider Rolls: Look for rolls specifically labeled as “mini slider rolls,” “dinner rolls,” or “party rolls,” which are typically about 2-inch square buns. We particularly enjoy Pepperidge Farm Farmhouse brioche rolls for their soft texture and rich flavor. If mini rolls are hard to find, you can opt for larger slider-sized buns and adjust the cutting to make 12 larger sliders from the same patty.
- Ketchup: An indispensable condiment for any cheeseburger.
- Mustard: Whether classic yellow or a more gourmet Dijon, mustard adds a zesty tang.
Crafting Your Delicious Cheeseburger Sliders: A Step-by-Step Guide
These Cheeseburger Sliders offer all the mouth-watering deliciousness of full-sized burgers, but in a charmingly mini and incredibly convenient form. This time-saving recipe cleverly bypasses the need for individual burger formation and the often-lengthy process of grilling, making it perfect for busy cooks. Here’s a detailed overview of the recipe, ensuring perfect results. For complete instructions and a helpful step-by-step video, please refer to the dedicated recipe card below.
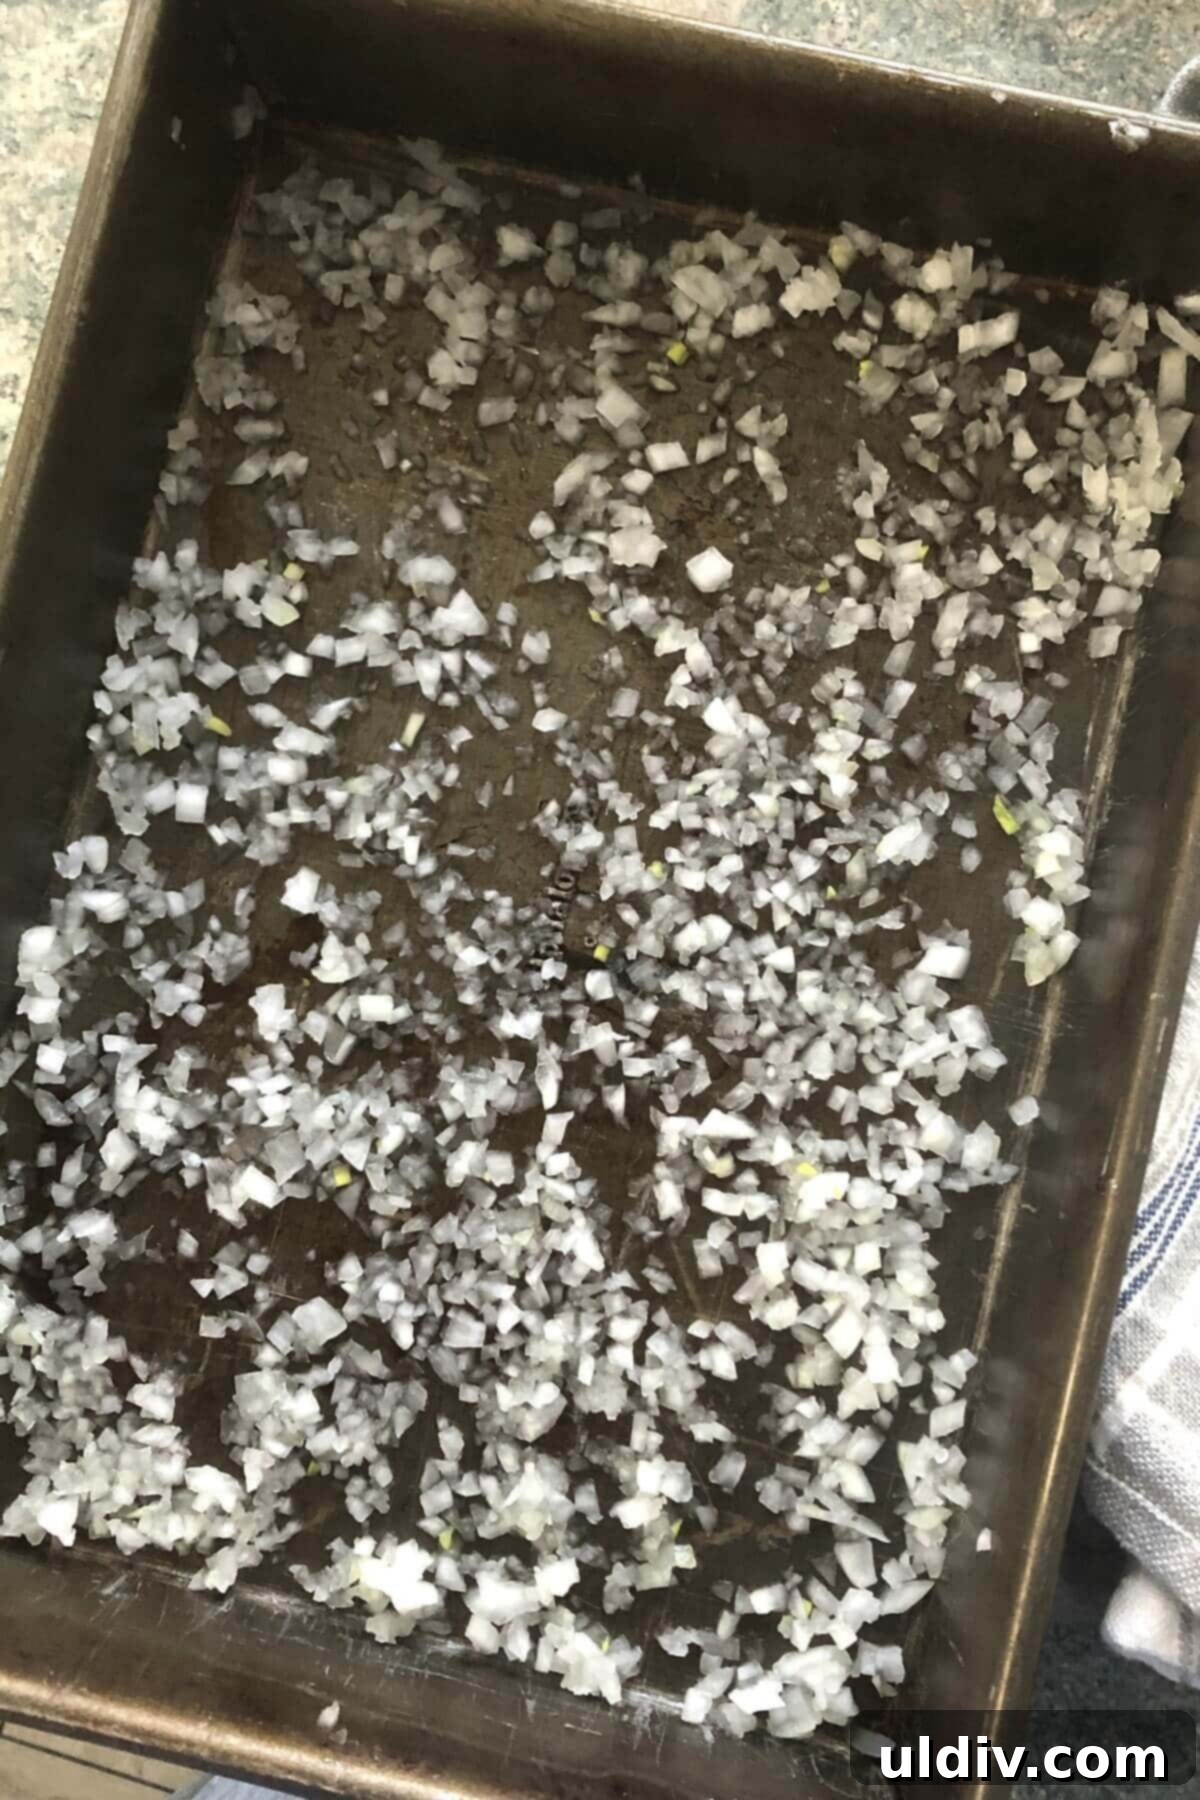
1. Begin by finely dicing your chosen onion. Spread these aromatic chopped onions evenly across the bottom of a 9×13 inch baking pan. This layer not only adds incredible flavor but also helps to keep the bottom of the burger patty moist as it bakes.
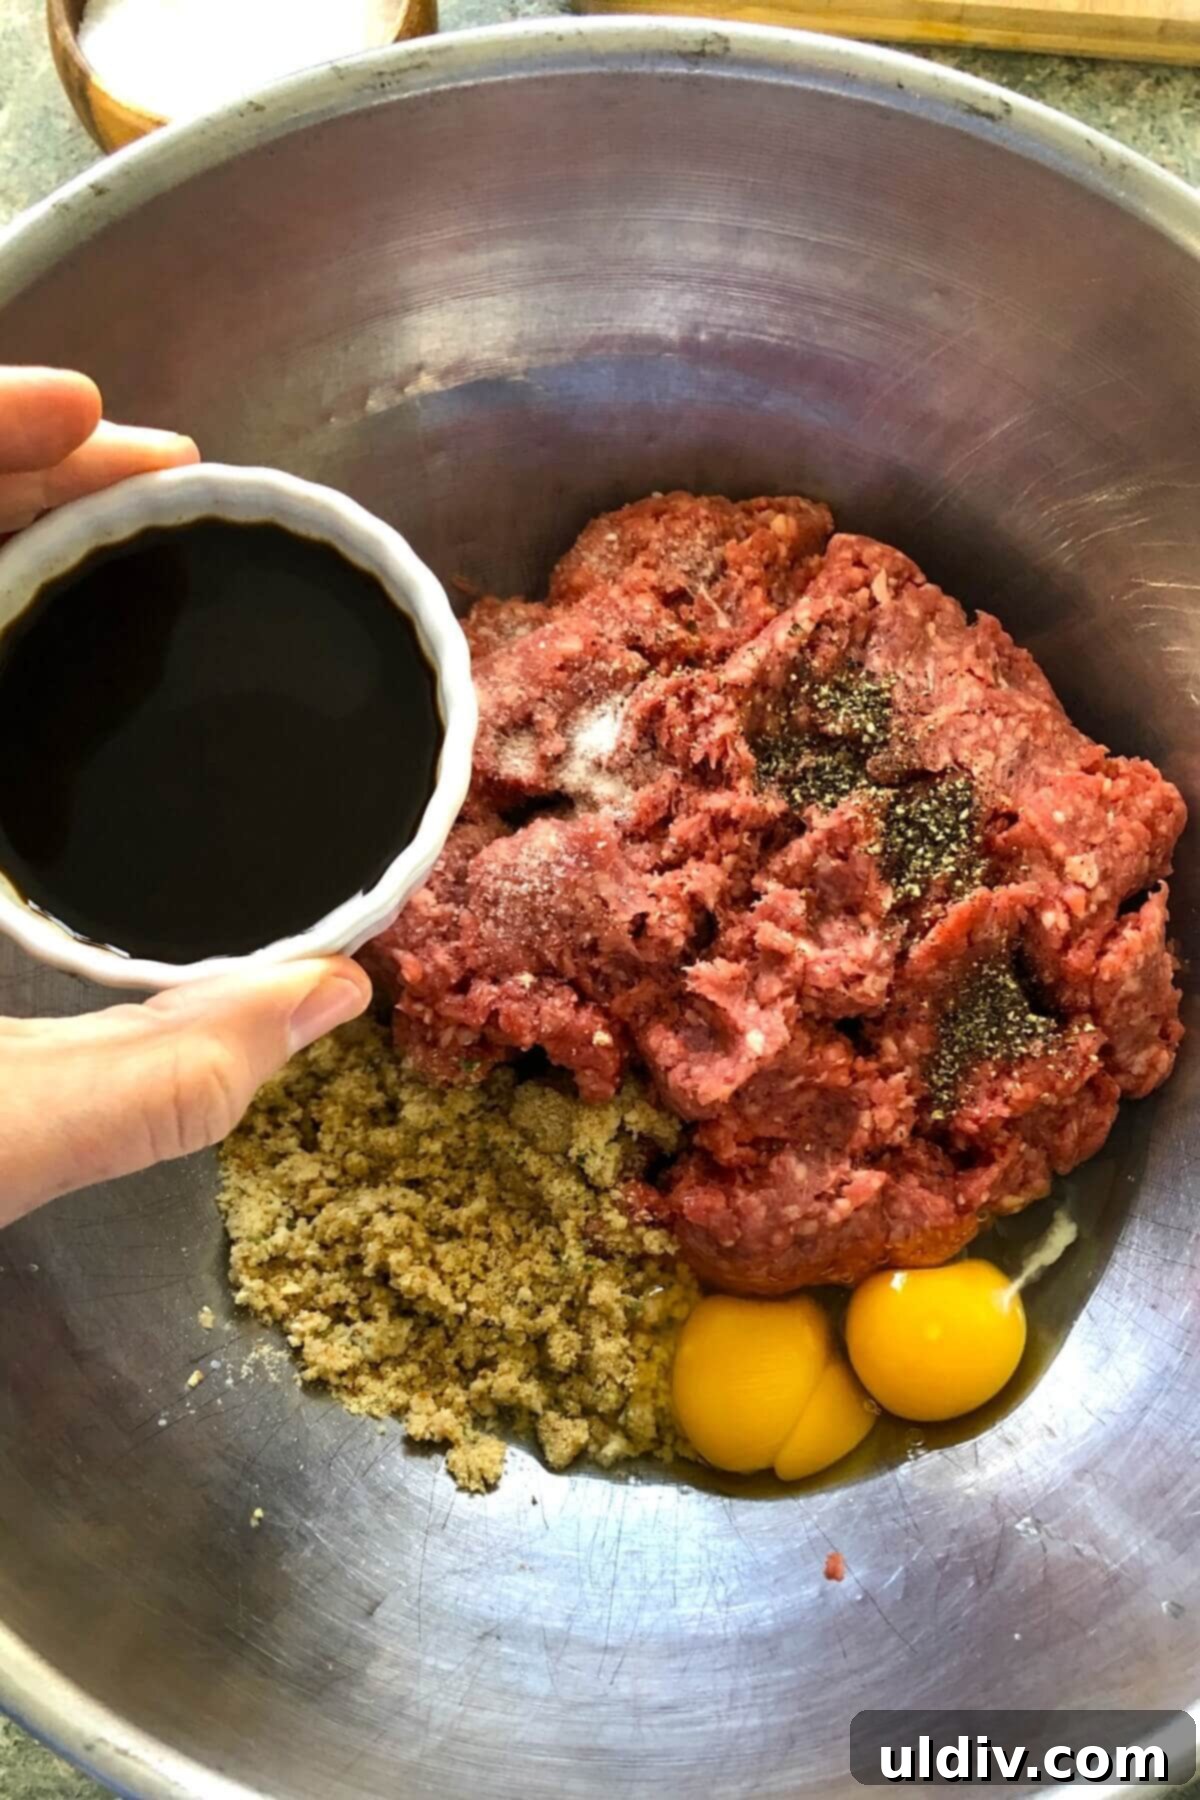
2. In a generously sized mixing bowl, combine the ground beef, large eggs, plain bread crumbs, a measured amount of kosher salt, a sprinkle of fresh black pepper, and the distinctive Worcestershire sauce. Gently but thoroughly mix all the ingredients until they are just combined. Be careful not to overmix, as this can make the patties tough.
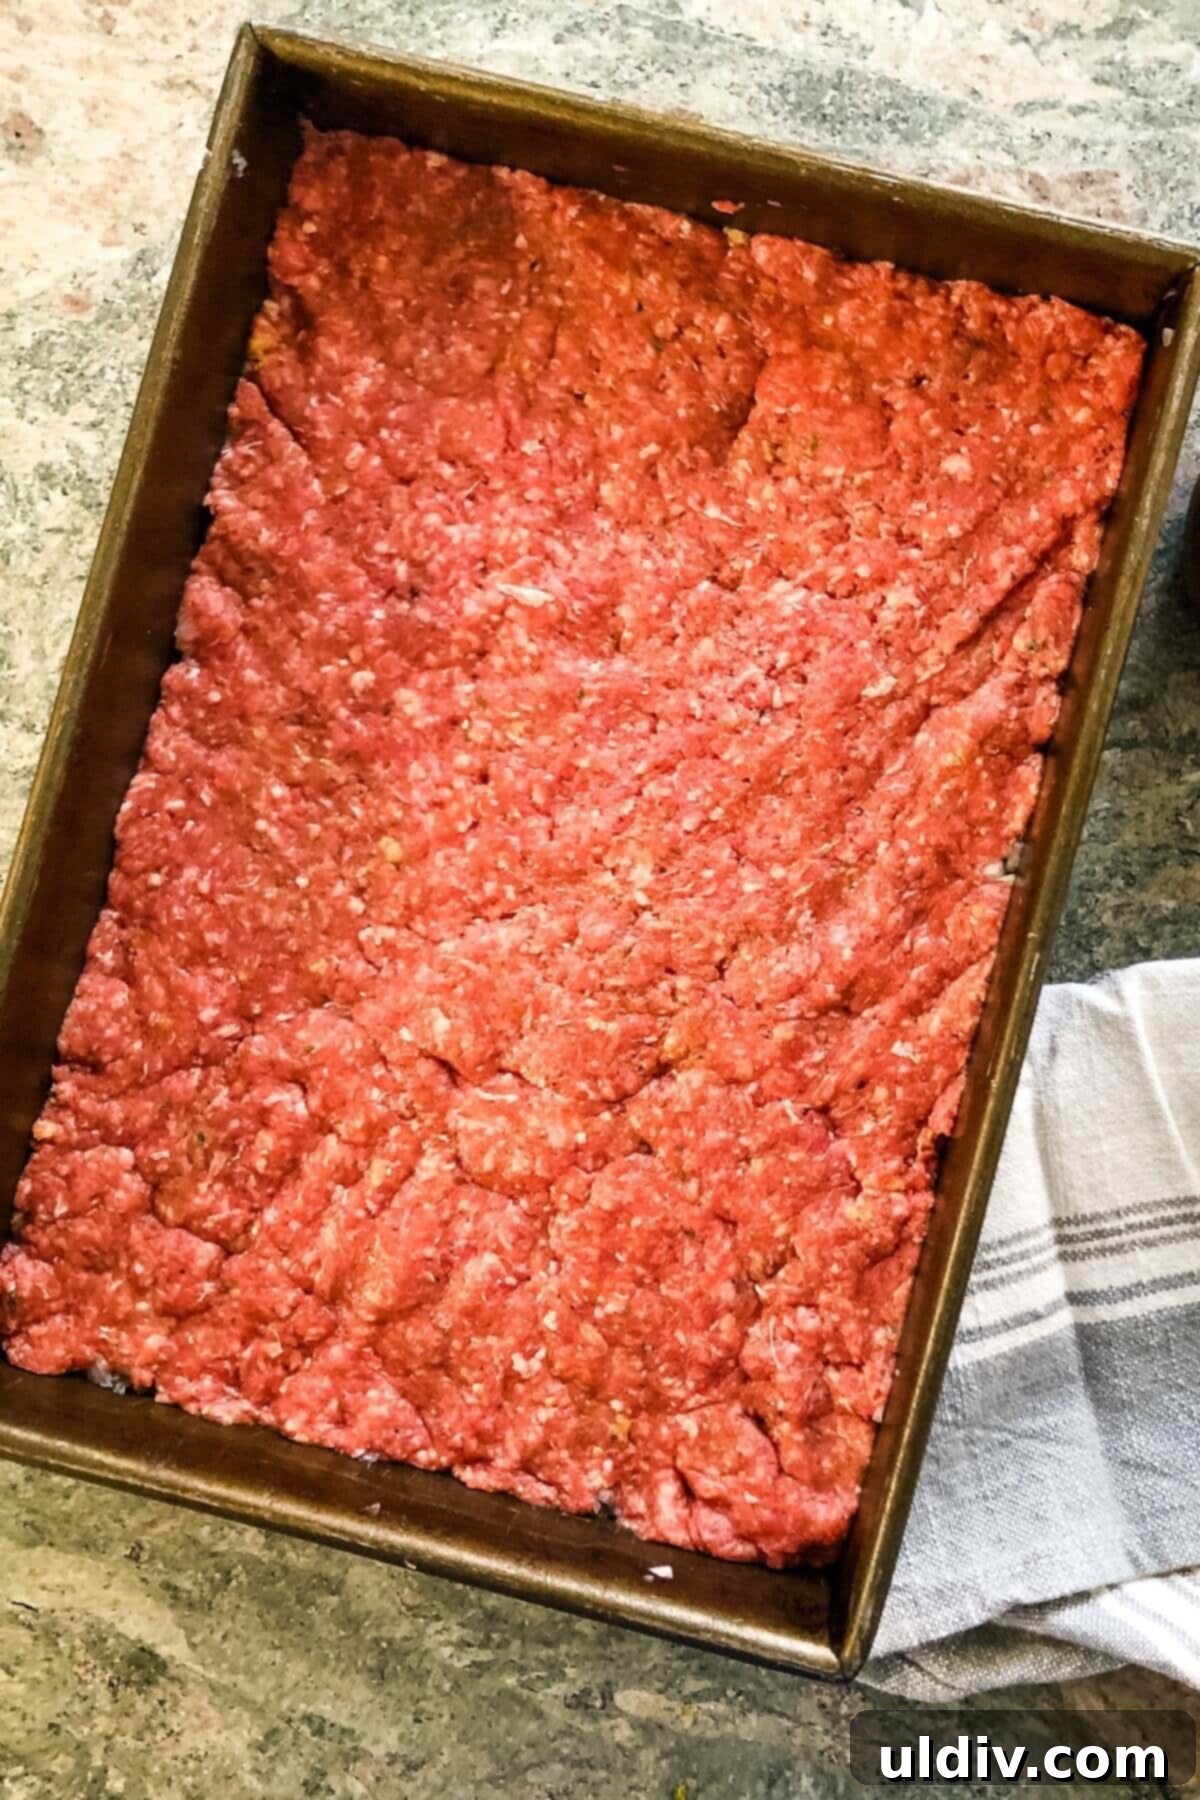
3. Take the seasoned ground beef mixture and press it evenly into the prepared baking pan, ensuring it forms one large, uniform patty over the layer of onions. Make sure the mixture extends all the way to the edges of the pan to maximize the number of sliders you can cut.
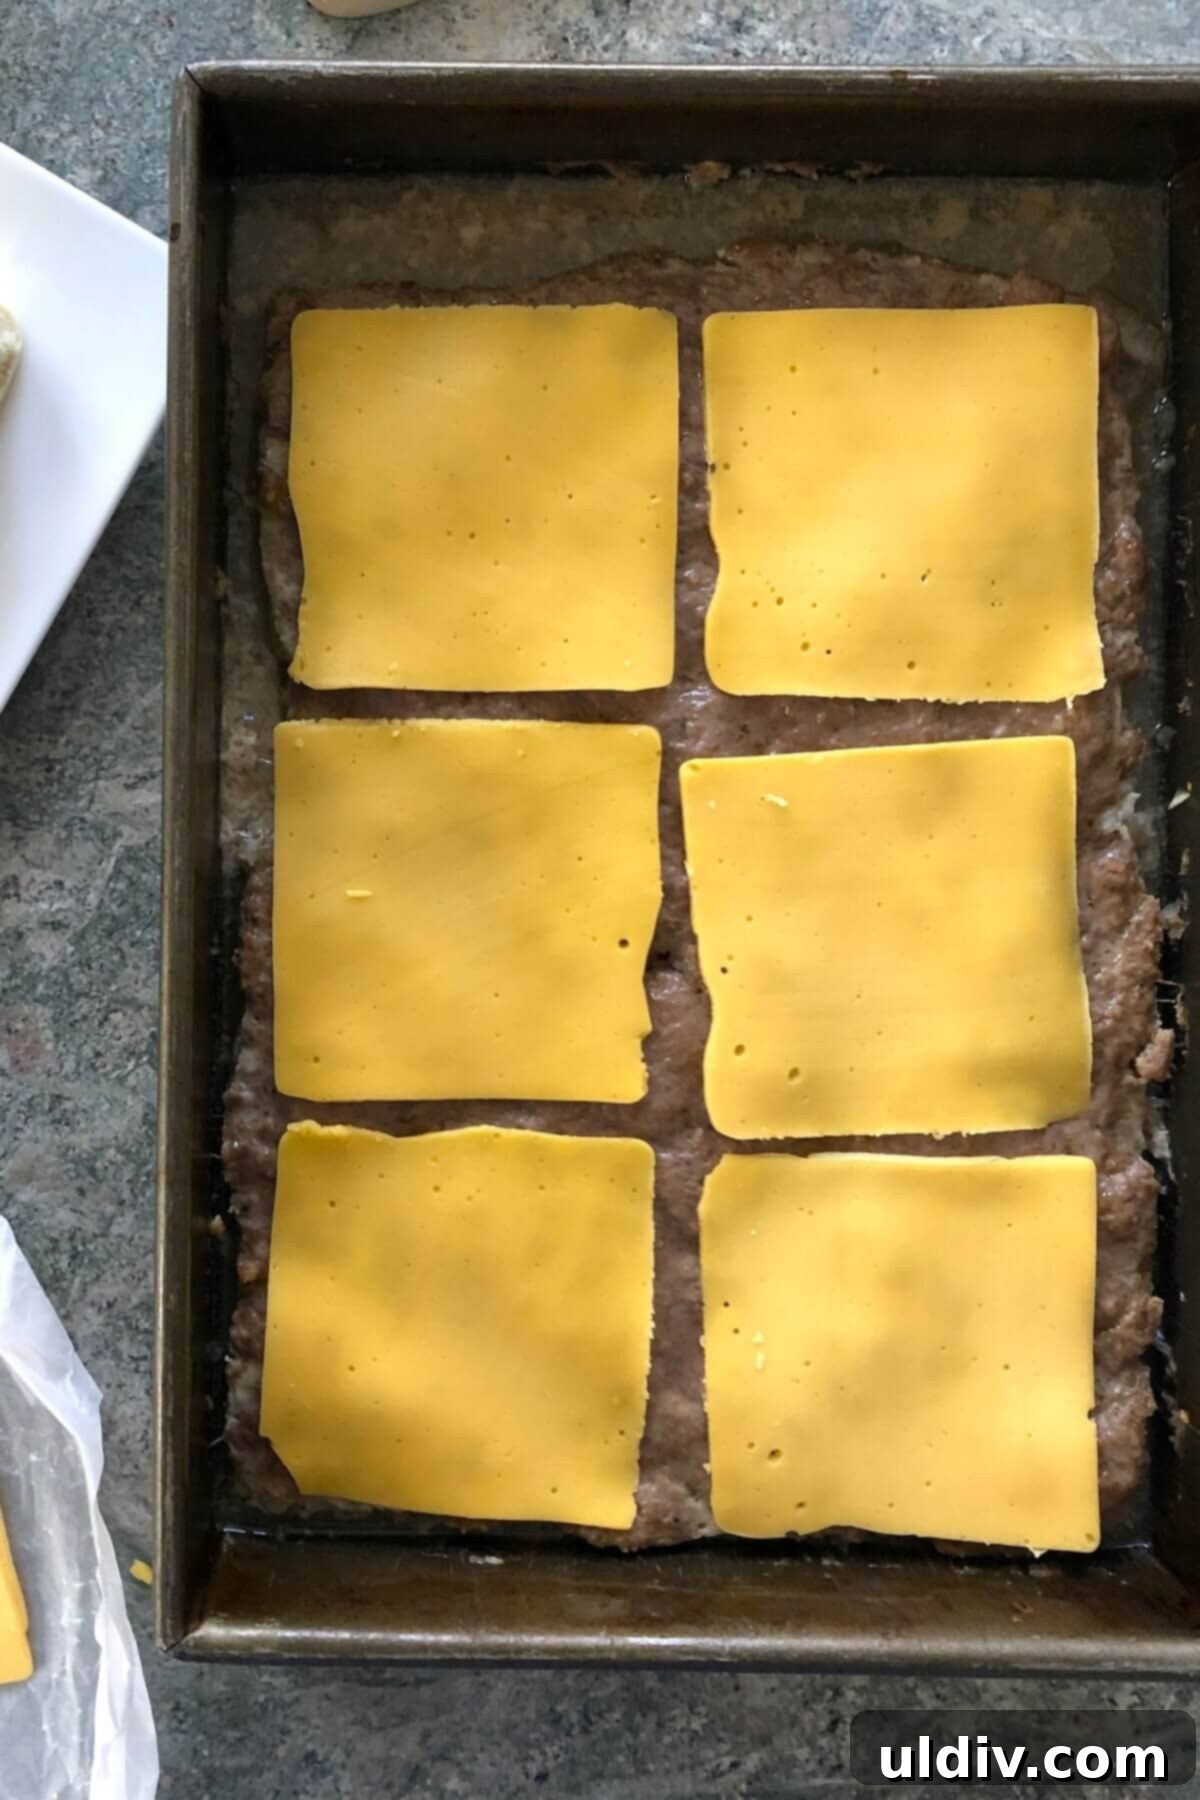
4. Bake the patty in your preheated oven for 10-15 minutes, or until it’s beautifully browned and cooked through with no pink remaining in the center. Don’t worry if the patty “cracks” slightly during cooking; simply press it back together with a spatula. The melted cheese will help hold it perfectly in place later.
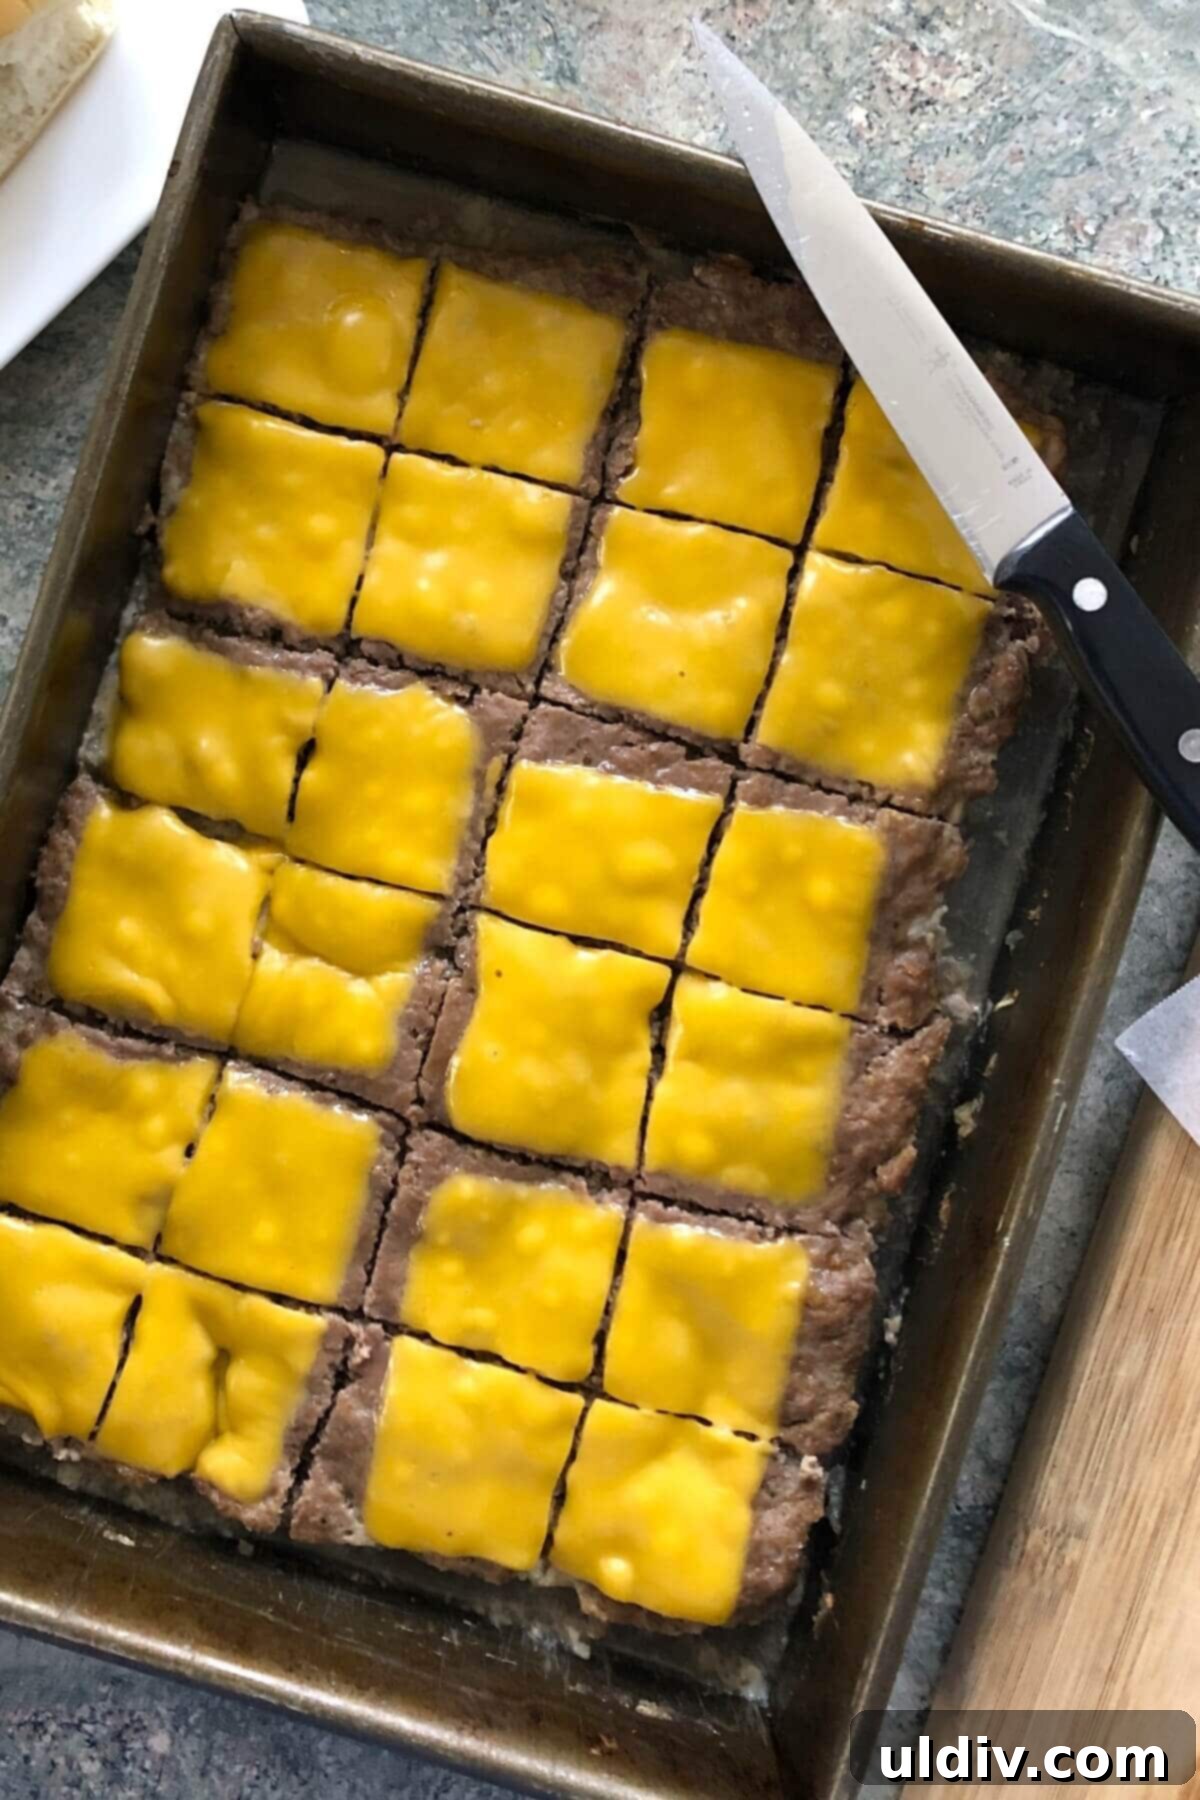
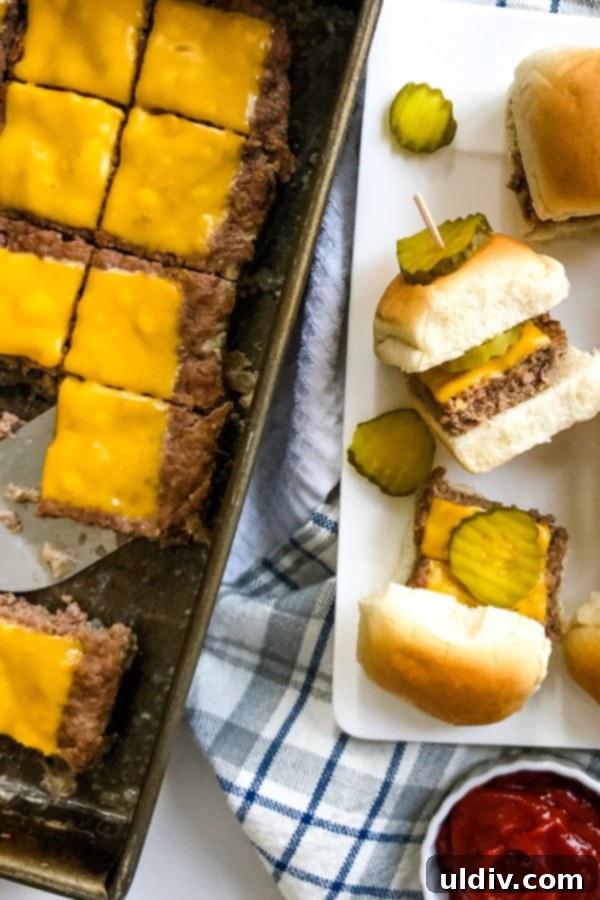
5. Once the patty is cooked, carefully remove the pan from the oven. Evenly layer your American cheese slices over the entire surface of the large burger patty. Return the pan to the oven for just 1-2 minutes, or until the cheese has melted into a warm, gooey blanket over the beef.
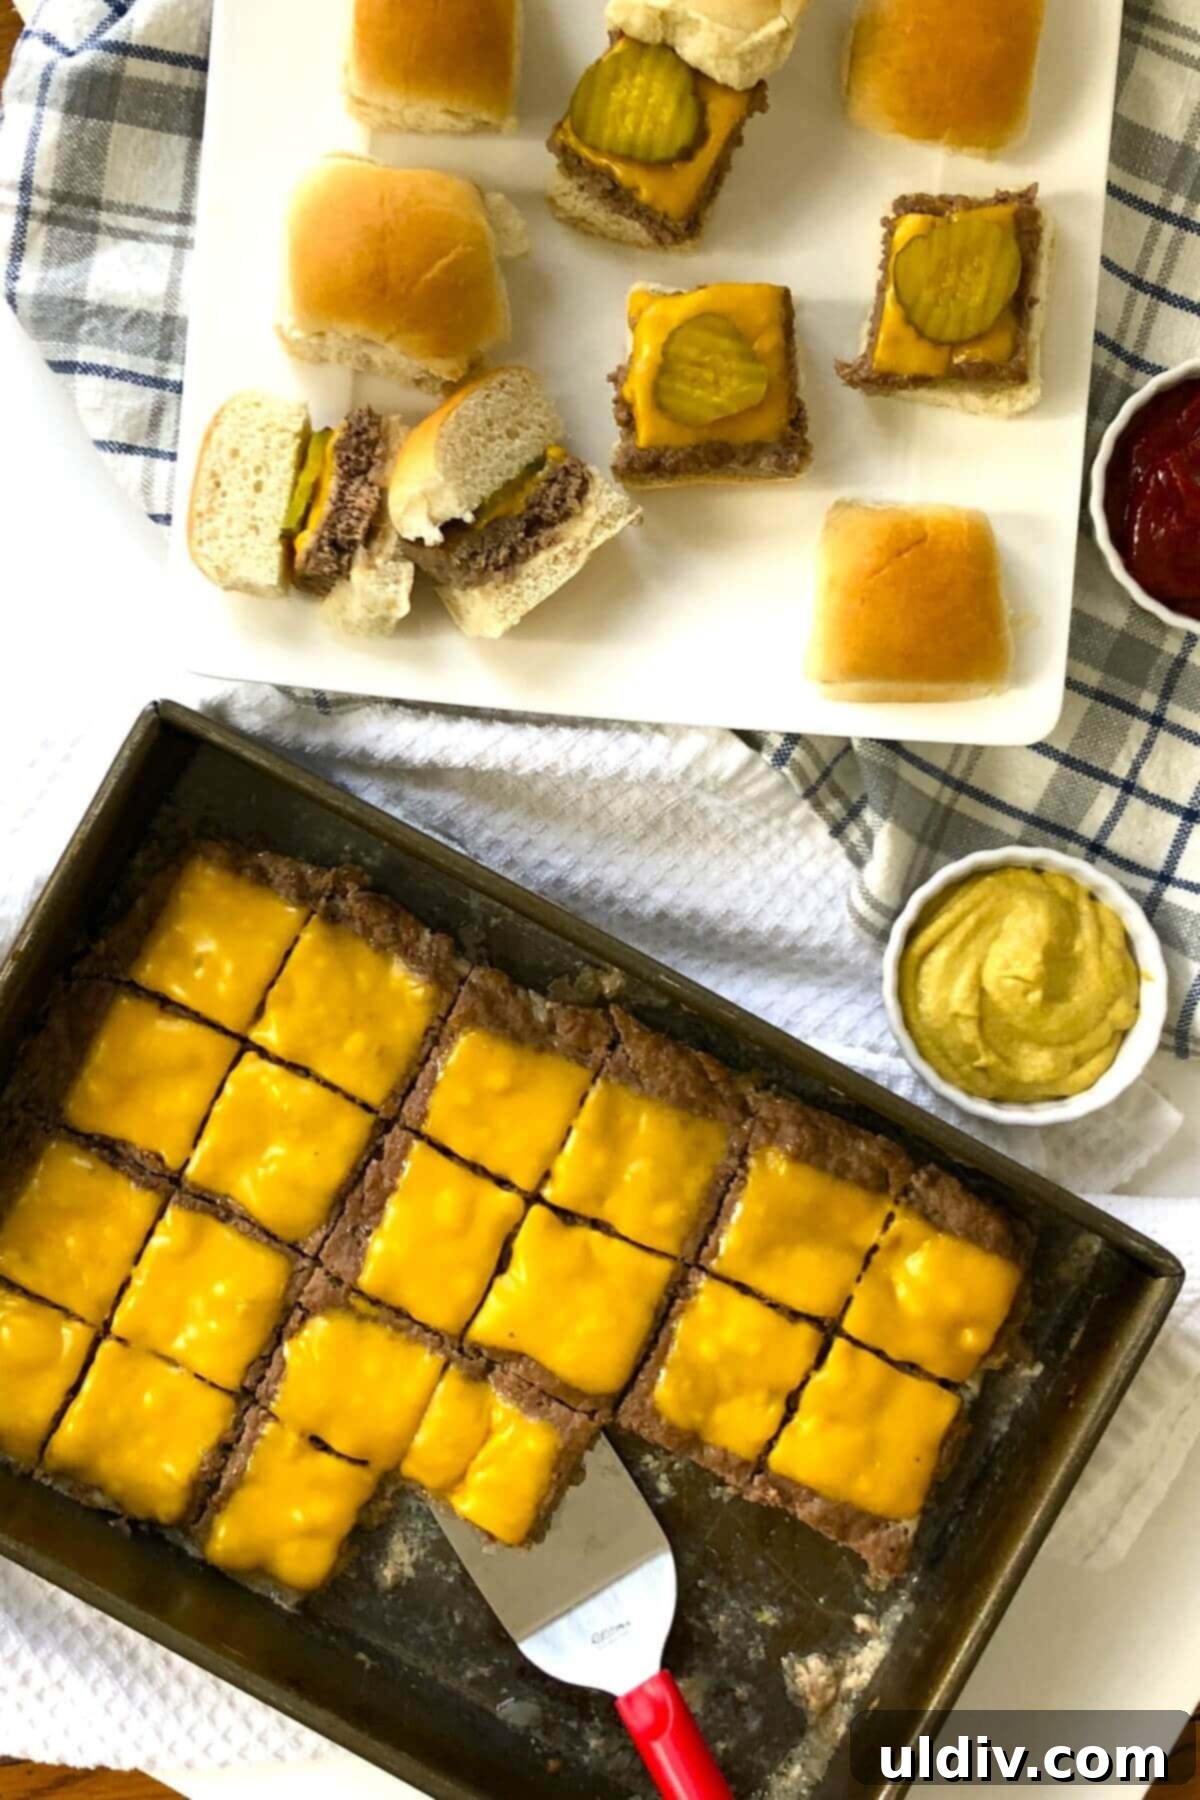
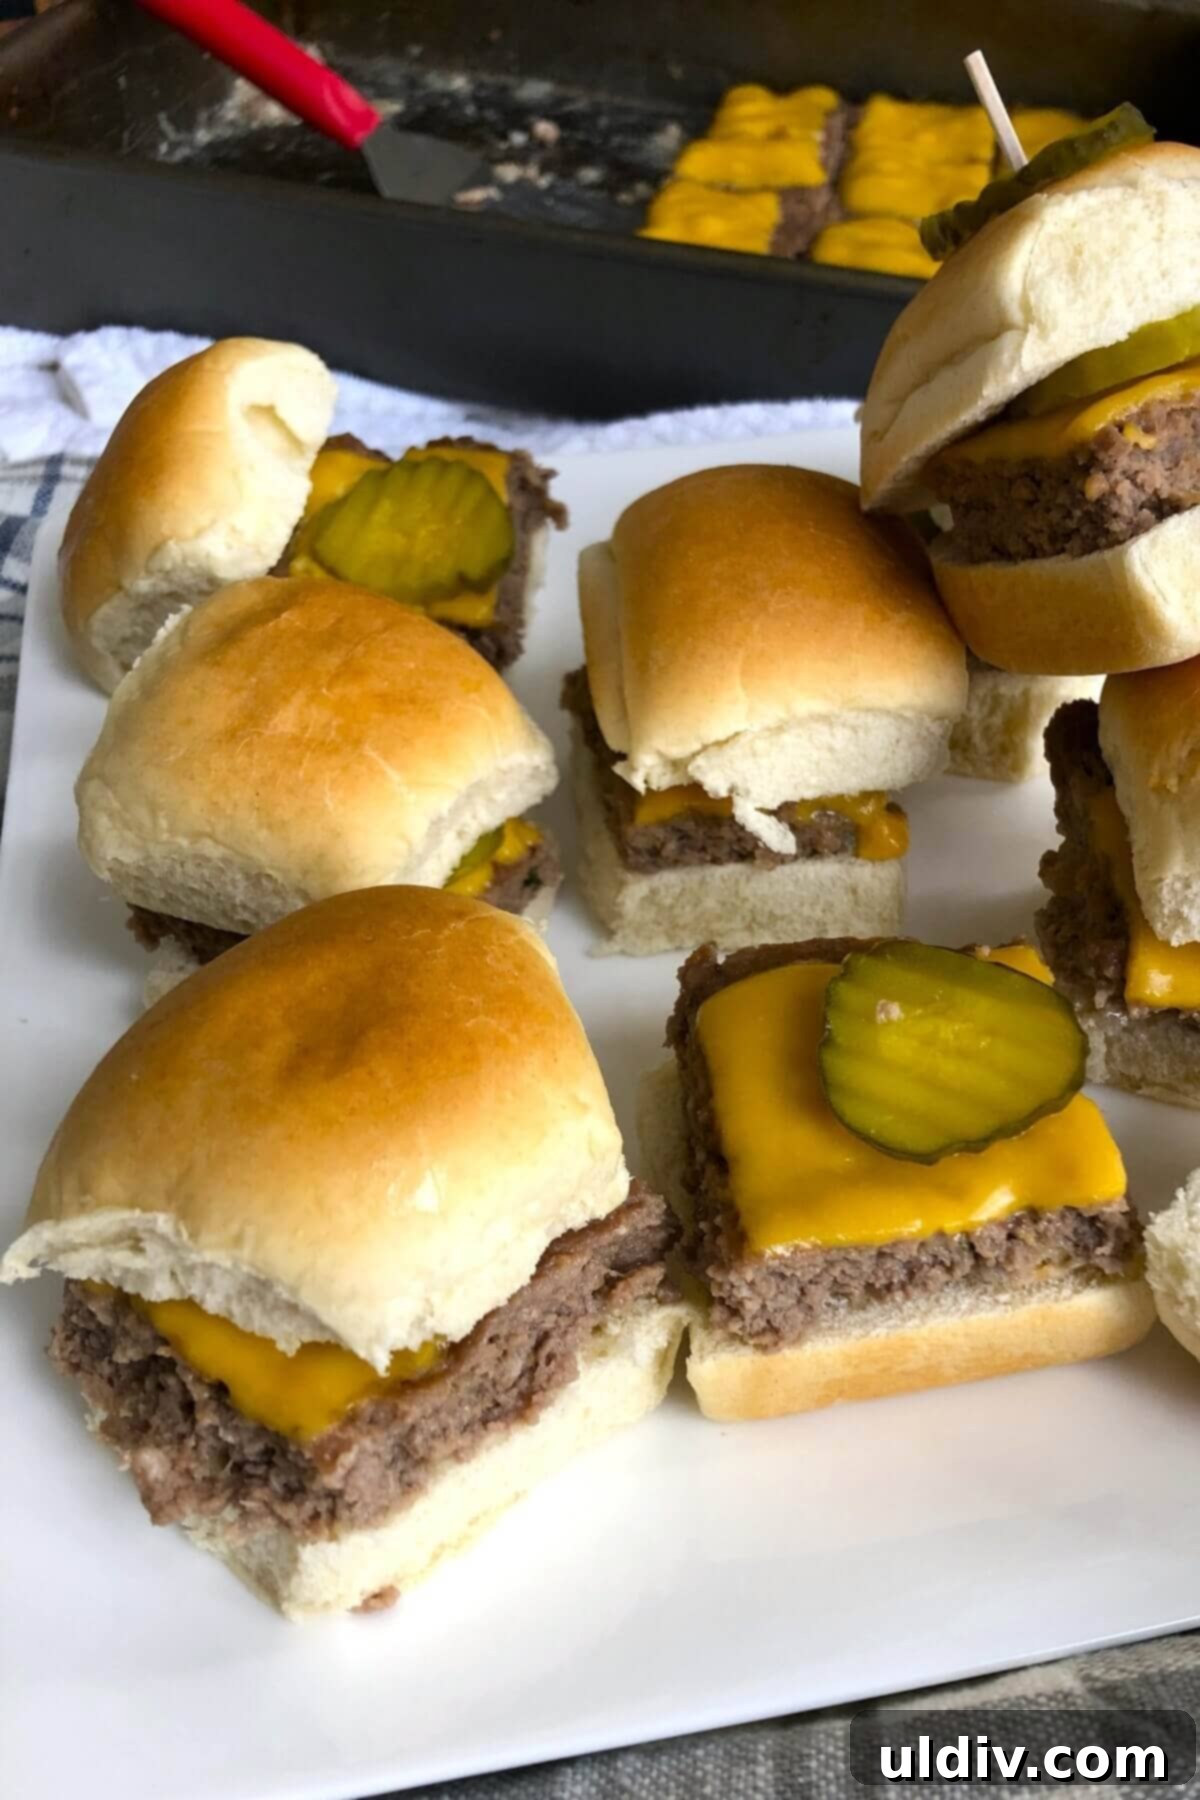
6. Carefully remove the pan from the oven again. To ensure your sliders aren’t soggy, gently dab off any excess grease from the top of the baked patty using a paper towel. With a sharp knife, carefully cut the large patty into 24 distinct, mini slider squares. Place each perfectly portioned cheeseburger on a mini slider roll, topping with a crisp dill pickle chip. Serve immediately with a side of ketchup and mustard, allowing guests to customize their perfect mini burger.
Expert Tips for Unforgettable Burger Sliders
Achieving perfectly juicy and flavorful sliders every time is easy with a few insider tricks. These expert tips will elevate your cheeseburger slider game:
- Tip 1: Maximize Your Patty Size: As ground beef tends to shrink slightly during cooking, it’s vital to press the raw meat mixture firmly and completely to the very edges of your baking dish. This ensures you get uniform sliders and make the most of your pan space, yielding the full 24 mini burgers.
- Tip 2: Combat Excess Grease: Baked burger patties will naturally release some fat during cooking. To prevent your delicious sliders from becoming greasy and soggy, always take a moment to dab off any excess grease from the surface of the cooked patty with a clean paper towel before you add the cheese. This simple step ensures a cleaner, more enjoyable slider.
- Tip 3: Preheat Your Pan for Even Cooking: For an even crisper bottom and more consistent cook, consider lightly preheating your baking pan in the oven for a few minutes before spreading the onions and ground beef. This can help create a slight sear on the bottom of the patty.
- Tip 4: Don’t Overmix the Meat: When combining the ground beef with other ingredients, mix gently until just incorporated. Overmixing can compact the meat, leading to a denser, tougher patty rather than a juicy, tender one.
- Tip 5: Customize Your Cheese Choice: While American cheese is classic for its melt and creaminess, don’t hesitate to experiment with other cheeses. Provolone, Muenster, or even a Monterey Jack can offer different flavor profiles and equally great melts.
- Tip 6: Warm Your Buns: For the ultimate slider experience, lightly toast or warm your mini slider rolls. You can do this in the oven for a few minutes before serving, or quickly on a griddle. Warm buns add to the overall appeal and softness of the slider.
Storage and Reheating for Convenience
These cheeseburger sliders are perfect for making ahead, ensuring you have delicious mini burgers ready whenever hunger strikes or guests arrive. Proper storage and reheating maintain their quality and flavor.
Storage: To keep your assembled cheeseburger sliders fresh, store them in an airtight container, a resealable plastic bag, or wrapped securely in aluminum foil. They will stay delicious in the refrigerator for up to 3 days. For longer storage, you can freeze them for up to 1 month. When freezing, it’s best to wrap individual sliders tightly in plastic wrap before placing them in an airtight container or freezer bag to prevent freezer burn.
Reheating:
- From the Refrigerator (Microwave): For quick reheating of a few sliders, wrap 2 sliders at a time in a paper towel. Microwave them on 60 percent power in 30-second intervals until they are heated through and the cheese is melted again.
- From the Refrigerator (Oven): To reheat a larger batch of sliders, arrange them on a baking sheet, wrap them loosely in aluminum foil to retain moisture, and heat in a 350°F (175°C) oven for 10-15 minutes, or until thoroughly warm.
- From Frozen: If your sliders are frozen, it’s best to thaw them overnight in the refrigerator before reheating. Once thawed, follow the microwave or oven instructions above. Reheating directly from frozen may result in uneven heating and a drier texture.
Frequently Asked Questions About Cheeseburger Sliders
For this particular recipe, which involves baking one large patty that’s subsequently cut into smaller slider-sized burgers, an 85/15 blend of ground beef is highly recommended. This ratio offers the perfect balance, as the patty will naturally shrink a bit during the cooking process. The 85/15 blend contains just enough fat to ensure the sliders remain incredibly juicy, tender, and bursting with flavor, without being excessively greasy.
Absolutely, this recipe is incredibly forgiving and can be easily doubled to feed a much larger crowd! To do so, you have a couple of options: you can either utilize two separate 9×13 inch baking pans, preparing one large patty in each, or opt for a single, larger 18×12 inch baking sheet if you have one available. Simply follow all other instructions as written in the recipe, ensuring the ground beef mixture is spread evenly in your chosen pans, and adjust baking time slightly if using a very large, single sheet to ensure even cooking.
Yes, you can definitely prepare the ground beef mixture a day in advance! Combine all the ingredients as instructed, then cover the bowl tightly with plastic wrap and refrigerate. When you’re ready to cook, simply press the mixture into the baking pan over the onions and proceed with the baking steps. This is a great time-saver for party planning.
To keep your sliders moist during reheating, especially in the oven, it’s crucial to cover them. Wrapping them loosely in aluminum foil creates a steamy environment that helps rehydrate the buns and meat, preventing them from drying out. When using the microwave, a damp paper towel wrapped around individual sliders serves a similar purpose.
Complementary Dishes & A Customizable Topping Bar
Elevate your cheeseburger slider experience by offering a vibrant and customizable topping bar, allowing each guest to craft their own mini burger masterpiece. Beyond the basics, consider these delicious sides to round out your meal:
Start with a wide array of toppings. Provide classic ketchup, a variety of mustards (from classic yellow to spicy brown or Dijon), crisp lettuce leaves, thinly sliced ripe tomatoes, and savory crispy bacon. But don’t stop there! Think about caramelized onions, sautéed mushrooms, pickled jalapeños for a kick, or even a creamy avocado spread. A generous bowl of extra dill pickle chips is always a hit.
For side dishes, nothing beats a classic. Our baked crispy oven fries or golden sweet potato fries are perfect companions. For a refreshing contrast, offer thick, icy cold slices of watermelon. A super crunchy coleslaw (perhaps with apple, fennel, and radish) adds a delightful texture and tang. And to satisfy that sweet craving, these easy soft sugar cookies provide the perfect sweet ending to a savory meal. Together, these elements create a balanced and truly enjoyable menu for any occasion.
More Irresistible Mini Meal & Slider Recipes
If you loved the convenience and deliciousness of these Cheeseburger Sliders, you’ll surely enjoy exploring more of our popular mini meal and slider recipes. They’re perfect for parties, family gatherings, or just when you’re craving something fun and bite-sized:
- Mini Chicken Parm Sandwiches: All the classic flavors of chicken parmesan, scaled down into an adorable and easy-to-eat sandwich.
- Big Mac Sliders: Recreate the iconic flavors of your favorite drive-thru burger in a mini, homemade version.
- Mini Greek Turkey Burgers with Cucumber Tzatziki: A lighter, fresh take on sliders, packed with Mediterranean flavors and a cool, creamy tzatziki sauce.
- Barbecue Pork Tenderloin Sliders with Tangy Cole Slaw: Tender, smoky barbecue pork piled high on mini buns with a refreshing, tangy coleslaw.
One More Thing… Your Feedback Matters!

Did you try this recipe?
We’d absolutely love to hear about your experience! Please let us know how your Cheeseburger Sliders turned out by leaving a comment and a star rating below. Your feedback is invaluable to us and helps other home cooks too. Don’t forget to share your delicious creations on your favorite social media platforms like Pinterest, Instagram, and Facebook. Tag us so we can see your amazing work!
Thanks so much for cooking with us ~ Amy
Recipe Card
Cheeseburger Sliders for a Crowd
Print
Pin
Rate
Equipment
-
9 x 13 inch metal baking pan
-
Chef’s knife
-
Cutting boards
-
Measuring cups
-
Measuring spoons
-
Stacking glass bowls
Ingredients
- 1 medium onion (finely diced, about 1 cup)
- About 1 ½ pounds ground beef (85/15 blend recommended)
- ½ cup plain bread crumbs
- 2 large eggs
- 2 tablespoons Worcestershire sauce
- ½ teaspoon kosher salt
- ½ teaspoon freshly ground black pepper
- 6 slices American cheese
- 24 dill pickle chips
- 24 small slider rolls (sliced)
- Ketchup and mustard for serving
Instructions
-
Preheat Oven: Set your oven to 400°F (200°C).
-
Prepare Baking Dish: Spread the finely chopped onions evenly over the bottom of a 9×13 inch baking pan. This layer adds flavor and helps keep the patty moist. Set the pan aside.
-
Combine Slider Ingredients: In a large mixing bowl, add the ground beef, bread crumbs, eggs, Worcestershire sauce, kosher salt, and fresh black pepper. Gently mix all the ingredients until they are just combined. Be careful not to overmix the beef.
-
Form the Large Patty: Press the seasoned meat mixture evenly over the onions in the prepared baking dish. Ensure the patty extends to all edges of the pan to create a uniform block for cutting.
-
Bake the Patty: Place the baking pan in the preheated oven and bake for 10-15 minutes, or until the patty is thoroughly browned and no longer pink in the middle. If the patty cracks slightly during cooking, gently press it back together.
-
Blot Excess Grease: Remove the pan from the oven. Using paper towels, gently blot the top surface of the cooked patty to soak up any excess grease. This prevents soggy sliders.
-
Add the Cheese: Arrange the slices of American cheese evenly over the hot burger patty. Return the pan to the oven for just 1 to 2 minutes, or until the cheese is perfectly melted and gooey.
-
Cut and Assemble Sliders: Remove the pan from the oven. Using a sharp knife, carefully cut the large patty into 24 even squares to form your individual sliders. Place each cheeseburger square onto a mini slider bun and top with a crisp dill pickle chip.
-
Serve Immediately: Serve your hot, delicious Cheeseburger Sliders with bowls of ketchup and mustard on the side, allowing everyone to customize their mini burgers.
Video
Watch the step-by-step video for Cheeseburger Sliders here!
Notes
- The large patty may “crack” slightly while baking due to shrinkage. This is completely normal. Simply press it back together gently before topping it with the slices of American cheese. The melted cheese will act as a delicious binder and hold everything together beautifully.
- These sliders are excellent for making ahead! You can prepare, cook, and assemble the sliders, then allow them to cool completely. Store them in a covered, airtight container in the refrigerator for up to 2 days before serving.
- To reheat a batch of prepared sliders in the oven, arrange them on a baking sheet, cover loosely with foil, and heat in a 350°F (175°C) oven for 10-15 minutes until warmed through.
- For quick reheating of 1-2 sliders, wrap them in a paper towel and microwave on 60% power at 30-second intervals until they are heated thoroughly.
Nutritional information is an estimate and based on the ingredients and cooking methods used in this recipe. It may vary.
Nutrition Information
This recipe was originally published in January of 2020. It was comprehensively updated in April of 2024 to include fresh photos, clearer directions, expanded cooking tips, and enhanced SEO optimization.