
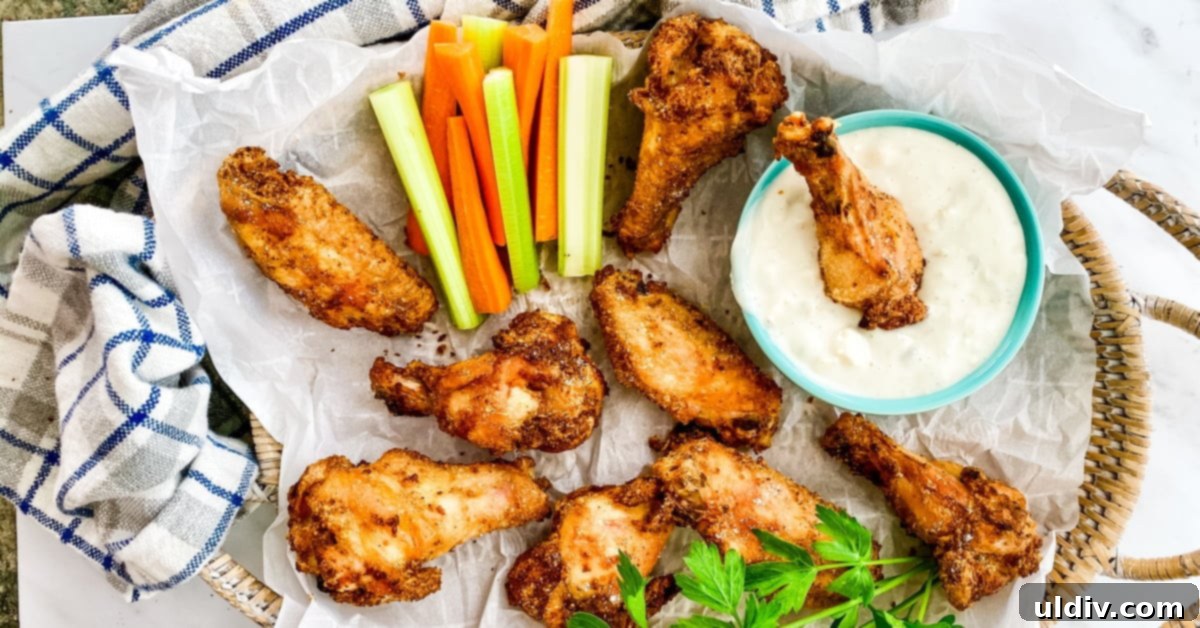
Prepare to discover the ultimate recipe for perfectly crispy Oven Baked Chicken Wings that are so irresistible, they’ll become your new favorite appetizer or main dish! Forget messy deep-frying; these wings achieve incredible crunch using a simple pantry secret: baking powder. With just a few staple spices and a smart baking method, you’ll create unforgettable homemade chicken wings that are both delicious and a breeze to clean up.
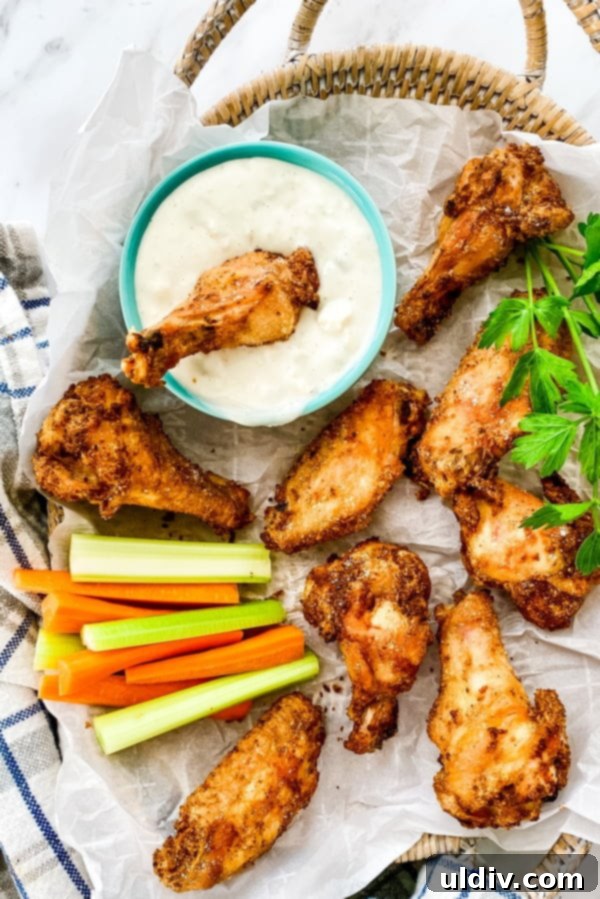
As a personal chef who spends countless hours perfecting dishes for client families and then sharing the best finds as a food blogger, I’ve had my share of culinary adventures. While I may not be a superhero, I certainly feel like one in the kitchen, especially when I can transform simple ingredients into crowd-pleasing meals. These Easy Crispy Baked Chicken Wings are consistently one of the most requested items, particularly during football season or any gathering where delicious finger food is a must. They’re a testament to how simple techniques can yield extraordinary results, proving that you don’t need a deep fryer to achieve perfectly crunchy wings at home.
Why Oven Baked Chicken Wings Are a Game Changer
While the allure of traditional fried chicken wings is undeniable, this baked version truly stands out and has garnered immense popularity with both kids and adults. Opting for oven baked chicken wings offers several compelling advantages:
- Healthier Alternative: By baking instead of frying, you significantly reduce the amount of added fat and calories, making these wings a more wholesome choice without sacrificing flavor or texture.
- Less Mess, Easier Cleanup: Say goodbye to splattering oil and grease! Baking is a much cleaner cooking method, simplifying your kitchen cleanup considerably.
- Consistent Crispy Texture: Thanks to our secret ingredient, baking powder, these wings achieve an unparalleled crispiness that rivals fried versions every single time.
- Effortless Preparation: The process is incredibly straightforward – simply toss the wings with spices, arrange them on a rack, and let your oven do most of the work. It’s a true snap for busy weeknights or game-day feasts.
- Broad Appeal: Whether serving picky eaters or sophisticated palates, these perfectly seasoned and crunchy wings are guaranteed to be a hit.
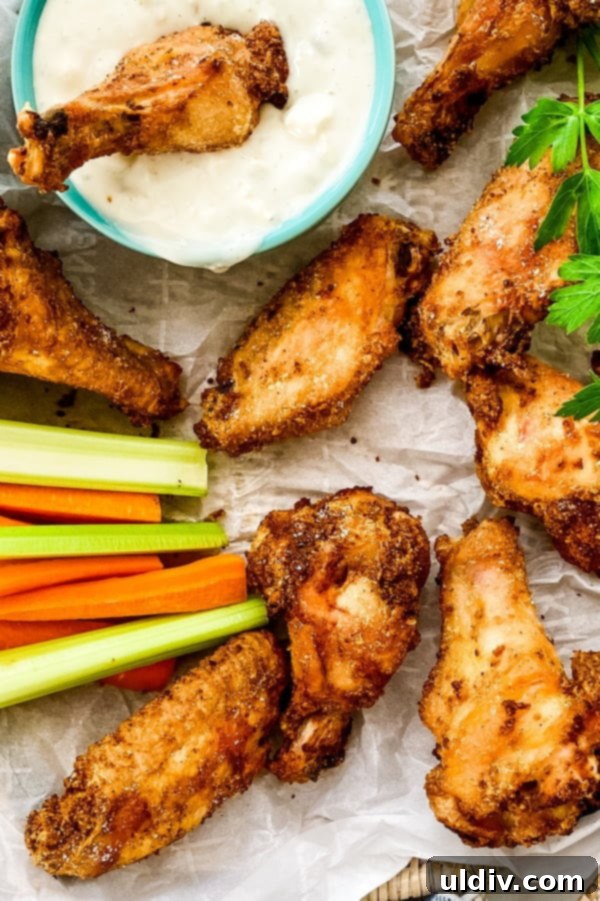
You’ll simply toss the wings in a simple coating of pantry spices combined with our secret ingredient, then bake them to golden perfection in the oven. A single flip halfway through ensures even cooking and maximum crispiness. And don’t forget my easy 3-ingredient blue cheese dip recipe, included below, which perfectly complements these savory wings, adding a cool, tangy counterpoint to the warm, crispy chicken.
Gather Your Ingredients: What You’ll Need
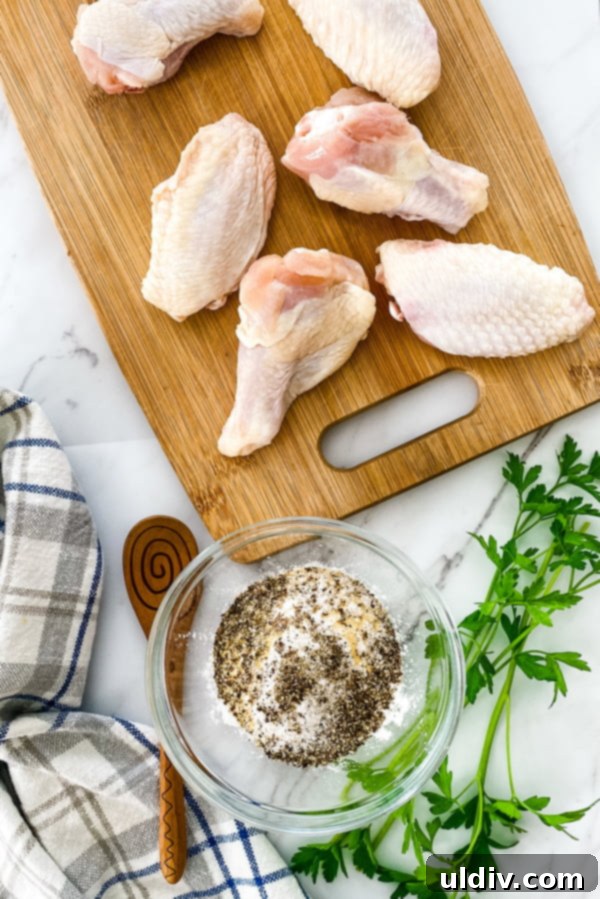
Creating these sensational oven baked chicken wings requires a few simple ingredients, most of which you likely already have in your pantry. The magic truly happens when these elements come together to create a symphony of flavor and texture:
- Chicken Wings: We’ll use 4 to 4 ½ pounds of chicken wings, typically yielding about 20 flats and drumettes. Ensure they are thawed if frozen, and always pat them exceptionally dry before seasoning.
- Baking Powder: The undisputed star of this recipe! Two tablespoons are essential for achieving that coveted crispy skin without frying.
- Kosher Salt & Freshly Ground Pepper: Basic seasonings that form the foundation of flavor. One teaspoon of kosher salt and half a teaspoon of freshly ground pepper provide the perfect balance.
- Aromatic Spices:
- Onion Powder: 1 ½ teaspoons for a subtle, savory depth.
- Garlic Powder: 1 ½ teaspoons to complement the onion powder with its pungent, aromatic notes.
- Paprika: 2 teaspoons. This not only adds a beautiful reddish hue but also a mild, earthy, slightly sweet flavor.
- Cooking Spray: A light coating on your cooling rack prevents sticking and further aids in crisping the wings.
- For the Easy Blue Cheese Dip:
- Sour Cream: ½ cup forms the creamy, tangy base of the dip.
- Mayonnaise: ½ cup adds richness and a smooth texture.
- Blue Cheese: ¼ cup of crumbled blue cheese for that distinctive, pungent flavor that pairs so perfectly with savory chicken wings.
- Serving Accompaniments: Fresh celery and carrot sticks offer a refreshing crunch and cool contrast to the warm wings.
The Unbeatable Secret to Super Crispy Baked Chicken Wings: The Science of Baking Powder
If you’ve ever wondered how to achieve restaurant-quality crispy chicken wings without the mess and added fat of deep-frying, the answer lies in one surprising ingredient: BAKING POWDER! It might seem counterintuitive to add a leavening agent typically found in cakes and cookies to savory chicken, but trust me, this is where the magic truly unfolds.
When baking powder is combined with salt and applied to the chicken skin, a fascinating chemical reaction takes place. Baking powder is an alkaline ingredient. When mixed with salt, it effectively raises the pH level on the chicken’s surface. This increased pH helps to break down the peptide bonds in the chicken skin, allowing it to dry out more effectively and significantly crisp up during the baking process. As the wings cook in the oven, the baking powder also creates tiny, imperceptible air bubbles within the skin. These bubbles expand under the heat, resulting in an incredibly light, airy, and crunchy exterior – just like perfectly fried wings, but without a drop of excess oil. It’s a true game-changer for homemade wings, delivering that satisfying crunch without the fuss or unhealthiness of deep-frying.
Important Distinction: Baking Powder vs. Baking Soda! This is a crucial detail that cannot be overlooked. Be absolutely sure to use baking powder, not baking soda. While they sound similar and are both leavening agents, they are chemically distinct and will not yield the same results. Baking soda alone is much stronger and can impart a metallic or soapy taste to your chicken, and it won’t provide the same crisping effect unless combined with an acid. Always double-check your labels before mixing your spice blend!
Expert Tips and Smart Suggestions for Perfect Oven Baked Wings Every Time
Achieving truly epic crispy baked chicken wings is simple with a few insider tips. Follow these suggestions to elevate your wing game and impress everyone at your next gathering:
- Pat Dry, Pat Dry, Pat Dry: This cannot be stressed enough! Excess moisture is the absolute enemy of crispy skin. Before tossing them with spices, thoroughly pat your chicken wings dry with paper towels. The drier the surface of the chicken, the more effectively the skin will crisp up in the oven. You can even let them air-dry in the refrigerator for an hour or two for extra dryness.
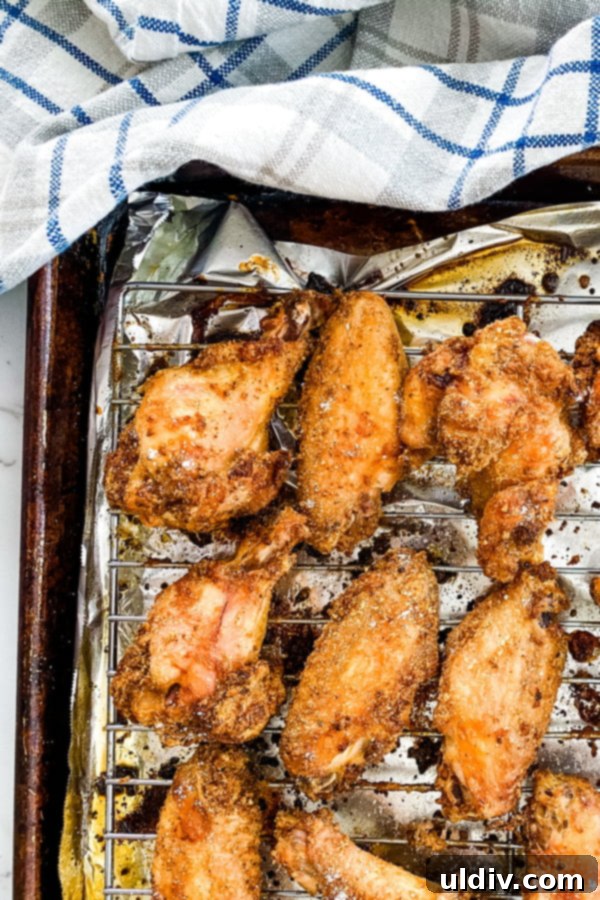
- Line Your Baking Sheet for Easy Cleanup: For a hassle-free cleanup, always line your baking sheet with heavy-duty aluminum foil. This catches any rendering fat and drips, preventing them from baking onto your pan and making scrubbing a nightmare.
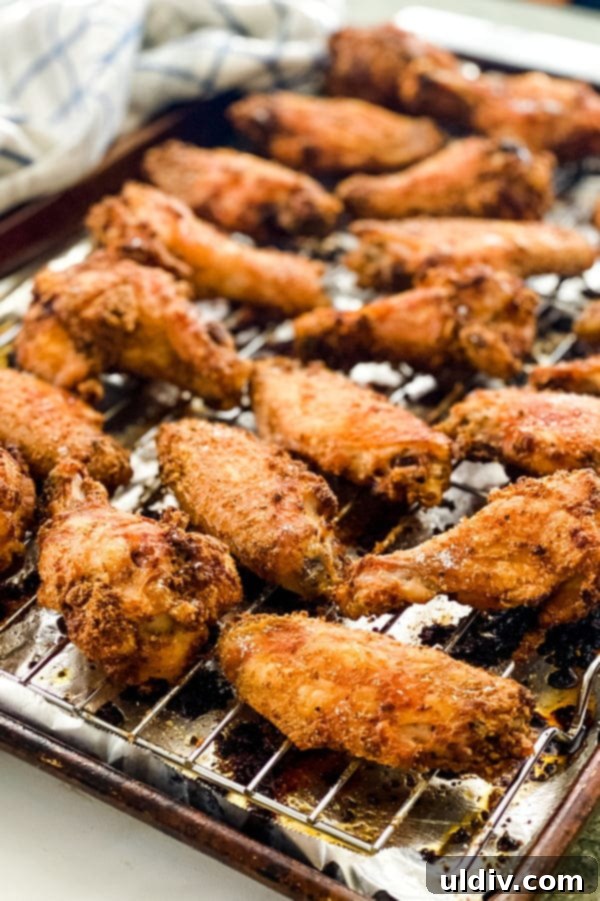
- Elevate for Optimal Airflow: To ensure maximum crispiness on all sides, arrange your seasoned wings on a wire cooling rack placed inside the foil-lined baking sheet. This setup allows hot air to circulate completely around each wing, preventing soggy bottoms and promoting incredibly even browning and crunch. Don’t forget to spray the rack with cooking spray to prevent the wings from sticking.
- The Right Baking Powder is Key: As mentioned previously, use *baking powder* (double-acting is perfectly fine). It’s the secret weapon for drying out the skin and creating that signature crunch. Avoid using baking soda, as it’s not a direct substitute and will likely leave a bitter, unpleasant taste and texture.
- Don’t Crowd the Pan: Give your wings ample space! Arrange them in a single layer on the cooling rack, ensuring they do not touch each other. Crowding the pan will lead to steaming the wings instead of baking them, resulting in a less crispy and more rubbery outcome. Air circulation is vital for crisping.
- Strategic Temperature Control: Our baking method employs a two-stage temperature approach. Start baking at a moderate temperature (400-425°F or 205-218°C) to cook the chicken through evenly and render out some of the fat. Then, crank up the heat significantly (to 450°F or 232°C, and sometimes even 475°F for the last few minutes) for the final 15-20 minutes. This blast of high heat is crucial for achieving that beautiful golden-brown color and ultimate, irresistible crunch on the exterior.
- Flip for Even Crisping: Don’t forget to flip your wings at least once, ideally twice, during the baking process. This ensures both sides are exposed to the direct heat and crisp up evenly, giving you maximum crunchy surface area.
- Customize Your Flavor Profile: While these baked chicken wings are absolutely scrumptious as is, they serve as a fantastic canvas for additional flavors. Feel free to toss them immediately after baking with your favorite hot sauce (like classic buffalo sauce), a sticky sweet and tangy barbecue sauce, a fiery sriracha glaze, or a zesty lemon-pepper seasoning for a spicy, sweet, or tangy twist.
- Check for Doneness: The safest way to ensure chicken wings are fully cooked and safe to eat is to check their internal temperature with a meat thermometer. Insert it into the thickest part of a drumette, avoiding the bone. It should register 165°F (74°C).
- Serving Suggestions: Beyond the classic blue cheese dip and celery/carrot sticks, consider serving your wings with ranch dressing, a spicy mayo, or even some pickled vegetables for added zing.
How Long Does It Take to Bake Chicken Wings to Crispy Perfection?
Patience is indeed key when it comes to baking truly crispy chicken wings. Rushing the process will inevitably lead to rubbery skin and less enjoyable results, negating all your efforts to achieve that perfect crunch. The total baking time for this recipe is approximately 1 hour and 10 to 20 minutes, depending on the size of your wings and the specific calibration of your oven. This extended bake time is crucial as it allows the fat to slowly render out of the chicken skin, enabling it to dehydrate and crisp up beautifully.
Remember to flip the wings at least once, or even twice, halfway through the initial baking period. This ensures they cook evenly on all sides and become uniformly delightfully crispy. Keep in mind that oven temperatures can vary significantly from one appliance to another, and individual wing sizes aren’t always uniform. It’s always a good idea to keep a close eye on your wings, especially during the final 10-15 minutes of baking at the higher temperature, to prevent them from overcooking or burning. They should emerge from the oven beautifully golden brown and irresistibly crunchy.
Frequently Asked Questions About Oven Baked Chicken Wings
Can I use frozen chicken wings for this recipe?
Yes, you absolutely can! However, it’s crucial to completely thaw them first. You can do this in the refrigerator overnight or by submerging them in cold water, changing the water every 30 minutes until fully thawed. Once thawed, pat them extremely dry with paper towels before seasoning and baking for the best crispy results.
What if I don’t have a cooling rack? Can I still get crispy wings?
While a cooling rack is highly recommended for optimal crispiness (as it allows for 360-degree hot air circulation), you can still make these wings without one. Simply place the wings directly on a foil-lined baking sheet. Be aware that the bottom side might not be as crispy, and you may need to flip them more often or extend the baking time slightly to achieve your desired level of crunchiness.
How do I store and reheat leftover baked chicken wings to keep them crispy?
Store any leftover wings in an airtight container in the refrigerator for up to 3-4 days. To reheat and retain their crispiness, place them on a wire rack over a baking sheet and bake at 350°F (175°C) for 10-15 minutes, or until they are heated through and crispy again. An air fryer also works wonderfully for reheating, often restoring them to nearly original crispiness in just a few minutes!
Can I make these wings spicier or add different flavors?
Absolutely! This recipe provides a fantastic base. For a spicier kick, you can add a pinch of cayenne pepper or chili powder to the dry spice mixture before baking. Alternatively, once the wings are baked and crispy, toss them immediately in your favorite hot sauce, buffalo sauce, a sweet chili glaze, or a homemade BBQ sauce. A drizzle of sriracha or a sprinkle of red pepper flakes also works beautifully for an instant flavor boost.
What other dips pair well with these crispy wings?
While the homemade blue cheese dip is phenomenal and a classic pairing, these versatile wings taste great with a variety of dips! Consider serving them with a creamy ranch dressing, a zesty honey mustard, a sweet and tangy barbecue sauce, a rich garlic aioli, or even a simple squeeze of fresh lime juice for a brighter flavor profile.
More Delicious Snack Recipes to Try
Looking for more amazing appetizers and snacks to complement your crispy wings or for your next party? Here are some fantastic recipes from my kitchen that you and your guests are sure to love:
- Creamy Corn Dip with Cream Cheese
- Barbecue Pork Tenderloin Sliders with Tangy Cole Slaw
- Irresistible Cheeseburger Sliders
- Creamy Artichoke Dip Turkey Sliders
- Fresh and Flavorful Texas Caviar
One Last Bite: Your Feedback Matters!
If you give this delicious oven baked chicken wing recipe a try, I would absolutely love to hear about your experience! Please take a moment to leave a comment below and consider giving the recipe a rating. Your feedback truly helps me improve my recipes and inspires others in the cooking community to try these wonderful dishes. I do my best to reply to all your comments, as I value your thoughts and experiences.
And if you snap a photo of your perfectly crispy wings, be sure to post it to Instagram and tag me @amycaseycooks! I love seeing all your culinary creations and often share them in my Insta stories, celebrating your cooking successes.
For more fabulous foodie stories, invaluable cooking tips, and an array of diverse and delicious recipes, make sure to check out my Facebook and Pinterest pages. Happy cooking, and I look forward to connecting with you!
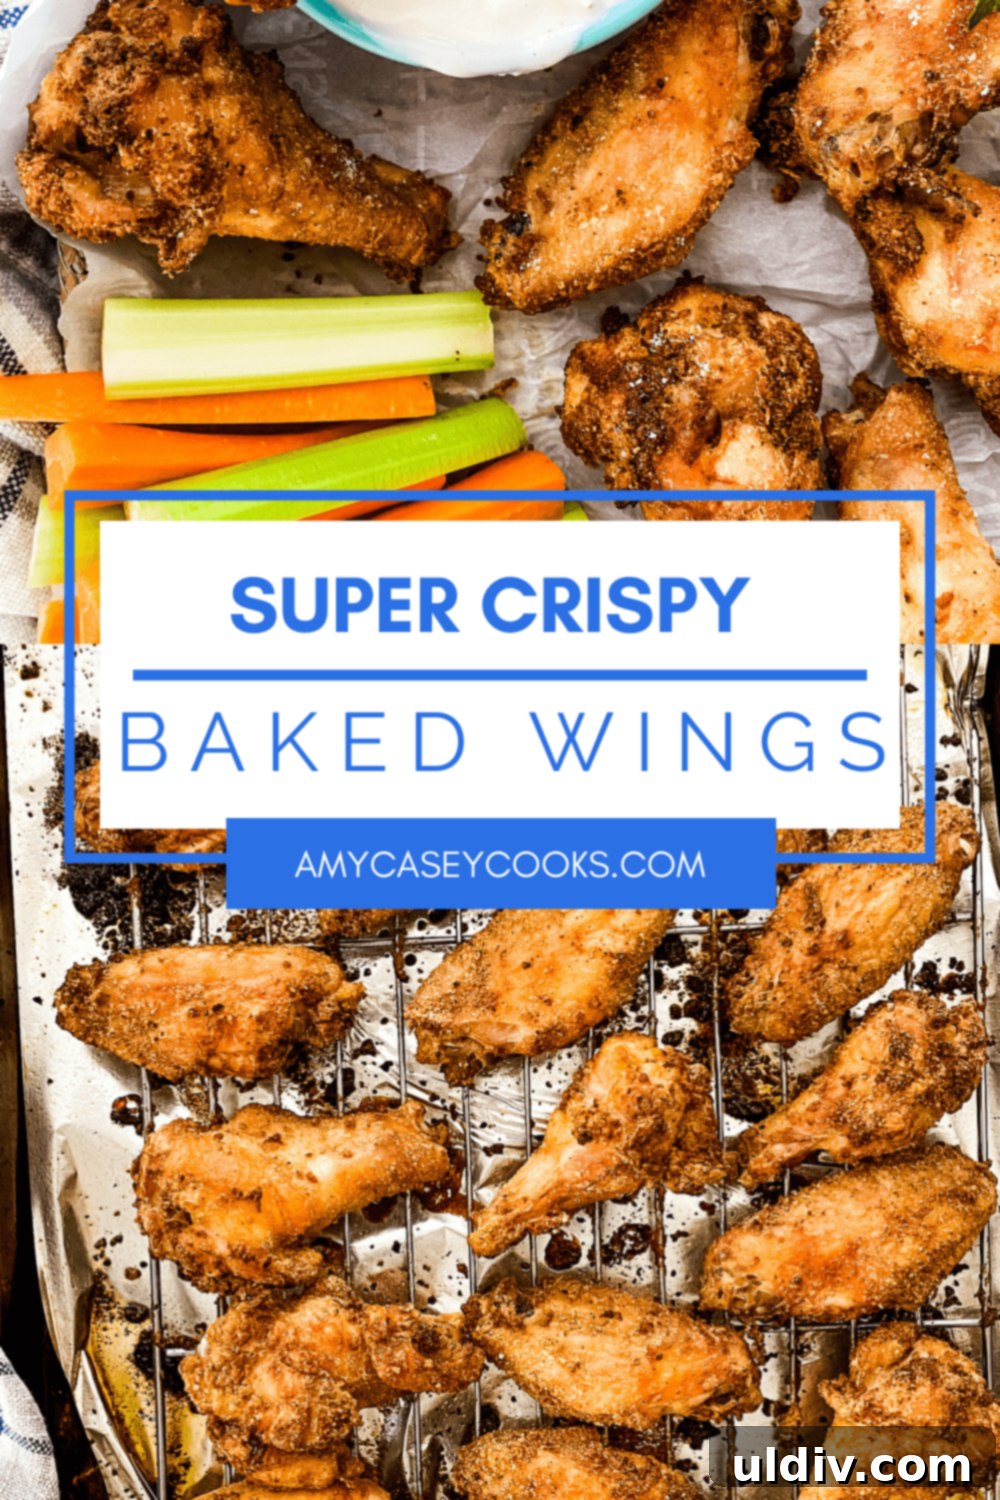
Recipe: Easy Crispy Oven Baked Chicken Wings
Oven Baked Chicken Wings
These Easy Crispy Baked Chicken Wings are absolutely the best wings! Just toss the wings with a few pantry spices and baking powder to add extra crispiness. These delicious chicken wings are unforgettable.
Pin Recipe
Rate This Recipe
Prep Time: 10 minutes
Cook Time: 1 hour 20 minutes
Total Time: 1 hour 30 minutes
Servings: 4 servings
Calories: 514 kcal
Author: Amy Casey
Equipment
- Baking Sheet
- Cooling Rack
Ingredients
- Cooking spray
- 4 to 4 ½ pounds chicken wings (about 20 flats and drumettes)
- 2 tablespoons baking powder
- 1 teaspoon kosher salt
- ½ teaspoon freshly ground pepper
- 1 ½ teaspoons onion powder
- 1 ½ teaspoons garlic powder
- 2 teaspoons paprika
- ½ cup sour cream (for dip)
- ½ cup mayonnaise (for dip)
- ¼ cup crumbled blue cheese (for dip)
- Celery and carrot sticks (for serving)
Instructions
- Preheat oven to 425 degrees F (218°C).
- Line a large baking sheet with aluminum foil. Place a wire cooling rack on top of the foil and spray the rack generously with cooking spray.
- In a small bowl, combine the baking powder, kosher salt, freshly ground pepper, onion powder, garlic powder, and paprika. Mix these spices thoroughly.
- Place the thoroughly patted dry chicken wings in a large bowl. Sprinkle the combined spice mixture evenly over the wings. Toss the wings meticulously to ensure each piece is completely coated with the spice blend.
- Arrange the seasoned wings on the cooling rack in the prepared baking sheet. It is crucial to ensure that there is ample space between each wing. Avoid crowding the pan, as this allows for proper hot air circulation, which is essential for maximum crispiness.
- Bake for 25 to 30 minutes. Carefully remove the baking sheet from the oven, flip each wing over, and return to the oven to bake for another 25 to 30 minutes. Flip the wings over one more time for even exposure.
- Increase the oven temperature to 450 degrees F (232°C). Continue to bake the wings for an additional 10 to 20 minutes. During this final high-heat stage, the wings should become deeply golden brown and develop an irresistibly crispy crunch. Watch them closely to prevent any burning.
- Once baked to perfection, remove the crispy wings from the oven and transfer them to a serving platter.
- While the wings are baking, prepare the blue cheese dip: In a separate small bowl, combine the sour cream, mayonnaise, and crumbled blue cheese. Stir all ingredients until they are well combined and smooth.
- Serve the hot, crispy oven baked chicken wings immediately with the homemade blue cheese dip and fresh celery and carrot sticks for a perfect pairing. Enjoy!
Notes
- For effortless cleanup, always line your baking sheet with heavy-duty aluminum foil. This makes disposing of rendered fat and any baked-on residue much simpler.
- For the ultimate crispy wings, always use a wire cooling rack placed inside the baking sheet. This setup ensures that hot air circulates around all sides of the wings, preventing them from sitting in their own rendered fat and achieving superior crispiness.
- Crucially, ensure you use baking powder, not baking soda. Baking powder contains an acid that reacts to create the necessary bubbles, contributing significantly to the desired crispiness, whereas baking soda alone will not yield the same result and can leave an unpleasant, metallic taste.
- Achieving perfect crispiness requires a bit of patience. Do not rush the baking time, and remember to flip the wings at least once or twice during the process for even cooking and browning on all sides.
- The final boost in oven temperature (to 450-475°F or 232-246°C) for the last 15-20 minutes is a key step. This intense heat is essential for developing that beautiful golden-brown color and irresistible crunchy texture.
Nutrition Information (Approximate Per Serving)
Serving: 5 wings | Calories: 514 kcal | Carbohydrates: 7.5g | Protein: 46.1g | Fat: 33.3g | Saturated Fat: 9.3g | Cholesterol: 143mg | Sodium: 732mg | Fiber: 0.9g | Sugar: 0.7g
Did you make this recipe?
Tag @amycaseycooks on Instagram so we can all admire your delicious work!