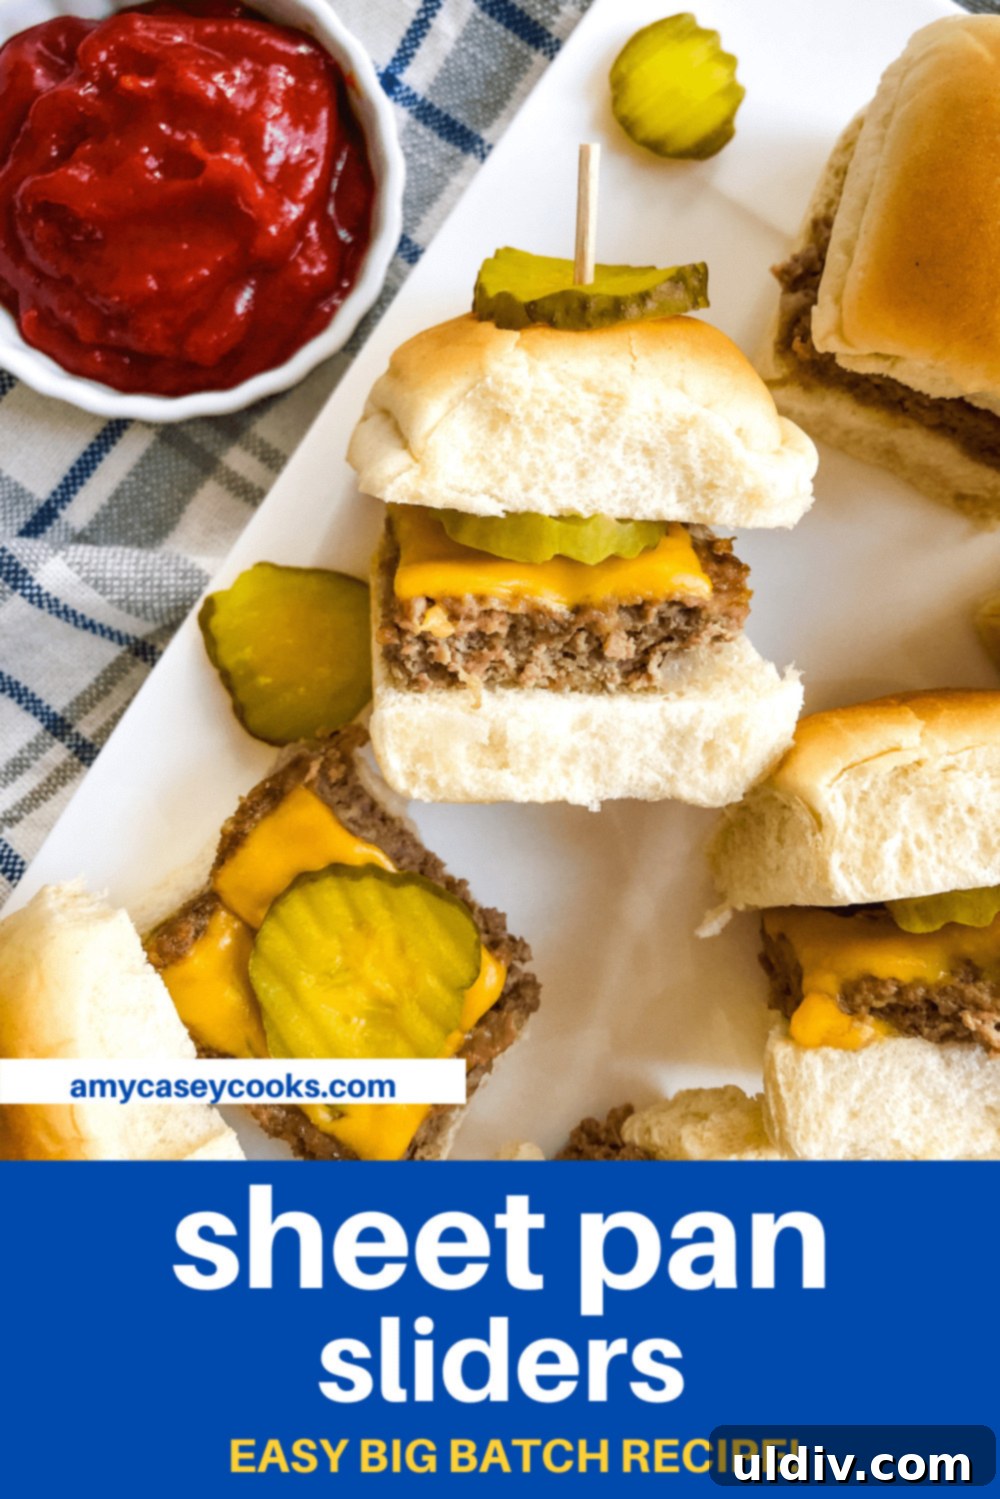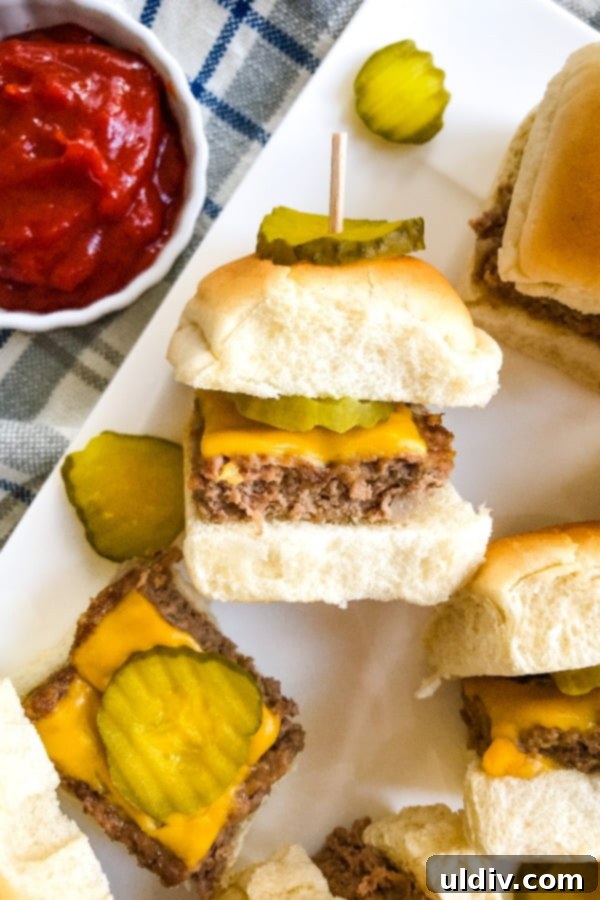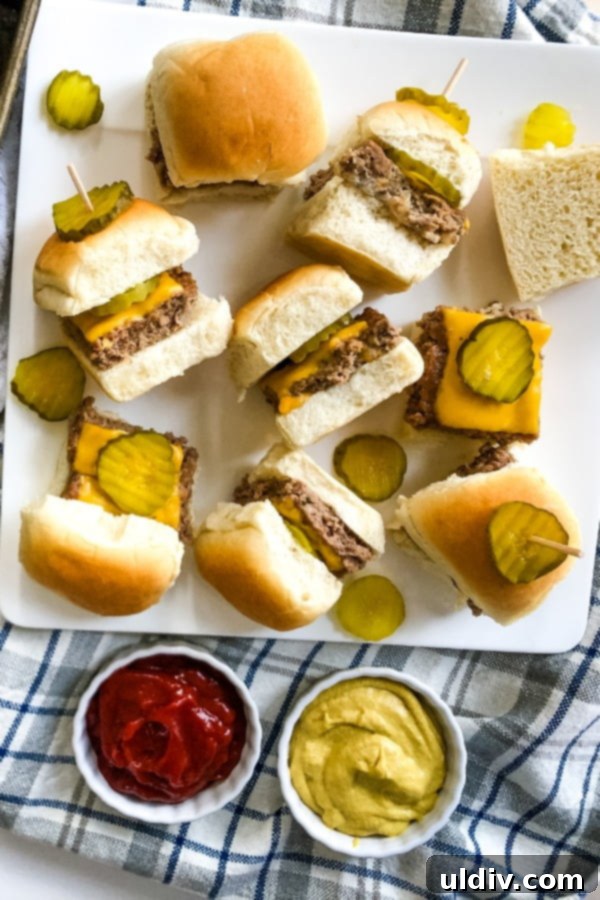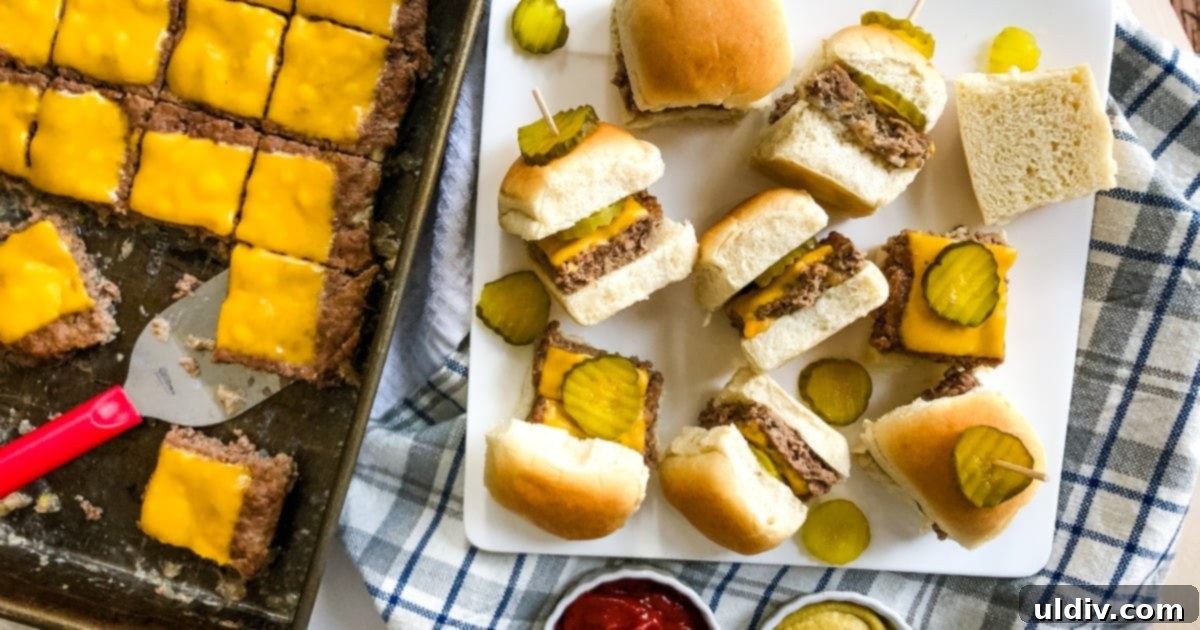
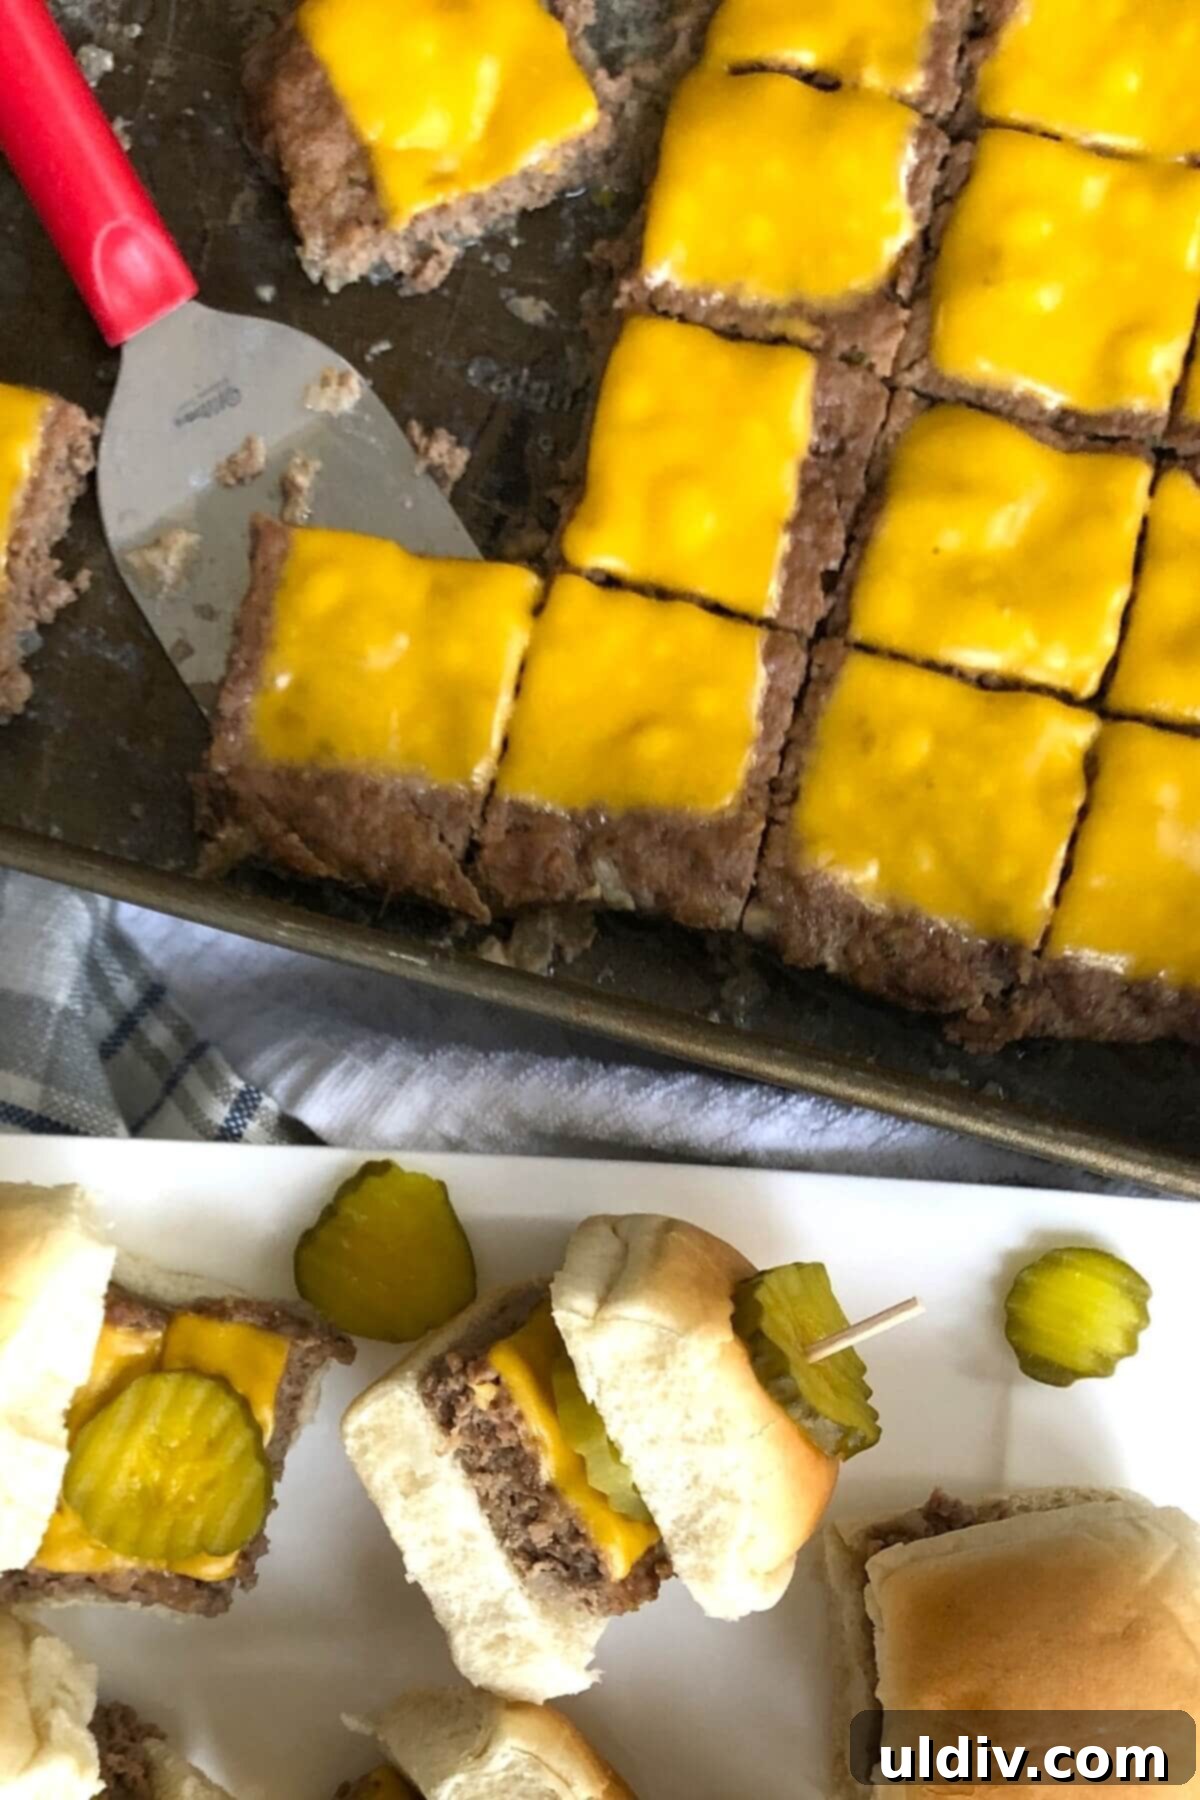
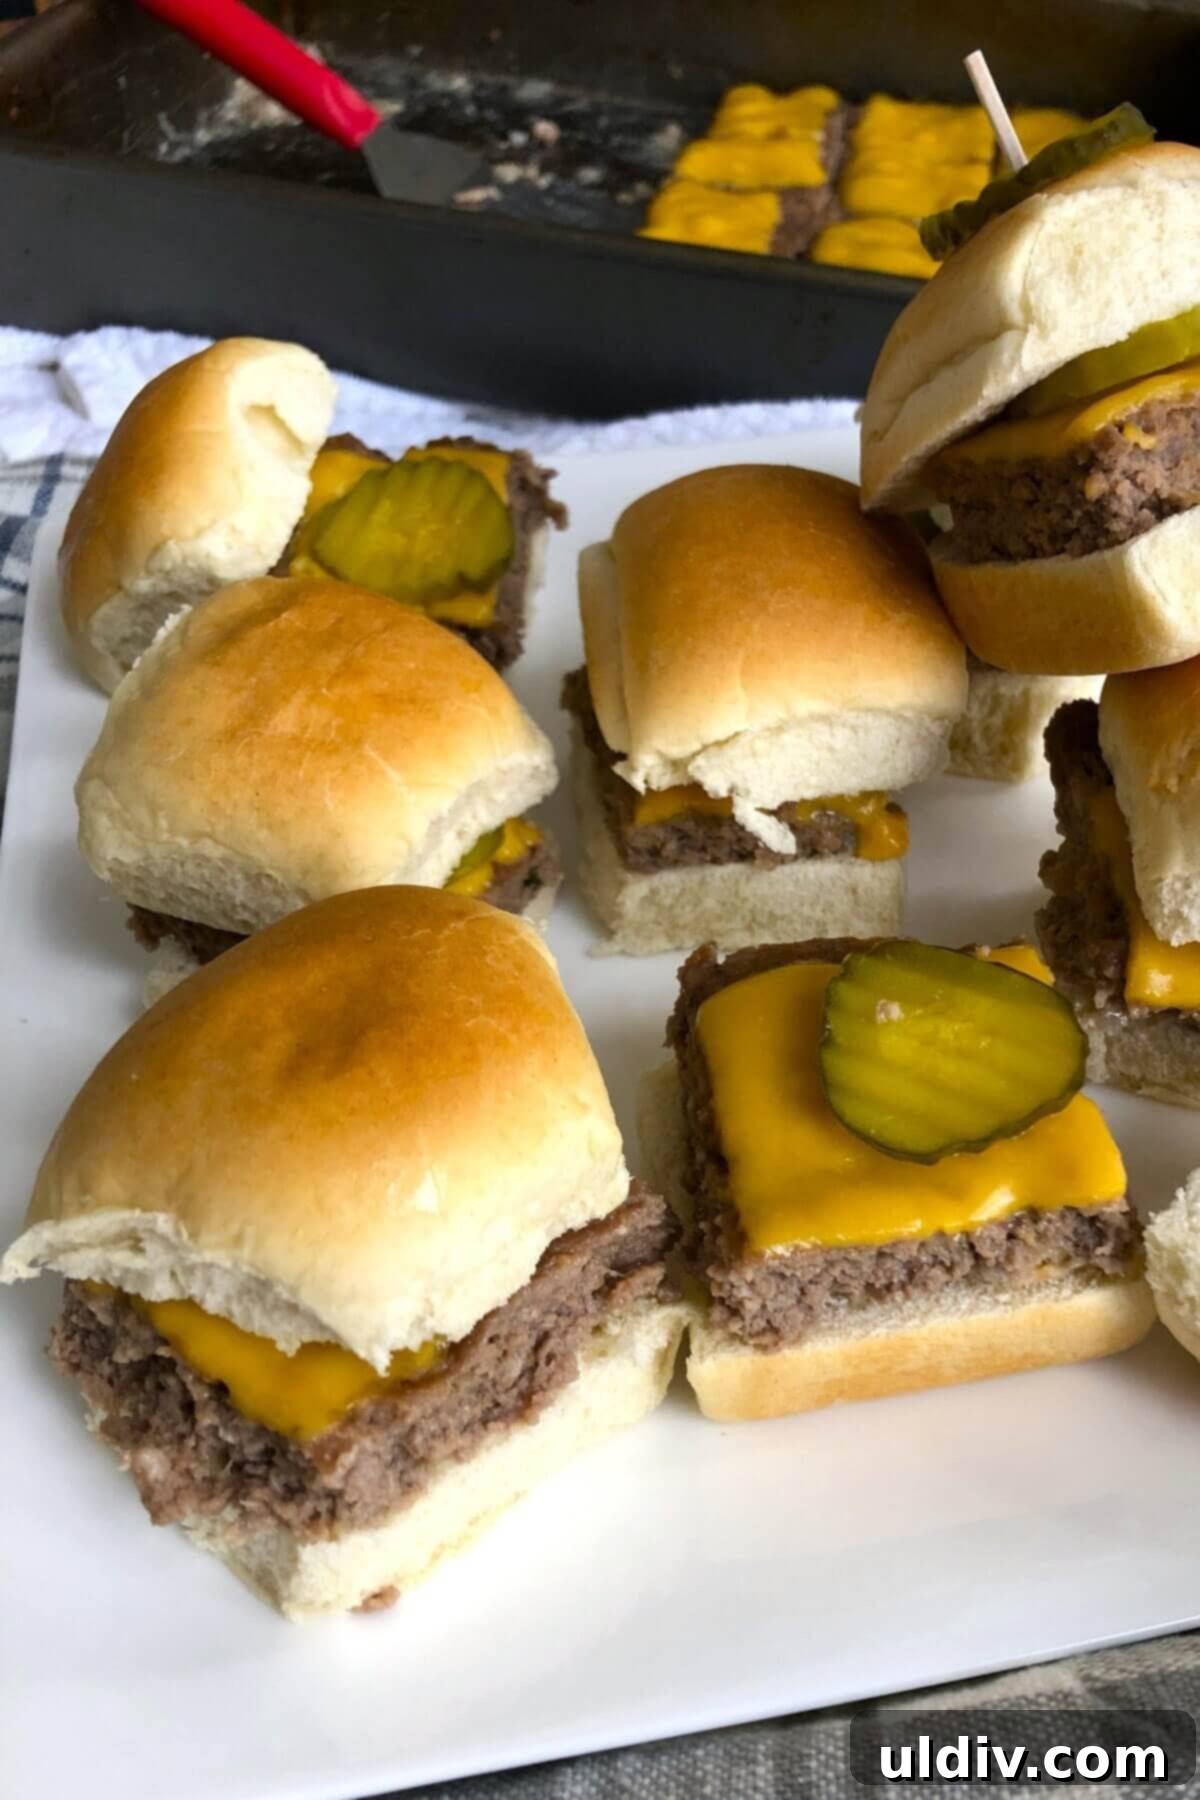
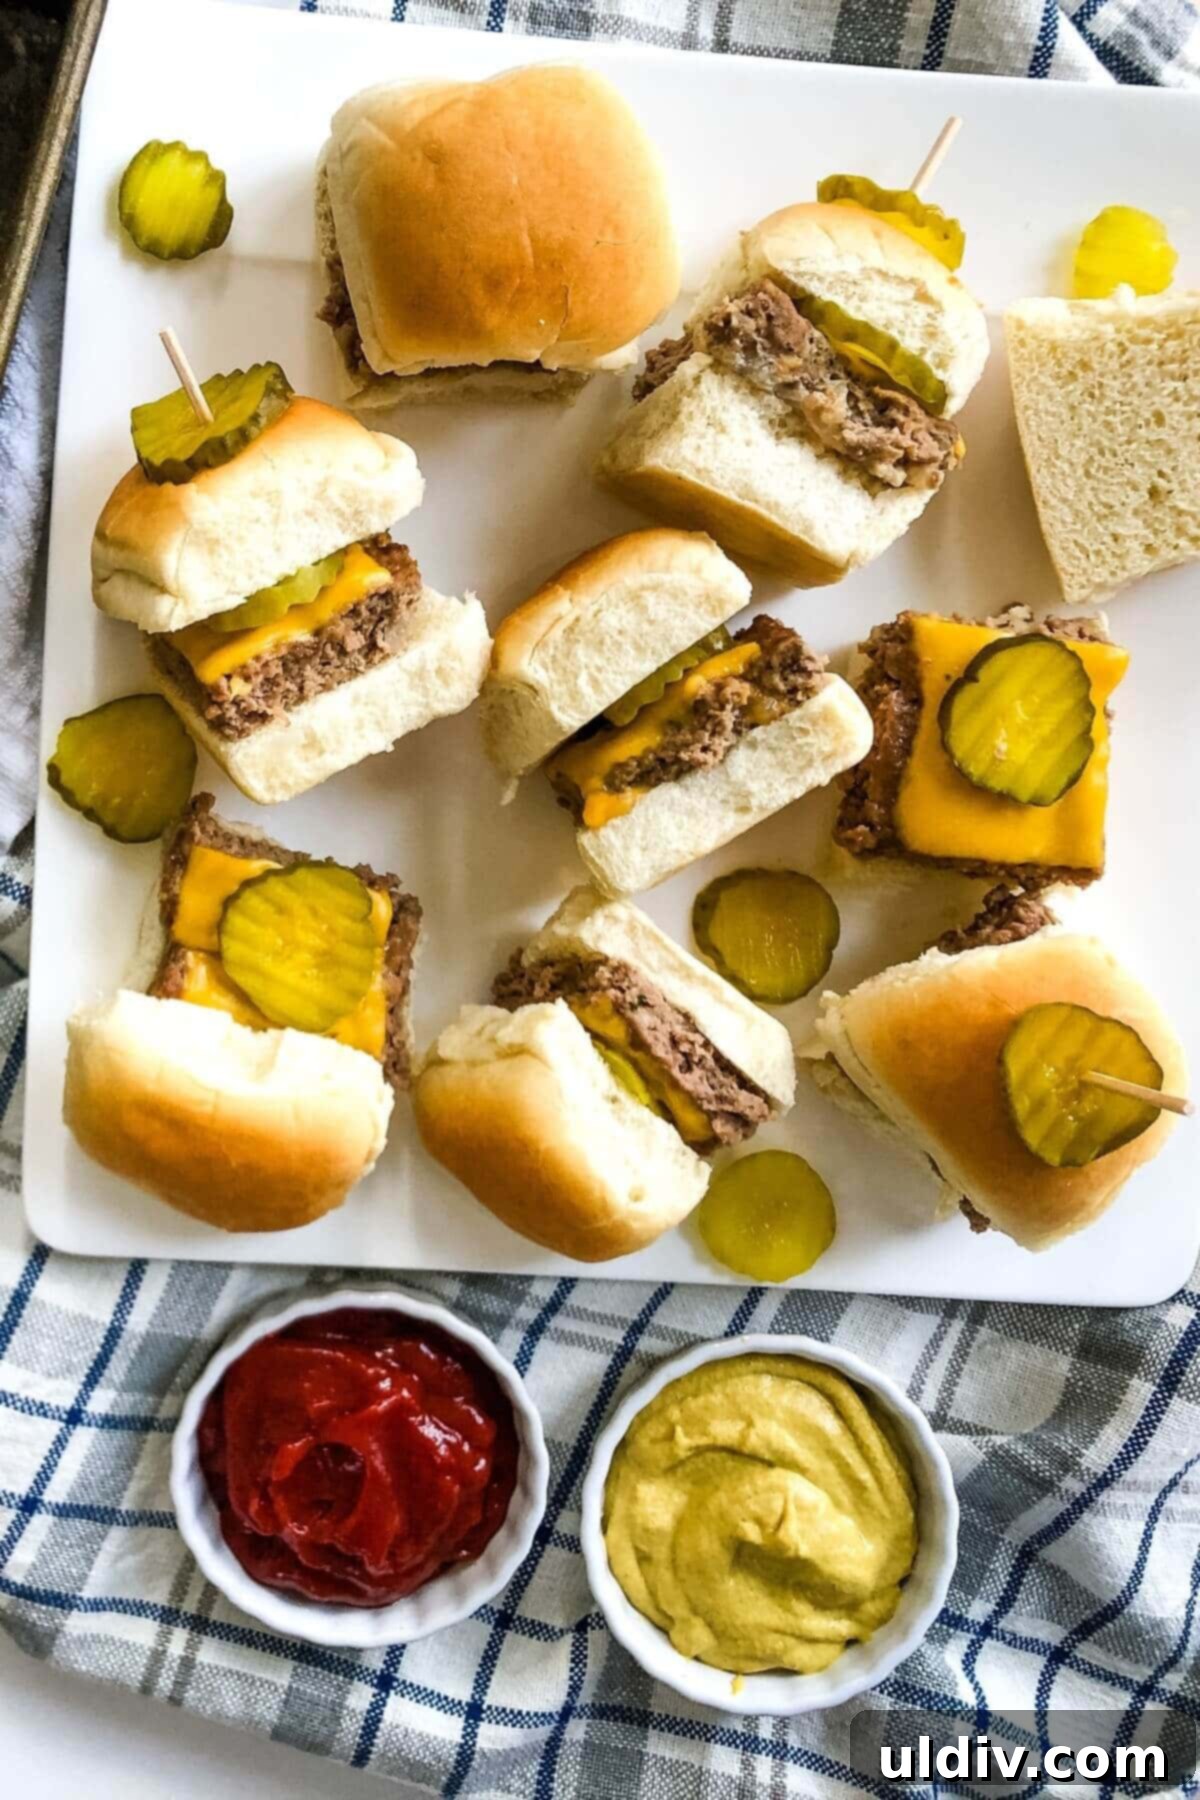
Transform your next gathering into a flavor-filled fiesta with these incredibly simple yet utterly delicious **Cheeseburger Sliders for a Crowd**. Imagine sinking your teeth into juicy, mini beef patties topped with perfectly melted cheese, nestled in soft rolls, and bursting with classic burger flavors. This ingenious recipe takes the hassle out of making dozens of individual burgers by baking one large patty in a 9×13 inch pan, which is then effortlessly sliced into 24 mouth-watering sliders. Whether you’re planning a quick family dinner, gearing up for game day, or hosting a lively party, these mini cheeseburgers served with dill pickles, ketchup, and mustard are guaranteed to be a hit with everyone.
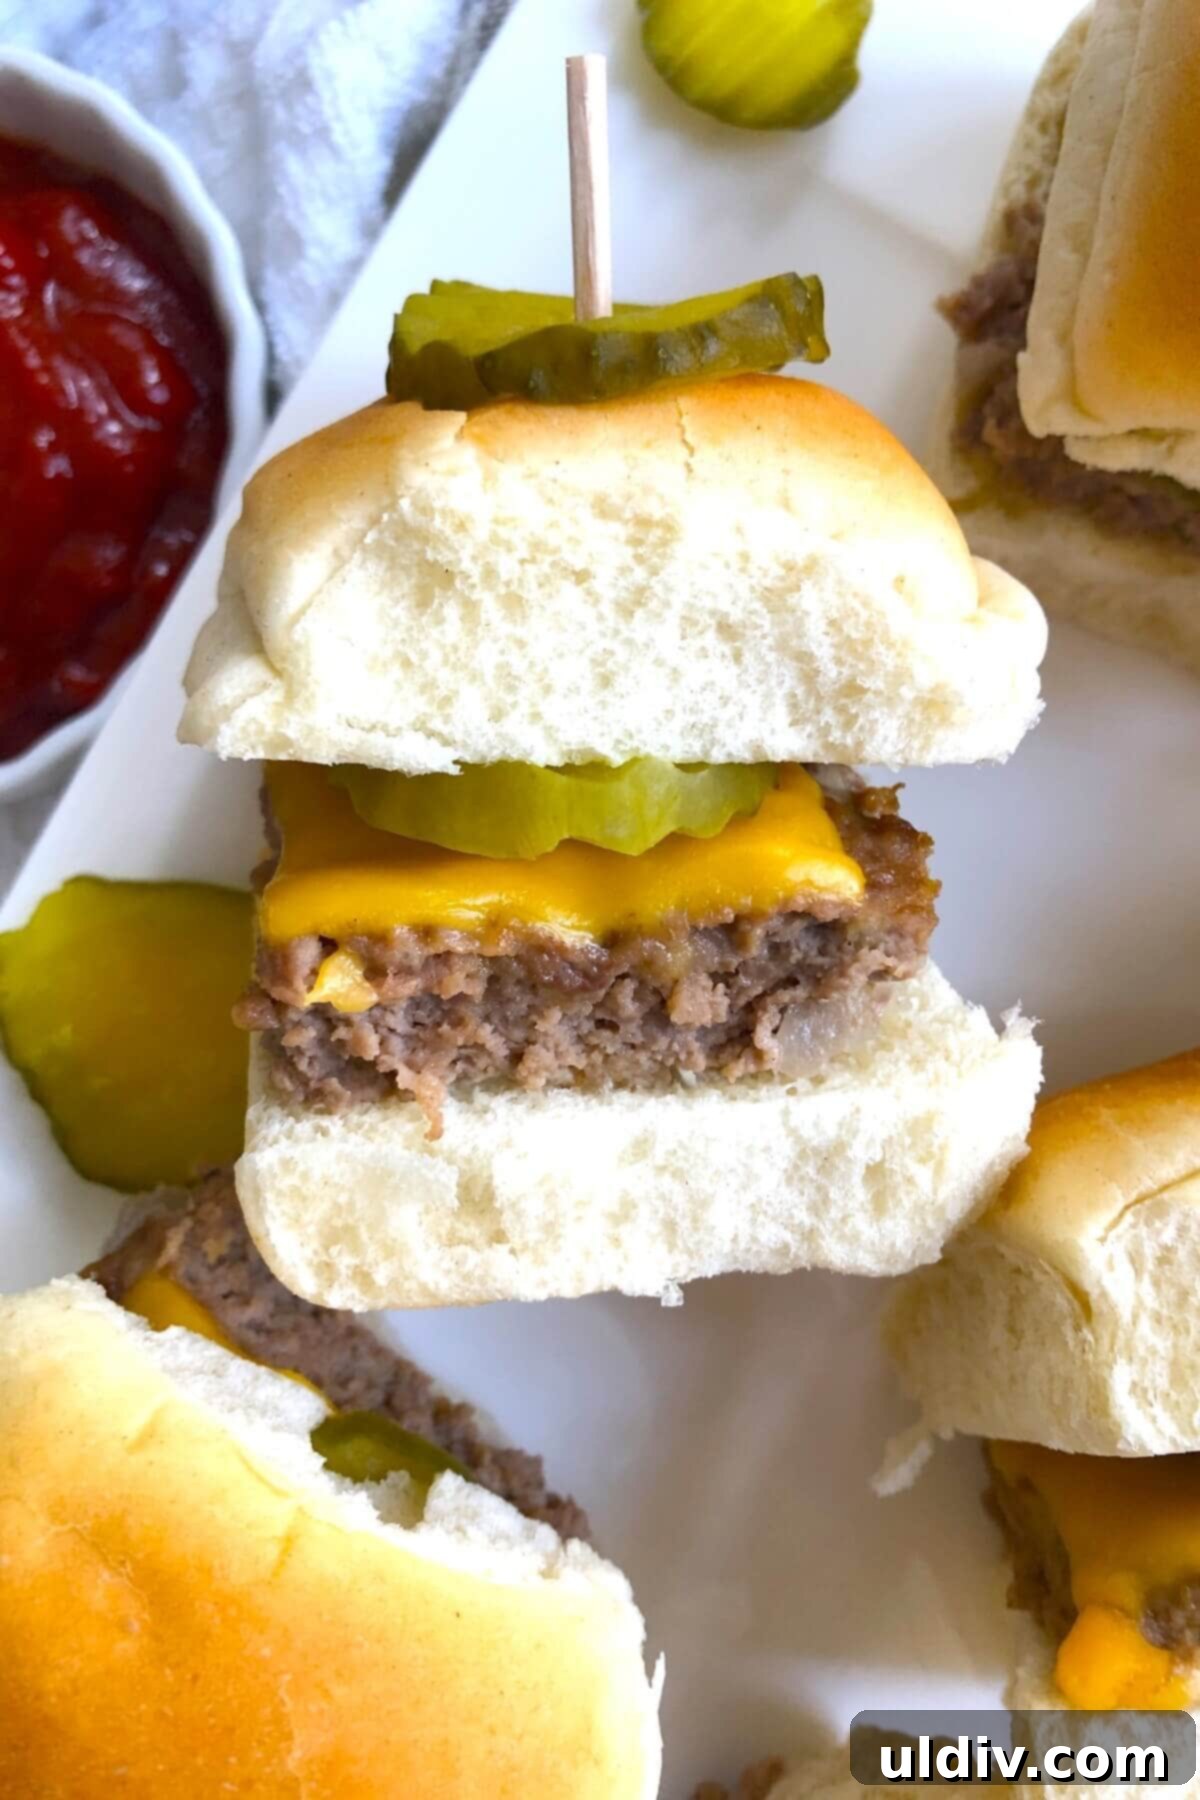
Burgers hold a special place in our hearts, whether they’re sizzling on our backyard grill along the Jersey shore or enjoyed at a favorite restaurant. Here, our grill works overtime, churning out a variety of burger creations that become instant family favorites. From my cheesy smash burgers to beefy burgers crowned with fresh tomato relish, and even smoky Monterey Jack turkey burgers, we love exploring new ways to enjoy this classic dish. But when the occasion calls for feeding a larger group, or when I simply want a stash of readily available mini burgers for effortless meals and snacks, this cheeseburger slider recipe is my ultimate go-to.
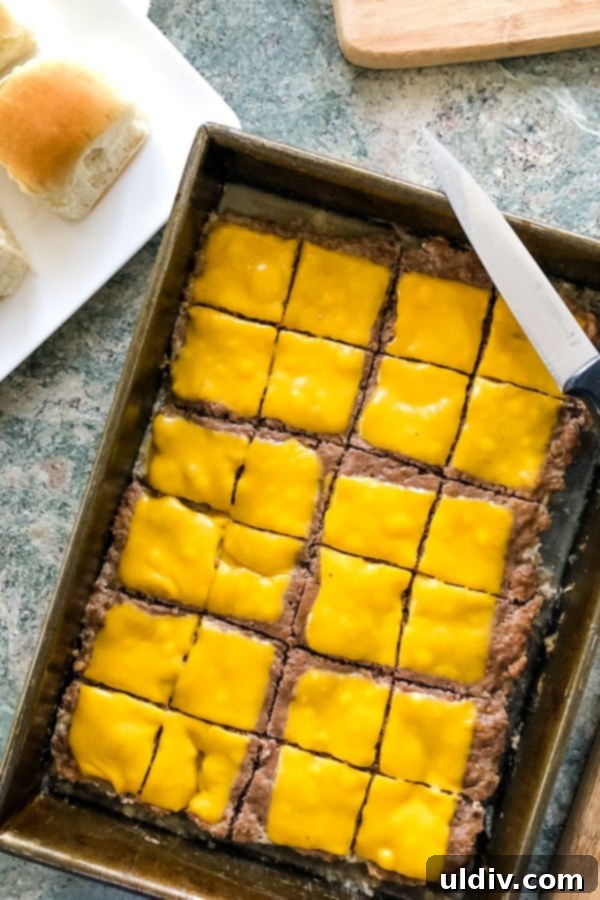
This recipe introduces a brilliantly easy method to prepare two dozen mini burgers all at once, saving you significant time and effort. Instead of individually forming and cooking each patty, you simply press a large, seasoned ground beef mixture into a baking dish. After baking to perfection, you top it with slices of your favorite cheese and then slice the entire patty into bite-sized slider portions. Just pop each flavorful hamburger slider onto a soft bun, and you’re ready to serve. It’s truly an easy-peasy solution for crowd-pleasing comfort food!
Why You’ll Absolutely Love This Easy Cheeseburger Sliders Recipe
These crowd-pleasing cheeseburger sliders are more than just mini burgers; they’re a smart solution for any host looking to impress with minimal fuss. Here’s why this recipe will quickly become a cherished favorite in your kitchen:
- Effortless Preparation: Say goodbye to flipping individual patties! This innovative recipe simplifies the process dramatically. You’ll prepare one large, flavorful burger patty, bake it in a single pan, and then crown it with perfectly melted cheese. A few quick cuts yield 24 uniform, delicious mini burgers ready to be placed on their soft rolls. This streamlined approach makes quick work of meal prep, freeing up your time to enjoy your guests or relax.
- Generous Portions for Any Crowd: Planning for a large family dinner, a lively party, or a big game day event? This recipe has you covered. It consistently produces two full dozen mini beef sliders, ensuring there’s more than enough for everyone to enjoy. No one will leave hungry, and you’ll love how easily you can scale up if even more servings are needed.
- Perfect for Every Party Occasion: Everyone loves a classic cheeseburger, and these miniature versions are simply irresistible. Their convenient 3-bite size makes them an ideal finger food for a wide array of social gatherings. They’re a fantastic addition to cocktail parties, casual backyard barbecues, elegant bridal showers, festive Super Bowl parties, and cozy movie nights at home. They disappear quickly, so be prepared to make an extra batch!
- Fantastic Make-Ahead Option: One of the best features of these sliders is their make-ahead capability. You can prepare and bake the large patty, cut it into sliders, and even assemble them onto buns in advance. When you’re ready to serve, simply reheat them, whether in the microwave for a quick snack or in the oven for a larger batch. This flexibility takes the stress out of last-minute cooking, allowing you to enjoy your event alongside your guests. (Check out the Storage and Reheating section below for detailed instructions.)
- Versatile and Customizable: While the classic cheeseburger is fantastic, these sliders are also a canvas for culinary creativity. Offer a variety of toppings and condiments, allowing each guest to customize their mini burger to their liking. This interactivity adds a fun element to any meal or party spread.
- Kid-Friendly Favorite: The smaller size and familiar flavors of cheeseburger sliders make them an instant hit with children. They’re easy for little hands to hold and eat, making them a stress-free meal option for families with kids.
Essential Ingredients & Smart Substitutions for Your Sliders
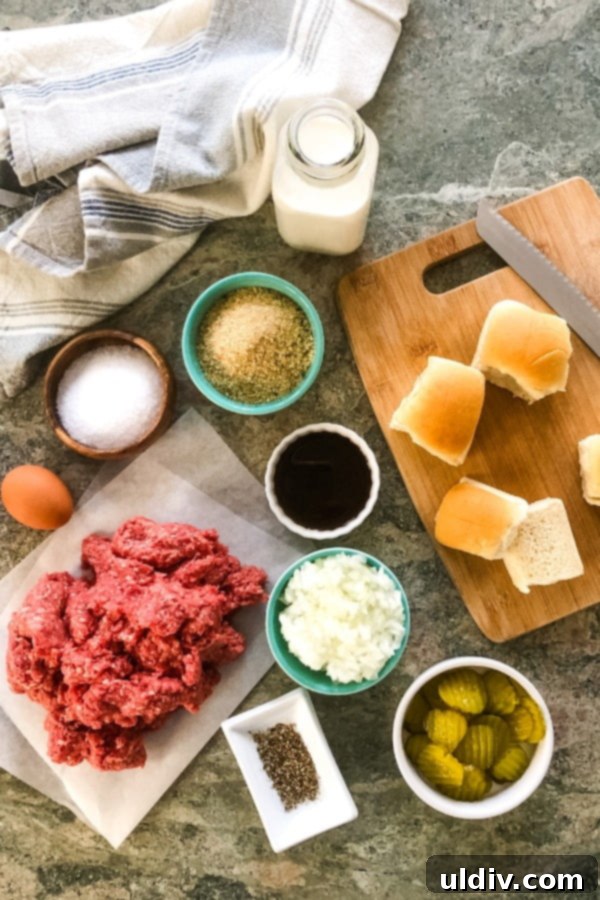
Crafting these delicious cheeseburger sliders requires a handful of fresh and pantry staples. We’ll delve into each ingredient, explaining its role and offering great substitution options to ensure your sliders are perfect every time. For precise measurements, always refer to the detailed recipe card at the end of this article.
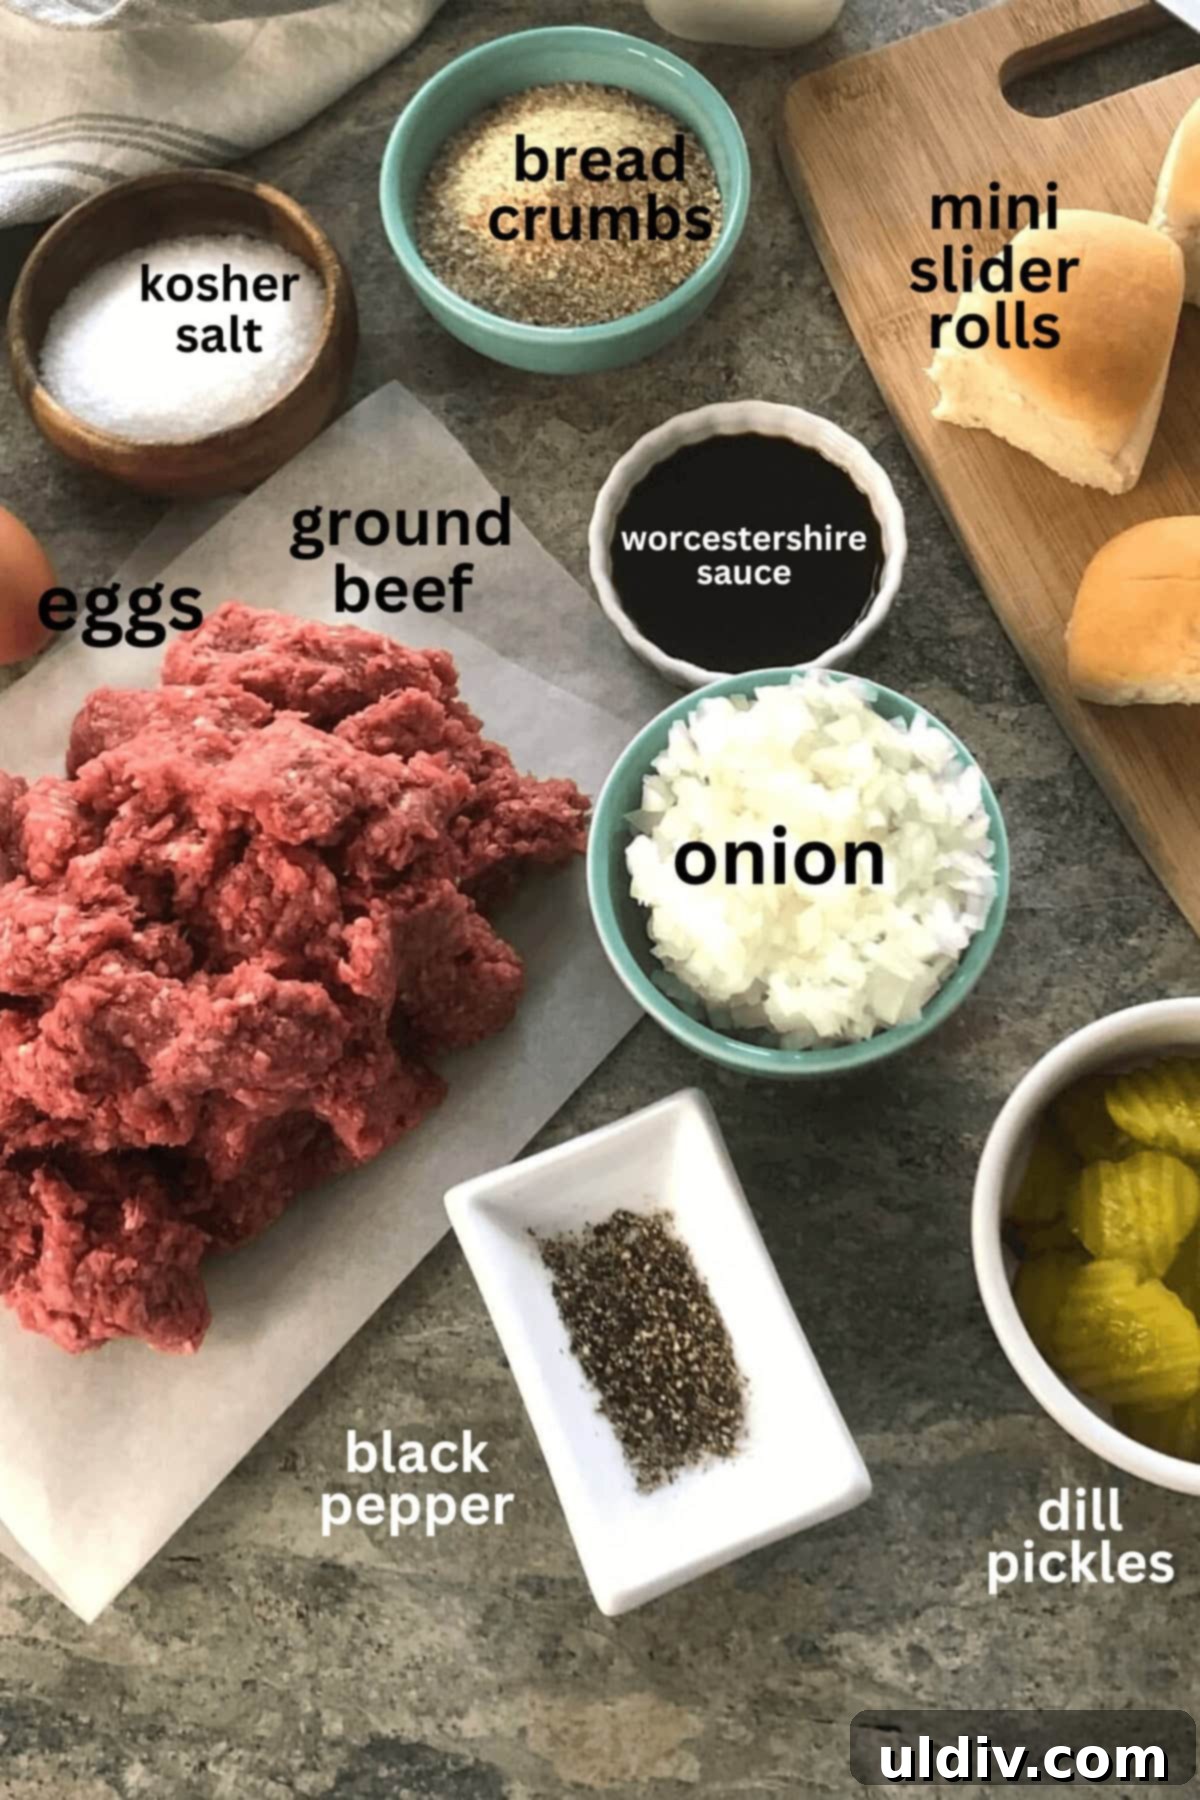
- Onion: A medium yellow or Vidalia onion, finely diced, is crucial for adding both moisture and a subtle depth of flavor to the beef patty. It melds seamlessly into the mixture, ensuring a juicy and aromatic slider. If you don’t have yellow or Vidalia, a sweet onion works beautifully.
- Ground Beef: For the best balance of flavor and texture, I highly recommend an 85/15 blend of ground beef. This ratio provides enough fat to keep the patty juicy without making it overly greasy. If you prefer a leaner option, an 80/20 blend can also work, but be mindful of dabbing off excess grease. For alternatives, ground turkey or ground chicken are excellent choices for lighter sliders, though they may require a bit more seasoning. Plant-based ground meat substitutes can also be used following the same method.
- Plain Dried Bread Crumbs: These act as a binder, helping the patty hold its shape and absorbing excess moisture, contributing to a tender texture. Panko breadcrumbs can be used for a slightly coarser texture. If you’re looking for a gluten-free option, ensure you use gluten-free bread crumbs or crushed gluten-free crackers.
- Large Eggs: Eggs are another vital binding agent in this recipe, helping to keep the large patty cohesive during baking and ensuring your sliders don’t crumble.
- Worcestershire Sauce: This secret weapon adds a wonderful layer of umami and savory depth to the beef. A few tablespoons make a significant difference in enhancing the overall flavor profile. If you’re out, a dash of soy sauce or even a tiny amount of anchovy paste can offer a similar savory kick, but start sparingly.
- Kosher Salt: Essential for seasoning the meat and bringing out its natural flavors. Adjust to your taste, but ½ teaspoon is a good starting point for this quantity of beef.
- Freshly Ground Black Pepper: Freshly ground pepper adds a pungent, aromatic kick that complements the rich beef flavor. Always opt for fresh if possible!
- American Cheese Slices: The ultimate classic for a cheeseburger! American cheese melts beautifully and provides that quintessential creamy, slightly tangy flavor. However, feel free to experiment with your favorites. Mozzarella, Swiss, Monterey Jack, pepper jack for a bit of spice, or sharp cheddar cheese are all fantastic alternatives that melt well.
- Dill Pickle Chips: These crisp, tangy pickle chips provide a refreshing contrast to the rich beef and cheese. Bread and butter pickle chips offer a sweeter alternative if that’s more to your liking.
- Mini Slider Rolls: The foundation of any great slider! Look for soft dinner rolls or party rolls, typically around 2-inch square buns. My personal favorite are Pepperidge Farm Farmhouse brioche rolls for their buttery richness and soft texture. If you can only find larger slider-sized buns, you can easily adjust this recipe to make 12 larger sliders instead of 24 mini ones. The key is to ensure the rolls are soft and fresh.
- Ketchup and Mustard: These classic condiments are a must-have for serving. Provide a generous selection for guests to customize their sliders.
Crafting Your Perfect Cheeseburger Sliders: A Step-by-Step Guide
These cheeseburger sliders capture all the beloved flavors of a full-sized burger in a convenient, mini package. This recipe is designed to be a significant time-saver, eliminating the need to form individual patties or spend extended periods at the grill. Here’s a brief overview; for complete, detailed instructions and a helpful video, please refer to the recipe card below.
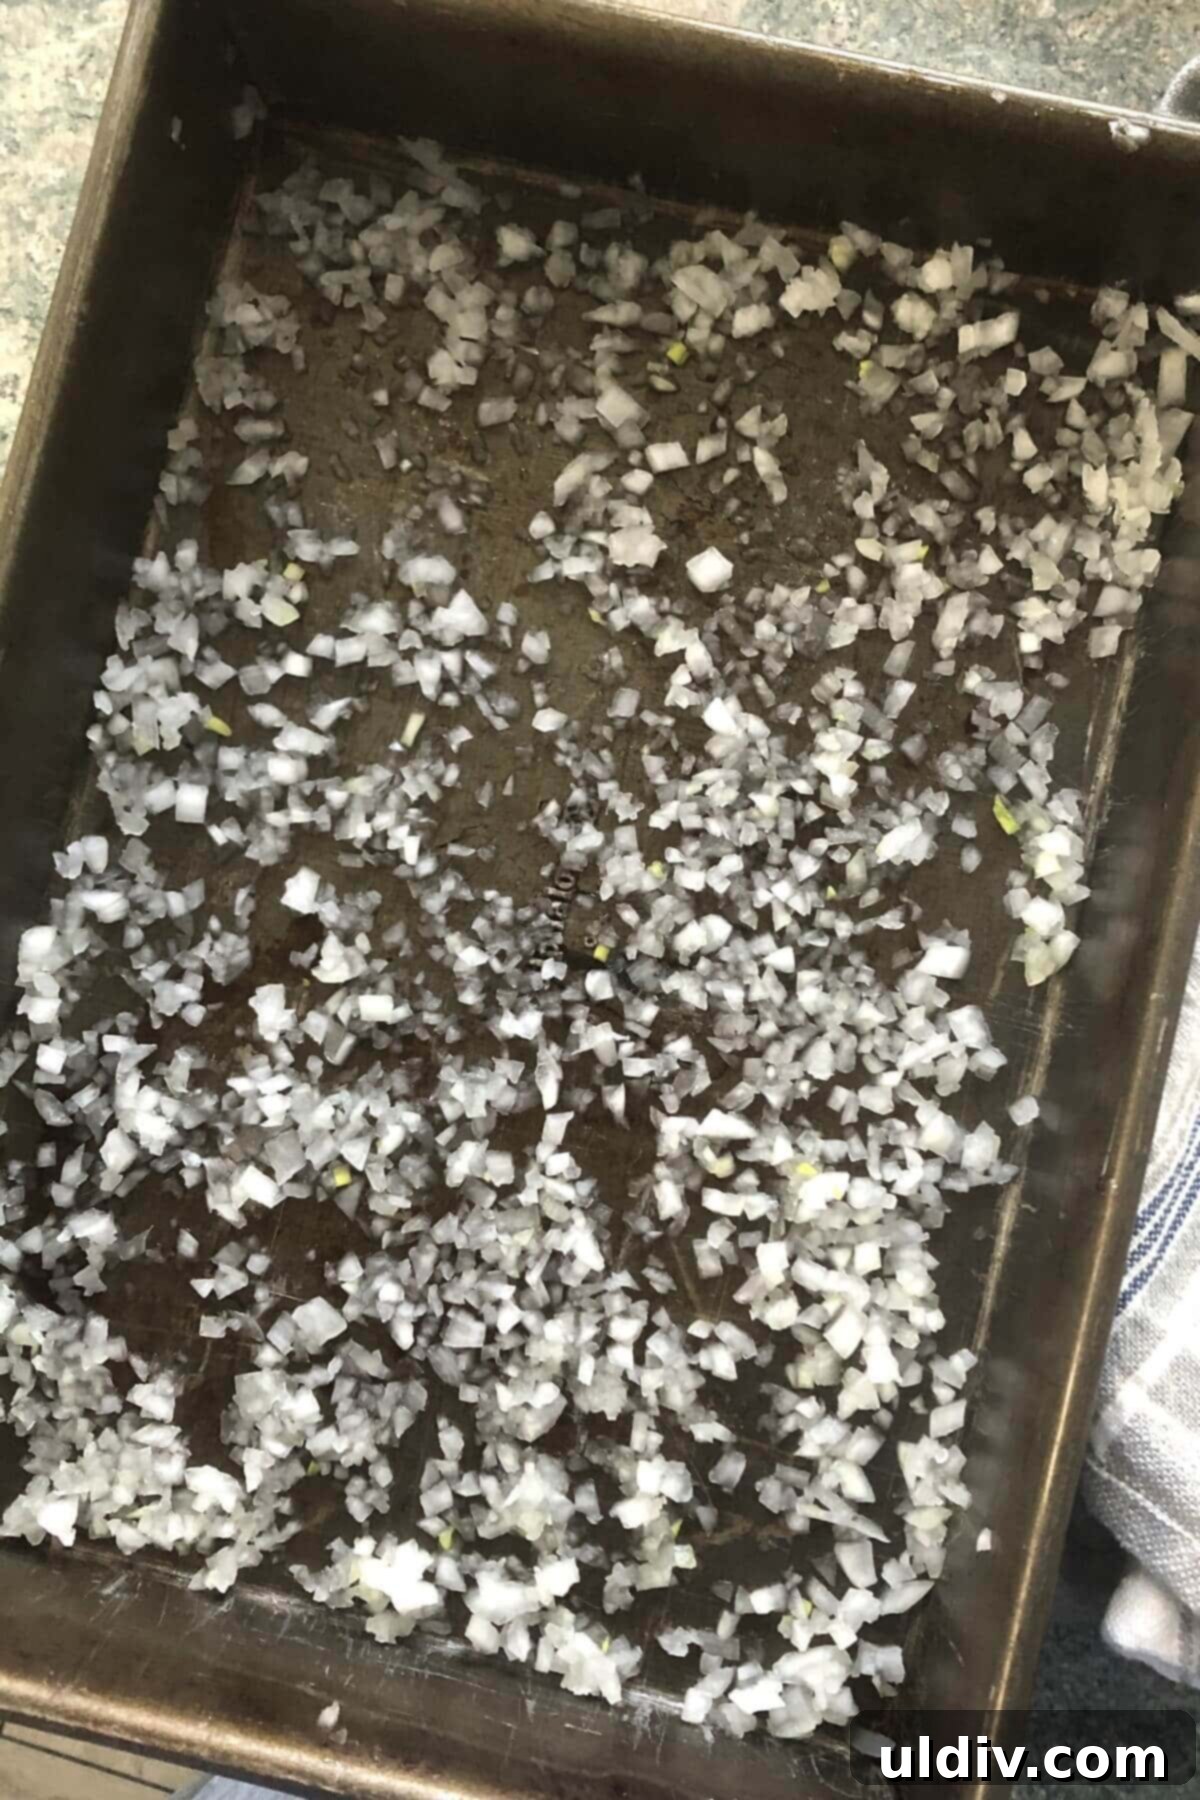
1. Prepare your baking pan by spreading finely chopped onions evenly across the bottom of a 9×13 inch baking dish. This creates a flavorful bed for your large burger patty.
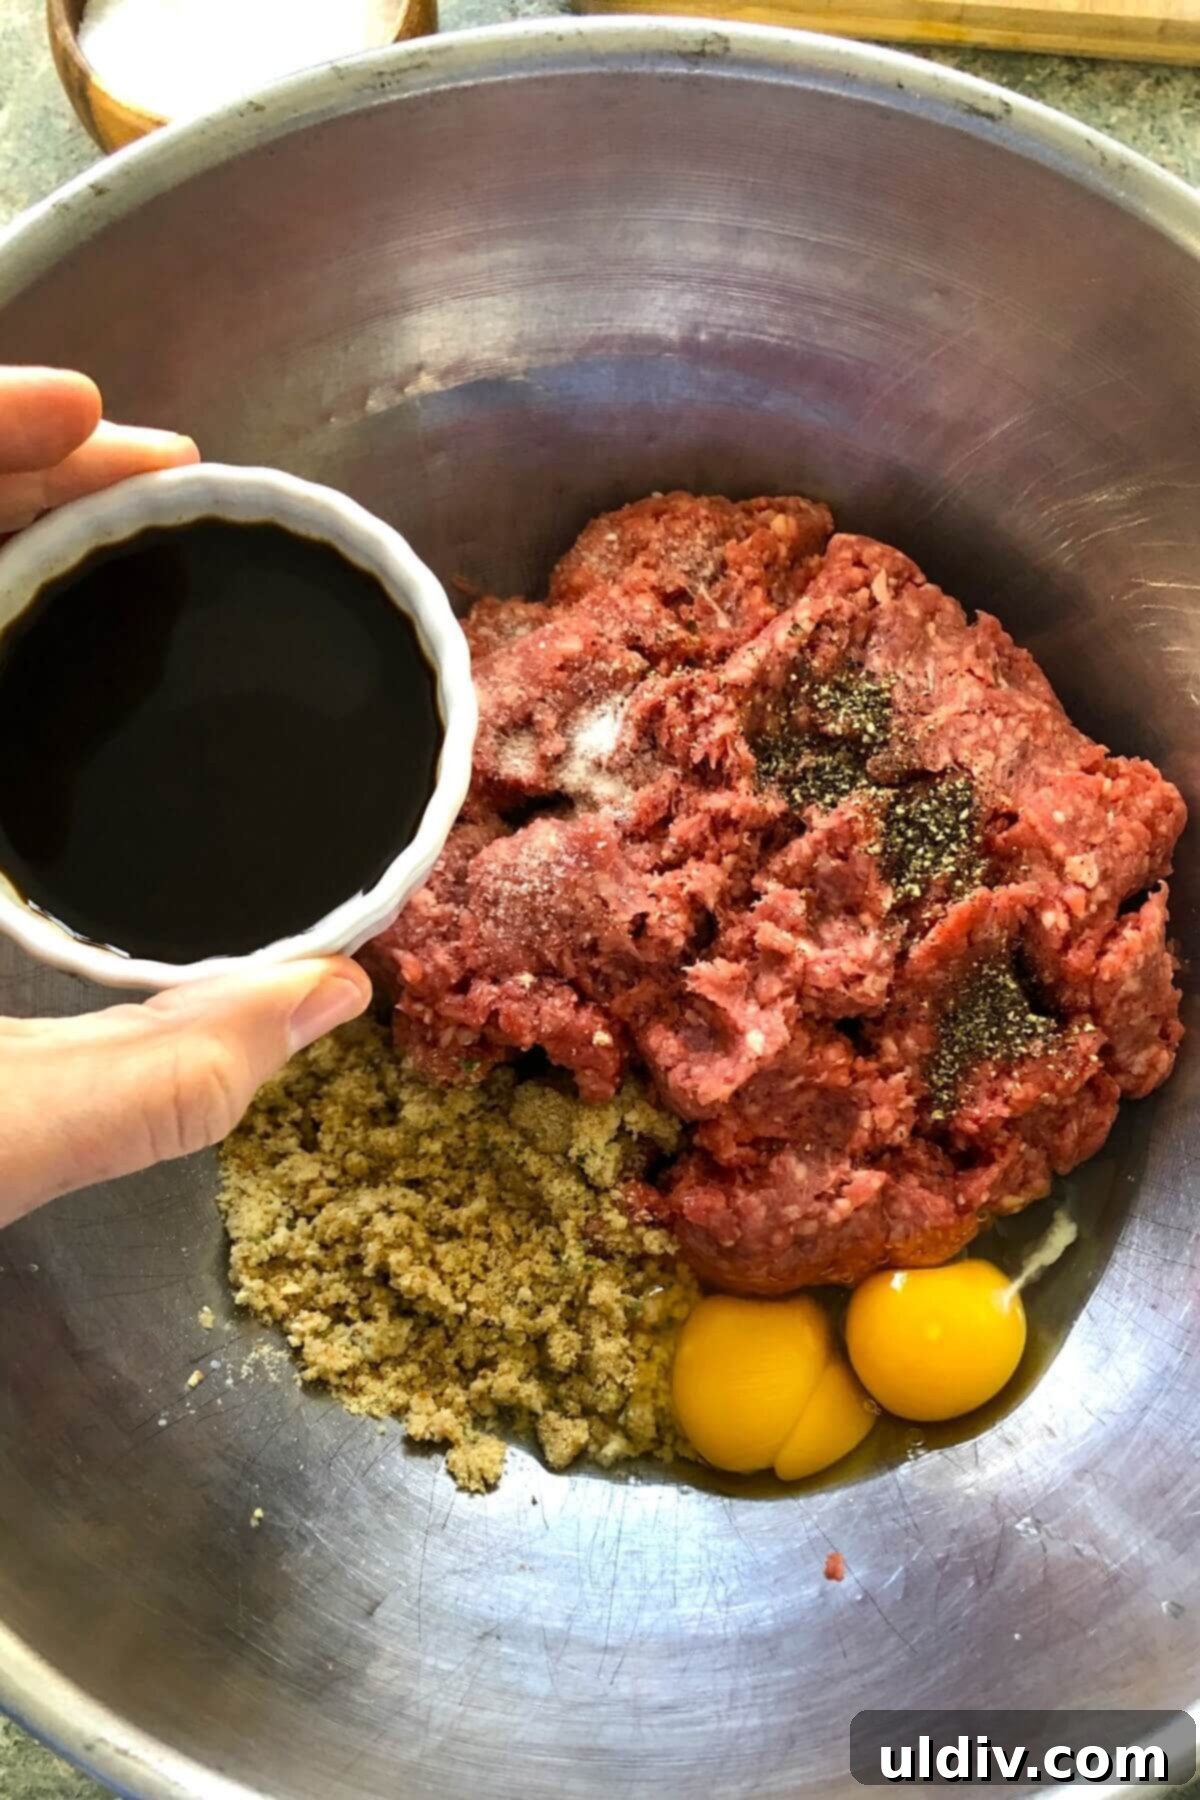
2. In a spacious mixing bowl, combine the ground beef with the eggs, bread crumbs, kosher salt, black pepper, and Worcestershire sauce. Mix gently but thoroughly until all ingredients are well incorporated, being careful not to overmix.
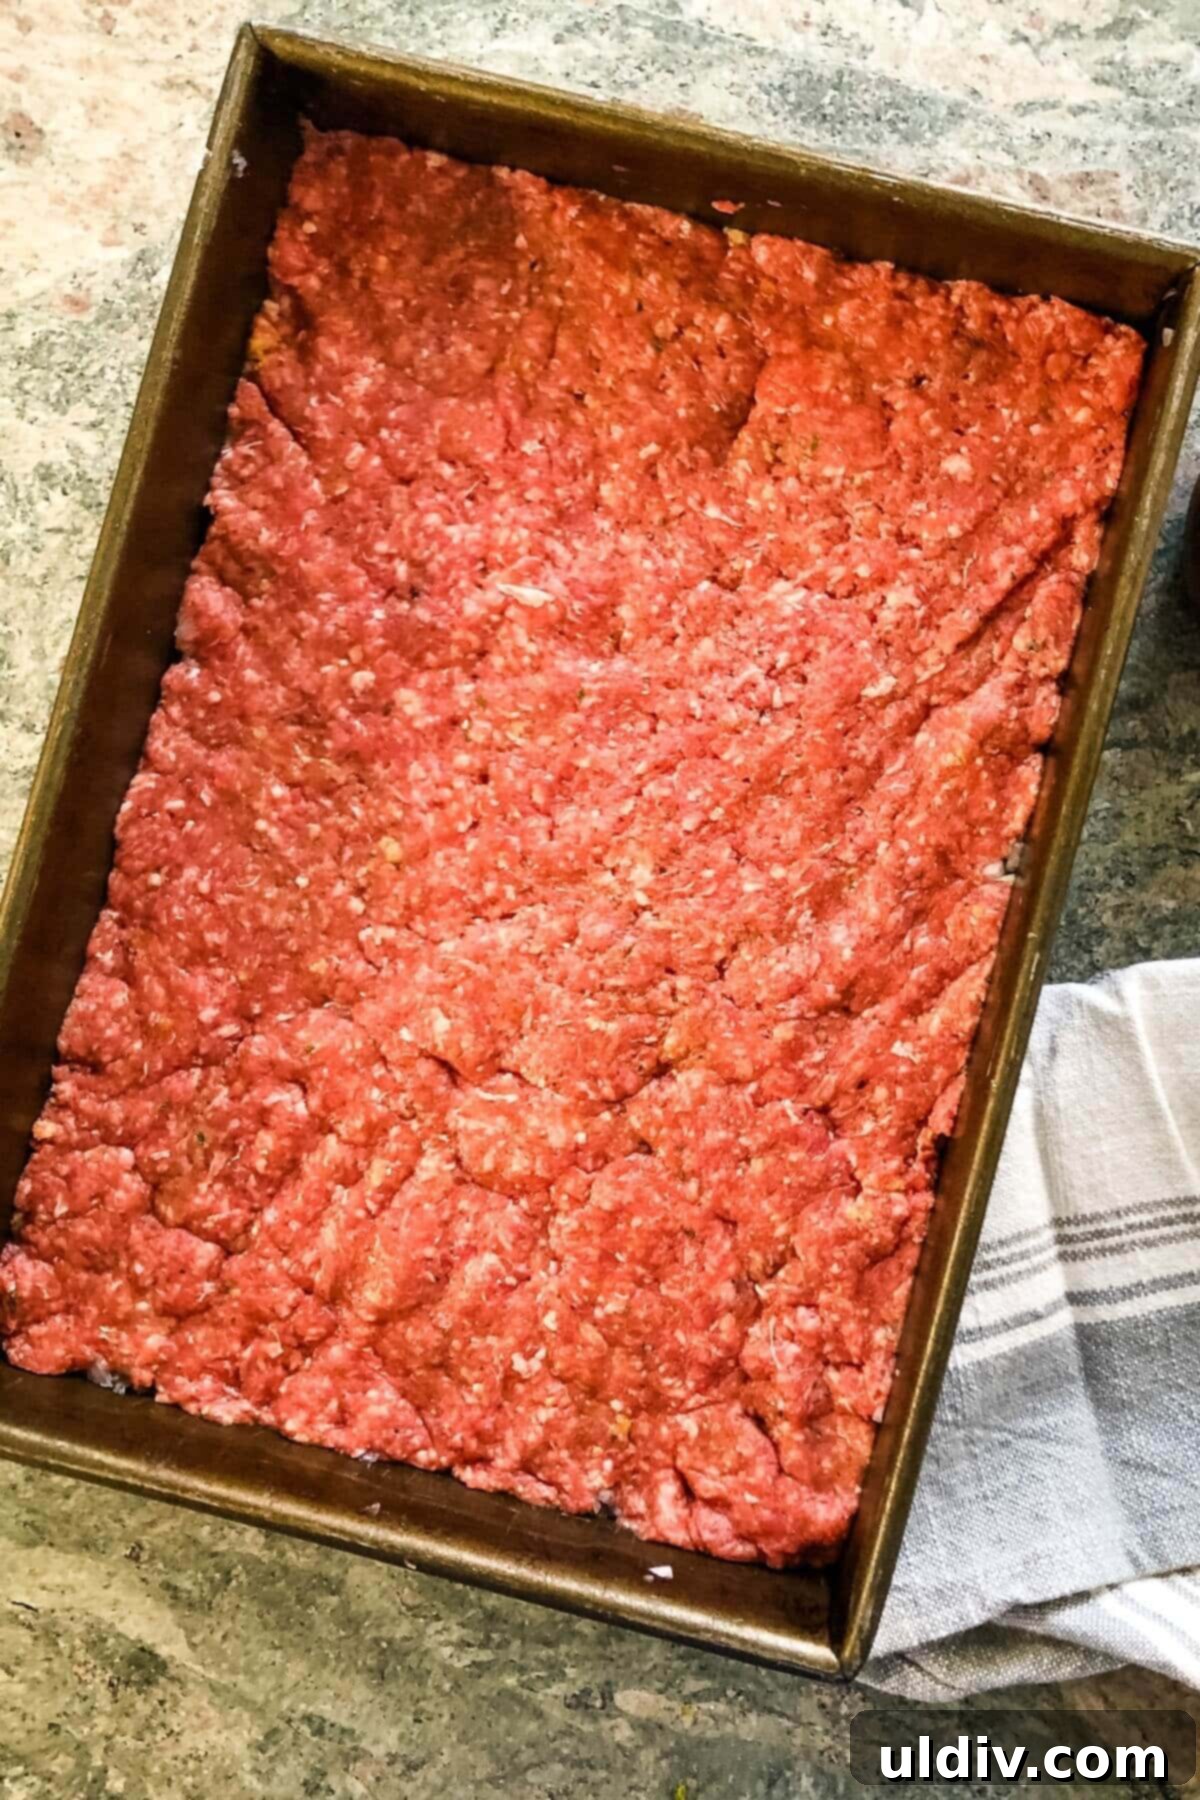
3. Transfer the seasoned ground beef mixture into the prepared baking pan. Using your hands or a spatula, press the meat evenly across the entire surface of the pan, extending all the way to the edges.
4. Bake the patty in your preheated oven for 10-15 minutes, or until it’s beautifully browned and cooked through. If you notice any “cracks” forming in the patty during cooking, gently press them back together. Don’t worry, the cheese will help hold it all together in the end!
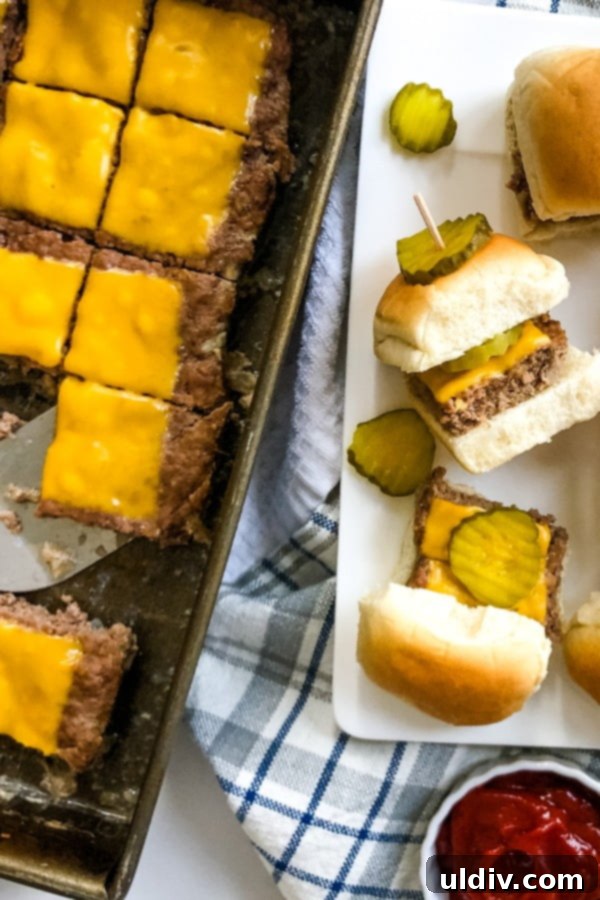
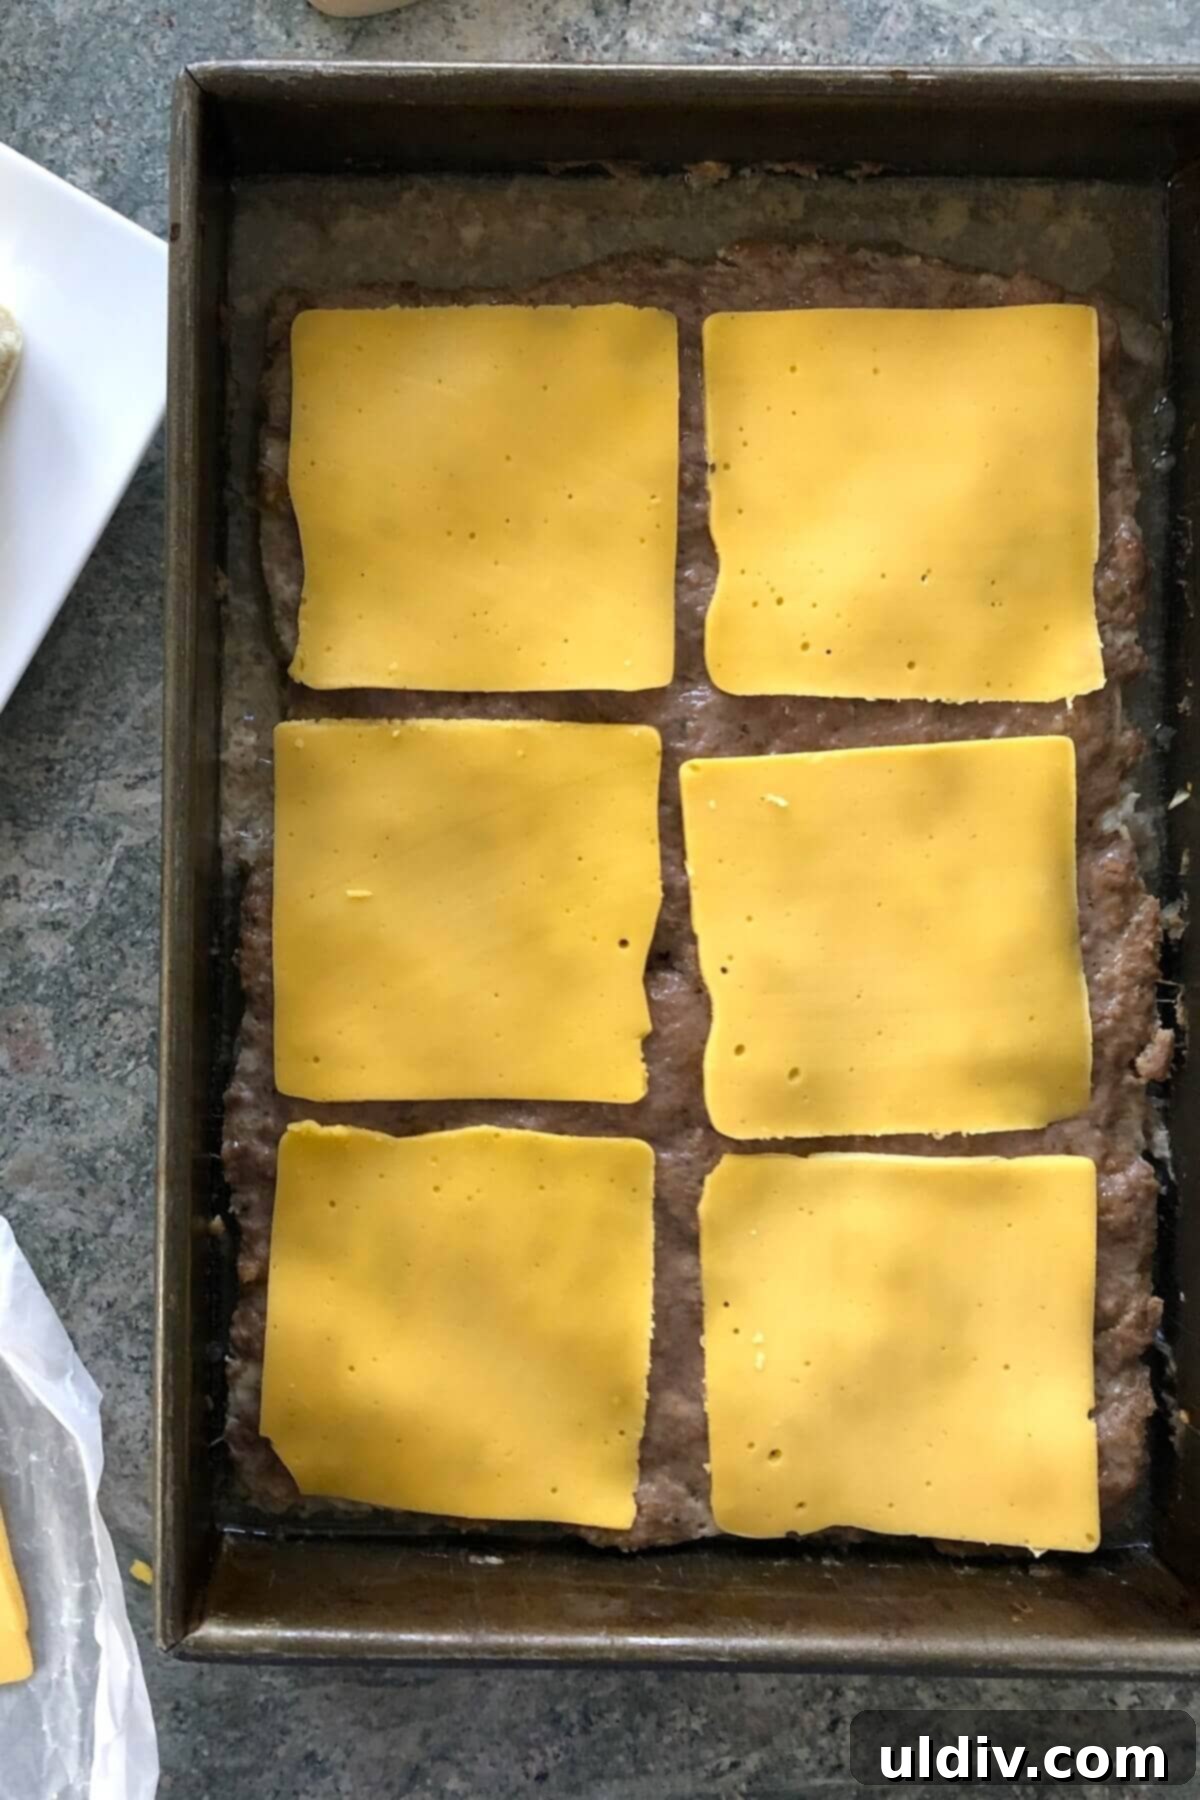
5. Remove the pan from the oven. Before adding cheese, gently dab off any excess grease from the top of the patty with a paper towel. Then, arrange the American cheese slices evenly over the hot patty. Return the pan to the oven for just 1-2 minutes, or until the cheese is perfectly melted and gooey.
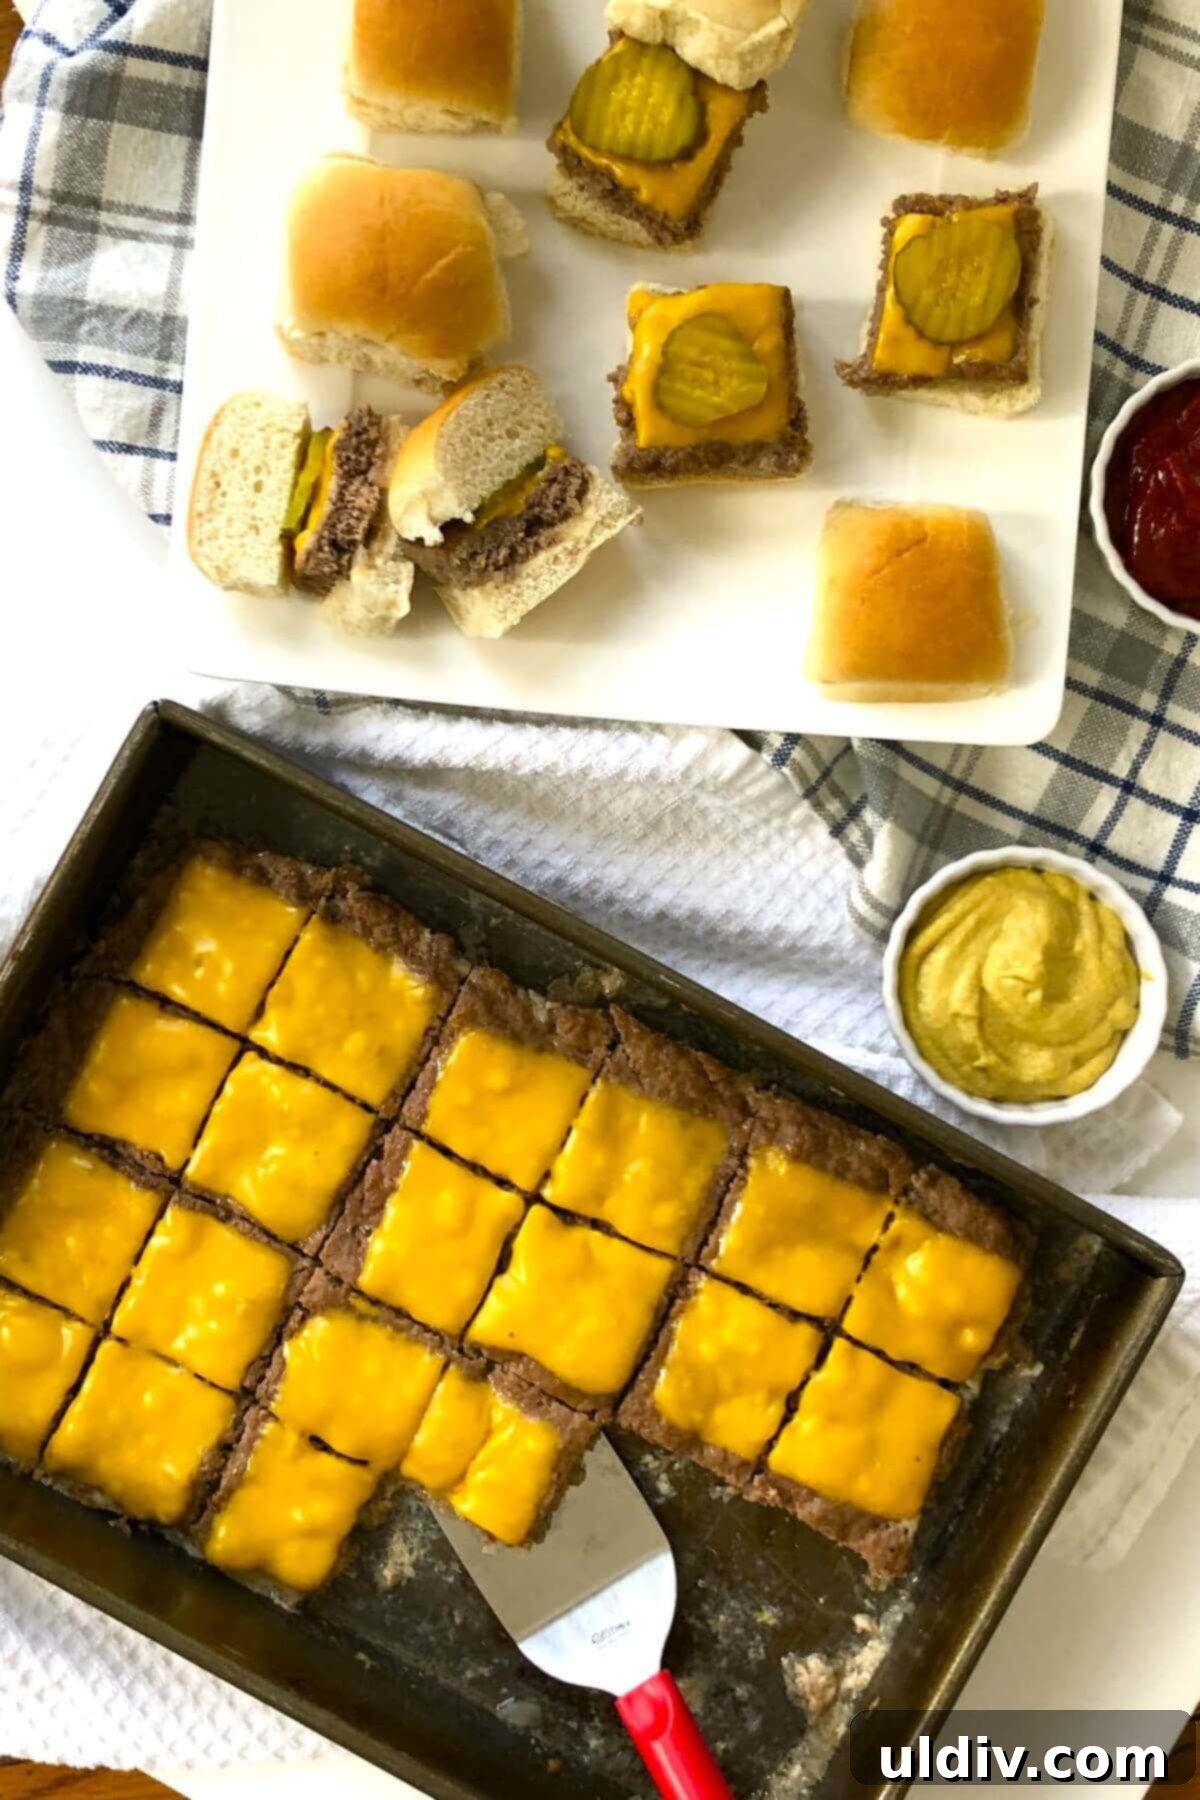
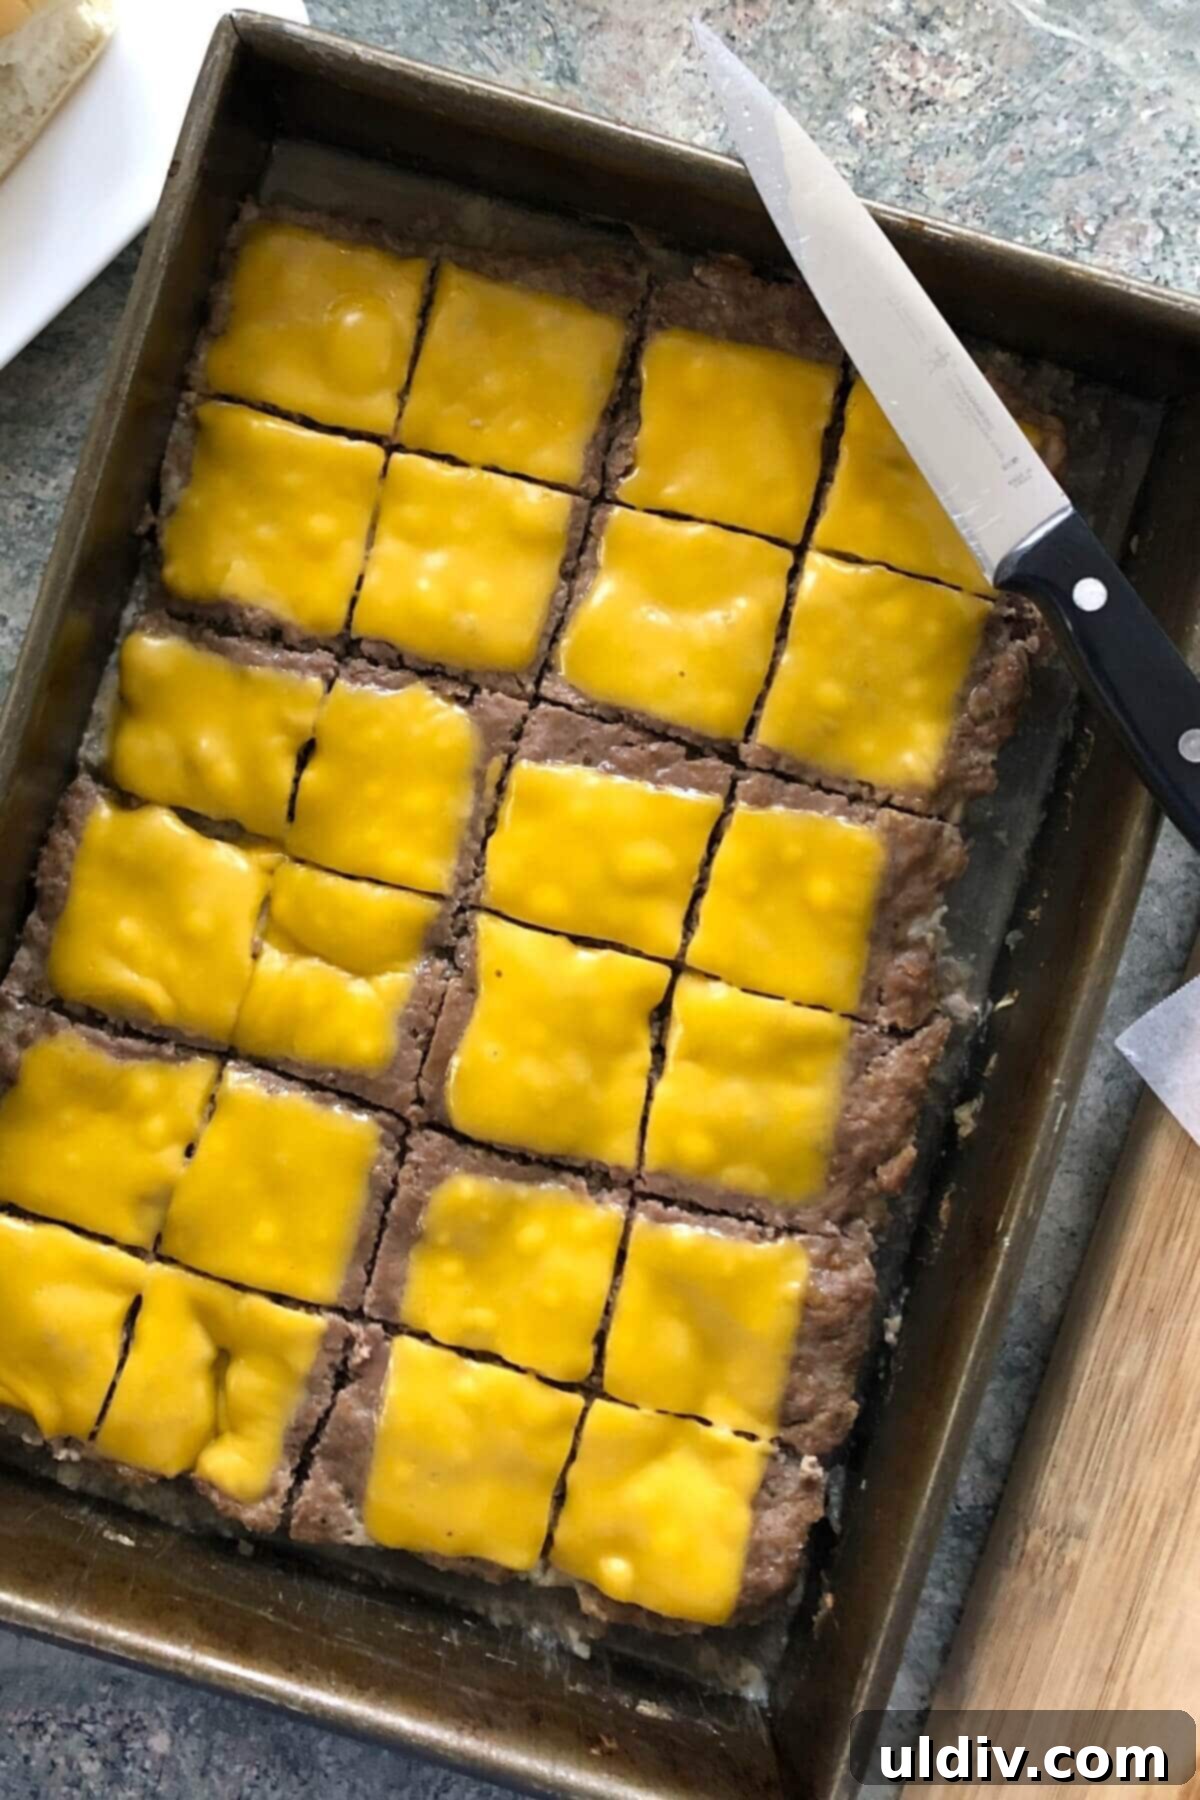
6. Carefully remove the pan from the oven. Using a sharp knife, cut the large cheeseburger patty into 24 uniform squares. Place each mini burger on a soft slider roll, add a dill pickle chip, and serve immediately with your favorite ketchup and mustard.
Expert Tips for Crafting Flawless Cheeseburger Sliders
Achieving perfectly juicy and flavorful cheeseburger sliders is easy with these simple tips:
- Tip 1: Press the Patty Firmly to the Edges: As ground beef cooks, it naturally shrinks. To ensure your large patty fills the entire baking dish and yields uniformly sized sliders, make sure to press the meat mixture all the way to the edges of the 9×13 inch pan before baking. This helps maintain shape and size.
- Tip 2: Don’t Forget to Dab Off Excess Grease: The ground beef will release grease during baking. To prevent your slider buns from becoming soggy and to ensure a better texture, always dab off any accumulated grease on top of the cooked patty with a paper towel before you add the cheese. This simple step makes a big difference.
- Tip 3: Avoid Overmixing the Meat: When combining the ground beef with other ingredients, mix just enough until everything is incorporated. Overmixing can lead to a dense, tough patty. Gentle handling results in a more tender and juicy slider.
- Tip 4: Toast Your Buns for Extra Flavor and Texture: For an elevated slider experience, consider lightly toasting your mini slider rolls. You can do this by splitting them open and placing them cut-side down on a griddle or in the oven for a few minutes until golden. A lightly toasted bun adds a subtle crunch and prevents them from getting too soft from the patty’s moisture.
- Tip 5: Customize with Your Favorite Cheese: While American cheese is a classic for its meltability, don’t hesitate to experiment! Provolone, Muenster, cheddar, or even a blend of shredded cheeses can create unique flavor profiles. Choose a cheese known for melting well for the best results.
Storage and Reheating Instructions for Your Sliders
These cheeseburger sliders are fantastic for making ahead and storing, making them even more convenient for busy days or unexpected cravings.
- Storage: Once the cheeseburger sliders are fully assembled and have cooled completely, store them in an airtight container, a resealable plastic bag, or individually wrapped in foil. They will keep well in the refrigerator for up to 3 days. For longer storage, you can freeze the cooked and cooled sliders for up to 1 month. For best results when freezing, consider wrapping each slider individually in plastic wrap before placing them in a freezer-safe bag or container to prevent freezer burn.
- Reheating:
- From the refrigerator: For quick reheating, wrap 1-2 sliders in a paper towel and microwave on 60 percent power in 30-second intervals until heated through. For a larger batch, wrap the sliders tightly in foil and heat in a preheated 350°F (175°C) oven for 10-15 minutes, or until warmed through.
- From the freezer: If frozen, it’s best to thaw the sliders in the refrigerator overnight before reheating. Once thawed, follow the reheating instructions for refrigerated sliders. You can also reheat them from frozen in the oven at 300°F (150°C) wrapped in foil for about 20-25 minutes, though the buns might be a bit softer.
Frequently Asked Questions About Cheeseburger Sliders
What is the best beef ratio for sliders?
For this particular recipe, which involves baking one large patty that is then cut into smaller slider-sized burgers, an 85/15 blend of ground beef is highly recommended. This ratio strikes an excellent balance, providing enough fat to keep the sliders incredibly juicy and flavorful, while also ensuring the patty holds its shape well. While it will shrink slightly during cooking, this ratio has the perfect amount of fat to create that classic, rich burger taste without being overly greasy. An 80/20 blend can also work if preferred, just be sure to blot off any excess fat after baking.
Can you easily double this slider recipe?
Absolutely! This recipe is incredibly forgiving and doubles with ease, making it perfect for even larger gatherings. To double the recipe, you have a couple of options: you can use two separate 9×13 inch baking pans, or if you have a larger (18×12 inch) baking sheet, that works just as well. Simply follow all other directions as written in the recipe, ensuring both patties are pressed evenly and cooked through.
How do I prevent my slider buns from getting soggy?
There are a few key tricks! First, ensure you dab off any excess grease from the cooked burger patty with paper towels before adding the cheese. Second, consider lightly toasting your slider buns. This creates a small barrier that helps prevent them from absorbing too much moisture from the patty and toppings. Finally, if making ahead, store the patties and buns separately, assembling just before serving or reheating.
What type of buns work best for cheeseburger sliders?
Soft, pillowy dinner rolls or party rolls are ideal for cheeseburger sliders. Look for varieties like brioche, potato rolls, or Hawaiian sweet rolls. Their slight sweetness and tender texture complement the savory beef and cheese perfectly. The smaller, roughly 2-inch square size is also key for that classic slider experience.
Elevate Your Meal: Delicious Sides and Toppings for Cheeseburger Sliders
Transform your cheeseburger sliders into a full culinary experience by offering a vibrant array of toppings and complementary side dishes. The beauty of sliders is their versatility, allowing everyone to customize their perfect bite.
Slider Topping Bar Ideas:
Set up a fantastic topping bar to let your guests get creative! Beyond the essential ketchup, mustard, and dill pickle chips, consider adding:
- Fresh Vegetables: Crisp lettuce leaves, thin slices of ripe tomato, and thinly sliced red onion.
- Savory Additions: Crispy bacon strips (crumbled or whole), caramelized onions for a sweet and savory touch, sautéed mushrooms, or a fried egg for brunch sliders.
- Cheesy Choices: Offer shredded cheddar, pepper jack, or blue cheese crumbles for extra flavor.
- Sauces Galore: Beyond ketchup and mustard, include mayonnaise, a zesty aioli, a special “secret sauce,” barbecue sauce, or a spicy sriracha mayo.
- Pickled Delights: Beyond dill, offer bread and butter pickles, pickled jalapeños for a kick, or even pickled red onions.
Perfect Side Dishes:
Round out your menu with these delicious accompaniments that pair wonderfully with mini burgers:
- Crispy Potatoes: My highly-rated baked crispy oven fries or golden sweet potato fries are always a hit.
- Fresh & Light Options: Thick slices of icy cold watermelon for a refreshing bite, a vibrant garden salad, or this super crunchy apple, fennel, and radish slaw.
- Hearty Sides: Creamy potato salad, classic macaroni salad, or baked beans add substance.
- Something Sweet: Finish off the meal with these easy soft sugar cookies or a refreshing fruit salad.
Discover More Delicious Mini Sandwich and Slider Recipes
If you’ve fallen in love with the convenience and deliciousness of these cheeseburger sliders, you’ll be thrilled to explore other fantastic recipes designed for feeding a crowd or enjoying smaller, satisfying bites. Expand your repertoire with these related favorites:
- Mini Chicken Parm Sandwiches: All the Italian-American comfort in a bite-sized format.
- Big Mac Sliders: Recreate the iconic fast-food flavor in a miniature, homemade version.
- Mini Greek Turkey Burgers with Cucumber Tzatziki: A lighter, Mediterranean-inspired twist with fresh, vibrant flavors.
- Barbecue Pork Tenderloin Sliders with Tangy Cole Slaw: Tender pork, smoky barbecue sauce, and a crisp slaw for a delightful combination.
One More Thing… Your Feedback Matters!

Did you try this incredible Cheeseburger Sliders recipe?
I would absolutely love to hear about your experience! Please let me know how it turned out by leaving a comment and a star rating below. Your feedback is invaluable and helps others discover delicious recipes. Don’t forget to share your creations on Pinterest, Instagram, and Facebook, and be sure to tag me!
Happy cooking! ~ Amy
Cheeseburger Sliders for a Crowd Recipe
Cheeseburger Sliders for a Crowd
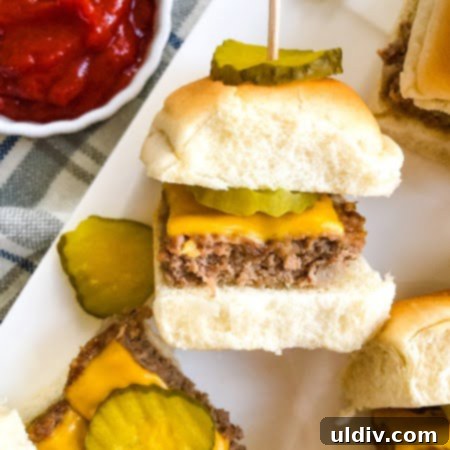
This is the ultimate, fuss-free way to make a big batch of juicy Cheeseburger Sliders in no time! Bake one large, flavorful patty in the oven, top it with classic American cheese, and then easily cut it into 24 perfect mini sliders. Serve these crowd-pleasing beef sliders on soft rolls with crispy dill pickles, tangy ketchup, and zesty mustard for an irresistible party food or quick meal.
Prep Time: 10 minutes
Cook Time: 15 minutes
Total Time: 25 minutes
Yields: 24 sliders
Calories: 158 kcal per slider (estimated)
Author: Amy Casey
Equipment
- 9 x 13 inch metal baking pan
- Chef’s knife
- Cutting boards
- Measuring cups
- Measuring spoons
- Stacking glass bowls
Ingredients
- 1 medium onion, finely diced (about 1 cup)
- 1 ½ pounds ground beef (85/15 blend recommended)
- ½ cup plain bread crumbs
- 2 large eggs
- 2 tablespoons Worcestershire sauce
- ½ teaspoon kosher salt
- ½ teaspoon freshly ground black pepper
- 6 slices of American cheese
- 24 dill pickle chips
- 24 small slider rolls, sliced
- Ketchup and mustard, for serving
Instructions
- Preheat Oven: Preheat your oven to 400°F (200°C).
- Prepare Baking Dish: Evenly spread the finely chopped onions over the bottom of a 9 x 13 inch metal baking pan. Set aside.
- Combine Slider Ingredients: In a large bowl, add the ground beef, bread crumbs, eggs, Worcestershire sauce, kosher salt, and fresh ground black pepper. Gently but thoroughly combine all ingredients until just mixed, being careful not to overmix.
- Form the Patty: Press the seasoned meat mixture evenly over the onions, extending all the way to the edges of the baking dish. Ensure a uniform thickness for even cooking.
- Bake the Patty: Bake in the preheated oven for 10-15 minutes, or until the patty is browned and no longer pink in the middle. If the patty cracks slightly during baking, gently press it back together.
- Remove Excess Grease: Carefully remove the baking pan from the oven. Using paper towels, gently blot the top surface of the cooked patty to soak up any excess grease. This prevents soggy sliders.
- Add the Cheese: Arrange the slices of American cheese evenly over the hot patty. Return the pan to the oven for 1 to 2 minutes, or until the cheese is beautifully melted and gooey.
- Cut into Sliders: Remove the pan from the oven. Using a sharp knife, carefully cut the large cheeseburger patty into 24 equal squares.
- Assemble and Serve: Place each individual cheeseburger slider onto a small slider roll. Add a dill pickle chip to each slider. Serve immediately with ketchup and mustard on the side for guests to add as desired.
Notes
- The large patty may “crack” a bit while baking. This is completely normal and no cause for concern! Simply press it back together before topping with the American cheese slices. The melted cheese will naturally help to bind it all together.
- This recipe is fantastic for making ahead. Prepare, cook, and assemble the sliders, then allow them to cool completely. Store them in a covered, airtight container in the refrigerator for up to 2 days.
- To reheat a batch of sliders, wrap them in foil and warm in a 350°F (175°C) oven for 10-15 minutes until heated through.
- For smaller portions, reheat 2 sliders at a time in the microwave on 60% power at 30-second intervals until warmed.
Nutritional information is an estimate and based on the ingredients and cooking methods used in this recipe.
Nutrition (Estimated per slider)
Serving: 1 slider | Calories: 158kcal | Carbohydrates: 22.8g | Protein: 11.6g | Fat: 6.6g | Saturated Fat: 2.4g | Cholesterol: 43mg | Sodium: 361mg | Fiber: 1g | Sugar: 3.1g
Did you make this recipe? Tag @amycaseycooks on Instagram so we can all admire your delicious work!
This recipe was originally posted in January of 2020. It was thoroughly updated in April of 2024 with fresh photos, enhanced directions, additional cooking tips, and improved SEO for a better user experience.