
How to Make Homemade Confectioners’ Sugar (Powdered Sugar) – Your DIY Guide
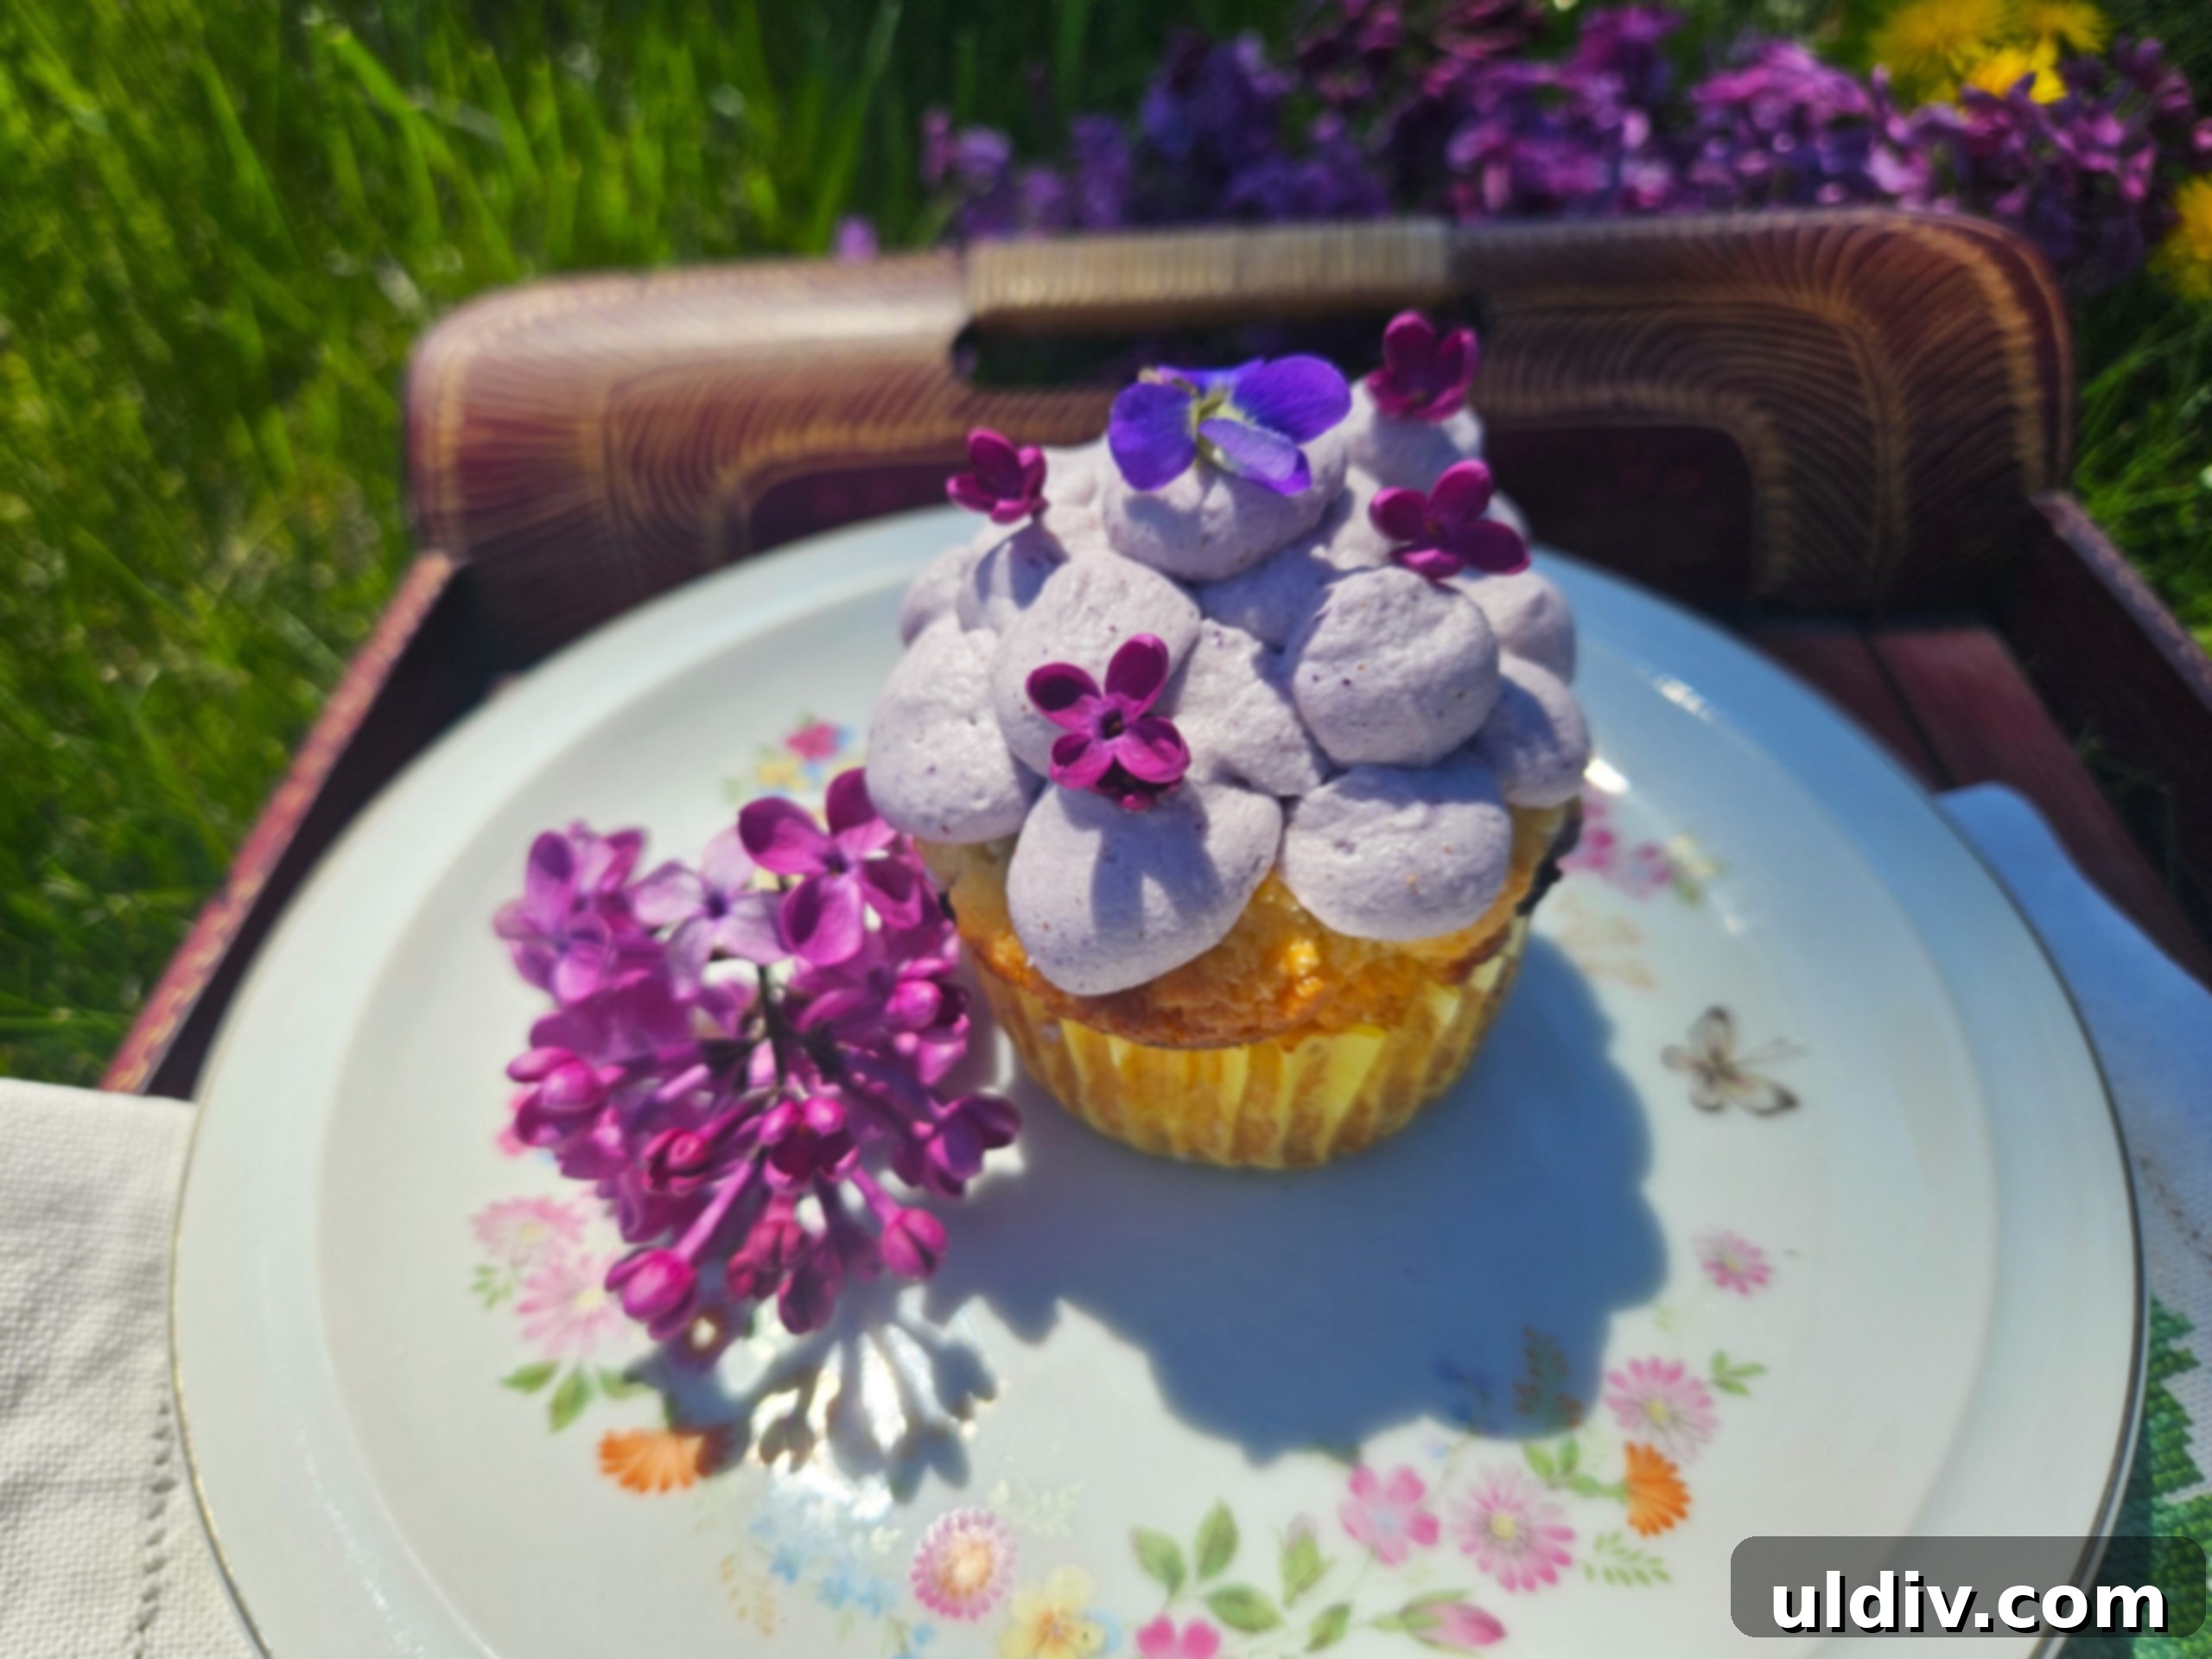
There’s an undeniable magic in a perfectly baked cupcake, especially when it’s crowned with a cloud of luscious, melt-in-your-mouth buttercream frosting. That smooth, creamy texture, the way it subtly dissolves on your tongue, all hinges on one crucial ingredient: confectioners’ sugar. Also known as powdered sugar or icing sugar, this finely milled sweetener is the secret to many of our favorite desserts, from delicate glazes to airy meringues.
However, what happens when your baking inspiration strikes, only for you to realize your pantry is devoid of this essential ingredient? The dream of a decadent dessert can quickly turn into a frustrating quest. This very scenario has prompted countless questions, leading me to share a comprehensive guide on how to effortlessly make confectioners’ sugar right in your own kitchen. It’s simpler than you think, offers greater control over your ingredients, ensures you’re always prepared for any baking adventure, and might even become your new favorite kitchen hack.
The Unexpected History: Learning from My Mom’s Resourceful Kitchen
My earliest memories of confectioners’ sugar don’t involve a trip to the grocery store. Growing up, I watched my mother transform humble granulated sugar into this fine powder with remarkable ease. It wasn’t a choice driven by a desire for gourmet ingredients; it was a necessity, as confectioners’ sugar simply wasn’t a readily available item in our local stores. Her method was beautifully straightforward: a handful of granulated sugar, a trusty coffee grinder, and a few minutes of patient grinding. This simple act not only provided us with the necessary ingredient but also instilled in me an appreciation for resourcefulness and ingenuity in the kitchen. It proved that you don’t need fancy, upscale equipment to achieve culinary excellence; sometimes, the most basic tools, combined with a little know-how, yield the most satisfying results.
Understanding Confectioners’ Sugar: Commercial vs. Homemade Differences
What Exactly is Confectioners’ Sugar and Why is it Essential?
At its core, confectioners’ sugar is nothing more than granulated sugar that has been ground into an incredibly fine powder. This minute particle size is what makes it so indispensable in baking and confectionery. Unlike its granulated counterpart, powdered sugar dissolves almost instantly, creating smooth, lump-free textures that are critical for delicate frostings, pourable glazes, and stable meringues. It also plays a vital role in dusting desserts, providing a delicate sweetness and an elegant, cloud-like finish that enhances visual appeal.
The Commercial Standard: Cornstarch as an Anti-Caking Agent and GMO Concerns
When you purchase confectioners’ sugar from a grocery store, particularly in the US, you’ll notice a distinct difference from pure ground sugar. Commercial varieties typically include a small percentage of cornstarch – usually around 3-5% by weight. This addition serves a critical purpose: it acts as an anti-caking agent, absorbing ambient moisture and preventing the ultra-fine sugar particles from clumping together in the packaging. Without it, the sugar would quickly solidify into a dense block, making it difficult to measure and use effectively.
However, for many conscious consumers, there’s an important consideration. Unless explicitly stated otherwise on the packaging, the cornstarch used in most store-bought confectioners’ sugar is often derived from genetically modified (GMO) corn. According to the US Food and Drug Administration, in 2020, an overwhelming 92% of all corn planted in the US was GMO corn. For individuals concerned about GMO crops and their presence in food products, this can be a significant factor in their purchasing decisions. Making your own powdered sugar at home offers a straightforward and empowering solution to bypass this concern, allowing you full control over the origin and quality of your ingredients from start to finish.
Why Make Your Own Confectioners’ Sugar? Beyond Just Emergency Fixes
While the immediate need for frosting is often the catalyst for making homemade powdered sugar, the benefits extend far beyond an emergency pantry solution. Embracing this DIY approach offers several compelling advantages:
- Unparalleled Ingredient Control: This is arguably the biggest advantage. By making it yourself, you dictate every ingredient that goes into your powdered sugar. You can choose organic granulated sugar, ensure that any added cornstarch (if used) is certified non-GMO, or even opt for alternative anti-caking agents like tapioca starch or arrowroot powder if you have specific dietary needs, allergies, or preferences.
- Significant Cost-Effectiveness: Granulated sugar is considerably cheaper per pound than its powdered counterpart. If you’re a frequent baker, prepare large batches of desserts, or simply want to optimize your grocery budget, grinding your own can lead to substantial savings over time.
- Guaranteed Freshness and Optimal Performance: Freshly ground sugar often has a superior texture and ensures peak performance in your recipes. Commercial powdered sugar can sometimes absorb moisture over time, even with anti-caking agents, potentially affecting its quality.
- Reduced Environmental Footprint: Buying granulated sugar in bulk can significantly reduce packaging waste compared to purchasing numerous smaller bags of powdered sugar. This small change contributes to a more sustainable kitchen.
- Ultimate Convenience: Never run out again! With a basic bag of granulated sugar and a suitable grinder or blender, you’re always just minutes away from fresh confectioners’ sugar, eliminating last-minute store runs and ensuring your baking plans are never derailed.
The How-To Guide: Making Homemade Confectioners’ Sugar Like a Pro
Essential Equipment for Success
You don’t need highly specialized, expensive tools for this task. The most common and effective pieces of equipment you likely already have in your kitchen are:
- Coffee Grinder: An inexpensive and highly efficient tool for grinding small to medium batches of sugar. Its sharp blades are designed to create a very fine powder quickly. Crucially, ensure it’s meticulously clean and free from any coffee residue, unless you desire an unexpected coffee-flavored sugar in your frosting!
- Powerful Blender (e.g., Vitamix, Blendtec, Ninja): Ideal for processing larger batches of sugar. These blenders boast powerful motors and sharp, robust blades that can pulverize sugar crystals into a fine powder. For optimal results and to prevent overheating, always use the highest setting and blend in short, controlled bursts.
- Fine-Mesh Sieve: This tool is absolutely crucial for ensuring a perfectly smooth, lump-free powder, free of any stubbornly larger granules. It’s the secret to achieving that professional, silky texture required for delicate glazes and frostings.
Ingredients You’ll Need
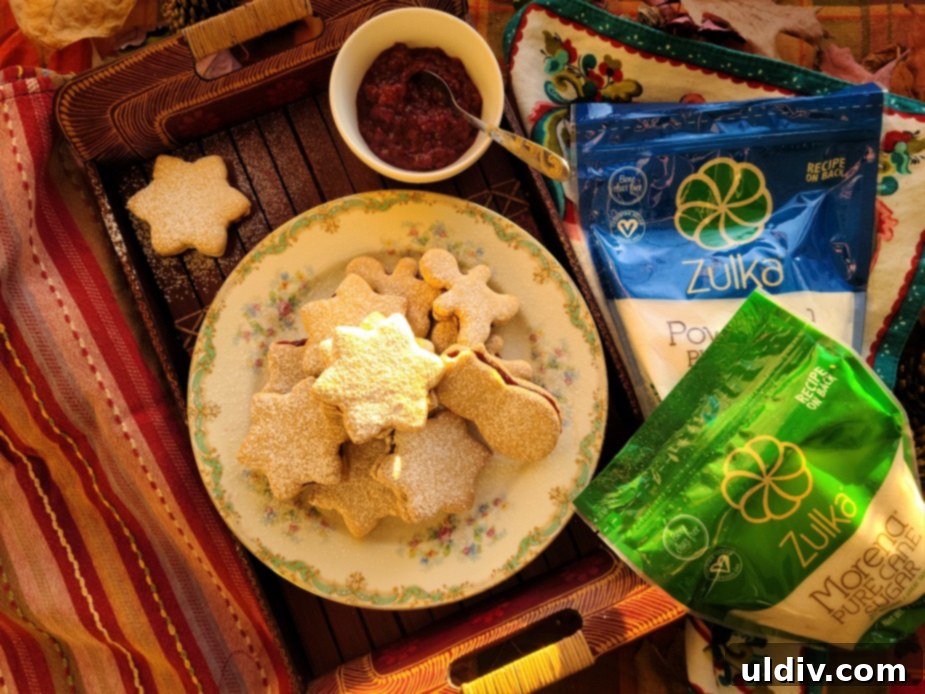
- Granulated Sugar: Any standard white granulated sugar will work perfectly. For those prioritizing non-GMO ingredients, actively look for brands that are certified non-GMO. My personal favorite is Zulka, a non-GMO certified vegan cane sugar that I’ve praised in previous posts for its exceptional quality, fine crystals, and consistent performance in baking. You can read more about my experiences with Zulka sugar here.
- Cornstarch (Optional, but Recommended for Storage): If you plan to store your homemade confectioners’ sugar for an extended period, cornstarch is highly recommended as an anti-caking agent. As with granulated sugar, if GMO concerns are a factor for you, always opt for organic or non-GMO certified cornstarch to maintain ingredient integrity.
Step-by-Step Instructions for Both Methods
Method 1: For Immediate Use (Without Cornstarch)
This method is perfect when you need powdered sugar right away for a recipe that will be consumed quickly.
- Measure Your Sugar: Start with the desired amount of granulated sugar. To achieve the finest powder and prevent your equipment from being overworked, avoid overfilling your grinder or blender. Work in batches if necessary (e.g., about 1/2 to 1 cup at a time in a coffee grinder, or more in a powerful blender, typically up to 2 cups).
- Grind to Perfection: Place the granulated sugar into your clean coffee grinder or powerful blender. Pulse and grind on the highest setting. For a coffee grinder, this might take approximately 30 seconds to a minute, shaking it gently occasionally to redistribute the sugar. For a blender, use short bursts (15-20 seconds each), stopping to scrape down the sides of the container if needed, for a total of about 1-2 minutes. The ultimate goal is an incredibly fine, powdery consistency, completely free of any visible sugar crystals.
- Sift for Superior Smoothness: Once thoroughly ground, carefully pour the powdered sugar through a fine-mesh sieve into a clean bowl. This step is absolutely crucial for removing any stray larger granules and ensuring a truly silky, professional texture, which is essential for delicate frostings and smooth glazes. Discard any coarse sugar remaining in the sieve, or simply re-grind it with your next batch.
- Use Immediately: Without the anti-caking properties of cornstarch, homemade powdered sugar is highly prone to clumping due to ambient moisture. It is best to incorporate it into your recipe as soon as it is made to ensure optimal results.
Method 2: For Storage (With Cornstarch)
If you plan to prepare a larger batch for future baking endeavors, adding cornstarch is key for long-term storage.
- Prepare Ingredients with the Correct Ratio: For every 1 cup of granulated sugar, you will need 1 tablespoon of cornstarch. This specific ratio effectively mimics commercial powdered sugar and provides excellent, reliable anti-caking properties.
- Combine and Grind: Place both the measured granulated sugar and the cornstarch together into your coffee grinder or powerful blender.
- Grind Thoroughly for Even Distribution: Grind the mixture on the highest setting until it reaches a very fine, uniform powder. This process might take slightly longer than grinding just sugar, as you want to ensure the cornstarch is perfectly and evenly distributed throughout the sugar particles. For a coffee grinder, grind for 1-2 minutes, shaking occasionally. For a blender, continue for 2-3 minutes with pauses to scrape down the sides, until the consistency is extremely fine and homogenous.
- Sift and Store Properly: Sift the mixture through a fine-mesh sieve to catch any remaining coarse particles. Transfer the finely ground confectioners’ sugar into an airtight container immediately.
The Science Behind Cornstarch and Optimal Storage Tips
The Role of Cornstarch: A Baker’s Best Friend for Longevity
Cornstarch is a hydrophilic substance, meaning it readily attracts and absorbs moisture. In the context of powdered sugar, it acts as a highly effective desiccant, preventing the tiny sugar particles from attracting and holding onto atmospheric moisture, which is the primary cause of clumping and solidification. By coating the sugar crystals, cornstarch minimizes their contact points, further inhibiting them from sticking together. This small yet significant addition makes a substantial difference if you intend to prepare larger batches of homemade confectioners’ sugar for extended storage.
Optimal Storage Practices for Maximizing Shelf Life
To maximize the shelf life and maintain the pristine quality of your homemade confectioners’ sugar, proper storage is absolutely key:
- Airtight Container is Paramount: This is the most crucial step. Exposure to air and ambient moisture is the ultimate enemy of powdered sugar. Always use glass jars with tightly sealing lids, or sturdy, high-quality plastic containers specifically designed for food storage.
- Cool, Dry, and Dark Place: Store the container at a stable room temperature in a pantry or cupboard, ideally away from direct sunlight, any heat sources (like ovens or stovetops), and areas prone to high humidity. Kitchen cabinets located near stoves or dishwashers might experience temperature fluctuations and moisture, so choose a stable and consistently dry environment.
- Understanding Shelf Life:
- Without Cornstarch: As previously mentioned, use this immediately. It will begin to clump and harden within hours if not kept in an extremely dry, controlled environment.
- With Cornstarch: When properly stored in an airtight container in a cool, dry place, homemade confectioners’ sugar with cornstarch can last for several months, performing similarly to commercial varieties. Always give it a quick check for freshness; if it develops an off-smell or becomes excessively hard and difficult to break up, it’s generally best to discard it.
- Reviving Slightly Clumped Sugar: If your powdered sugar does develop some minor clumping despite your best efforts, don’t despair! You can often easily break up the clumps by running it through a fine-mesh sieve again, or by pulsing it briefly in a clean coffee grinder or food processor.
Beyond Frosting: Versatile Uses for Your Homemade Confectioners’ Sugar
While velvety buttercream frosting is perhaps the most iconic and beloved application, your freshly ground confectioners’ sugar is incredibly versatile and can elevate a wide array of culinary creations:
- Silky Glazes: Create thin, shiny, and perfectly smooth glazes for donuts, pastries, muffins, or fruit tarts by simply whisking it with a small amount of milk, lemon juice, orange juice, or water.
- Elegant Dusting: A delicate dusting of powdered sugar on cakes, cookies, brownies, French toast, or crepes adds immediate elegance, a touch of refined sweetness, and a beautiful visual finish.
- Light and Airy Meringues: It is absolutely essential for achieving light, airy, and stable meringues and meringue-based desserts, where its fine texture ensures a smooth, stable foam without any grittiness.
- Homemade Fondant & Gumpaste: A crucial ingredient for those who dabble in homemade fondant and gumpaste, providing the necessary elasticity and a perfectly smooth finish for intricate cake decorating.
- Tender Shortbread & Cookies: Incorporate powdered sugar into your doughs for a noticeably more tender crumb and a delightful melt-in-your-mouth texture in shortbread and certain delicate cookie recipes.
- Artisan Candy Making: Used extensively in various homemade candy recipes, especially those requiring a smooth, non-gritty finish and rapid dissolving properties.
Embrace the DIY Baker in You and Transform Your Kitchen!
Making your own confectioners’ sugar is a simple yet incredibly empowering skill that every home baker can easily master. It offers unparalleled control over your ingredients, leads to significant cost savings over time, and ensures you’re never caught off guard when a spontaneous baking craving strikes. From consciously choosing non-GMO ingredients to simply having this essential staple readily on hand whenever you need it, the benefits are abundantly clear and tangible.
So, the next time you envision that perfect cupcake crowned with its dreamy, smooth frosting, or a batch of cookies dusted with a delicate cloud of sweetness, remember that the key ingredient might just be a few minutes away, lovingly crafted by your own hands. Give this simple kitchen hack a try – you might just discover a new level of baking independence and satisfaction!