
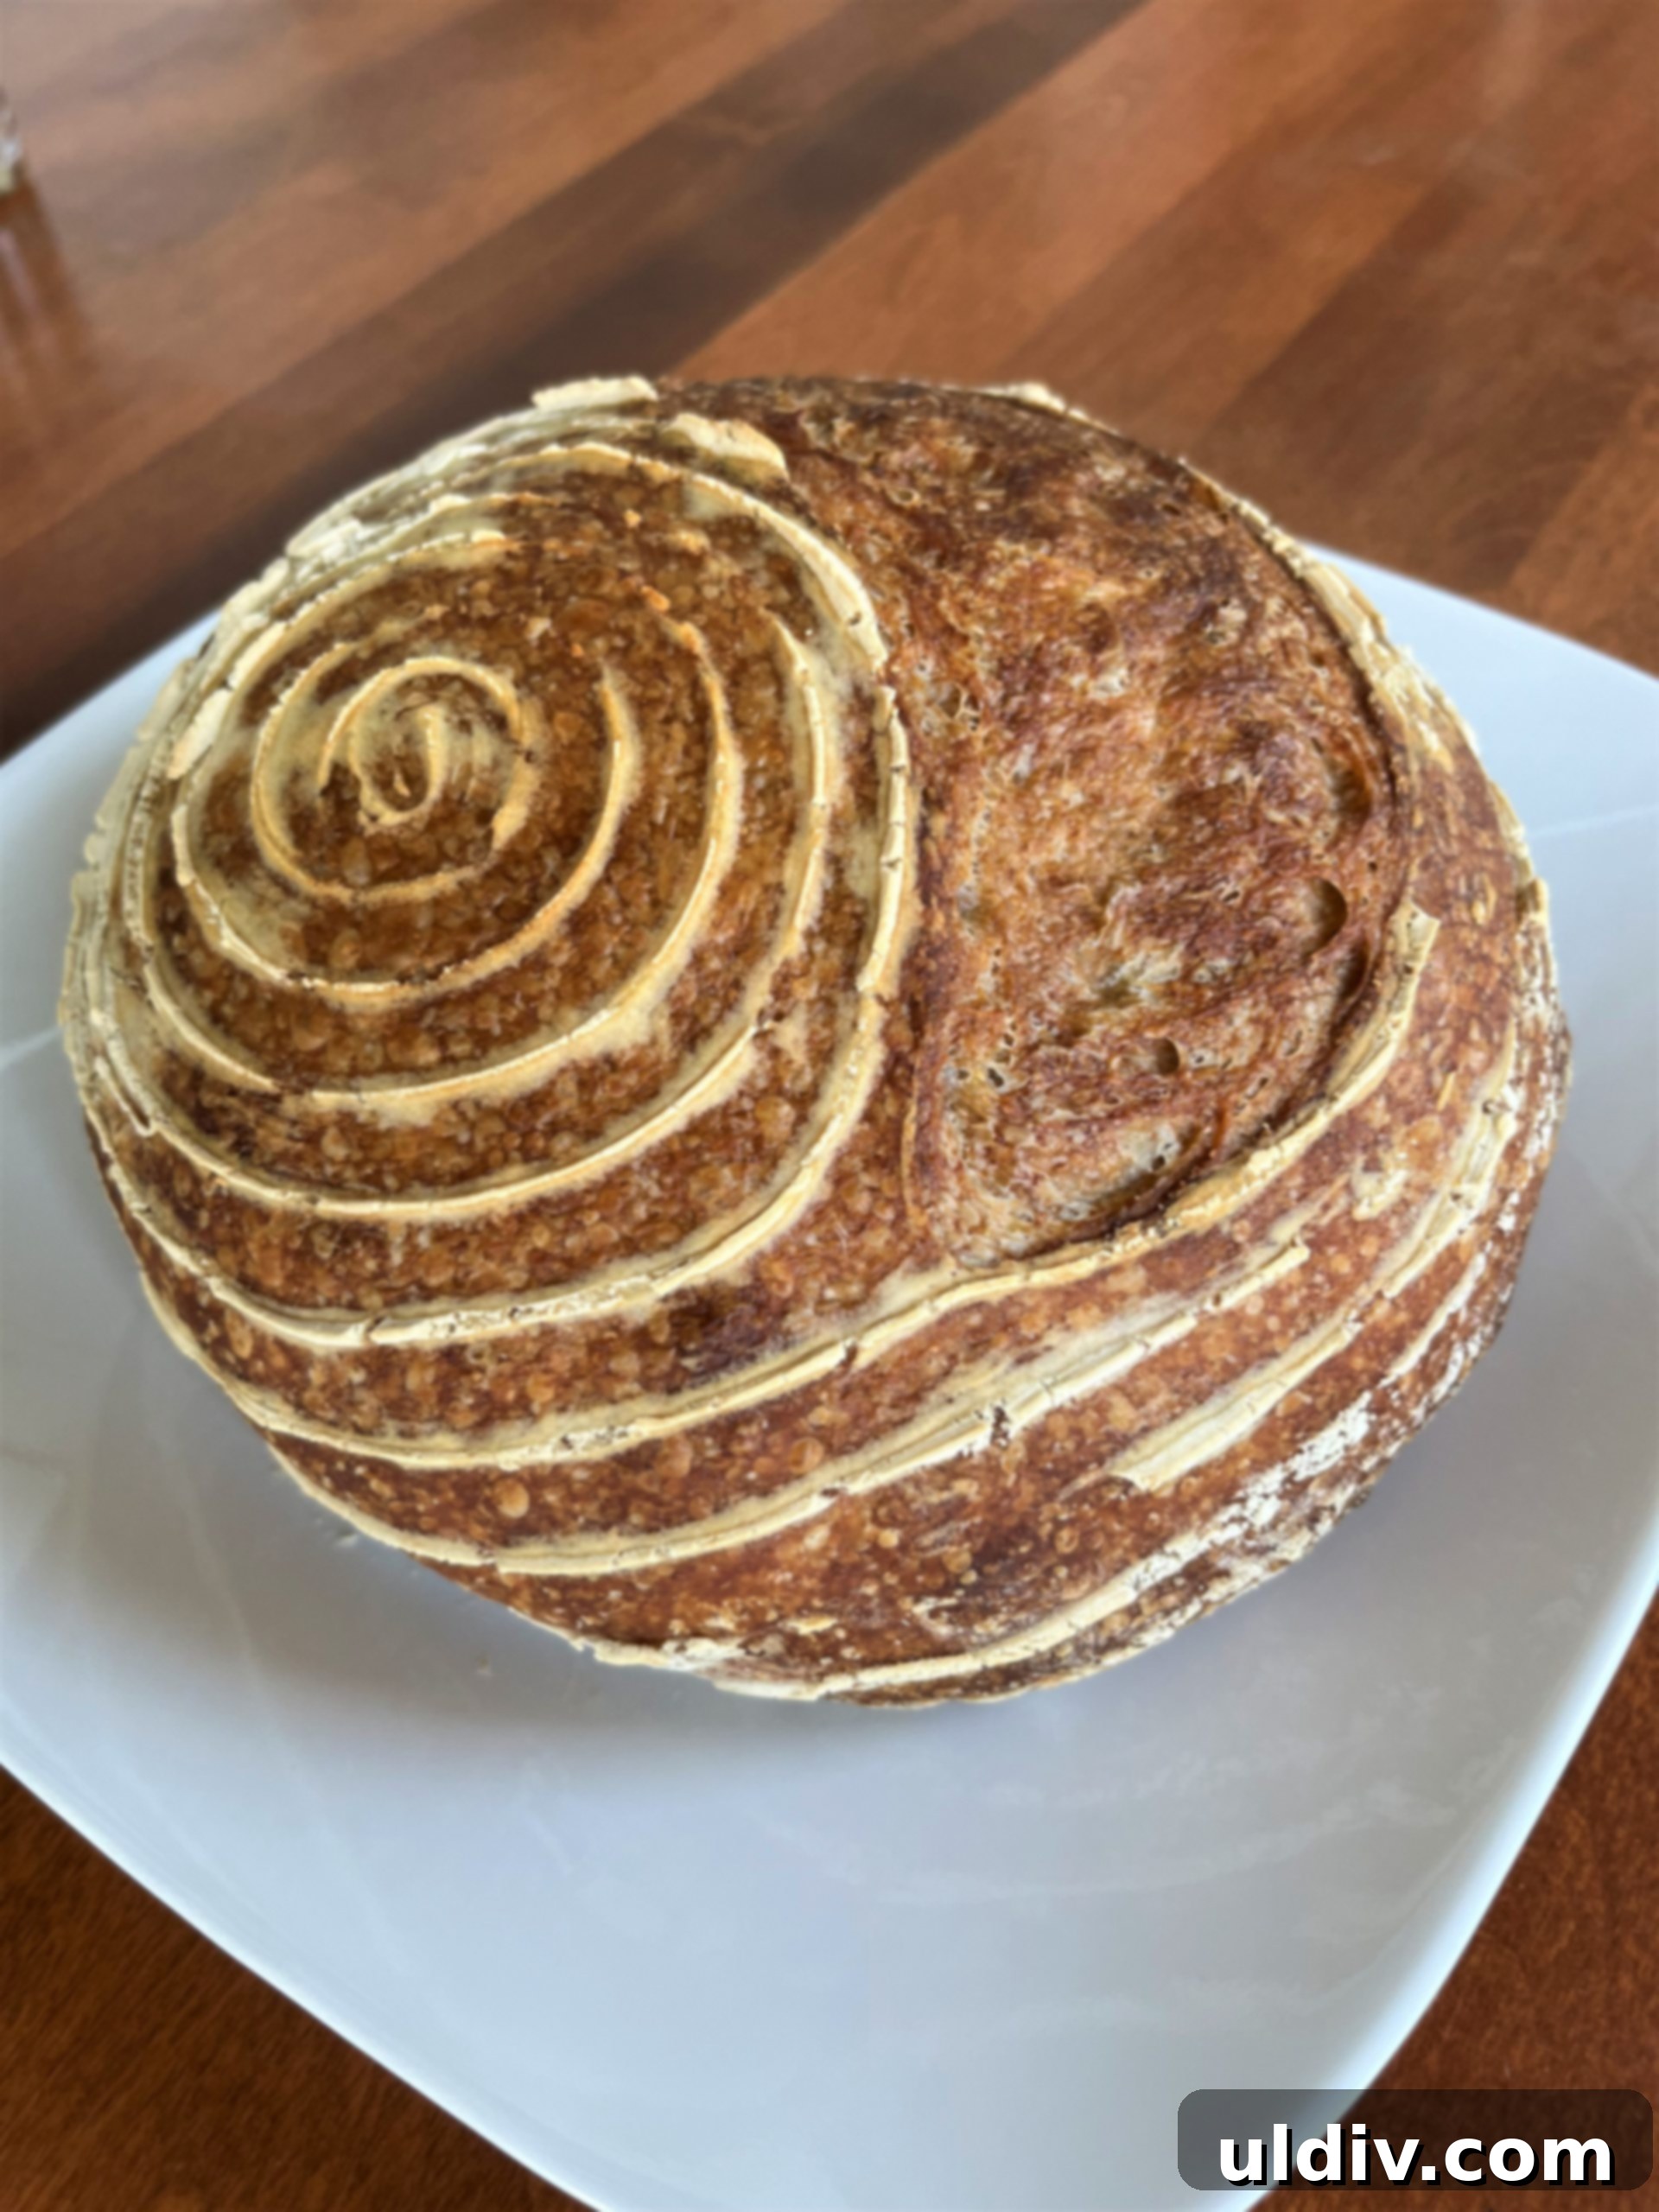
Photo credit: Marina D.
Mastering Homemade Sourdough: A Comprehensive Guide for Aspiring Bakers
For many home bakers, the journey into bread making often starts with simple, yeasted loaves. You might even have a go-to recipe that consistently delivers delicious results, much like my personal favorite (found here) or a successful replication from a YouTube tutorial. But then, there’s sourdough – a world unto itself, often perceived as the Everest of home baking.
For the longest time, the mere mention of sourdough felt overwhelming. Diving into the vast sea of information available online revealed a confusing, often contradictory, and frankly intimidating landscape. This common sentiment is precisely why I was thrilled when my good friend and fellow foodie, Marina, shared her sourdough success story. After much experimentation, she had not only perfected her technique but also meticulously documented her learning process. Marina graciously compiled her insights to share with you, my valued readers, in what we hope will be an incredibly useful and demystifying guide to baking your own artisanal sourdough bread.
The Sourdough Journey: From Intimidation to Inspiration
Marina’s path to sourdough mastery is a testament to perseverance and a curious spirit. She openly admits to not being an “expert” in the traditional sense, but rather a dedicated learner who navigated through numerous trials and errors, sifting through countless pieces of advice to discover what truly works. Her ultimate reward? A stunning, crispy loaf of bread that boasts unparalleled freshness and quality, easily outshining the $9-15 specialty loaves purchased from Chicago’s finest bakeries.
What initially drew Marina to sourdough was her fascination with recipes that achieve complex flavors from minimal ingredients. This minimalist approach, combined with the magical chemical reactions that occur during fermentation, evokes a “mad scientist” feeling in her kitchen. Sourdough requires only three basic ingredients – water, flour, and salt – yet the precise technique and timing make it notoriously tricky. The abundance of conflicting expert advice often adds to the confusion. Marina’s systematic approach involved controlling all variables but one in each experiment, allowing her to truly understand the ‘why’ behind successful methods. This meticulous experimentation is key to her breakthrough.
The Heart of Sourdough: Cultivating Your Starter
Before you can even think about baking a loaf, you need a vibrant, active sourdough starter. This living culture of wild yeast and beneficial bacteria is the soul of your bread, responsible for its unique flavor, texture, and rise. Creating and maintaining a starter is a journey of its own, and Marina’s reliable 1:1:1 ratio method simplifies the process.
Step-by-Step Starter Creation (1:1:1 Ratio Method)
The foundation of a robust starter lies in the consistent feeding schedule and the right environmental conditions. Precision is paramount, so a kitchen scale (which we’ll discuss shortly) is indispensable here.
- Day 1: The Initial Mix
Combine 50g of water with 50g of flour. Marina found that a blend of 25g unbleached all-purpose flour and 25g wheat flour yielded the best results. The addition of wheat flour is crucial as its higher germ content provides more nutrients for the bacteria, accelerating their activity. Mix thoroughly until no dry clumps remain. Cover your mixture with a loose-fitting lid (allowing for air exchange) and place it in a warm spot, ideally between 70-78°F (21-26°C), for 24 hours. A warm environment encourages the beneficial microorganisms to wake up and begin their work. - Day 2: First Feeding
After 24 hours, you might observe a few tiny bubbles or a slightly sour smell. This is a good sign! Add another 50g of water and 50g of the same flour combination to your existing mixture. Stir well. This “feeding” provides fresh nutrients for the growing microbial population. Cover again and return to your warm spot for another 24 hours. - Day 3: Discarding and Establishing the Ratio
This day marks a critical step: discarding. Remove and discard 100g of your starter mixture. This might seem wasteful, but it’s essential to prevent the starter from becoming too large and to maintain a balanced microbial ecosystem. After discarding, add 50g of water and 50g of flour. This re-establishes the 1:1:1 ratio (1 part existing starter, 1 part water, 1 part fresh flour). At this stage, your mixture might look and smell a bit “off” – perhaps slightly separated or emitting a strong, unpleasant aroma. Don’t panic! This indicates the active fermentation process where bacteria are working their magic, producing acids and gases. This fascinating process is creating fermentation without commercial yeast, solely through the power of naturally occurring microbes in flour and air.
Continuing the Process: Maturation
From Day 3 onwards, repeat the discarding and feeding process daily until your starter matures. A mature starter consistently doubles (or even triples) in size within 3-5 hours after a feeding when kept in a warm environment. It will also develop a pleasant, tangy aroma, resembling ripe fruit or yogurt, and exhibit a bubbly, airy texture. Marina notes that this maturation period often takes longer than the frequently cited 7-9 days, especially for beginners. However, incorporating wheat flour significantly expedited her process, proving its value.
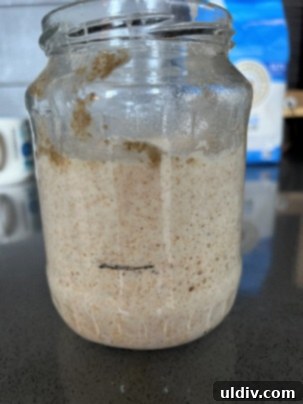
Photo credit: Marina D.
Essential Tools for Sourdough Success
While sourdough baking relies on simple ingredients, a few essential tools can significantly enhance your success rate and make the process more enjoyable.
The Indispensable Kitchen Scale
Marina emphatically stresses the absolute necessity of a kitchen scale. Why? Because baking is chemistry, and precision is paramount, particularly with sourdough. Flour and water have different densities; therefore, using measuring cups will result in inconsistent and inaccurate ratios. A cup of tightly packed flour weighs differently than a cup of loosely scooped flour, and neither will be an exact match for the precise amount of water. Grams, however, offer an exact and repeatable measurement. Investing in a reliable digital kitchen scale, even an inexpensive one, is the single most important tool you can acquire for serious sourdough baking. It removes guesswork and ensures your recipes are followed precisely, leading to more consistent and successful loaves.
Other Recommended Tools
- Banneton Basket: A proofing basket, typically made of cane, that holds your dough during its final rise, providing structure and imprinting a beautiful spiral pattern on the crust.
- Dutch Oven or Cast Iron Pan: Essential for baking, as it traps steam during the initial bake, promoting excellent oven spring and a crispy crust.
- Dough Scraper: A simple tool that makes handling sticky dough easier and helps transfer it without damaging its structure.
- Bread Lame or Sharp Serrated Knife: Used for scoring the dough before baking, allowing for controlled expansion and an attractive appearance.
- Cooling Rack: Crucial for allowing your freshly baked bread to cool evenly, preventing a soggy bottom.
Crafting Your First Sourdough Loaf: The Baking Process
With a healthy, active starter ready at its peak activity (meaning it has at least doubled in size 3-5 hours after its last feeding), you’re prepared to embark on the actual bread-making journey. While the entire process might span several hours, much of it is hands-off resting time, so don’t be deterred by the perceived time commitment.
Preparing Your Dough: Autolysis and Initial Mix
For one beautiful loaf, Marina recommends the following proportions: 400g of flour (a blend of 300g unbleached bread flour for strength and 100g wheat flour for flavor and additional nutrition), 250g of water, and 10g of salt. In a large mixing bowl, combine the flours, water, and salt. Mix just until all the flour is hydrated and no dry spots remain. This initial mixing stage, where the dough rests for 30-45 minutes, is called “autolysis.” Autolysis allows the flour to fully absorb the water, initiating gluten development naturally without strenuous kneading. This gentle hydration strengthens the dough’s structure and makes it easier to work with. Marina’s experiments revealed that while some sources suggest delaying salt addition to avoid slowing proofing, she found it didn’t solve her low rise issues, so incorporating it from the start proved to be perfectly fine.
Integrating the Starter
After the autolysis period, it’s time to introduce your active sourdough starter. Add 100g of your bubbly, peak-activity starter to the dough. Using wet hands, gently incorporate the starter by poking it into the dough and lightly folding it in. The dough will be quite sticky at this stage, which is perfectly normal. Once the starter is fully integrated, cover the bowl and let it rest in a warm spot for another 30 minutes. This allows the starter to begin interacting with the flour and water mixture, kickstarting the fermentation process.
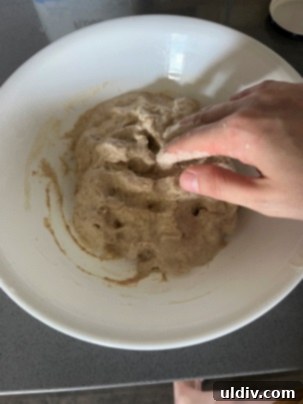
Photo credit: Marina D.
Developing Strength: The Folding Technique
Following the initial rest, you’ll begin the “folding” process, a crucial step for developing gluten structure and strength in your dough without traditional kneading. This technique builds elasticity and extensibility, essential for a good rise and an open crumb.
To start, wet your hands thoroughly to prevent the sticky dough from adhering to them. Gently grab one edge of the dough, pull it upwards and outwards to stretch it without tearing, then fold it over to the opposite side, much like folding an envelope. Rotate the bowl and repeat this action for the other three “sides” of the dough. This constitutes one set of folds. Let the dough rest for 30 minutes in a warm spot, covered. Repeat this entire folding process three more times, for a total of four sets of folds over two hours. Marina experimented with various methods, including vigorous hand kneading, slapping the dough, and using a stand mixer, but found this gentle folding technique to be the most effective for her.
Shaping Your Loaf
After the four sets of folds and the final 30-minute rest, your dough should feel more elastic and cohesive. It’s now ready for shaping. Prepare your banneton basket by generously sprinkling it with flour. Don’t be shy with the flour; it’s better to use too much than to have your dough stick, and any excess can be brushed off later. While rice flour is often recommended for bannetons due to its low gluten content, Marina found that regular all-purpose flour worked perfectly well.
Turn the dough out onto a clean, smooth, lightly dampened countertop. Marina’s best tip for handling the wet dough is simply to keep your hands well-hydrated. Gently fold the corners of the dough inwards, envelope-style, two or three times, creating tension on the surface. Use a dough scraper to carefully lift the dough from the counter and cup it in your hands, ensuring the bottom remains smooth and taut. Transfer the shaped dough, seam-side up, into the generously floured banneton. Cover the banneton with plastic wrap to prevent a crust from forming and place it in the refrigerator overnight (for approximately 8-12 hours). This cold proofing period significantly develops the flavor of your sourdough and slows down fermentation, making it easier to handle the dough in the morning.
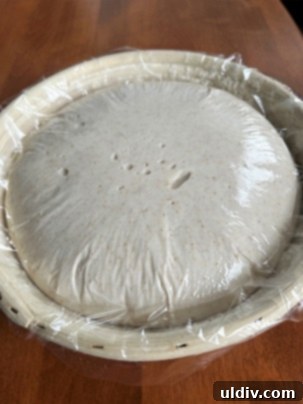
Photo credit: Marina D.
The Critical Proofing Test
In the morning, after its cold proof, your dough should have noticeably increased in size, ideally doubling. Before baking, it’s crucial to perform the “poke test” to determine if your dough is perfectly proofed. Gently poke the dough with a wet finger:
- If the indentation springs back slowly, about halfway, your dough is ready for baking.
- If the indentation springs back quickly and completely, your dough is under-proofed and needs more time.
- If the indentation remains fully, or springs back only slightly, and the dough feels overly slack, it’s likely over-proofed.
Marina candidly shares that over-proofing was a common early mistake for her, often stemming from an eagerness to achieve a dramatic rise. Learning to read the dough through this simple test is vital for consistent success.
Baking Your Masterpiece: Achieving the Perfect Crust and Crumb
Oven Preheat and Baking Vessel
Preheat your oven to a scorching 500°F (260°C) with your chosen baking vessel (a Dutch oven or a heavy cast iron pot is ideal) inside. The high initial temperature and preheated vessel are critical for creating the “oven spring” – the rapid expansion of the dough during the first few minutes of baking. Be cautious: thin baking sheets can cause the bottom of your loaf to burn at such high temperatures. A robust cast iron pan provides even heat distribution.
Scoring the Dough
Once your oven and baking vessel are fully preheated, carefully remove the hot vessel. Lightly dust the bottom of the hot pan with flour. Gently invert your banneton, dropping the dough directly into the baking dish. If properly floured, the dough should release easily, revealing the characteristic ridges from the banneton. Brush off any excess flour. Using a bread lame or a very sharp serrated knife, score the top of your sourdough at a 45-degree angle in a single, confident motion. Scoring serves two purposes: it allows for controlled expansion during baking, preventing uncontrolled tearing, and it creates a beautiful, artisanal design. Feel free to experiment with different scoring patterns to find your signature look!
The Baking Stages
Cover the baking dish with its lid and return it to the 500°F oven for 20 minutes. Baking the dough covered traps steam released by the dough itself. This steam keeps the crust soft initially, allowing the bread to expand fully and achieve maximum oven spring before the crust sets. After 20 minutes, carefully remove the lid, lower the oven temperature to 450°F (230°C), and continue baking for another 20-25 minutes. This uncovered phase allows the crust to brown, crisp up, and develop its distinctive flavor. Judge doneness by the rich, golden-brown color of the loaf, rather than relying solely on the exact timing. Once baked, you can test for doneness by knocking on the bottom of the loaf – a hollow sound indicates it’s perfectly done.
Cooling for Perfection
Immediately transfer your freshly baked sourdough loaf to a cooling rack. This step is non-negotiable! Allowing the bread to cool completely, usually for at least 1-2 hours, prevents a soggy interior and allows the internal structure (crumb) to set properly. Resist the urge to slice into it too soon, no matter how tempting the aroma. Patience will be rewarded with the best possible texture and flavor.
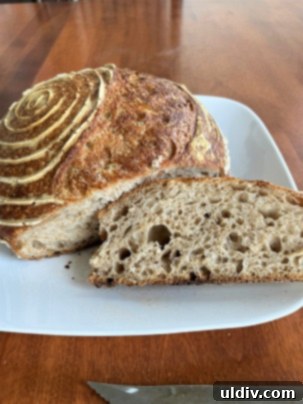
Photo credit: Marina D.
Marina’s Wisdom: Key Takeaways for Sourdough Success
Reflecting on her journey, Marina emphasizes that the single most important factor for her success was the willingness to fail and try again. The vast amount of conflicting information online can be paralyzing, but hands-on experimentation – carefully observing what works and what doesn’t – proved to be the most effective learning curve. She approached the process like a scientist, attempting to isolate variables and understand their impact.
One critical insight she gained through this iterative process is the paramount importance of a mature sourdough starter. As she repeatedly fed her starter throughout her experiments, it naturally grew stronger and more active. A robust, well-established starter provides the necessary leavening power and complex flavors that no other factor can compensate for. While the satisfaction of cultivating your own starter from scratch is immense, if you don’t have 2-3 weeks to dedicate to its maturation, Marina suggests sourcing a mature starter from a local, reputable bakery. This can significantly jumpstart your sourdough journey, allowing you to focus on the baking techniques with a reliable foundation.
Embarking on the sourdough adventure requires patience, a dash of scientific curiosity, and a willingness to embrace imperfection. But with Marina’s practical advice and systematic approach, you’re well-equipped to bake incredibly satisfying, crusty, and flavorful sourdough loaves right in your own kitchen. Happy baking!