
Transforming Sour Milk into Delicious Farmer Cheese: A Guide to Sustainable Home Cheesemaking
Ever opened your fridge only to discover a gallon of milk past its prime? That slightly tangy scent, the subtle thickening – it’s a familiar scenario for many. Instead of pouring it down the drain, what if you could transform it into something delicious and wholesome? This very thought sparked the inspiration for this article earlier this week when I encountered a similar situation with a forgotten gallon of milk.
For generations, resourceful cooks have embraced the magic of fermentation, turning what might seem like waste into culinary treasures. Growing up, this practice was commonplace in my household. My mom or aunt would frequently find slightly sour milk from the grocery store, but it was never discarded. Instead, it became the foundation for making fresh farmer cheese, a tradition that not only prevented food waste but also yielded a delightful homemade dairy product.
What Exactly is Farmer Cheese?
Farmer cheese, often grouped with varieties like cottage cheese and ricotta, is a type of fresh cheese made by curdling milk with an acidic ingredient. Common choices for the acid include lemon juice, white vinegar, or citric acid. The defining characteristic of farmer cheese is its typically drier and firmer texture compared to its softer cousins, cottage cheese and ricotta, making it incredibly versatile for various culinary applications. Its mild, slightly tangy flavor and crumbly yet creamy consistency make it a favorite for both savory and sweet dishes.
Historically, farmer cheese was a staple in many households, especially in agricultural communities, as a way to utilize surplus milk and ensure nothing went to waste. This simple cheesemaking process allows the milk proteins to separate from the liquid, known as whey, resulting in a fresh, unaged cheese that is both nutritious and incredibly satisfying. Embracing this traditional method connects us to a simpler time when food resources were cherished and transformed with ingenuity.
Selecting the Right Milk for Homemade Farmer Cheese
The success of your homemade farmer cheese largely depends on the type of milk you use. From extensive personal experience and traditional methods, whole milk and 2% milk consistently yield excellent results. The fat content in these types of milk plays a crucial role in the curdling process, contributing to the cheese’s creamy texture and flavor.
However, not all milk is suitable for this particular cheesemaking endeavor. It is crucial to avoid fat-free milk, as the absence of butterfat significantly impacts the curd formation, often resulting in a very small yield or a less desirable texture. Similarly, ultra-pasteurized milk is generally not recommended. The intense heat treatment involved in ultra-pasteurization can denature the milk proteins to such an extent that they don’t curdle effectively when acid is added, making it challenging to achieve proper separation into curds and whey. For the best outcome, stick to conventional whole or 2% pasteurized milk, which offers the ideal balance of fat and protein for a bountiful batch of farmer cheese.
The Art of Transforming Milk: A Step-by-Step Guide to Farmer Cheese
Making farmer cheese at home is a rewarding process that requires minimal ingredients and equipment. Follow these steps to turn your slightly sour milk into a creamy, delicious cheese.
Step 1: Preparing the Milk
Begin by pouring one gallon of your chosen whole or 2% milk into a large, heavy-bottomed pot. The heavy bottom helps distribute heat evenly and prevents scorching. Place the pot over medium heat and slowly bring the milk to a gentle boil. This stage is critical; watch the milk carefully to ensure it doesn’t boil over. Stir occasionally to prevent it from sticking to the bottom of the pot, which can impart an undesirable burnt flavor. The goal is to reach a rolling boil, where significant bubbles are breaking the surface, indicating the milk has reached the optimal temperature for curdling.
Step 2: Initiating the Curdling Process
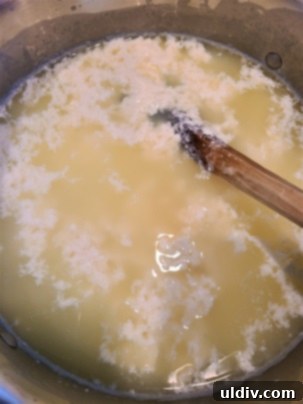
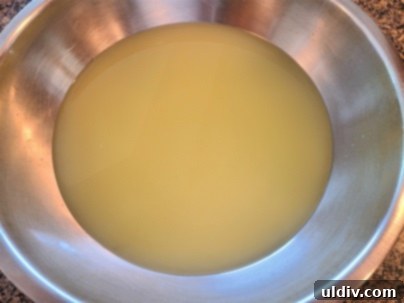
Once the milk reaches a full boil, immediately turn off the heat. This prevents further heating and allows for controlled curdling. Now, add your chosen acidic agent: the juice of two fresh lemons or 1/2 cup of white vinegar. Lemon juice offers a subtle citrus note, while vinegar provides a clean, neutral tang. Stir the milk gently but thoroughly for about 30 seconds to ensure the acid is evenly distributed. Almost immediately, you will observe a remarkable transformation: the milk will begin to curdle. This is the process where the milk proteins (casein) coagulate and separate from the yellowish liquid, which is the whey. Your goal is a clear separation, with distinct white curds floating in a translucent yellow whey. If after a few minutes, the separation isn’t complete, and the liquid still appears milky or cloudy, add a bit more lemon juice or vinegar, one tablespoon at a time, stirring gently after each addition, until full separation is achieved. Patience here is key to a good yield.
Step 3: Straining the Curds
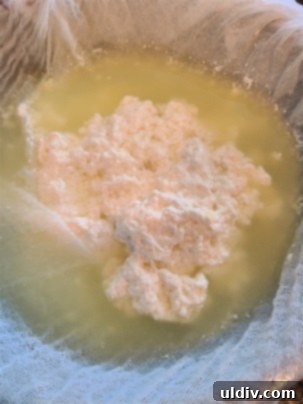
Prepare your straining station by placing a large colander or sieve over an even larger mixing bowl. Line the colander with a clean cheesecloth. Ensure the cheesecloth is large enough to drape over the edges of the colander, providing ample material to gather and tie later. Carefully pour the curdled milk, curds and whey together, into the cheesecloth-lined colander. The whey will immediately begin to drain into the bowl below, leaving the soft, white curds behind in the cloth.
Step 4: Draining and Shaping the Cheese
Once most of the initial liquid has drained, gather the corners of the cheesecloth and tie them securely to form a bundle containing the cheese curds. You can hang this bundle from a kitchen cabinet knob, a hook, or even a sturdy utensil placed across the top of your mixing bowl, allowing the remaining whey to drip into the bowl below. The longer you let it hang, the drier and firmer your farmer cheese will become. For a softer, creamier cheese, a few hours might suffice. For a firmer, more crumbly texture, allow it to drain for 6-8 hours, or even overnight. Alternatively, for a slightly denser cheese, you can place the cheesecloth bundle in the colander, top it with a plate, and place a heavy object (like a can of tomatoes or a heavy bowl) on top to gently press out more whey.
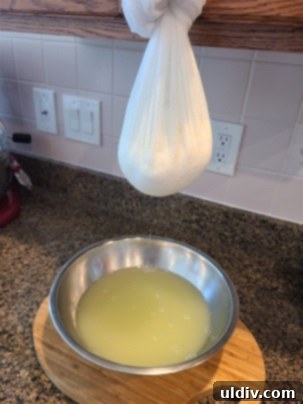
Step 5: Seasoning and Enjoying Your Homemade Cheese
After a few hours, or when there’s no more whey dripping from the cloth, your farmer cheese is ready! Untie the cheesecloth and transfer the fresh cheese to a bowl. This is the stage to personalize your creation. While we often enjoy it simply seasoned, you can add salt, freshly ground black pepper, herbs (dill, chives, parsley), garlic powder, or even a pinch of chili flakes, all to your preferences. Mix the seasonings thoroughly into the cheese. Some recipes suggest adding salt during the milk curdling stage, but adding it at the end allows for more precise flavor control and ensures the curds form optimally without interference.
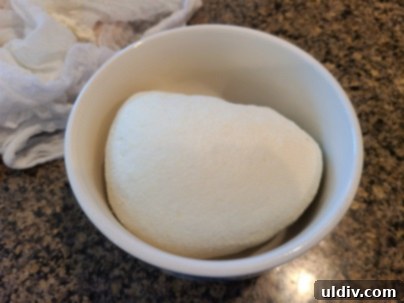
The Versatility of Whey: Don’t Discard It!
While the farmer cheese is the star of this process, the byproduct – whey – is a nutritional powerhouse that should not be overlooked. This yellowish liquid is rich in proteins, vitamins, and minerals, making it a valuable addition to many recipes. We routinely use the collected whey in soups, where it adds depth of flavor and a boost of nutrients. But its uses extend far beyond that.
Consider using whey as a liquid base for baking breads, pancakes, or muffins, where it contributes to a tender crumb and subtle tang. It can be a healthy addition to smoothies, providing a protein kick without altering the flavor significantly. Diluted whey can even be used to water plants, offering them a natural fertilizer boost. Its versatility is truly remarkable, making the entire cheesemaking process a zero-waste endeavor and a testament to sustainable kitchen practices.
Creative Ways to Enjoy Your Homemade Farmer Cheese
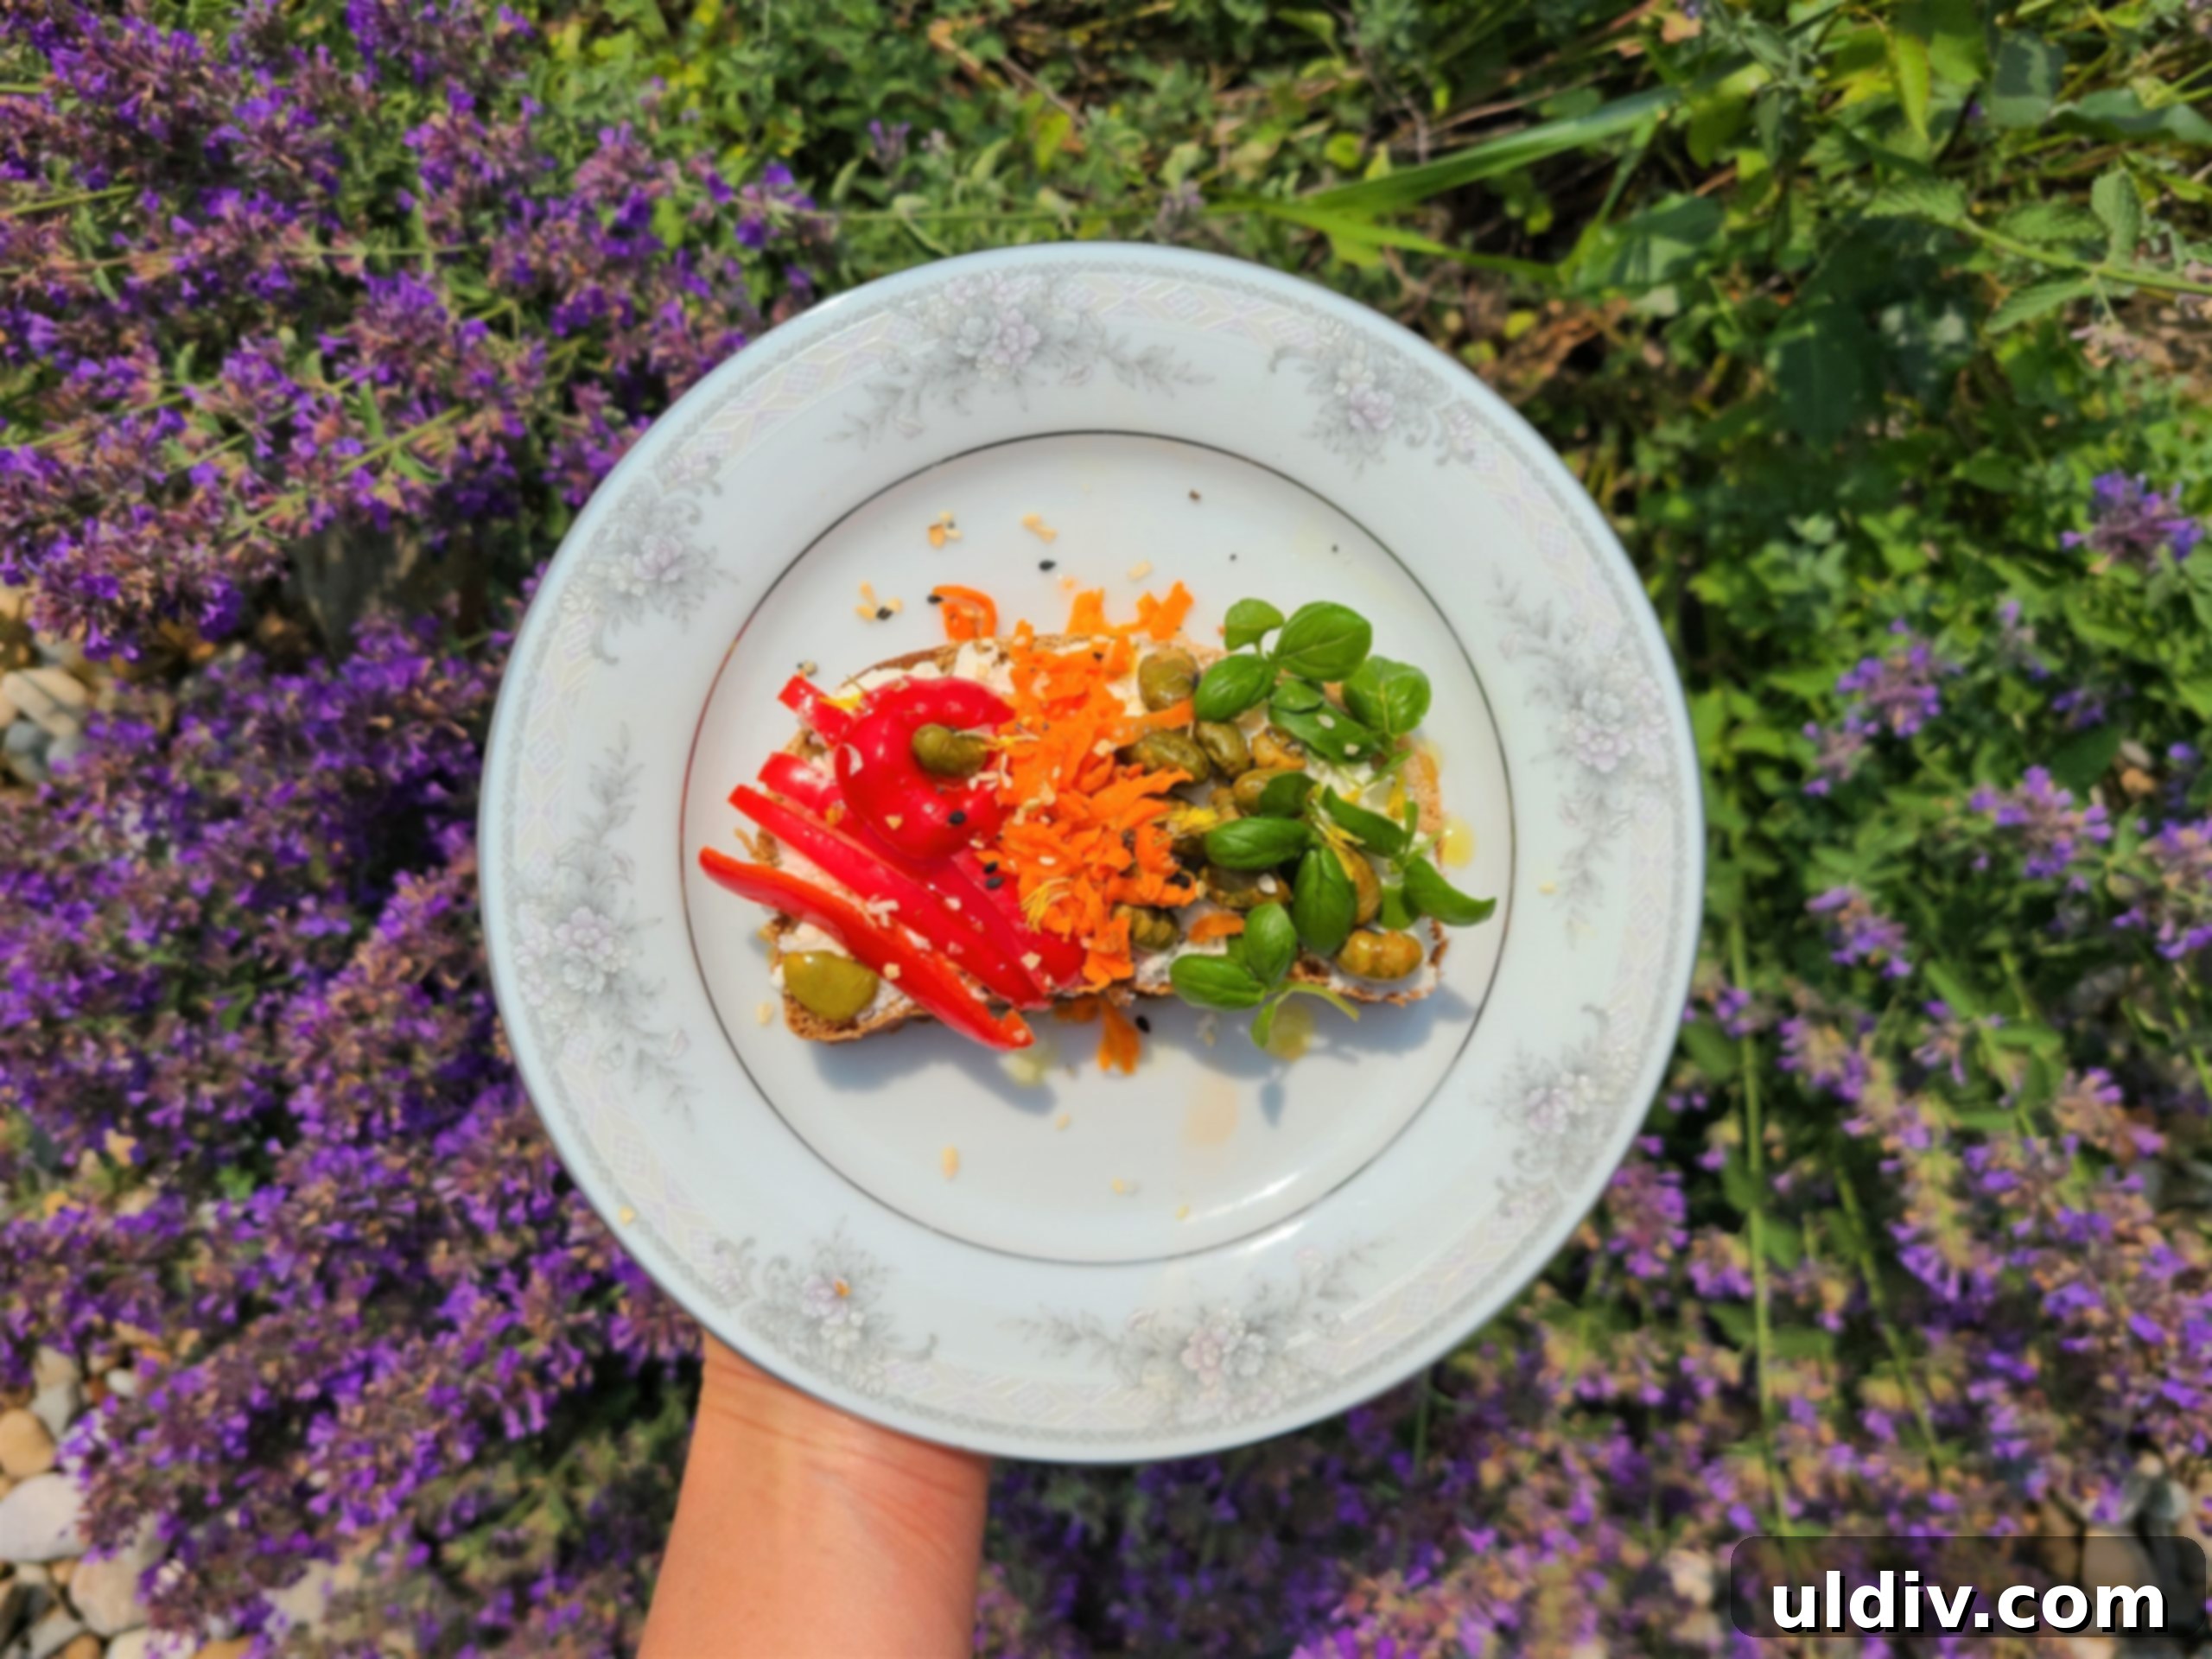
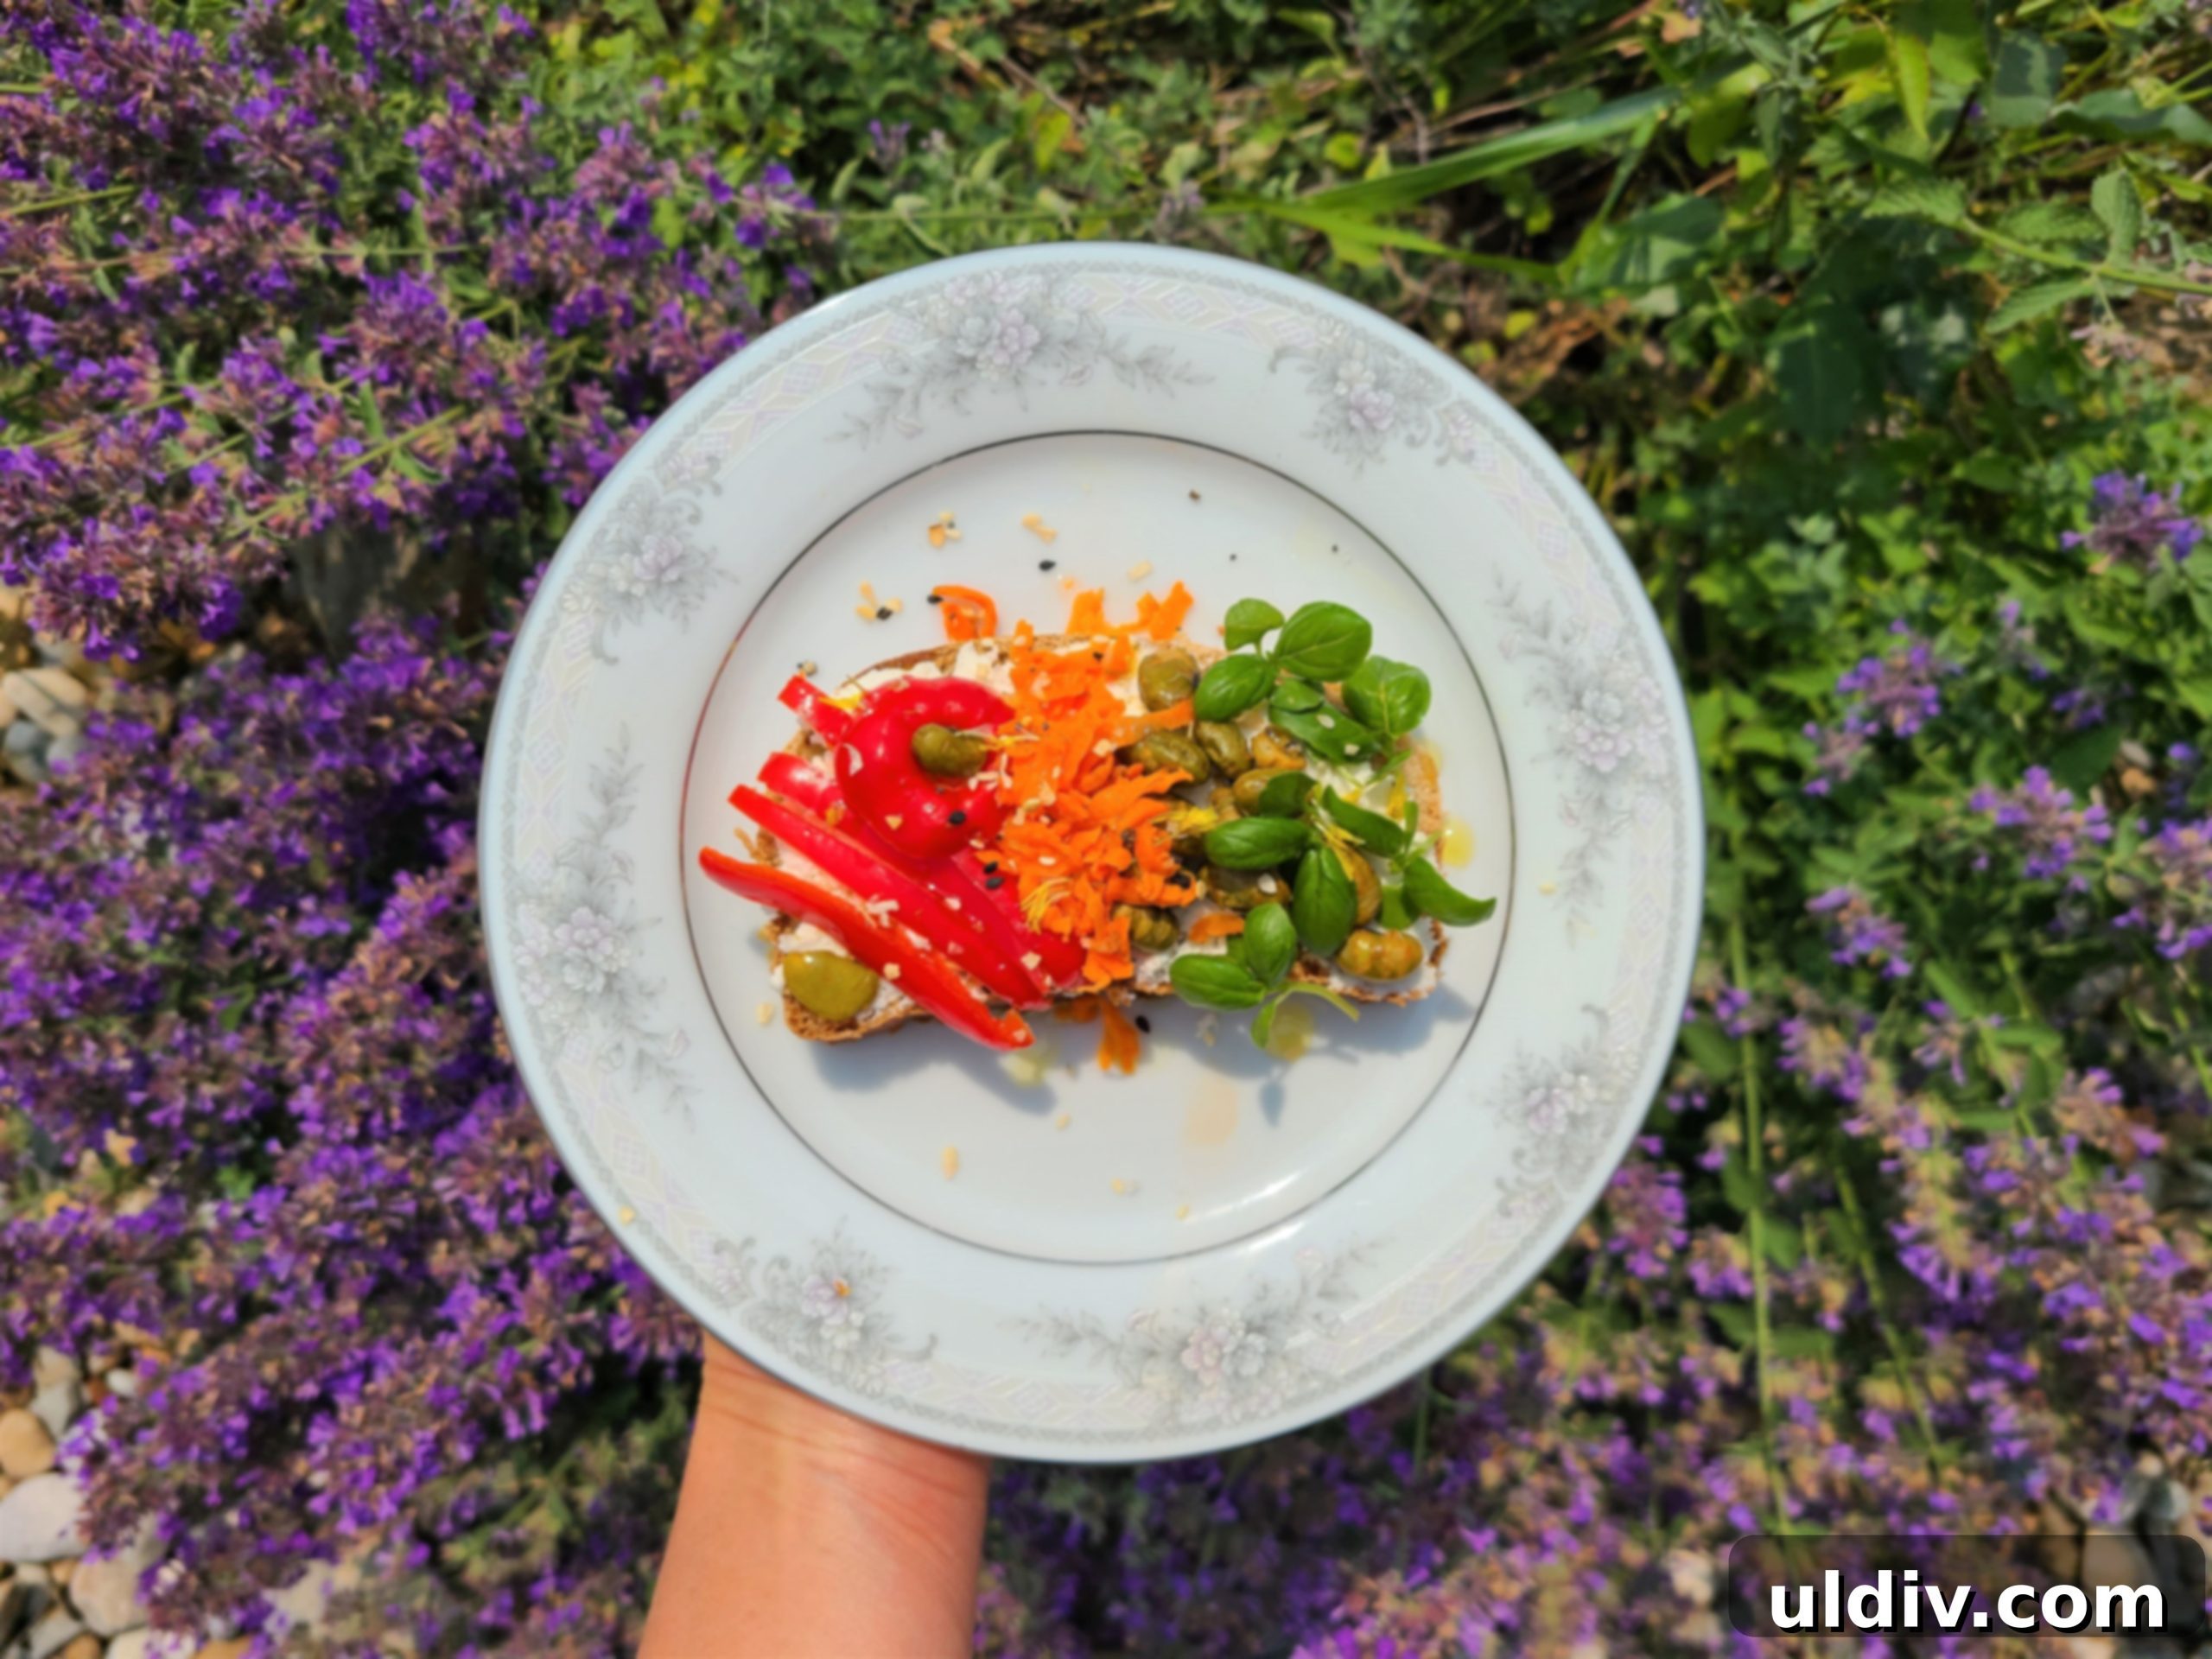
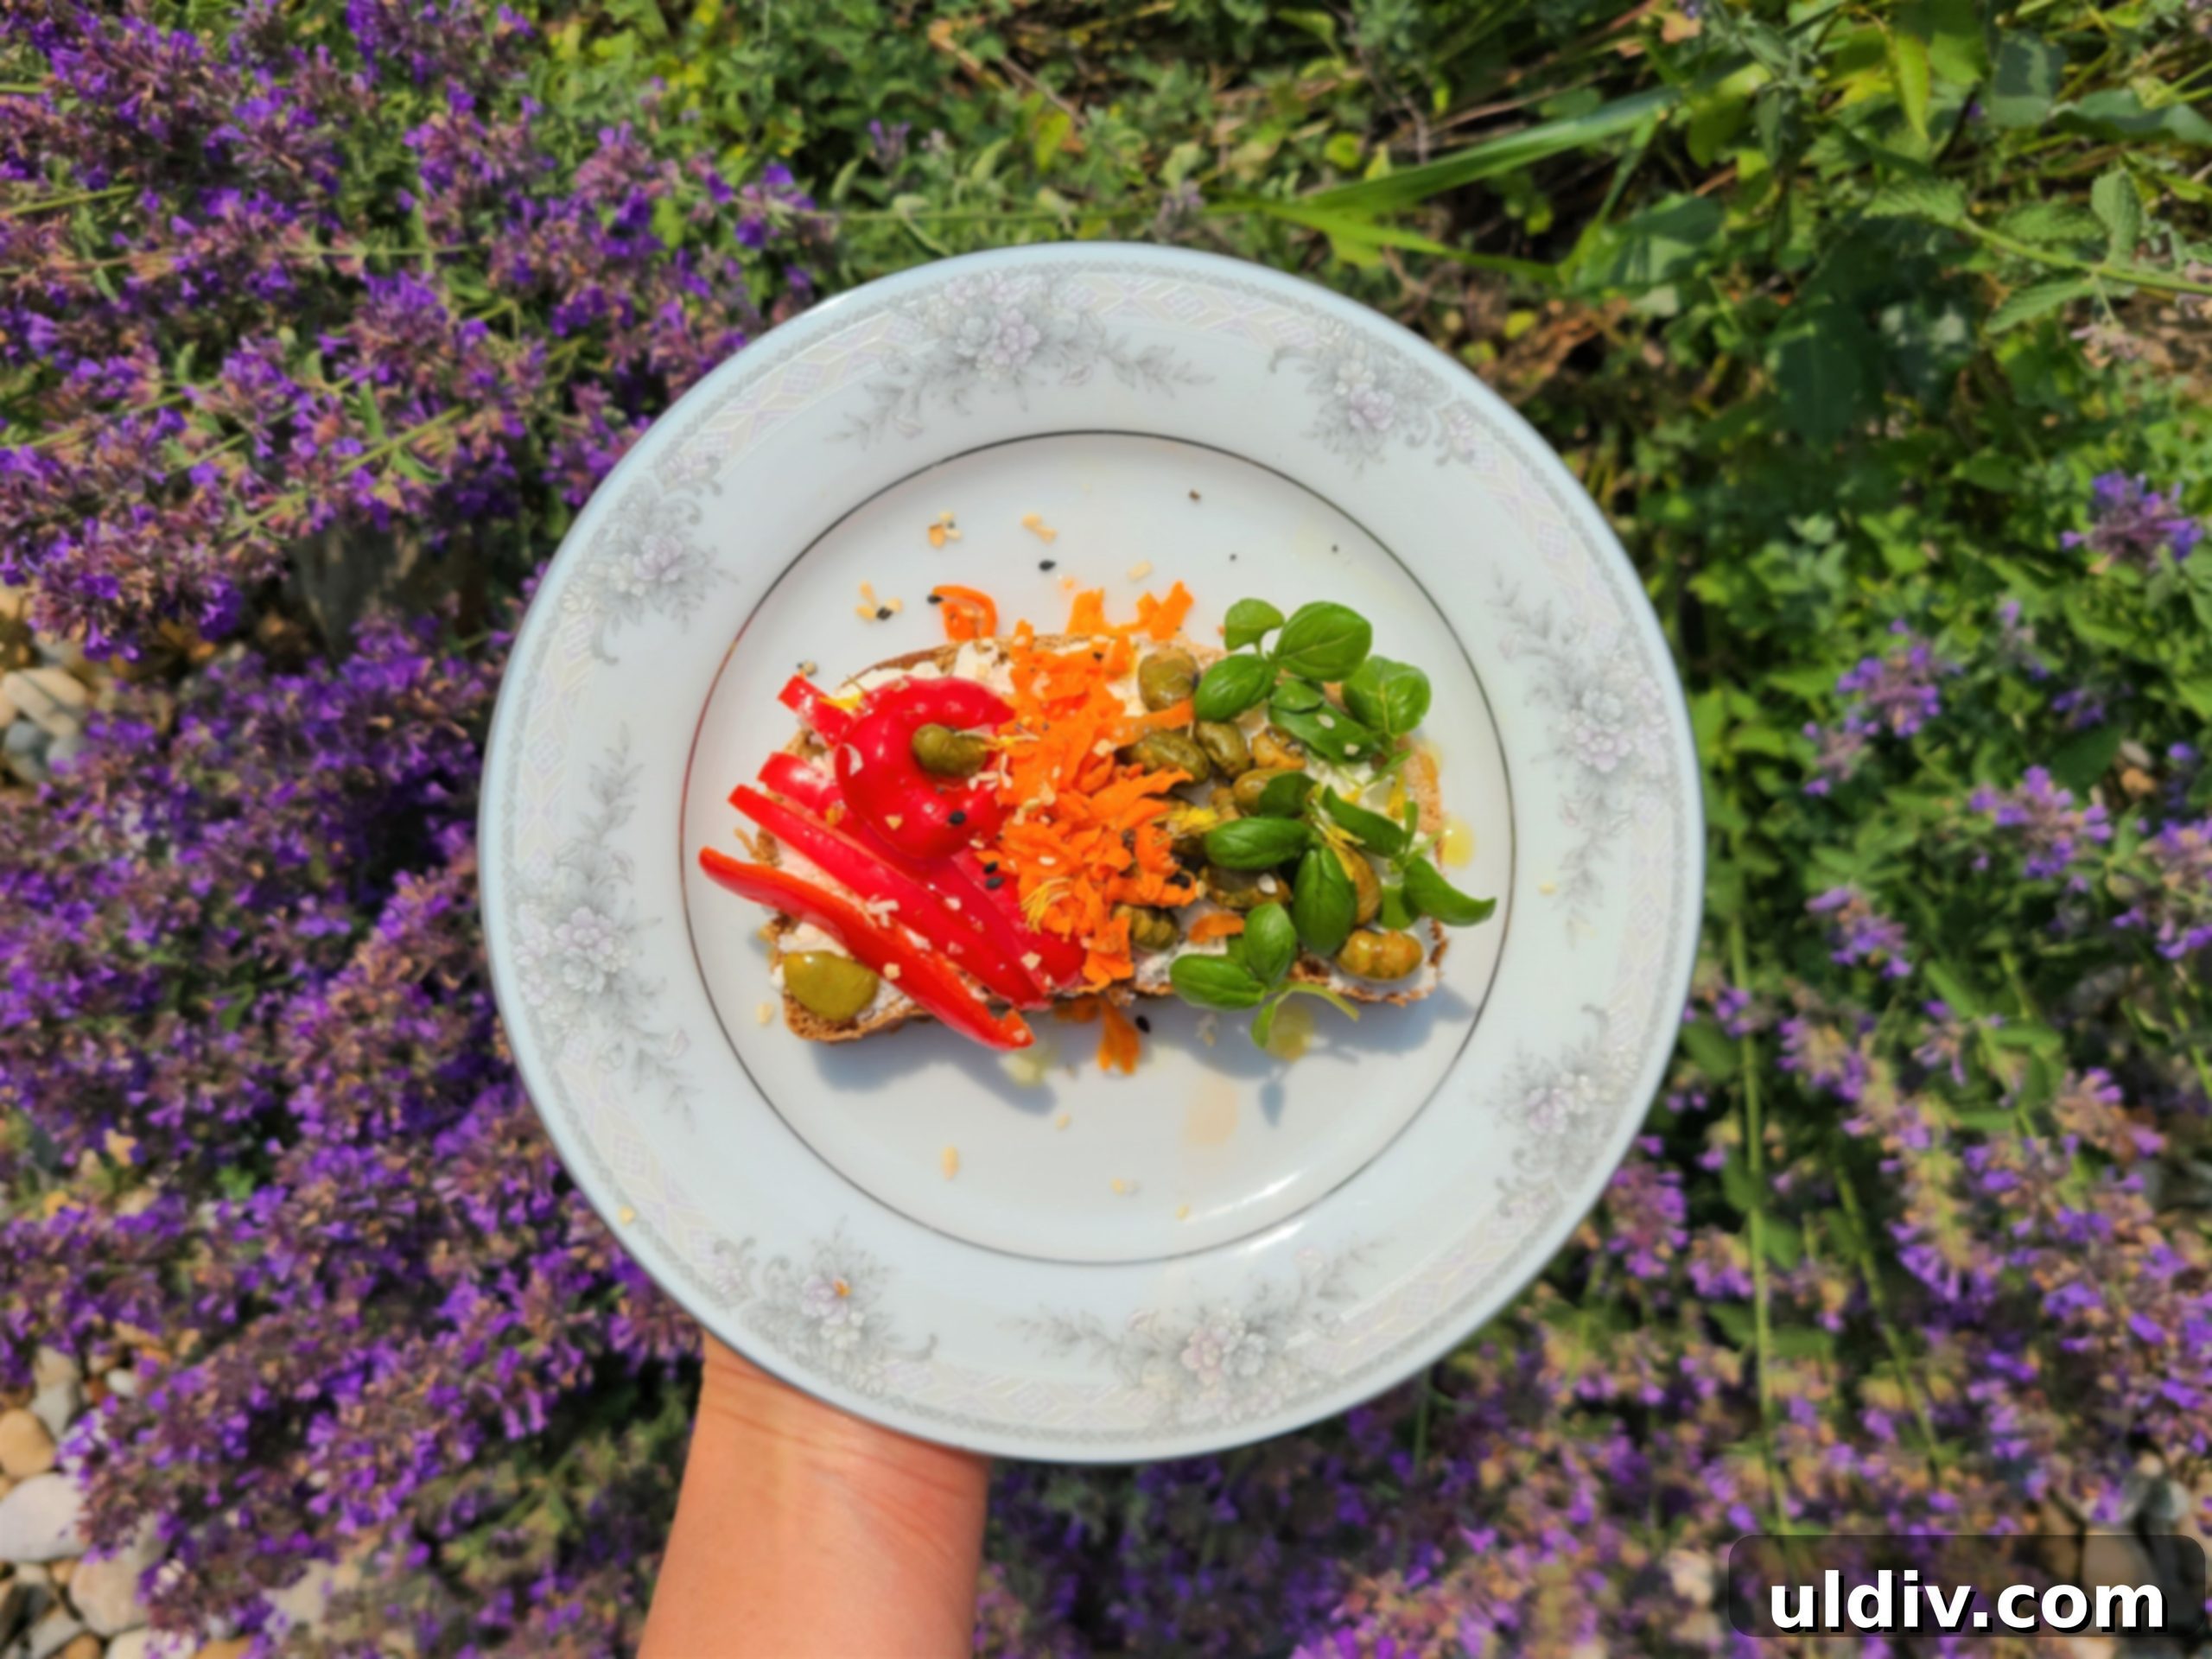
The beauty of homemade farmer cheese lies in its incredible versatility. On its own, fresh from the cloth and lightly seasoned, it’s a super creamy and wholesome delight that can be enjoyed with just a spoon. Its mild flavor makes it an excellent canvas for various accompaniments, both sweet and savory.
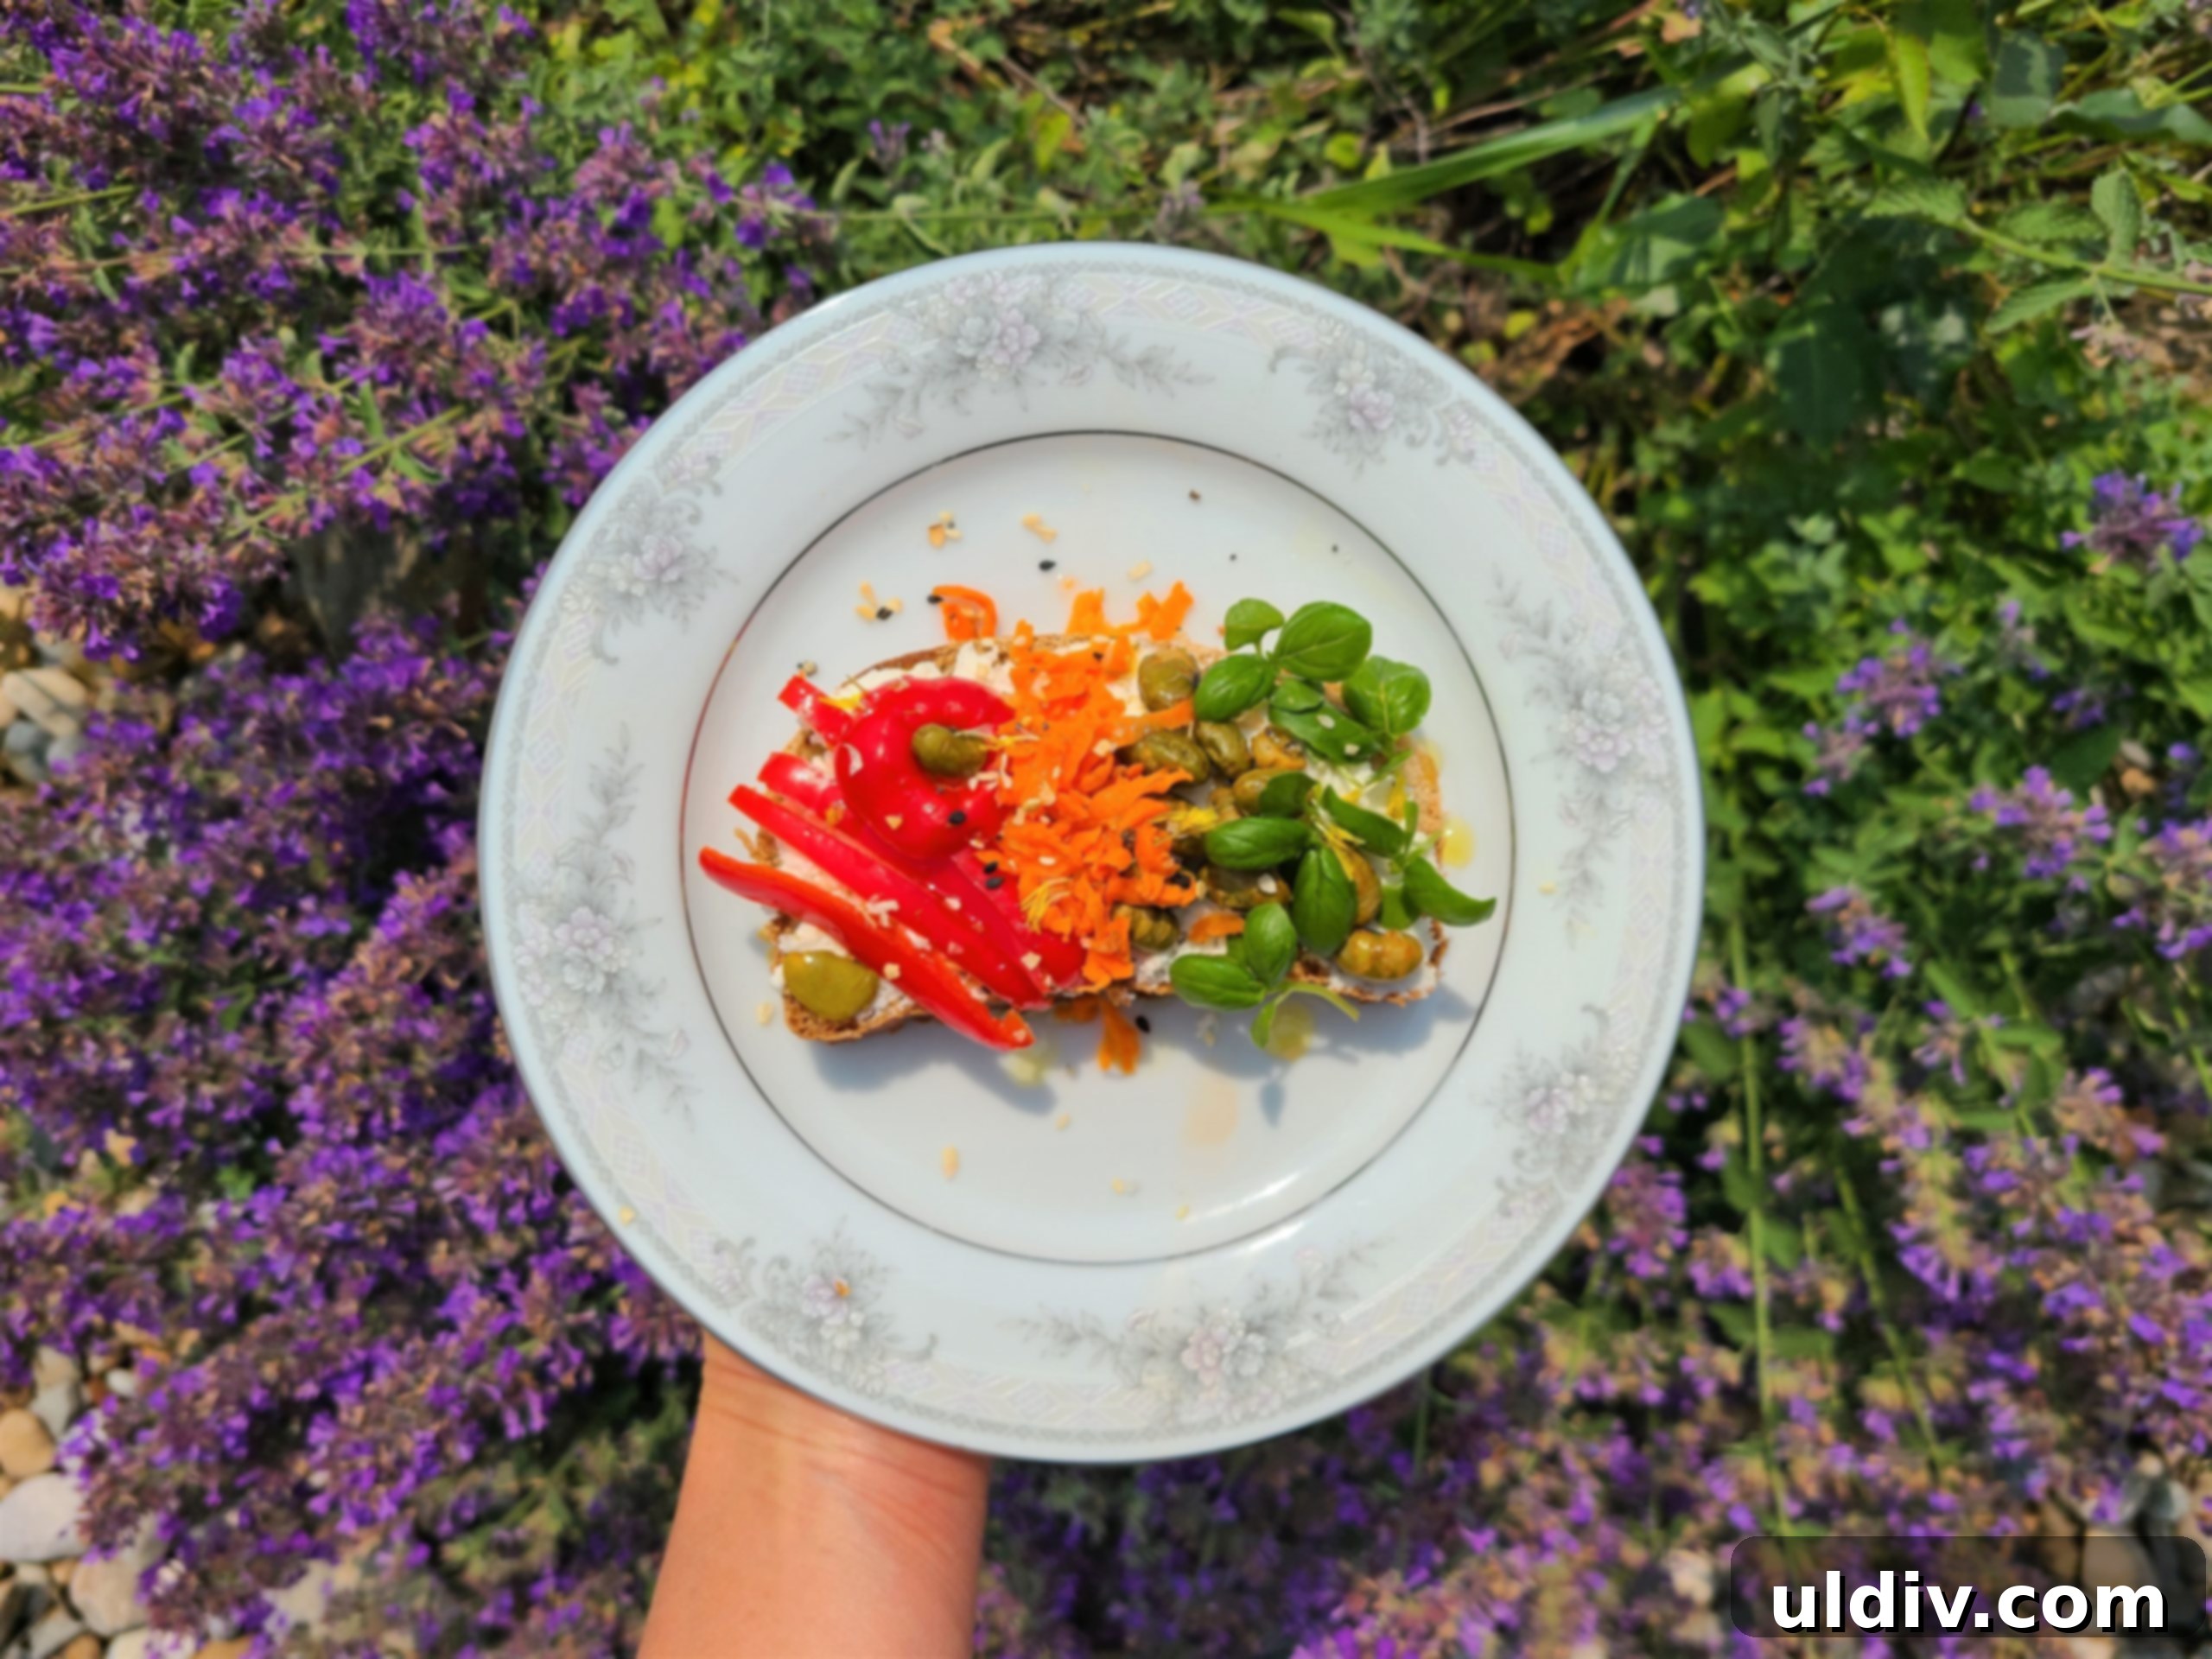
Consider using it as a delightful sandwich spread, perhaps mixed with fresh herbs and a touch of garlic. It makes an excellent topping for scrambled eggs, adding a rich creaminess. Spread it on crackers, toast, or bagels for a quick and satisfying snack or breakfast. For lunch or dinner, farmer cheese can be crumbled over salads, used as a filling for savory tarts or pastries, or even as a lighter, tangier alternative to mozzarella on pizza. Its texture holds up well to cooking, making it suitable for hot dishes, while its fresh taste shines in cold preparations. The possibilities are truly endless, limited only by your culinary imagination.
Important Safety Considerations: When to Use and When to Toss
While making cheese from slightly sour milk is a time-honored tradition, it’s absolutely crucial to distinguish between milk that is merely “sour” and milk that is truly “spoiled” or rancid. There’s a fundamental difference between milk that has developed a faintly tangy smell and has begun to thicken slightly due to the natural activity of lactic acid bacteria, and milk that smells truly putrid, has visible mold, or has completely solidified into distinct, unpleasant clumps. The former, a result of mild souring, is perfectly safe and ideal for making farmer cheese. The latter, however, indicates a full spoilage and is best sent straight to the sink. If your milk has already curdled into chunky bits and emits a distinctly rancid odor, do not attempt to make cheese. Always err on the side of caution. If in doubt about the milk’s freshness, it is always safest to discard it.
For a great overview of sour milk uses and how to discern its usability, you might find articles such as “Your *Expired* Milk Still Has So Much More to Give” (Bon Appétit, 2020) incredibly informative. These resources emphasize that a little creativity can transform faintly tangy milk into something enjoyable and prized, a principle at the heart of homemade cheesemaking.
Making cheese at home is not only a fantastic way to minimize food waste but also a deeply satisfying culinary adventure. Have you tried making cheese at home? I would love to learn from your experiences and discover your favorite methods or seasoning combinations!
Print Recipe
Farmer Cheese Recipe
5 mins
20 mins
25 mins
Ingredients
- 1 gallon whole or 2% milk
- Juice of 2 lemons OR 1/2 cup white vinegar + extra, if needed
- Salt and pepper to taste (optional)
Instructions
-
Pour the milk into a large pot and bring to a boil over medium heat.
-
Turn off the heat and add the lemon juice or vinegar. Stir gently. The milk will begin to curdle. Aim for a full separation into cheese curds and a yellow liquid (whey). Add a bit more lemon juice or vinegar, if needed, to achieve complete separation.
-
Pour the curdled milk into a cheesecloth-lined large mixing bowl or colander. Gather the cloth and tie it securely.
-
Hang the tied cheesecloth from a kitchen cabinet or hook, allowing the whey to drip into the mixing bowl below. Let it drain for a few hours until no more whey is dripping (adjust draining time for desired firmness).
-
Once drained, take the cheese out of the cloth and add salt, pepper, and any other desired seasonings to taste. You can enjoy the cheese on its own or use it as a sandwich spread, topping for eggs, pizza, etc.
-
Enjoy your fresh homemade farmer cheese!