
There’s an undeniable magic in discovering a food that truly resonates with your palate. For me, that food is undeniably peppers! Their vibrant hues, from brilliant reds and yellows to deep greens and oranges, are a feast for the eyes. Beyond their captivating appearance, I adore their naturally sweet and subtly delicate flavor, which can transform any dish. Not to mention, they are packed with an abundance of essential vitamins and antioxidants, making them a fantastic addition to a healthy diet. Before embarking on this culinary blogging adventure, I didn’t consciously acknowledge my deep affection for peppers. I used them frequently, almost instinctively, in countless recipes, but never truly paused to appreciate their unique contribution. This journey of deliberate cooking and writing has not only sharpened my focus on these incredible vegetables but has also served as an insightful path to understanding my own culinary preferences and passions. It’s been a truly rewarding exploration of self-knowledge, and for that, I am incredibly grateful.
Unveiling Our Household Staple: The Irresistible Roast Pepper Dip
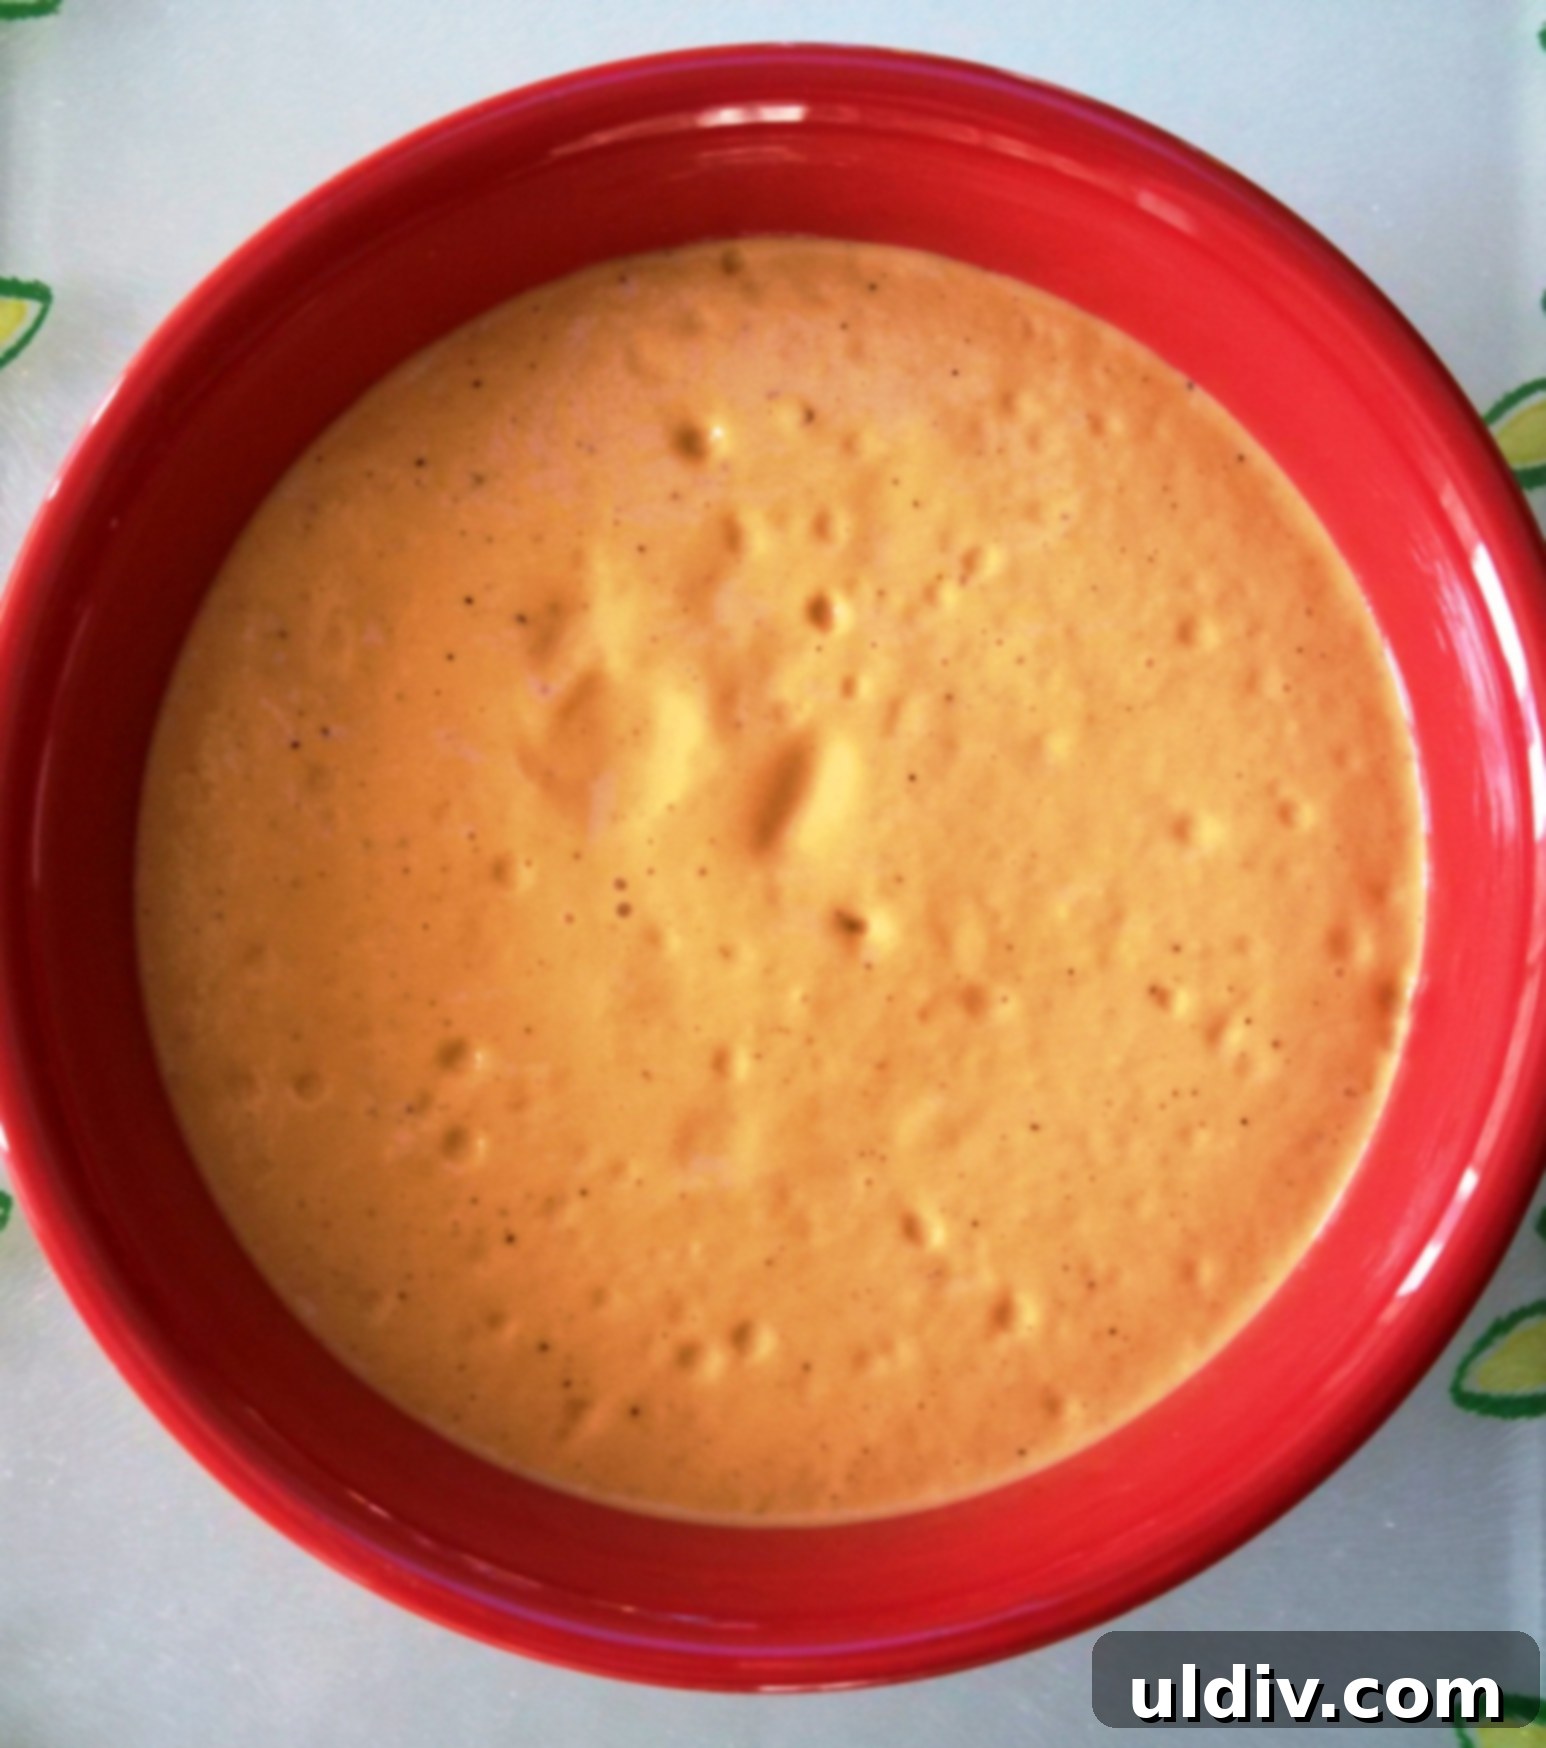
Inspired by a recent sale on bell peppers at my local grocery store – a perfect opportunity I couldn’t resist – I decided it was the ideal time to prepare a recipe that has become a true staple in our household: a luscious, homemade roast pepper dip. Much like our beloved homemade vegetable sauce, this dip is a culinary hero in its own right, offering incredible versatility and a burst of fresh flavor. Making your own dip at home is a game-changer; it ensures you know exactly what goes into your food, allowing for precise control over ingredients, flavor profiles, and even nutritional content. Forget store-bought alternatives laden with preservatives and artificial flavors – this homemade version brings a level of freshness and a depth of taste that simply cannot be matched. It’s an effortlessly elegant addition to any meal, whether as a vibrant appetizer, a flavorful sandwich spread, or a delicious accompaniment to grilled meats and vegetables.
Choosing the Best Bell Peppers for Roasting
To craft a generous batch of this delectable dip, you’ll need approximately 3 pounds of fresh bell peppers. When selecting your peppers, aim for a vibrant mix of colors. Not only does this create a visually stunning dip, but different colored bell peppers also offer slightly varied flavor nuances. Red bell peppers, for instance, are the sweetest and most mature, while yellow and orange peppers are also sweet but with a milder, fruitier undertone. Green bell peppers, harvested earlier, have a more robust, slightly bitter flavor that can add an interesting complexity to the dip when combined with their sweeter counterparts. Look for peppers that are firm to the touch, free of blemishes, and have a glossy skin. A good selection ensures the best possible flavor foundation for your dip.
The Art of Roasting Peppers: Unlocking Flavor and Sweetness
The roasting process is undeniably the cornerstone of this dip, transforming simple bell peppers into smoky, sweet, and incredibly flavorful components. It’s this crucial step that develops their natural sugars and imparts that signature charred essence that makes the dip so irresistible. Before you begin, thoroughly wash the bell peppers under cool running water and then gently pat them dry with a paper towel. This ensures a clean surface for roasting.
Method: Stove-Top Roasting (Our Preferred Technique)
While bell peppers can be roasted in an oven or on an outdoor grill, the stove-top method offers exceptional control and yields wonderfully charred results. Place the whole, dried bell peppers directly over the flame of a gas burner set to medium-high heat. Using tongs, turn the peppers frequently, ensuring all sides are exposed to the flame. Continue this process until the skin of the peppers is entirely blackened and blistered, indicating that the internal flesh is tender and sweet. This typically takes about 8-10 minutes per pepper, depending on the heat and size. Don’t worry if the peppers look completely burnt on the outside – this is exactly what you want! The charred skin creates a protective layer that steams the inside, making the peppers incredibly soft and easy to peel.
The Crucial Cooling and Steaming Step
Once the peppers are thoroughly charred, carefully transfer them to a heatproof bowl. Immediately sprinkle a generous pinch of salt over them. The salt not only seasons the peppers but also helps in drawing out moisture, which aids in the peeling process. Cover the bowl tightly with plastic wrap or a lid, or alternatively, place the hot peppers directly into a paper bag and seal it. Allow them to cool down completely, typically for at least 20-30 minutes, or even longer. This steaming process creates condensation that loosens the skin, making it incredibly easy to peel off. Once cooled, the skins will slip right off, revealing the sweet, smoky, and tender flesh beneath. After peeling, discard the skins, stems, and seeds, then give the peeled pepper flesh a quick rinse if needed to remove any remaining seeds or charred bits. Your roasted peppers are now ready to become the heart of your delicious dip!
Crafting the Perfect Roast Pepper Dip: Ingredients and Preparation
With your beautifully roasted peppers prepared, you’re now ready to transform them into a smooth, creamy, and flavorful dip. This stage is quick and incredibly satisfying, bringing together a few simple ingredients to create something truly special.
Ingredients for the Roast Pepper Dip:
- 3 lbs bell peppers, previously roasted, peeled, and washed
- 1 cup sour cream (full-fat for richness, or light for a healthier option)
- Salt and freshly ground black pepper (to taste)
- 1/2 tsp paprika powder or red pepper flakes (optional, for an extra kick and depth)
Blending Your Way to a Velvety Dip
Gather your roasted peppers, sour cream, and initial seasonings. Place all these ingredients into a high-speed blender or a food processor. Start blending on a low setting to break down the larger pieces of pepper, then gradually increase to high speed. Continue blending for approximately 30 seconds, or until the mixture appears mostly smooth. Stop the blender, scrape down the sides, and then taste the dip. This is your opportunity to adjust the seasoning to perfection. Add more salt and freshly ground black pepper as needed, tasting after each addition until you reach your desired balance. At this stage, if you prefer a little extra warmth and complexity, you can also incorporate the paprika powder or red pepper flakes. While these are optional for me – as I genuinely love the dip’s natural sweetness and smokiness – they offer a fantastic way to introduce a subtle spicy kick and an additional layer of flavor that beautifully complements the sweetness of the roasted peppers. Smoked paprika, for instance, would enhance the smoky notes, while hot paprika or red pepper flakes would provide a pleasant heat.
Once you’ve achieved your perfect flavor profile, continue blending until the dip reaches a wonderfully smooth and creamy texture. There should be no noticeable chunks of pepper remaining. Transfer the finished dip from the blender into a serving bowl. For the best flavor development and a slightly thicker consistency, cover the bowl and place it in the refrigerator for at least an hour. This chilling period allows the flavors to meld together beautifully, resulting in a more harmonious and delicious dip. It’s also perfectly fine to prepare this dip a day in advance, as the flavors only deepen with time.
Elevating Your Meal: The Roast Pepper Dip Panini
Now that your incredible roast pepper dip is perfectly chilled and bursting with flavor, it’s time to put it to use in a truly satisfying way. While it’s fantastic on its own, paired with fresh vegetables or crackers, incorporating it into a gourmet panini elevates it to a whole new level. This recipe offers a fantastic blueprint, but always feel free to improvise with what you have on hand or what your taste buds desire. The beauty of panini lies in its adaptability.
Ingredients for a Delectable Panini:
- 2 tbsp roast pepper dip (generously spread)
- 2 slices of your favorite bread (white, whole wheat, ciabatta, or sourdough work wonderfully)
- 1/4 lb thinly sliced roast beef
- 4 slices Asiago cheese (its nutty and sharp flavor perfectly complements the dip)
- 5 slices dill pickles, halved (for a refreshing crunch)
Assembling and Grilling Your Panini to Perfection
Begin by preheating your panini grill or a heavy-bottomed skillet (such as a cast-iron pan) to approximately 375°F (190°C). A properly preheated grill ensures an even golden crust and beautifully melted cheese. If using a skillet, you can press the sandwich down with another heavy pan or a brick wrapped in foil.
Next, take your bread slices. On one side of each slice, spread a generous and even layer of the homemade roast pepper dip. This will form the flavorful base of your panini. Now, it’s time to build the layers. On one slice of bread, lay down a portion of the thinly sliced roast beef. On top of the roast beef, place two slices of the Asiago cheese. The heat from the grill will melt this cheese beautifully, creating a gooey, flavorful bond. Arrange the halved dill pickles over the cheese. The pickles are key here; their tangy acidity and crisp texture will provide a refreshing contrast to the richness of the meat and cheese. Follow this with another layer of roast beef, ensuring a hearty filling. Finish the assembly with the remaining two slices of Asiago cheese on top of the second roast beef layer, then crown it with the other slice of bread, dip-side down, to complete your sandwich.
Carefully place your assembled panino onto the preheated grill. Close the lid and grill for approximately 3 minutes, or until the bread is golden brown and crisp, and the cheese is thoroughly melted and bubbly. The exact grilling time may vary depending on your panini press, so keep an eye on it. Once grilled to perfection, remove the panino from the press, slice it in half for easy handling, and serve immediately. For an extra burst of flavor, consider serving it with an additional dollop of the roast pepper dip on the side for dipping.
A Culinary Masterpiece: The Panini Experience and Dip Versatility
I must say, the outcome of this panini was nothing short of delightful. Each bite offered a harmonious blend of textures and tastes: incredibly moist and juicy from the roast beef, yet light and balanced thanks to the bright, tangy dill pickles. The pickles truly performed their culinary magic, expertly cutting through the richness of the meat and cheese while simultaneously introducing an invigorating crunch that elevated the entire sandwich. Furthermore, the distinct assertiveness and nutty undertones of the Asiago cheese provided a perfect counterbalance to the inherent sweetness of the roast pepper dip, ensuring that no single flavor overpowered another. This thoughtful combination made the entire ensemble stand out, creating a truly memorable meal.
The versatility of this homemade roast pepper dip extends far beyond panini. It’s an incredibly adaptable condiment that can enhance a wide array of dishes. It makes for a fantastic and healthy dip for your favorite raw or lightly steamed vegetables – think carrot sticks, cucumber slices, bell pepper strips, or broccoli florets. It’s also an exceptional spread for crackers, toasted bread, or even as a flavorful base for wraps. Another delightful application I’ve discovered is pouring it generously over chicken drumsticks or thighs before roasting them in the oven. The dip not only imparts a beautiful golden color to the chicken but also infuses it with its succulent, sweet, and smoky notes, resulting in incredibly tender and delicately flavored poultry. There’s a wonderful, candid simplicity to this sweet and smoky dip, a straightforward elegance that I find utterly charming – and I am genuinely hopeful that you will find it just as appealing as I do! Happy cooking and enjoying!