
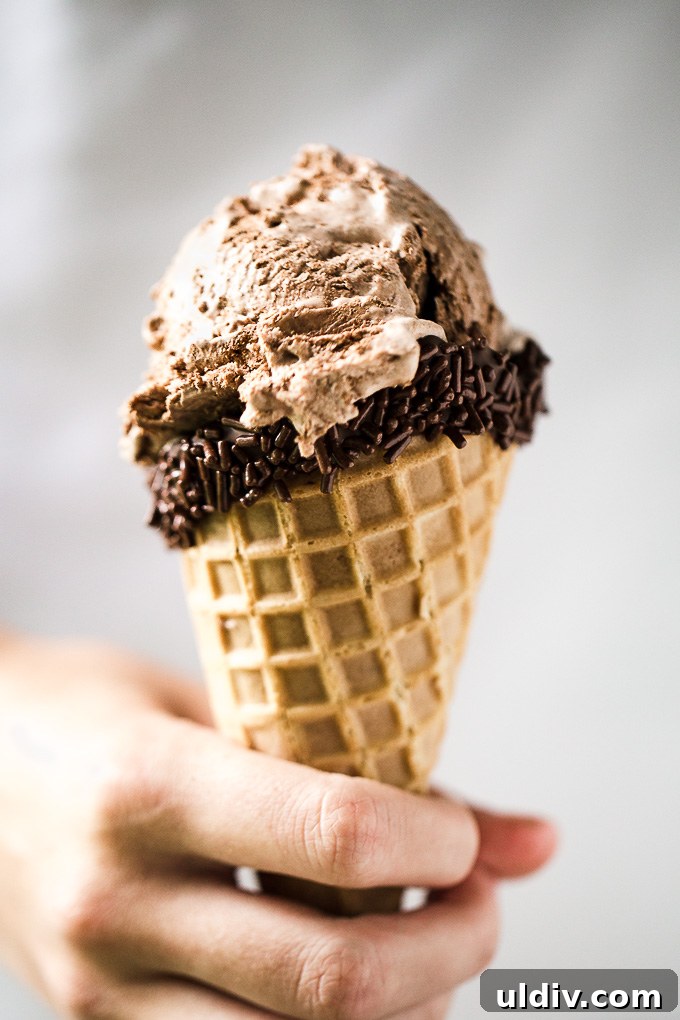
This easy no-churn ice cream recipe lets you enjoy creamy homemade ice cream without an ice cream maker. Ready in minutes, it’s perfect for warm weather and endless flavor variations.
With just 10 minutes of hands-on time and three basic ingredients—plus your choice of flavorings—you can make luscious vanilla, chocolate, strawberry, cookies-and-cream, or mint chocolate chip ice cream. Instructions for each flavor are included below.

Many people assume homemade ice cream requires an expensive machine, but this no-churn method is simple and reliable. The base is made from heavy cream, sweetened condensed milk, and sour cream. The sour cream is optional but helps balance the sweetness and adds a rich, silky texture.
If you prefer a very sweet ice cream, omit the sour cream. Otherwise, include it for a slightly tangy note that brightens the flavors and improves creaminess.
How to make ice cream without a machine
Making this no-churn ice cream takes only a few minutes of active preparation. Follow these simple steps:
- Combine cold heavy cream, sweetened condensed milk, and sour cream in a large mixing bowl. Beat on high speed for about 2–3 minutes until thick and creamy.
- Choose your flavor and gently fold the add-ins into the base.
- Pour the mixture into a freezer-safe container, cover, and freeze until firm, at least 4 hours.
How to create your favorite ice cream flavors
After preparing the ice cream base, pick one of these classic flavor options and mix it in before freezing.
Which flavor will you try first? Strawberry is a favorite for fresh summer berries.
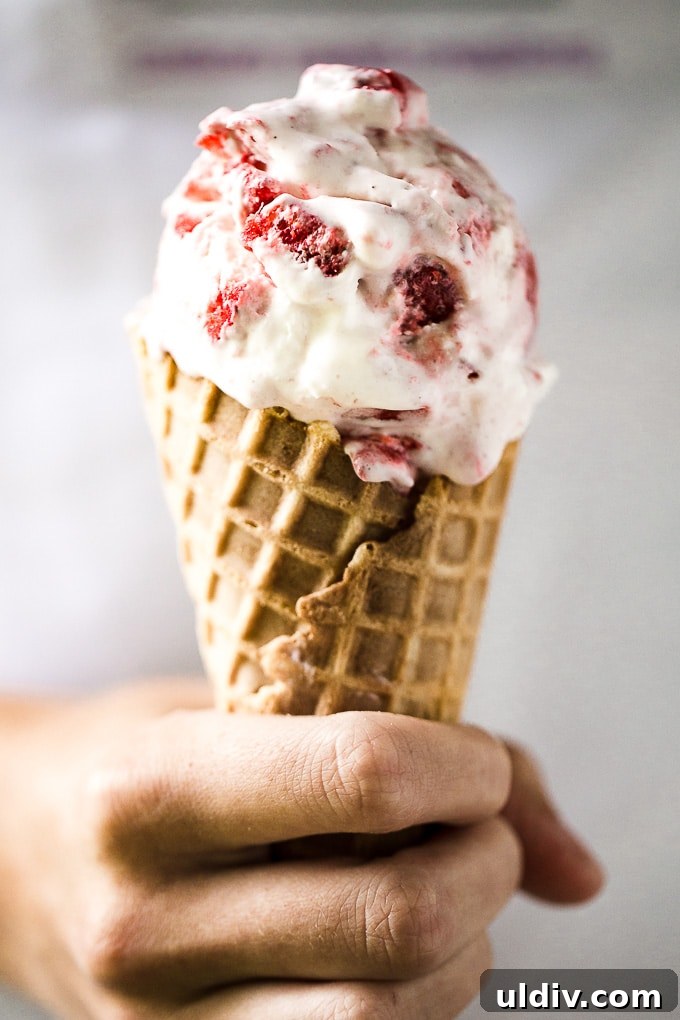
Strawberry: 1–2 cups chopped strawberries (fresh or frozen) and 1 teaspoon vanilla extract. Gently fold the fruit into the base so it stays distributed.

Vanilla: 1 teaspoon vanilla extract or the seeds from one vanilla pod for a richer flavor.
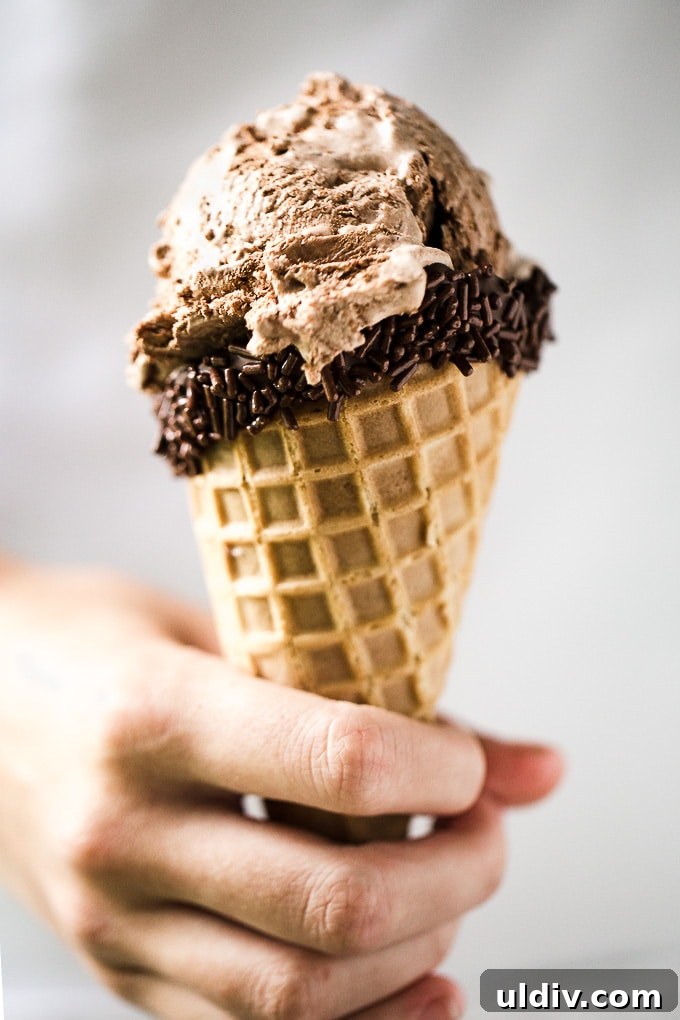
Chocolate: 1 cup Dutch-process cocoa powder, 1 teaspoon vanilla extract, and a pinch of salt. Sift the cocoa to avoid lumps and fold it into the base until evenly combined.
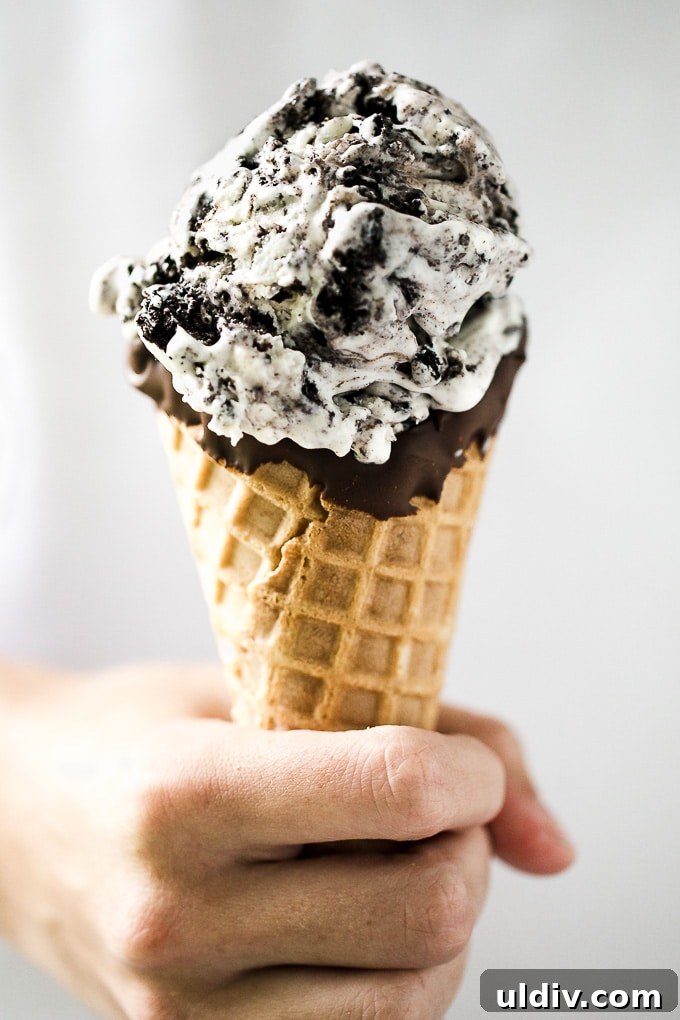
Cookies and Cream: About 20 Oreo cookies, crushed. Fold the crumbles in gently so they remain chunky throughout the ice cream.
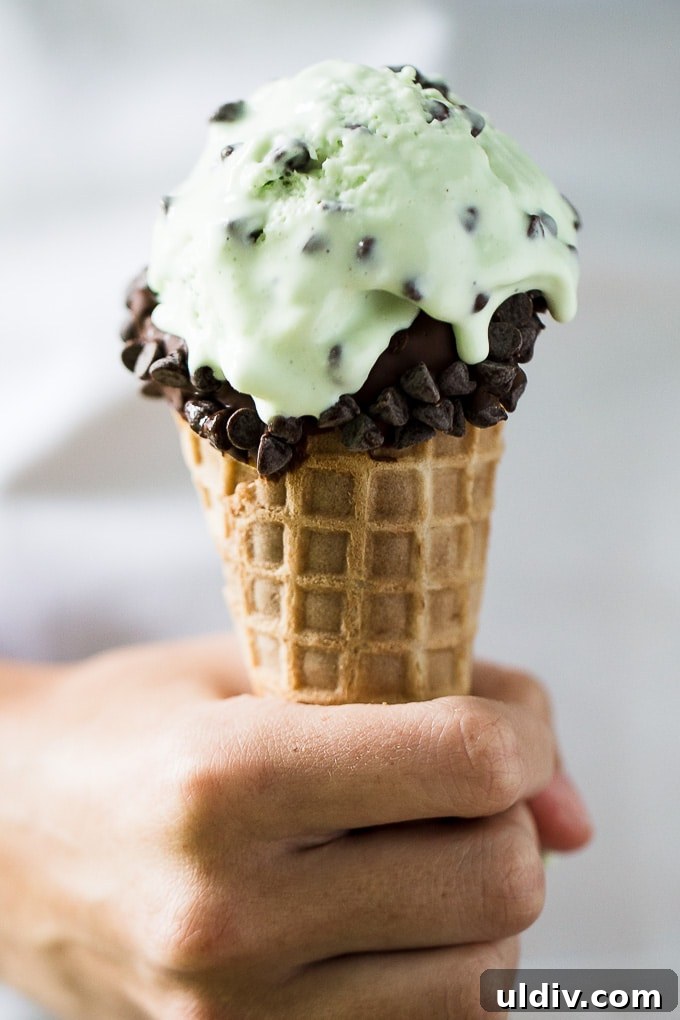
Mint Chocolate Chip: 2 cups semi-sweet mini chocolate chips, 1 teaspoon peppermint extract, and 2–3 drops green food coloring if desired. Stir the chips in last to distribute them evenly.
Tips for success
- Make it ahead: this no-churn ice cream freezes well and can be stored like store-bought ice cream.
- To keep heavier mix-ins like chocolate chips or cookie pieces distributed, stir the ice cream after it has partially set (about 2 hours) and then return it to the freezer to finish.
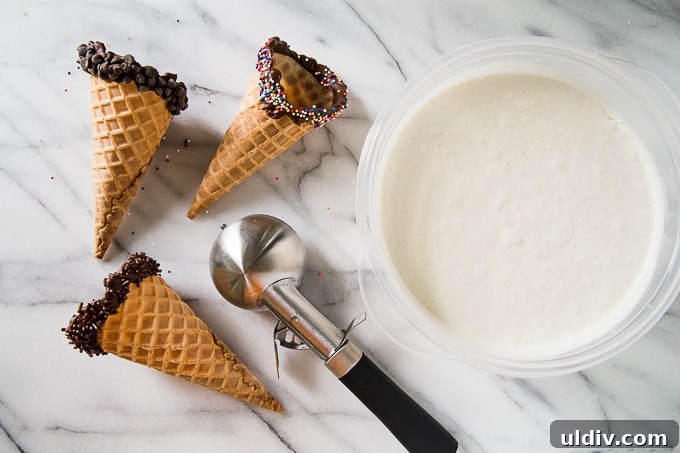
- For a fun presentation, dip the rim of waffle cones in melted chocolate and add sprinkles before the chocolate sets.
- Let the ice cream sit at room temperature for a few minutes before scooping to make it easier to serve.
- Top with whipped cream, nuts, sprinkles, fresh fruit, or syrup for extra indulgence.
How to store
Store your ice cream in an airtight, freezer-safe container for up to 3 months. Press a piece of plastic wrap directly on the surface before sealing to reduce ice crystals.

How to Make No Churn Ice Cream Recipe with 5 Different Flavors
Amy Duska
Ingredients
Ice Cream Base
- 2 cups heavy cream
- 14 oz. can sweetened condensed milk
- ½ cup sour cream (optional)
Instructions
-
Beat the heavy cream, sour cream (if using), and sweetened condensed milk in a medium bowl until thick, about 3–4 minutes.
-
Select your add-ins and fold them into the ice cream base.
Vanilla: 1 teaspoon vanilla extract or vanilla bean.
Chocolate: 1 cup Dutch cocoa powder, 1 teaspoon vanilla, pinch of salt.
Strawberry: 1–2 cups chopped strawberries and 1 teaspoon vanilla.
Cookies and Cream: 20 Oreo cookies, crumbled.
Mint Chocolate Chip: 2 cups mini chocolate chips and 1 teaspoon peppermint extract; food coloring optional.
-
Cover the container and freeze for at least 4 hours, or until firm.
-
Remove from the freezer 10 minutes before serving to make scooping easier. Serve in bowls or waffle cones.
Notes
- Can be made in advance and kept frozen for up to 3 months. For best texture, press plastic wrap directly on the surface before sealing the container.