
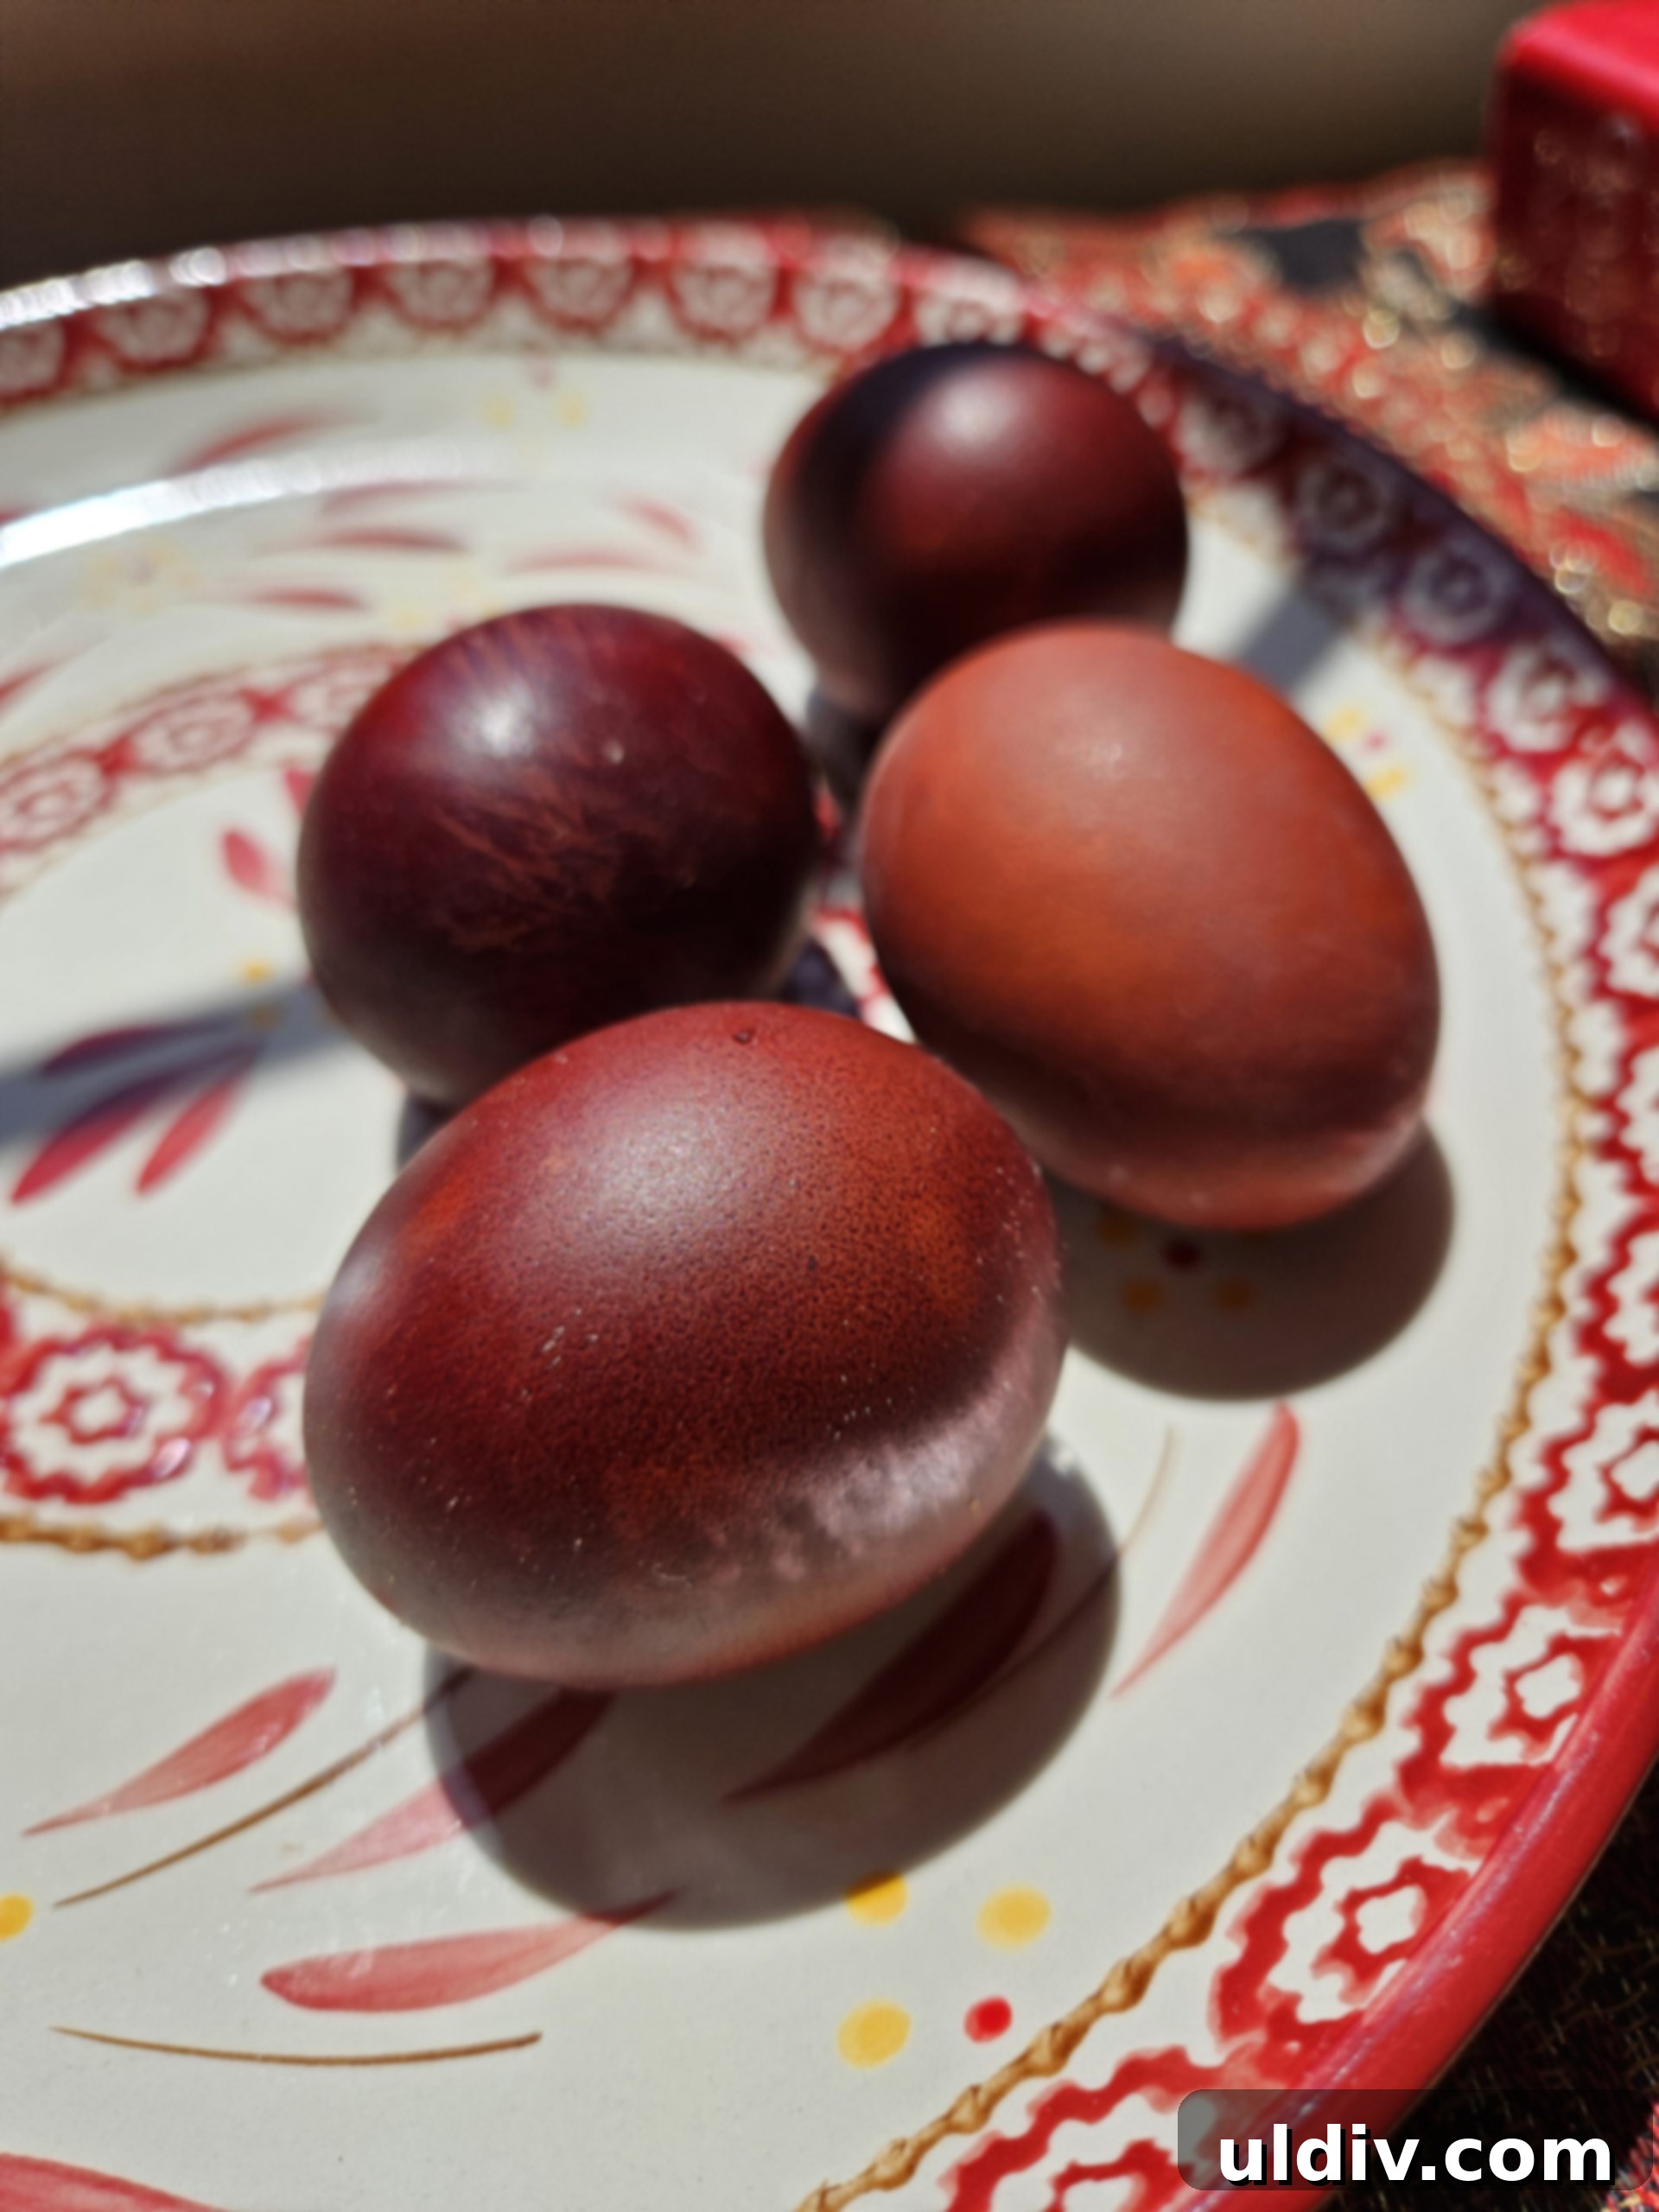
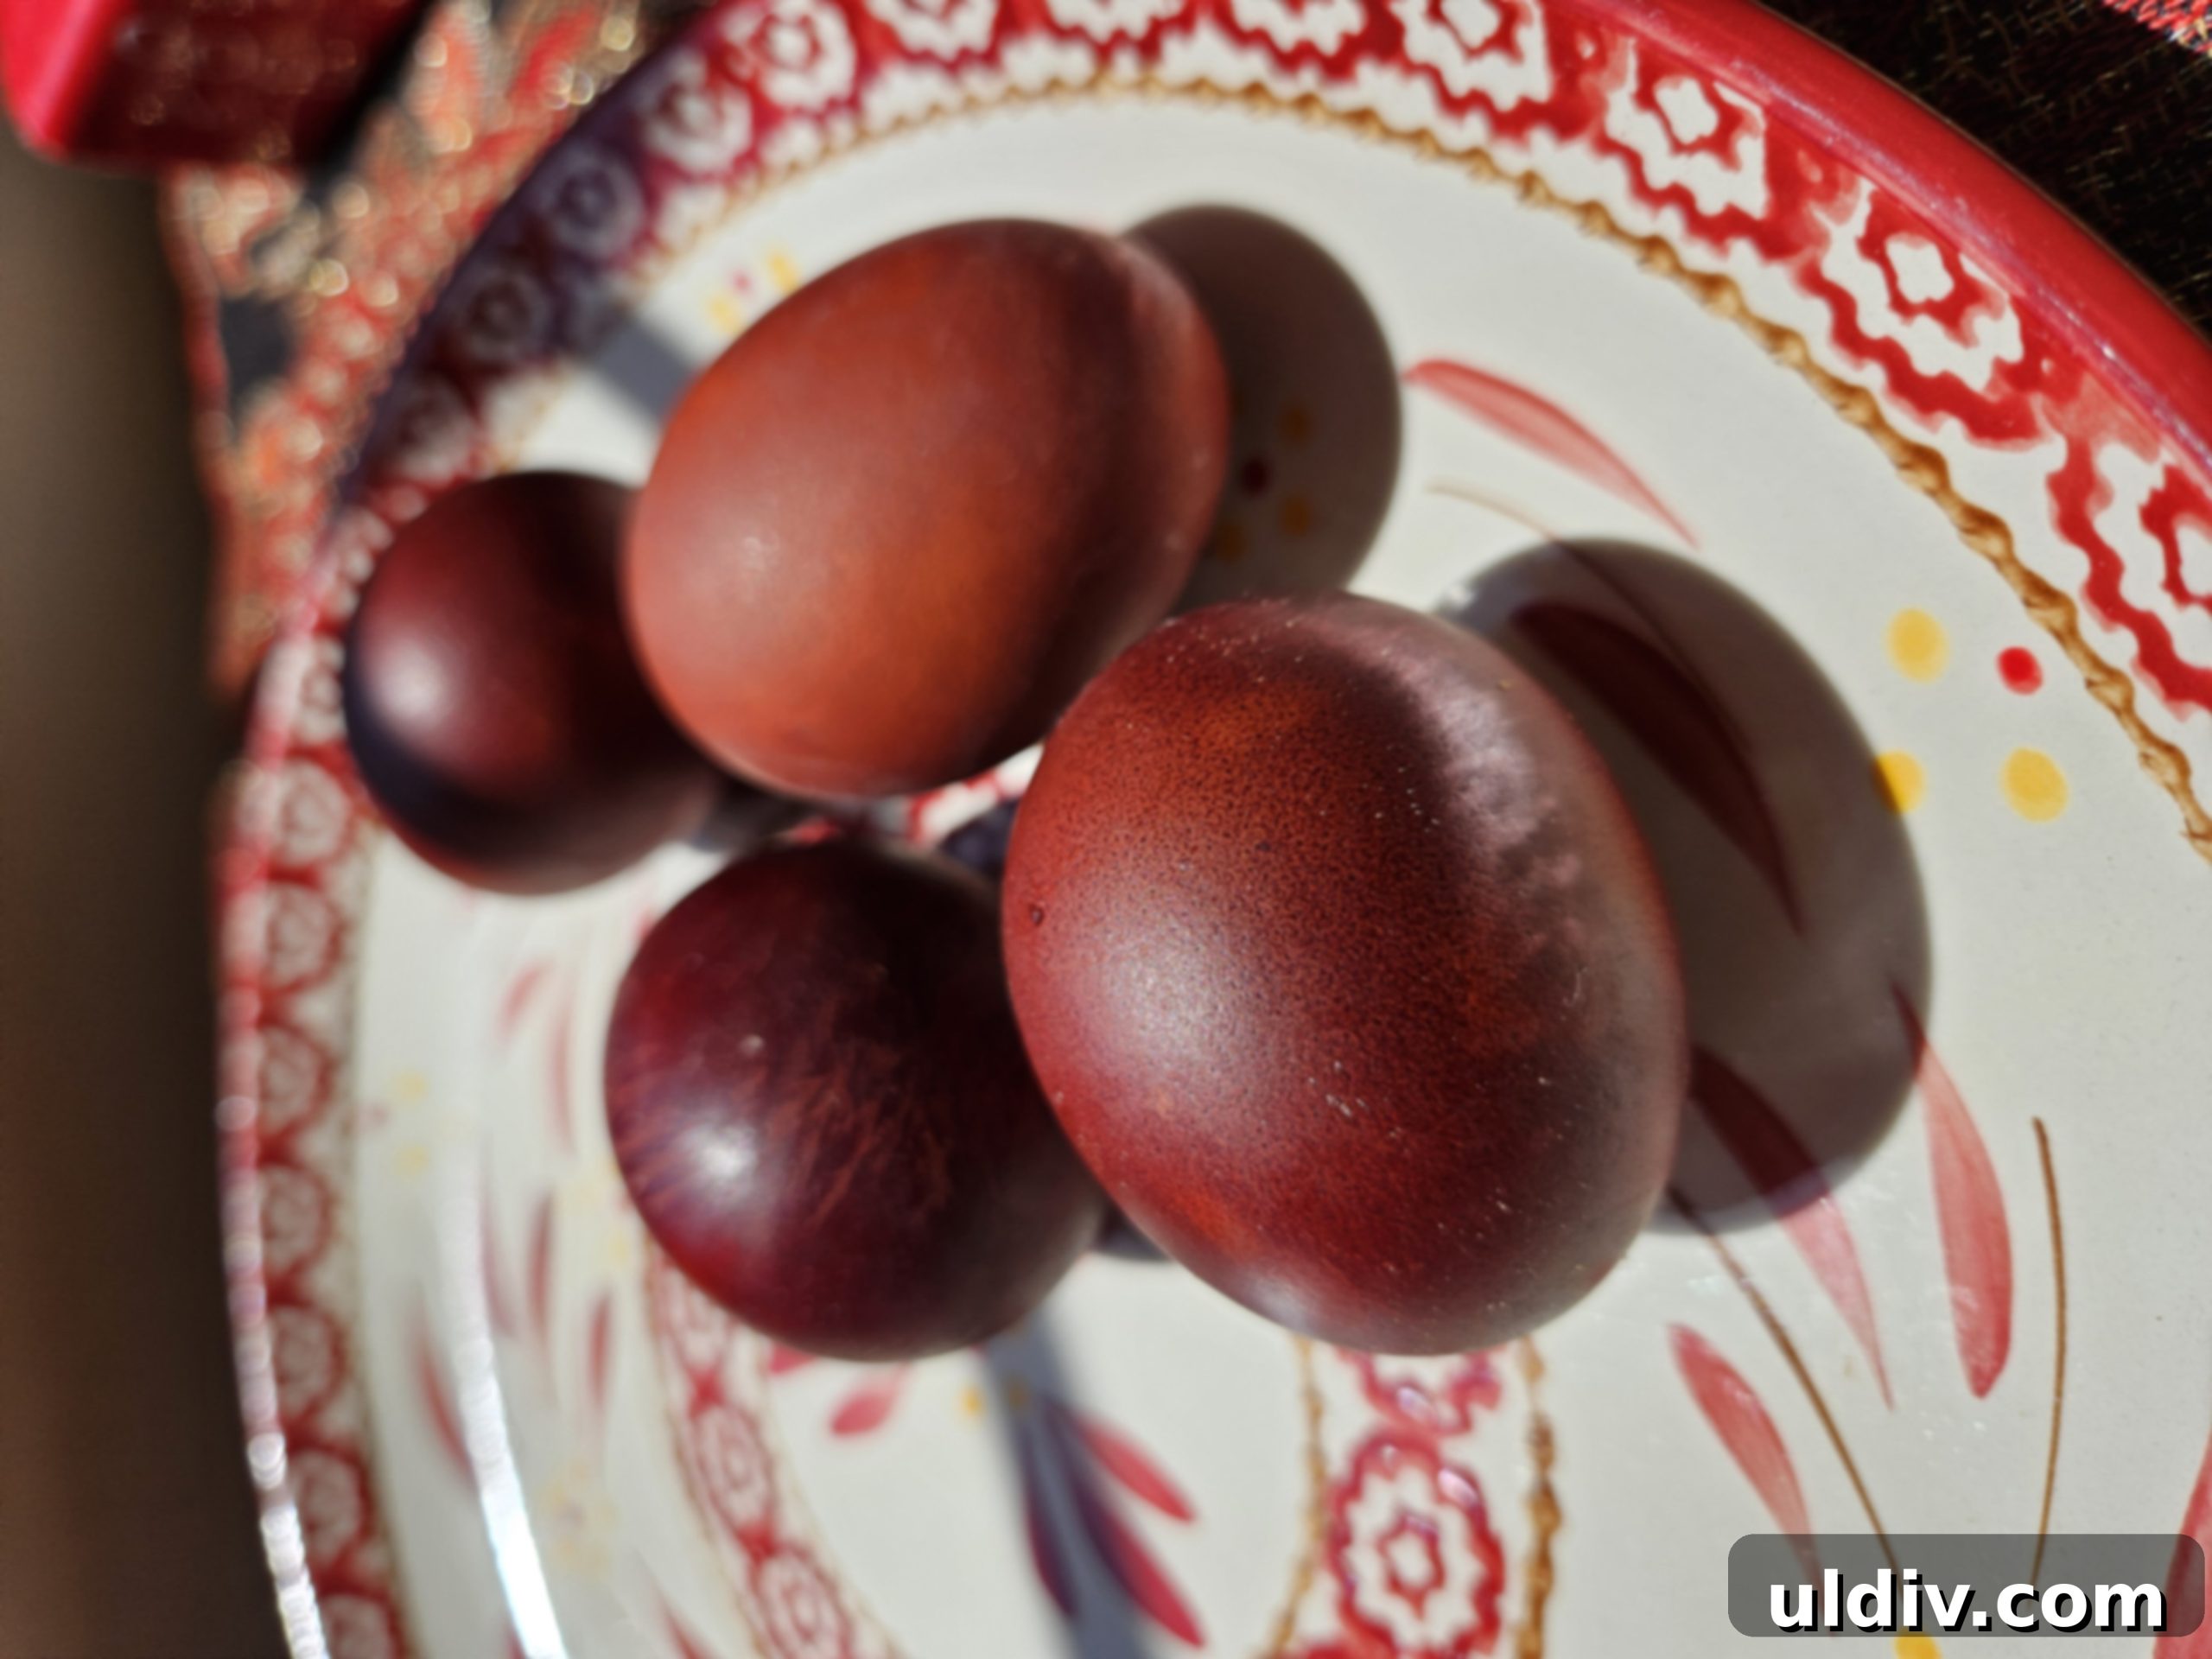
As Easter draws near, the joyous tradition of decorating eggs sparks creativity and anticipation in homes worldwide. In recent years, there’s been a wonderful resurgence of interest in using natural, chemical-free dyes for Easter eggs. This eco-conscious movement champions sustainable practices, moving away from artificial colorants towards nature’s abundant palette. While options like red cabbage for blues, beetroot for pinks, and turmeric for vibrant yellows are widely celebrated, I’ve found a particularly rewarding and time-honored method for creating truly stunning, deeply colored *red* Easter eggs: using the humble skins of red onions. This approach not only yields breathtaking results but also connects us to generations of resourceful, sustainable craftsmanship, embodying the true spirit of homemade traditions.
The profound beauty of dyeing Easter eggs with red onion skins extends far beyond their captivating visual appeal; it’s a testament to tradition, resilience, and ingenuity. This cherished method was first passed down to me by my mother-in-law, who, in turn, learned it from her own mother. For them, growing up in the challenging aftermath of World War II, living off the land was not merely a choice but a way of life. Synthetic chemical dyes were either non-existent, prohibitively expensive, or simply unavailable. Thus, this natural egg-dyeing technique wasn’t a fleeting trend; it was a practical and beautiful reality, a brilliant way to infuse color and festivity into their lives using the simplest provisions nature offered. Initially, after moving to the United States, I, like many, gravitated towards the convenience of store-bought dyeing kits. However, the rich allure of heritage, a growing desire for more natural alternatives, and the unforgettable, earthy tones of my mother-in-law’s eggs eventually drew me back. Reconnecting with her classic red onion skin recipe was a revelation, and I haven’t looked back since, captivated by the vibrant hues and the deep satisfaction of creating something so beautiful and authentic through a truly DIY, chemical-free process.
Embarking on the journey of creating these naturally vibrant red eggs is an incredibly rewarding experience. While the process is remarkably straightforward, understanding a few key details can significantly enhance your results, ensuring your Easter eggs boast the deepest, most captivating hues. Here are essential tips and insights gleaned from years of practice, designed to help you achieve spectacular, naturally dyed Easter eggs that will be the centerpiece of your holiday decorations.
- **Ensure Room Temperature Eggs:** This is a fundamental step to prevent cracking. Eggs taken directly from the refrigerator and plunged into hot water are highly susceptible to thermal shock, which causes their shells to crack. Allowing your eggs to warm up to room temperature for at least 30 minutes before you begin ensures a more even cooking process and dramatically reduces the risk of imperfections, preserving your perfectly smooth canvas for dyeing.
- **The Choice Between White and Brown Eggs:** My extensive experimentation has included both white and brown eggs. While white eggs offer a pristine, blank slate for any dye, I have consistently observed that brown eggs absorb the red onion skin dye with greater intensity, resulting in a noticeably darker, richer, and more profound red hue. The natural pigments present in the brown shell seem to beautifully deepen and enhance the red onion skin’s color, creating a truly exceptional and captivating effect. While white eggs will still produce lovely results, brown eggs are often the secret to achieving maximum depth and vibrancy.
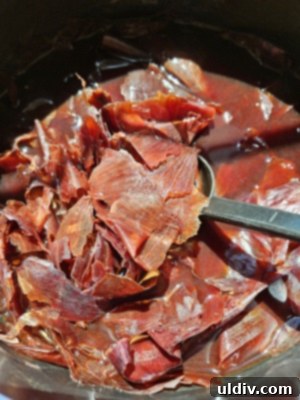
- **Mastering the Boiling Method for Optimal Color:** Over many Easter seasons, I’ve refined my technique for creating the perfect dye bath. Initially, I attempted boiling the red onion skins separately to produce a dye liquid, into which I would then place pre-boiled eggs. While this method yields some color, I’ve discovered a significantly superior approach: boiling both the eggs and the red onion skins simultaneously in the same pot. This integrated method allows the eggshells to absorb the dye pigments much more efficiently and uniformly throughout the entire cooking process. The result is an unequivocally darker, more consistent, and ultimately more satisfying red color that thoroughly permeates the eggshell, yielding a truly professional-looking finish.
- **Unlock Color with Vinegar:** To truly set and intensify that magnificent red color, the addition of white vinegar is indispensable. I always incorporate a couple of tablespoons of white vinegar into the onion skin, water, and egg mixture. Vinegar functions as a mordant, an acidic component that helps the dye molecules bond more effectively and permanently with the eggshell’s porous surface. This crucial step is vital for achieving a long-lasting, brilliant color that resists fading, ensuring your naturally dyed eggs remain stunning throughout the Easter celebration and beyond.
- **Boiling Eggs to Your Preference:** Before focusing solely on color, ensure your eggs are cooked to your desired doneness. Whether you prefer a soft, medium, or hard-boiled egg, follow a trusted guide for boiling eggs, always making sure they are fully submerged in water. The aim is to achieve perfect internal doneness while simultaneously allowing the shell to effectively absorb the natural dye. A gentle simmer is ideal to prevent excessive cracking and ensure uniform cooking.
- **Patience is Key for Profound Hues:** This particular step is arguably the most critical for achieving truly deep, rich, and intense colors. Once your eggs have finished boiling and are removed from the heat, resist the immediate urge to take them out of the dye bath. Instead, allow them to remain fully submerged in the colored water for several hours, or even better, overnight. The extended soaking time permits the eggshells to absorb significantly more pigment, leading to dramatically darker, more intense, and breathtakingly beautiful red hues. This prolonged immersion is where the true magic of natural dyeing unfolds, transforming subtle shades into vibrant, captivating masterpieces.
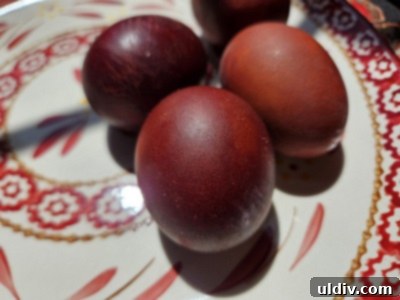
Once your beautifully dyed eggs have reached that perfect, desired shade of red, it’s time for the final, satisfying steps. Carefully retrieve them from the dye bath using a slotted spoon, taking care not to scratch or disturb their delicate, freshly colored shells. Gently place each egg on a plate generously lined with paper towels to allow them to air dry completely. This crucial step permits any excess moisture to evaporate and ensures the dye fully sets, preventing smudges. For an exquisite finishing touch that truly makes their natural colors pop, consider an age-old tradition: oiling the eggshells. Simply moisten a separate paper towel with a small amount of cooking oil – olive oil or any neutral vegetable oil works wonderfully. Gently rub and buff each egg’s surface until it achieves a beautiful, subtle sheen. This simple yet effective trick instantly transforms the matte finish into a bright, lustrous shine, making the vibrant red hues appear even more dynamic, rich, and appealing, ready to adorn your Easter table.
One of the most compelling aspects of utilizing red onion skins for Easter egg dyeing is their abundant availability and inherent sustainability. There’s absolutely no need for special or expensive purchases; you can effortlessly collect red onion skins throughout the entire year. Every time I purchase red onions from the grocery store for my culinary endeavors, I simply peel off the outermost dry, papery layers that would otherwise be discarded and dutifully save them. These precious skins are then stored in a sealed bag or an airtight container in a cool, dry place, such as my basement. This proactive and continuous collection ensures that I always have a generous supply ready and waiting when Easter egg dyeing time arrives, making the process not only incredibly eco-friendly but also remarkably convenient and cost-effective. It’s a prime example of embracing a zero-waste lifestyle, transforming what would typically be considered kitchen waste into a beautiful source of art and cherished tradition.
Beyond the simple act of imparting color, this traditional method of dyeing eggs is an eloquent invitation to engage with truly sustainable practices that significantly minimize environmental impact. By consciously choosing natural dyes like red onion skins, we actively avoid introducing synthetic chemicals and artificial colorants into our homes, our food, and ultimately, our waterways. This makes our Easter celebrations not only healthier for our families but also far gentler on the planet. It’s a wonderful, hands-on opportunity to educate children about natural resources, the beauty found in everyday items, and the importance of sustainability. The rich, varied shades achievable with red onion skins — from subtle rusty oranges to deep, sophisticated maroons and brick reds — are a testament to nature’s own unparalleled artistic palette, offering an authenticity and depth that chemical dyes can rarely, if ever, replicate. Furthermore, the faint, earthy aroma that can subtly accompany the dyeing process adds another delightful layer of sensory engagement to this timeless experience.
Ultimately, embracing the ancestral art of dyeing Easter eggs with red onion skins is far more than just a seasonal craft; it’s a mindful journey back to simpler, more connected times, a heartfelt celebration of family heritage, and a tangible commitment to sustainable living. The profound joy of unveiling each uniquely colored egg, knowing it was created with natural ingredients, patience, and a touch of history, is truly unparalleled. It’s an activity that naturally brings families together, fostering creativity, creating cherished, lasting memories, and resulting in beautiful, vibrant keepsakes for the holiday. As you meticulously prepare for your upcoming Easter festivities, I wholeheartedly encourage you to give this timeless, wonderfully eco-friendly method a try. You might just discover that it quickly becomes your new favorite Easter tradition, enriching your celebrations for years to come.
What treasured methods do you typically employ to dye your Easter eggs? Have you ever ventured into the realm of natural dyes, or do you prefer the familiarity of store-bought kits? Please share your invaluable experiences, insightful tips, and beloved techniques in the comments section below! I am genuinely eager to learn about the diverse traditions that brilliantly color your unique Easter celebrations.