
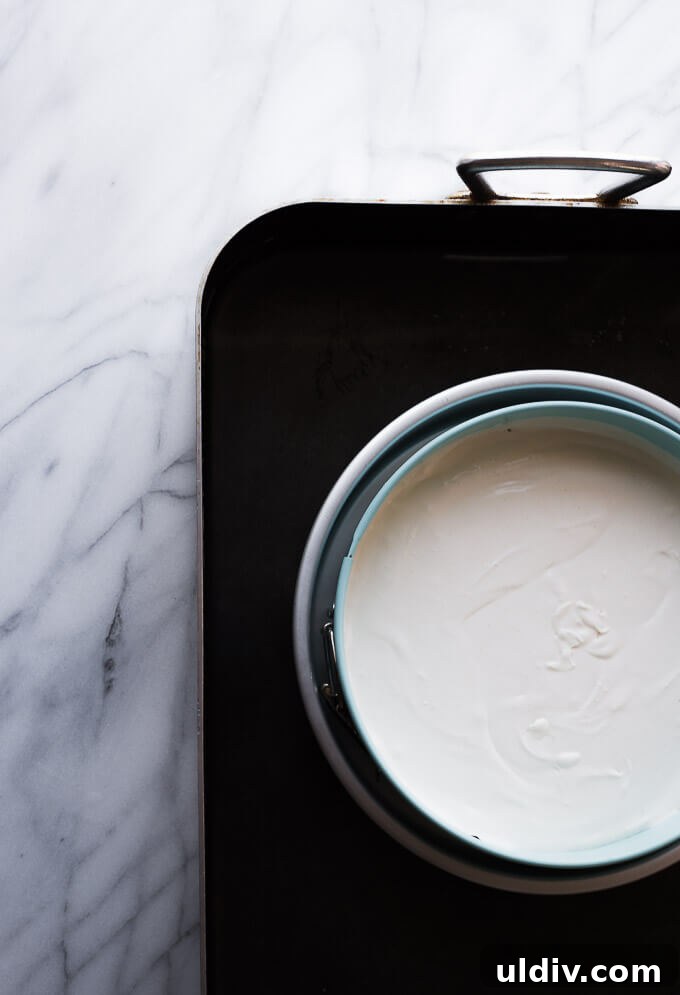
Use a water bath when baking a cheesecake to help it bake evenly, stay moist and minimize cracking.
The top will remain smooth and flat—perfect every time.
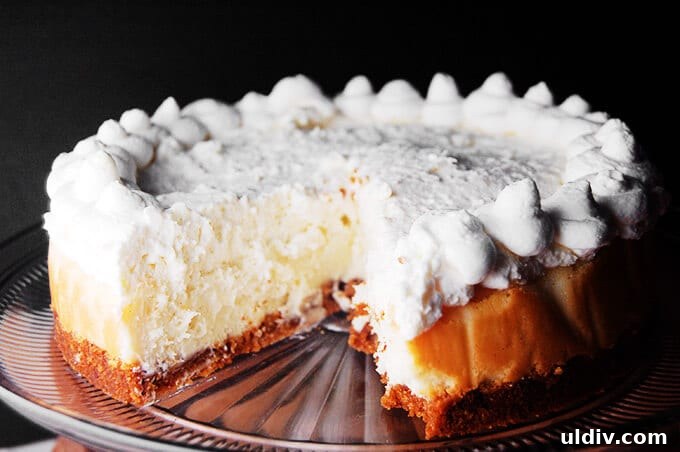
I use a water bath for nearly every cheesecake I bake and I highly recommend it. I’ve baked a lot of cheesecakes and this technique reliably improves texture and appearance.
Using a water bath keeps the oven environment moist and the temperature around the cheesecake more even. That prevents the edges from overcooking while the center finishes, and reduces cracking for a smoother, creamier result.
What is a water bath?
A water bath is simply a large pan of hot water placed in the oven. It provides moist, gentle, and even heat, which is ideal for delicate custard-based desserts like cheesecakes, custards and puddings.
Why use a water bath?
A water bath acts like a gentle, humid oven. The steam keeps the cheesecake moist and the surrounding hot water moderates temperature fluctuations. That makes for a more uniform bake, less cracked tops and a velvety texture.
It’s an easy step that produces noticeably better results.
Step by step instructions
Prepare your cheesecake filling and assemble it in a spring-form pan as your recipe directs. When you’re ready to bake, follow these steps for a leak-proof water bath:
- Place a large roasting pan in the oven before you put the cheesecake inside. This pan will hold the hot water.
- Instead of wrapping the bottom of the spring-form pan in foil—which can leak—set the spring-form pan inside a slightly larger cake pan. The cake pan should be at least 1 inch larger in diameter than the spring-form pan so the spring-form sits inside it comfortably.
Tip: Use a cake pan that is at least 1 inch larger in diameter than your spring-form pan and set the spring-form pan into the cake pan before placing everything in the roasting pan. This creates a reliable leak-proof barrier.
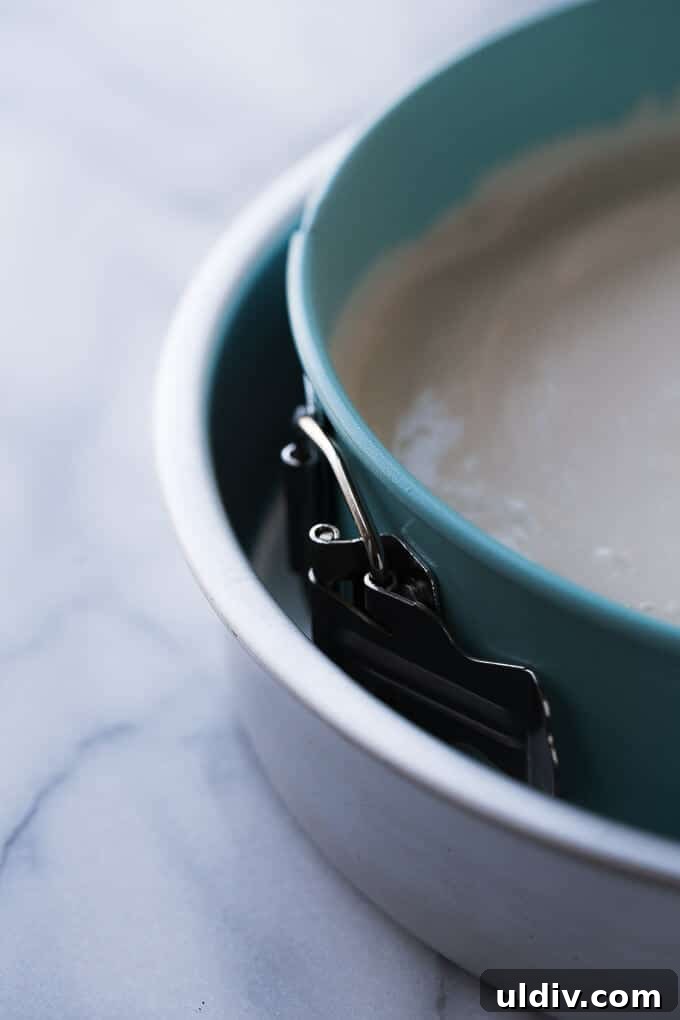
Place the cake pan (with the spring-form inside) into the roasting pan. Carefully pour very hot tap water into the roasting pan until the water reaches about halfway up the side of the cake pan. Take care not to splash water into the cake pan or onto the cheesecake filling.
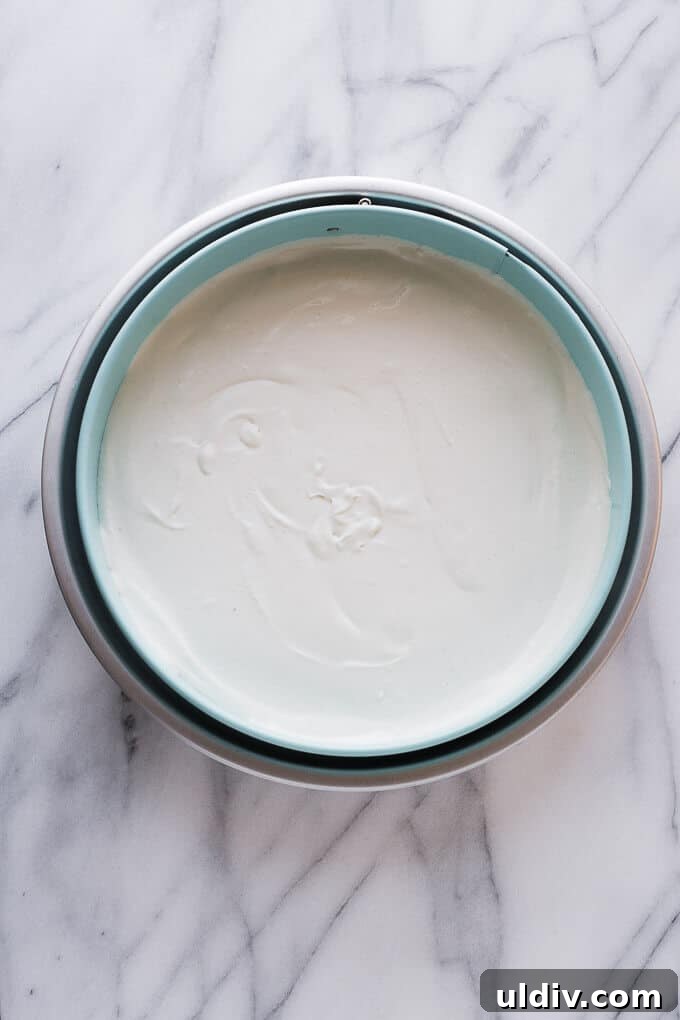
Close the oven and bake according to your cheesecake recipe. The warm water will keep the surrounding heat even, reducing overbaked edges and underbaked centers.
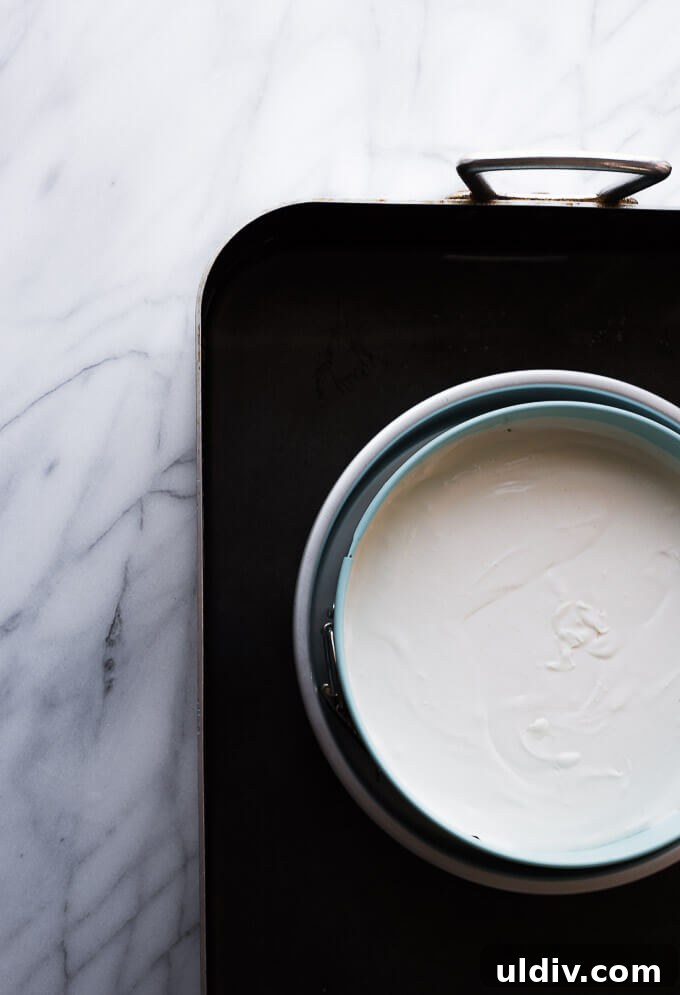
This method prevents water from seeping into the crust and ruining it. If you’ve ever had a soggy crust after attempting a water bath, this approach will save you the disappointment.
My spring-form pan is 9 inches and the cake pan I use is 10 inches—an ideal pairing. The roasting pan should be larger than the cake pan so there’s room for water.
If you want additional cheesecake tips, look at a trusted simple cheesecake recipe for guidance on mixing, baking times and cooling techniques. These small details, combined with a proper water bath, give the best results.
How to Create a Leak Proof Water Bath
Equipment
- Large roasting pan
- 9″ spring-form pan
- 10″ cake pan
Instructions
-
Place a large roasting pan into the preheated oven.
-
After filling the 9″ spring-form pan with cheesecake filling, insert it into the 10″ cake pan.
-
Place the cake pan into the roasting pan and fill the roasting pan with very hot water until it reaches halfway up the side of the cake pan. Be careful not to splash water into the cake pan.
-
Bake the cheesecake according to your recipe directions.