
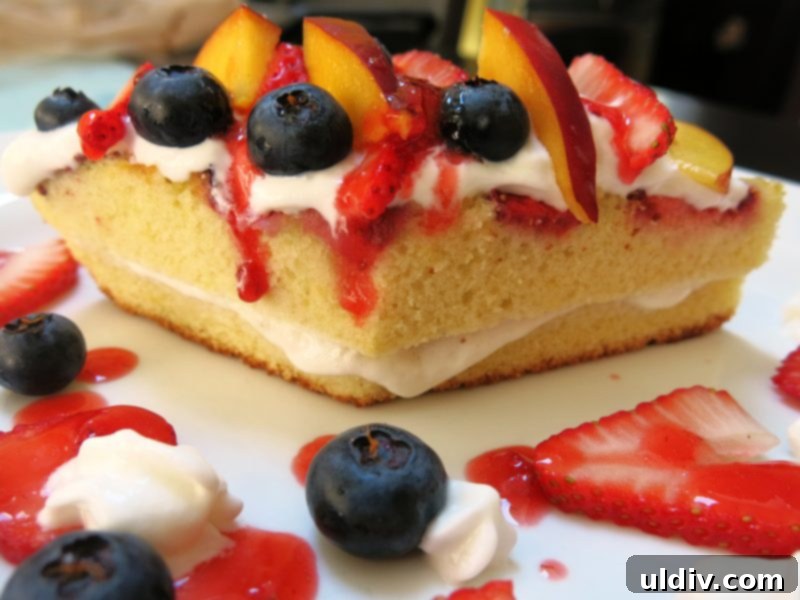
Embrace Spring Baking: Crafting the Perfect Light Fruit Sponge Cake with Hamilton Beach Mixers
As the chill of winter recedes and the vibrant hues of spring emerge, there’s an undeniable shift in our culinary desires. We instinctively crave lightness, freshness, and flavors that reflect the season’s promise of warmth and renewal. For me, nothing encapsulates this sentiment quite like a beautifully crafted spring cake. It’s a dessert liberated from the heavy, rich toppings of the colder months, instead bursting with the natural sweetness of fresh fruits and delicately adorned with airy layers of whipped cream. This isn’t about overpowering flavors or artificial enhancements; it’s about allowing the pure essence of spring to shine through every bite. It’s a joyful celebration, signaling that warmer days are finally here to stay.
While my baking frequency might vary with the seasons, when spring truly inspires me, my go-to is always a light and refreshing cake. It’s become a cherished, albeit unspoken, tradition in our home. My husband, in particular, has always preferred lighter desserts over dense, buttery confections. When a sweet craving strikes, his request is consistently for a fruit-laden cake, perfectly complemented by a cloud of whipped cream. This past week, his sweet tooth called, and it presented the perfect opportunity to put some exciting new kitchen tools to the test. As a Hamilton Beach Ambassador, I was recently given the privilege to review two of their most popular appliances: the Hamilton Beach 6-speed Stand Mixer and the SoftScrape 6-speed Hand Mixer. Hamilton Beach generously provided these mixers free of charge for an honest review, and all opinions expressed here are, as always, entirely my own. This collaboration allowed me to not only indulge in a favorite spring recipe but also to share my insights on how these tools elevate the baking experience for home cooks like you.
First Impressions: A Glimpse into Smart Design and Functionality
Upon unboxing the Hamilton Beach mixers, my initial impressions were overwhelmingly positive, hinting at a thoughtful blend of design and practical functionality. The hand mixer immediately struck me with its sleek, modern aesthetic and sturdy build, suggesting durability and comfortable handling. Meanwhile, the stand mixer surprised me with its remarkable lightness, a stark contrast to the bulkier models I’ve used in the past. This instantly piqued my interest, promising easier maneuverability in the kitchen.
Digging deeper into the features, I was particularly impressed by the hand mixer’s innovative Bowl Rest™ feature. This simple yet brilliant design allows the mixer to perch securely on the edge of the bowl, preventing drips and keeping my countertops tidy – a small detail that makes a big difference during active baking. The inclusion of a convenient snap-on storage case for attachments was another welcome addition, ensuring beaters and whisks are always organized and easy to find, no more rummaging through drawers! But perhaps what I was most eager to try were the eye-catching and vibrantly colored SoftScrape beaters. Their unique design promised efficient mixing while protecting bowls from scratches, a common concern for any baker.
Exploring the Hamilton Beach Stand Mixer: Power and Convenience
One of the persistent frustrations with my previous stand mixer was its sheer weight and awkwardness, often requiring a second pair of hands (usually my husband’s!) just to move it into position or tuck it away. The Hamilton Beach 6-speed Stand Mixer instantly won me over by addressing this very issue. Its impressively light design makes it incredibly easy to maneuver, lift, and store, transforming a previous chore into a simple task. This feature alone is a huge advantage for anyone with limited counter space or mobility concerns.
Beyond its lightweight profile, the stand mixer boasts superior mixing performance. Its unique planetary mixing action ensures complete bowl coverage: the mixer head spins as it rotates inside the bowl, reaching every corner and incorporating all ingredients thoroughly. This eliminates the need to constantly scrape down the sides of the bowl, leading to a more consistent batter and perfectly blended results every time. Further enhancing its user-friendliness are the non-slip feet, which keep the mixer securely in place even during vigorous mixing, and a convenient tilt-up head. This head lifts effortlessly, providing easy access to the bowl and attachments, simplifying the process of adding ingredients or scraping the bowl. These thoughtful design elements truly make the Hamilton Beach Stand Mixer a pleasure to use for all sorts of baking projects, from delicate meringues to hearty doughs.
The Ultimate Test: Baking a Delicious Fruit Sponge Cake
To truly evaluate the capabilities of these new Hamilton Beach mixers, I decided to bake one of our all-time favorite spring desserts: a light and airy fruit sponge cake. This recipe is a perfect showcase for a mixer’s ability to create delicate textures and incorporate flavors flawlessly. Known for its feather-light crumb, refreshing lemon zest, and economical ingredient list, this sponge cake boasts an exquisite texture and taste. It’s a versatile canvas, best enjoyed generously adorned with a medley of fresh seasonal fruits and a dollop of fluffy whipped cream. The beauty of this cake lies in its adaptability; when it comes to decorating and serving, the sky is truly the limit, allowing for endless creative expressions. It’s not just a cake; it’s an experience, signaling the sweet arrival of spring.
Step-by-Step Baking with Your Hamilton Beach Mixers
Whipping Egg Whites with the Stand Mixer
The journey to a truly light sponge cake begins with perfectly whipped egg whites. To start, carefully separate the egg yolks from the whites, ensuring no trace of yolk contaminates the whites, as this can prevent them from reaching stiff peaks. Place the egg whites into the bowl of your Hamilton Beach Stand Mixer. Begin beating on a low speed, allowing the whites to become foamy. Gradually increase the speed, and incrementally add the sugar. This slow and steady approach allows the sugar to dissolve properly, resulting in a stable and glossy meringue. Continue beating until the mixture is stiff, shiny, and holds firm peaks when the whisk is lifted. For this critical step, the stand mixer’s whisk attachment is indispensable. Specially designed for whipping liquids like egg whites and cream, it efficiently incorporates air, creating the voluminous and stable base essential for a light sponge cake. The consistent rotation and powerful motor of the stand mixer make achieving these perfect stiff peaks almost effortless.
Mixing Egg Yolks with the Hand Mixer
While the stand mixer was diligently transforming the egg whites into a cloud-like meringue, I simultaneously utilized the Hamilton Beach Hand Mixer for the egg yolks. In a separate, smaller bowl, I combined the egg yolks with vegetable oil. This dual-mixer approach significantly streamlines the baking process. The hand mixer proved incredibly efficient, preparing the egg yolk mixture in mere moments. My absolute favorite feature for this task was the specially coated SoftScrape beaters. These innovative beaters not only ensure thorough mixing but also glide against the bowl without a whisper of a scratch – a true blessing for maintaining the integrity of your bakeware. Plus, their dishwasher-safe design makes cleanup a breeze. The hand mixer also features a QuickBurst™ button, a handy function that provides an instant boost of power at any speed, perfect for tackling stubborn lumps or giving a final vigorous mix when needed.
Combining Ingredients for the Perfect Batter
With the egg whites whipped to perfection and the egg yolks mixed, the next step involves carefully combining these elements along with the dry ingredients and flavorings. Gently pour the egg yolk mixture onto the prepared egg whites. Then, gradually add the lemon zest and pure vanilla extract, infusing the batter with bright, aromatic notes. In a separate bowl, whisk together the all-purpose flour, baking powder, and salt. Add this dry mixture to the wet ingredients little by little, continuing to mix until all ingredients are just thoroughly combined and the batter is fluffy and homogeneous. It’s crucial not to overmix at this stage, as excessive agitation can deflate the egg whites and result in a dense cake. For this part of the recipe, the flat beater attachment of the stand mixer is ideal. Its design is perfect for gently folding and mixing batters for cakes, cookie dough, fudge, and even mashing potatoes, ensuring everything is incorporated without overworking the mixture. Both the flat beater and the whisk attachment are conveniently dishwasher safe, making post-baking cleanup remarkably simple.
Baking to Golden Perfection
Once your batter is light, fluffy, and perfectly homogeneous, gently pour it into an 8×8 inch baking pan that has been meticulously lined with parchment paper. This ensures easy removal and prevents sticking. Place the pan in a preheated oven and bake for an initial 15 minutes. While the cake is in its first baking phase, take a moment to prepare your fruit. Select a vibrant assortment of fresh, seasonal fruits that complement the lemon flavor of the sponge cake. Strawberries, nectarines, and blueberries are wonderful choices for spring. Wash and gently dry them with a paper towel, then cut larger fruits like nectarines into thin, even slices.
After the initial 15 minutes, carefully remove the pan from the oven. Evenly spread your prepared fruit over the partially baked cake. It’s important to stick to a single layer of fruit at this stage. Overcrowding the cake with too much fruit can cause it to sink to the bottom during the remainder of the baking process, affecting the cake’s structure and preventing an even rise. Don’t worry, there will be plenty of opportunities to add more fresh fruit later when the cake is cooled and ready for serving! Return the pan to the oven and continue baking for another 25 minutes, or until the cake achieves a beautiful golden-brown hue and a toothpick inserted into its center comes out clean and dry. This indicates that the cake is thoroughly cooked. Once baked, remove the cake from the oven and allow it to cool completely on a wire rack before proceeding to the next steps. Patience during cooling is key for a cake that’s easy to handle and decorate.
Serving and Storing Your Spring Masterpiece
Once your fruit sponge cake has cooled completely, the real artistry begins. Carefully cut the cake horizontally into two even layers. For the bottom layer, you have a delightful array of filling options: a generous spread of light whipped cream, a rich pastry cream, your favorite fruit jam, or even a luscious layer of Nutella. Once the filling is applied, gently place the top cake layer over it. This layering adds another dimension of flavor and texture to the cake, elevating the simple sponge to something truly special.
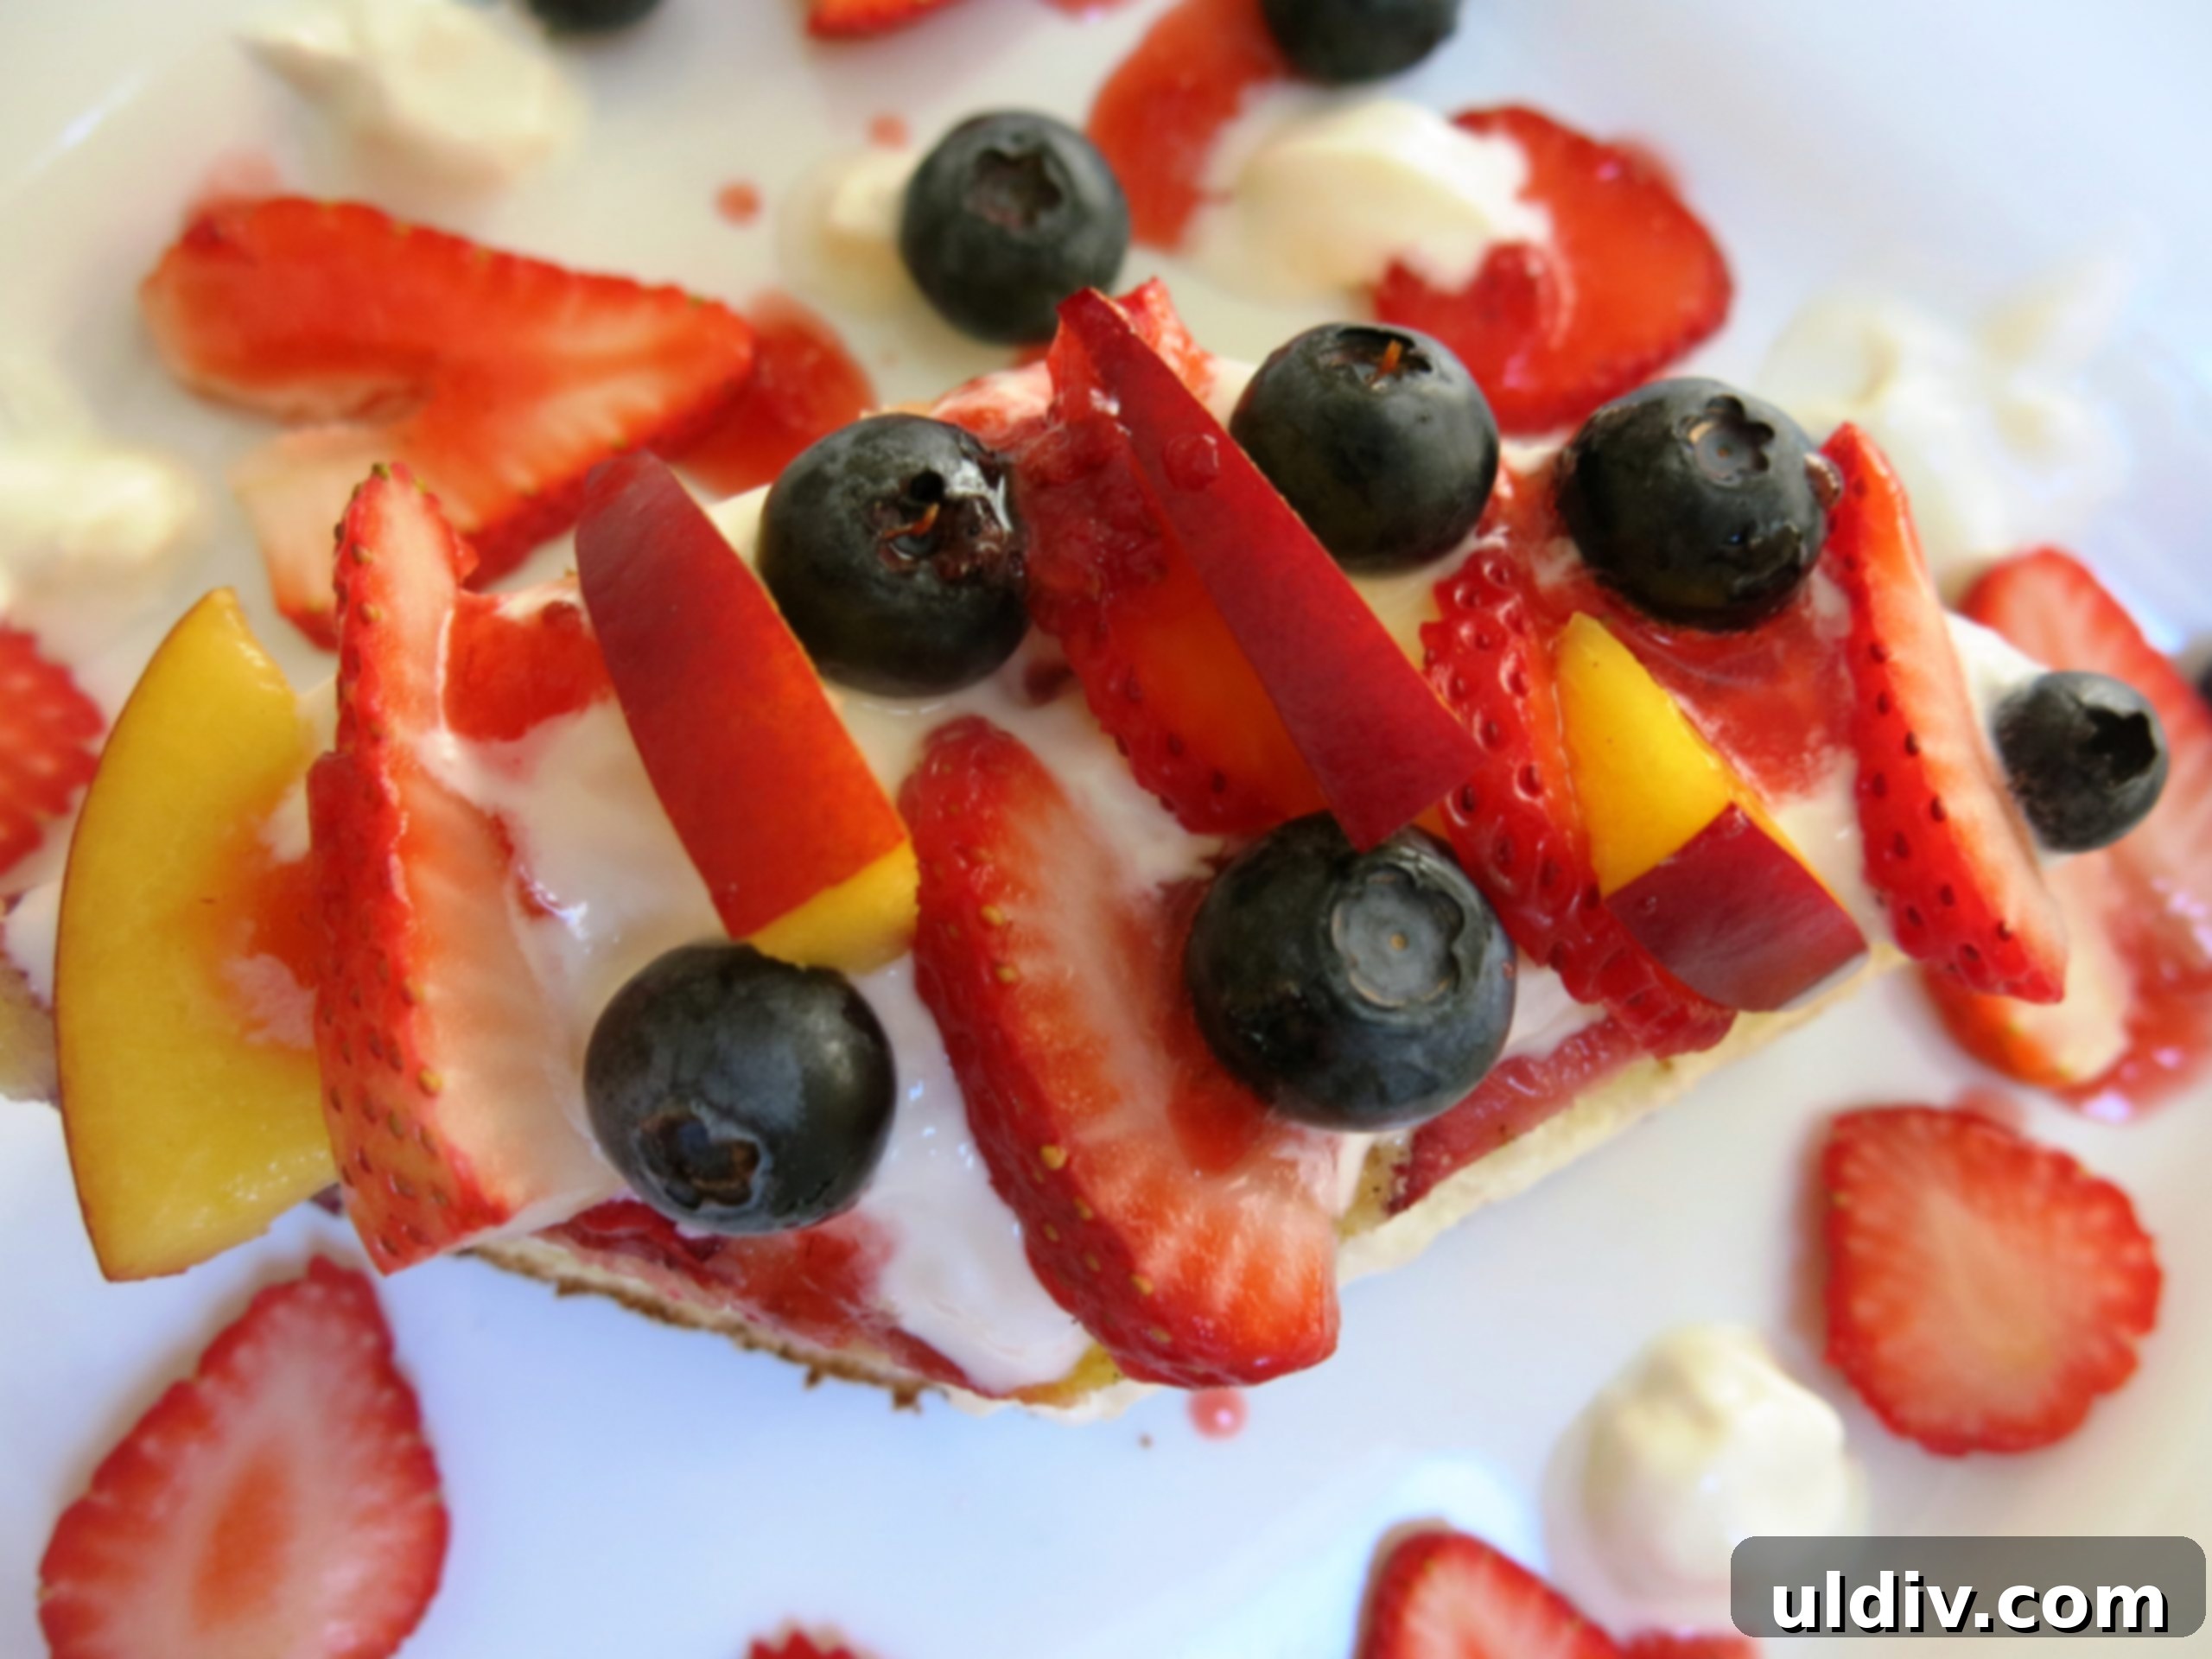
My preferred way to serve this spring cake is always topped with an extra flourish of whipped cream, perhaps with a delicate drizzle of fruit or chocolate syrup, and most importantly, with an abundant helping of fresh, colorful fruit. The more fresh fruit, the merrier and more visually appealing! This cake is not only delicious but also remarkably forgiving when it comes to storage. It keeps beautifully for 2-3 days, and interestingly, it often develops an even moister texture as the days pass. To maintain its freshness, I typically cover it loosely with a clean kitchen towel and store it in the refrigerator. Each time I open the fridge, I find myself pausing to admire its colorful majesty, a delightful reminder of spring’s bounty. This simple fruit sponge cake, enhanced by the efficiency and thoughtful design of my Hamilton Beach mixers, fills me with optimism. It’s a sweet sign that more glorious weather and countless new baking adventures are just around the corner, waiting to be created and savored.
Delicious Fruit Sponge Cake
Print Recipe
Prep Time: 15 mins
Cook Time: 45 mins
Total Time: 1 hr
Servings: 6 people
Ingredients
- 5 eggs at room temperature, yolks and whites separated
- 1 cup all-purpose flour
- 1 cup sugar
- 8 tbsp vegetable oil
- 1 tbsp pure vanilla extract
- 1 tsp baking powder
- 1/8 tsp salt
- Zest from 1 lemon
- Fruit of your choice, cut into medium size pieces
- Whipped/pastry cream, jam or Nutella (optional, for filling)
Instructions
- Preheat oven to 375F (190C).
- In a large bowl, using a stand mixer with a whisk attachment, mix the egg whites until foamy, gradually increasing the speed. Add the sugar slowly, and continue beating until the sugar has dissolved and the mixture is stiff and shiny.
- In a separate small bowl, using a hand mixer with SoftScrape beaters, mix the egg yolks with vegetable oil until well combined and slightly lightened.
- In a third bowl, mix flour with baking powder and salt. Add the lemon zest and vanilla extract to the egg yolk mixture. Gently pour the egg yolk mixture onto the egg white mixture. Gradually add the dry flour mixture to the bowl with egg yolks and egg whites. Mix using the flat beater attachment on the stand mixer until the ingredients are just combined and the mixture is fluffy and homogeneous. Be careful not to overmix!
- Pour the batter into an 8×8 inch baking pan lined with parchment paper. Place the pan in the oven and bake for 15 minutes. While baking, wash and dry your chosen fruit, cutting any larger pieces into thin slices.
- After 15 minutes, remove the pan from the oven and uniformly spread a single layer of fruit over the cake. Return the pan to the oven and bake for a further 25 minutes, or until the cake is golden-brown. Check for doneness by inserting a toothpick into its center; if it comes out clean and dry, the cake is done. Take the cake out of the oven and let it cool completely on a wire rack.
- When fully cooled, carefully cut the cake into two even layers. Spread your choice of whipped cream, pastry cream, jam, or Nutella on the bottom layer, then carefully place the top layer over it.
- Serve the cake topped with more whipped cream, drizzled with fruit or chocolate syrup, and/or with a generous extra helping of fresh fruit.
- Enjoy your delightful spring fruit sponge cake!