
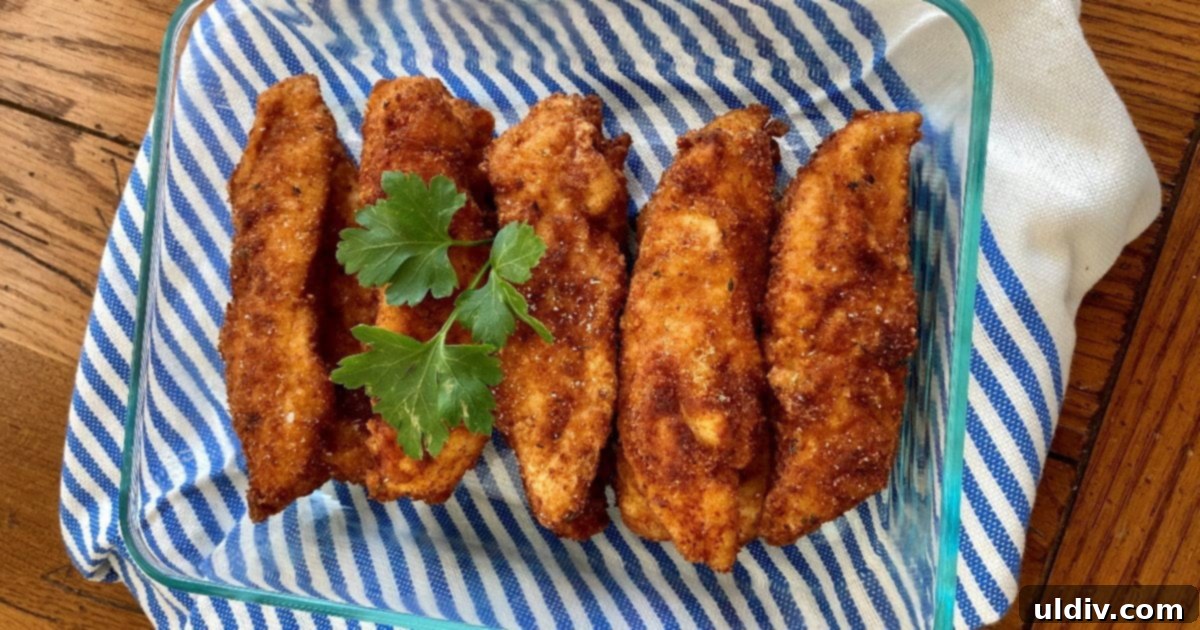
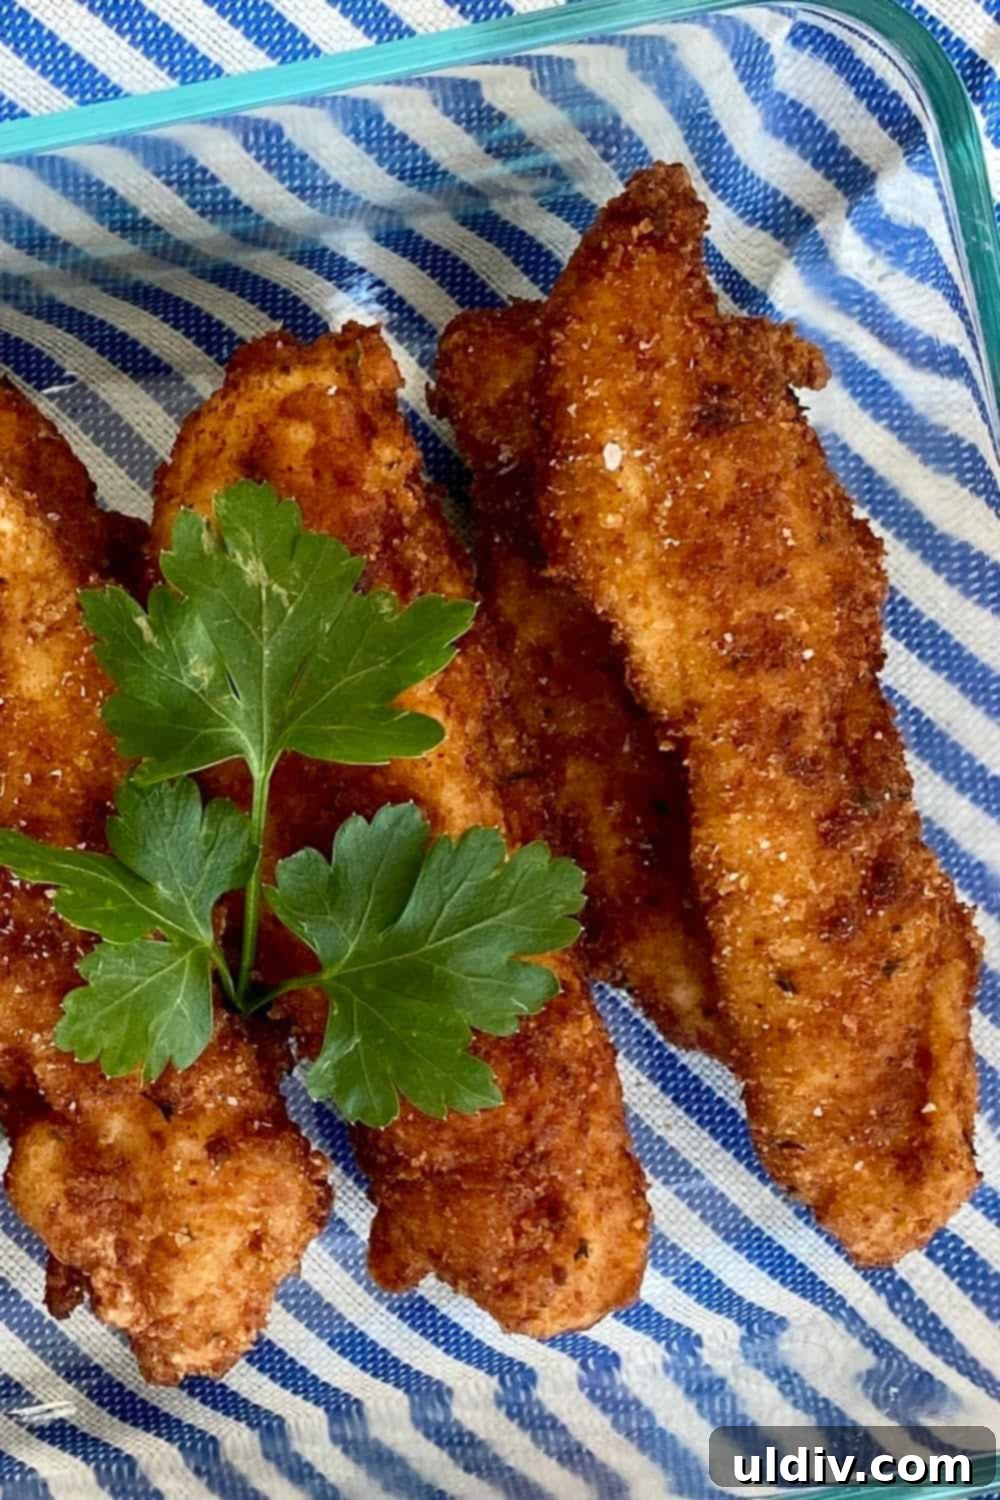
There’s nothing quite like the irresistible crunch and savory flavor of perfectly fried chicken. Among the many beloved variations, Buttermilk Fried Chicken Tenders stand out as a true crowd-pleaser. These crispy, juicy, and incredibly flavorful chicken tenderloins are a culinary delight, whether you’re seeking a quick and easy weeknight meal, a show-stopping party appetizer, or the ultimate game-day snack. Our recipe makes it simple to achieve restaurant-quality results right in your own kitchen. You’ll marinate tender chicken in tangy buttermilk, then coat it in a light, perfectly seasoned flour and breadcrumb mixture before frying to golden perfection. The result? Super quick, delightfully crunchy, and utterly delicious chicken tenders that are guaranteed to disappear fast. Serve them hot with classic ketchup, a creamy ranch dressing, or a zesty blue cheese dip for an unforgettable experience that both kids and adults will adore.
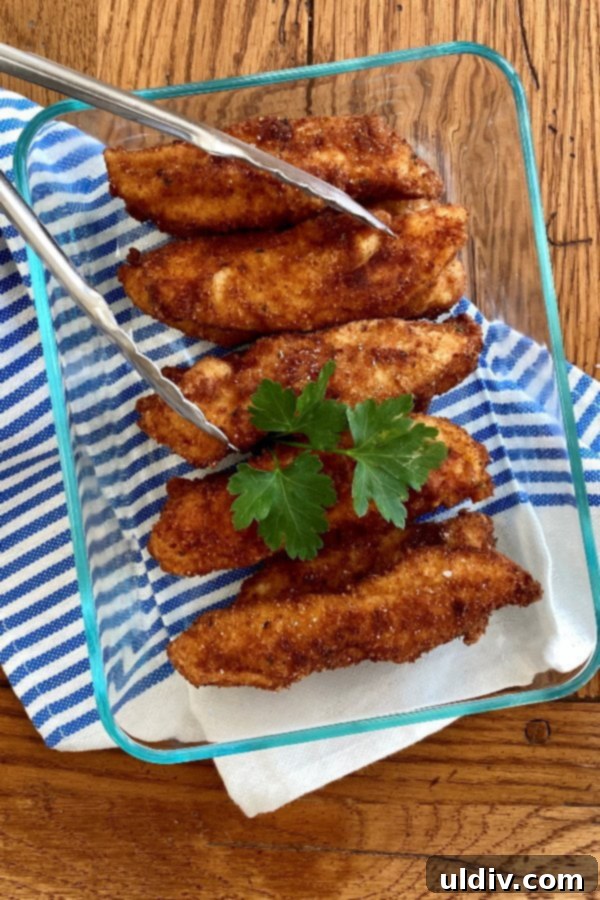
For many, the mention of crispy chicken tenders brings to mind lively gatherings, spirited sports events, and comforting family dinners. Here in our home, when March Madness kicks off, these Buttermilk Fried Chicken Tenders are an absolute must-have on our menu. They’re the quintessential snack for cheering on your favorite teams, providing that satisfying crunch and rich flavor that pairs perfectly with the excitement of the games. But their appeal extends far beyond sporting events; these tenders are incredibly versatile, making them ideal for everything from casual backyard barbecues to elegant appetizer spreads. Their universal popularity ensures they’re a hit with every generation, from the pickiest eaters to the most discerning palates. Get ready to elevate your mealtime and party snack game with this incredible recipe!
Why You’ll Fall in Love with This Buttermilk Fried Chicken Tenders Recipe
There are countless reasons why this Buttermilk Fried Chicken Tenders recipe is destined to become a staple in your culinary repertoire. From its simple preparation to its mouthwatering taste, every aspect is designed for maximum enjoyment and ease.
- Perfectly Portioned & Convenient: Chicken tenderloins are naturally sized, offering individual servings that are incredibly convenient. They cook quickly and evenly, making them ideal for busy weeknights or for feeding a crowd without fuss. Their consistent size ensures every bite is just as tender and flavorful as the last.
- The Unmistakable Buttermilk Tang: The magic of buttermilk cannot be overstated in this recipe. Soaking the chicken in buttermilk not only infuses it with a delightful, subtle tang that elevates the overall flavor profile but also works as a natural tenderizer. The acidity in the buttermilk breaks down the protein fibers in the chicken, resulting in unbelievably moist and tender results after frying.
- Effortless, Pantry-Friendly Coating: Forget complicated breading stations! Our easy-to-make coating utilizes common pantry ingredients you likely already have on hand. A simple blend of all-purpose flour, seasoned breadcrumbs, and a thoughtful selection of spices creates a light yet incredibly flavorful crust that fries up to a beautiful golden crisp.
- Consistently Juicy & Moist Results: Thanks to the buttermilk marinade, each chicken tender fries up to an exquisite tenderness. The exterior forms a golden, crispy shell that locks in the juices, ensuring every bite is moist, succulent, and bursting with flavor. You’ll never have to worry about dry, overcooked chicken again.
- Versatile Serving Options: While delicious on their own, these tenders are incredibly versatile. They pair wonderfully with a variety of dipping sauces, can be tucked into sandwiches or wraps, or added to salads for a satisfying protein boost.
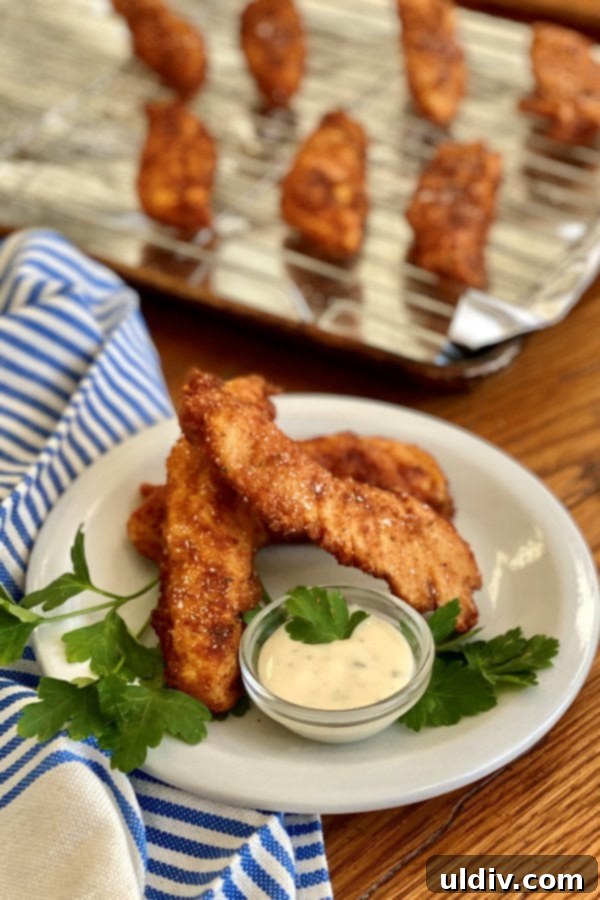
Essential Ingredients for Crispy Buttermilk Fried Chicken Tenders
Crafting these delectable chicken tenders requires a handful of fresh ingredients and staple pantry items. Below is a detailed list; for precise quantities, please refer to the recipe card further down the page.
- Chicken Tenderloins: The star of our dish. Opt for fresh, high-quality chicken tenderloins. Their natural shape and size are perfect for quick frying and consistent cooking, ensuring every piece is tender and juicy.
- Buttermilk: The secret ingredient for tenderizing and adding that signature tangy flavor. Use full-fat buttermilk for the best results, as it adheres better to the chicken and contributes to a richer flavor.
- Seasoned Breadcrumbs: These add a vital layer of crunch and flavor to the coating. You can use store-bought seasoned breadcrumbs for convenience, or make your own by pulsing stale bread with Italian seasoning, garlic powder, and a pinch of salt.
- All-Purpose Flour: Forms the base of our crispy coating, helping the breadcrumbs adhere to the chicken and creating a sturdy, golden crust.
- Kosher Salt: Essential for enhancing the overall flavor of both the chicken and the breading. Kosher salt’s larger flakes distribute flavor evenly.
- Freshly Ground Black Pepper: Adds a subtle warmth and aromatic depth to the spice blend. Using freshly ground pepper makes a noticeable difference in taste.
- Garlic Powder: Provides a savory, pungent flavor that complements the chicken beautifully without the harshness of raw garlic.
- Onion Powder: Contributes a sweet, umami depth to the breading, enhancing the overall savory profile.
- Paprika: Offers a mild, sweet peppery flavor and a lovely reddish hue to the finished tenders, making them even more visually appealing.
- Canola, Peanut, or Vegetable Oil: The best choices for deep frying due to their high smoke points and neutral flavors. These oils allow the chicken’s natural taste and the seasoning to shine through. Ensure you have enough to submerge the tenders for even cooking.
Smart Substitutions & Flavorful Additions
This recipe is incredibly flexible, allowing for easy substitutions and creative additions to suit your preferences or what you have on hand.
- Chicken Cut Alternatives: While chicken tenderloins are our top pick for their perfect portion size and quick cooking, boneless, skinless chicken breasts can be easily transformed. Simply slice them into 1-inch thick strips, mimicking the tenderloin shape, to ensure even cooking and a similar eating experience. You can also use boneless, skinless chicken thighs cut into strips for a slightly richer flavor profile.
- Homemade Buttermilk Substitute: If you find yourself without buttermilk, don’t fret! It’s incredibly easy to make a quick substitute at home. To a scant cup of regular milk (whole milk works best for richness), add one tablespoon of white vinegar or fresh lemon juice. Stir gently to combine, then let the mixture sit for 5 to 10 minutes. The milk will curdle slightly, developing the characteristic tang and thickness of buttermilk. It’s then ready to use in the recipe. This trick ensures you never have to skip this crucial ingredient.
- Spice It Up: For those who love a bit of heat, consider adding a pinch of cayenne pepper or a dash of your favorite hot sauce to the buttermilk marinade. This will infuse the chicken with a subtle kick that perfectly complements the savory crust.
- Herbaceous Notes: Incorporate dried herbs like a half teaspoon of dried thyme or oregano into your flour and breadcrumb mixture for an added layer of aromatic flavor.
- Gluten-Free Option: To make these tenders gluten-free, simply substitute the all-purpose flour with a gluten-free all-purpose flour blend and use gluten-free seasoned breadcrumbs. The cooking process remains the same.
Mastering Buttermilk Fried Chicken Tenders: A Simple Guide
Preparing these incredibly delicious Buttermilk Fried Chicken Tenders is a surprisingly straightforward process. My recipe is designed for ease and efficiency, ensuring you achieve perfect, crispy results every time. Follow these simple steps to culinary success:
- The Buttermilk Bath: Begin by submerging your chicken tenderloins in creamy, tangy buttermilk. The thick consistency of the buttermilk ensures it clings beautifully to the chicken, not only tenderizing the meat but also infusing it with that signature zing. This crucial step is what makes the chicken incredibly moist and flavorful from the inside out. Let the chicken soak for at least 30 minutes, or ideally, several hours in the refrigerator for maximum flavor and tenderness.
- Crafting the Crispy Coating: While the chicken is marinating, prepare your dredging station. In a shallow dish or large bowl, combine your seasoned flour and breadcrumbs with the additional spices. This simple yet effective mixture is the only breading you’ll need. Ensure it’s well mixed for even flavor distribution.
- Dredge and Fry to Perfection: One by one, remove the tenderloins from the buttermilk, allowing any excess liquid to drip off. Then, gently dredge each piece thoroughly in the seasoned flour and breadcrumb mixture, pressing lightly to ensure a full and even coating. Once coated, carefully place the tenderloins into hot oil (canola, peanut, or vegetable oils are excellent choices for their high smoke points). Fry until they achieve a beautiful, crispy, and golden-brown exterior. The key is to maintain a consistent oil temperature for even cooking and optimal crispiness. Immediately after removing them from the hot oil, sprinkle generously with kosher salt or another finishing salt to enhance their flavor and texture. Serve these golden delights immediately for the best experience.
Pro Tips for Flawless Fried Chicken Tenders
Achieving restaurant-quality fried chicken tenders at home is easier than you think with a few expert insights. Here are some invaluable tips to ensure your tenders are always perfectly crispy, juicy, and full of flavor:
- Prepare Your Chicken: Chicken tenderloins are usually sold ready to use, but it’s always a good idea to quickly inspect them. Check for any visible fat or the tough white tendon (often found at one end). Trim these away to ensure a consistently tender and pleasant eating experience.
- Optimize Buttermilk Adhesion: After marinating, lift each tenderloin from the buttermilk and allow any excess to drip off thoroughly before dredging it in the flour/breadcrumb mixture. This prevents the coating from becoming gummy or too thick, ensuring a light, even, and super crispy crust.
- Temperature is Key for Crispiness: The secret to truly crispy fried chicken lies in the oil temperature. Aim for an optimal frying temperature of 350°F (175°C). Start by heating your oil to 375°F (190°C) before adding the chicken. The temperature will naturally drop when the cooler chicken is introduced, bringing it closer to the ideal 350°F. Use a digital thermometer to monitor the oil temperature accurately; oil that isn’t hot enough will result in soggy breading, while oil that’s too hot will burn the crust before the chicken cooks through.
- Avoid Overcrowding the Pan: Fry the chicken tenders in batches, giving each piece enough space in the hot oil. Overcrowding the pan will drastically lower the oil’s temperature, leading to greasy, less crispy tenders. Cook 4-6 tenders at a time, depending on the size of your pot.
- Ensure Safe Internal Temperature: Chicken tenders cook relatively quickly, typically 3-4 minutes per side. To guarantee they are safely cooked, use a digital thermometer to check the internal temperature. The chicken should reach 165°F (74°C) at its thickest part.
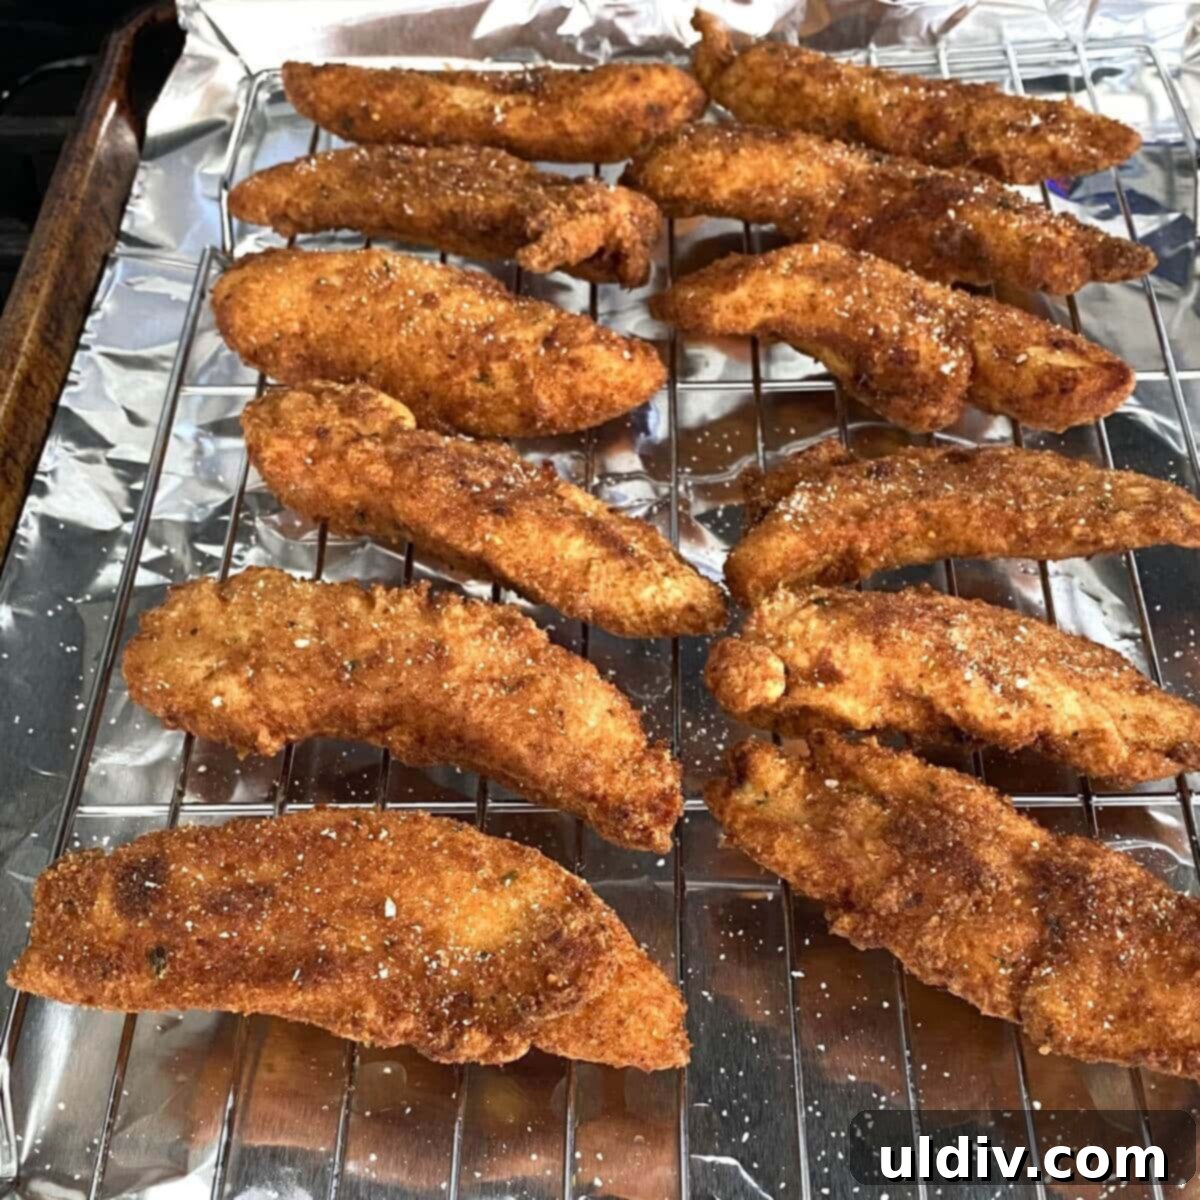
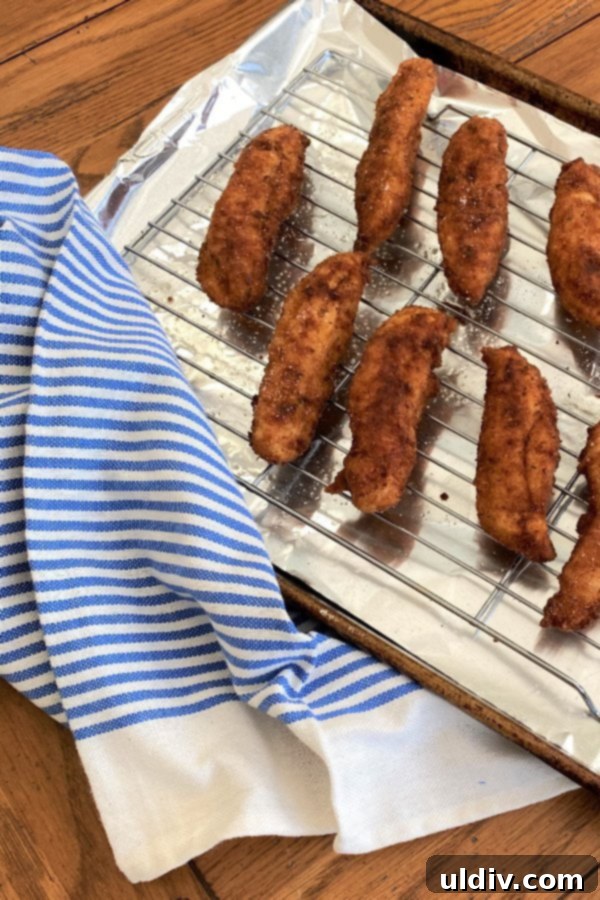
- Drain for Ultimate Crispiness: As soon as the tenders are golden brown and cooked through, transfer them immediately to a cooling rack placed over a rimmed baking sheet. This setup allows air to circulate around all sides, preventing the bottoms from becoming soggy and ensuring maximum crispiness.
- Season Immediately: Do not wait! As soon as the hot chicken tenders come out of the oil and onto the cooling rack, sprinkle them generously with kosher salt or another flaky finishing salt. The heat from the chicken helps the salt adhere, enhancing the flavor and providing a delightful texture.
Frequently Asked Questions About Buttermilk Fried Chicken Tenders
How do I make sure my chicken tenders are consistently crispy?
Achieving truly crispy chicken tenders primarily comes down to oil temperature and proper draining. Most importantly, ensure your frying oil is hot enough before you introduce the chicken. Use a candy or deep-fry thermometer to accurately check the oil temperature; 350°F (175°C) is the sweet spot. A key trick is to initially heat the oil to about 375°F (190°C). When you add the cooler, breaded chicken tenders, the oil temperature will naturally drop, bringing it closer to the ideal 350°F. Oil that is not hot enough will cause the breading to absorb too much oil, resulting in a greasy, soggy crust. Additionally, don’t overcrowd the pan; fry in small batches to prevent the oil temperature from dropping too drastically. Finally, always drain the fried tenders on a wire rack set over a baking sheet to allow air circulation and prevent steam from softening the crust.
Can I make chicken tenders ahead of time?
Absolutely! Buttermilk Fried Chicken Tenders are excellent for making ahead, making them perfect for meal prep or party planning. Once fried, ensure the tenders cool completely to room temperature before storing. Package them in an airtight container and refrigerate for up to 4 days. For longer storage, you can freeze them for up to 2-3 months. To reheat, arrange the tenders on a cooling rack placed in a rimmed baking sheet. Reheat in a preheated oven at 375°F (190°C) for 10 to 15 minutes, or until they are heated through and the crispiness has returned. For frozen tenders, you may need to increase the reheating time slightly.
How to serve chicken tenders for various occasions?
Buttermilk Fried Chicken Tenders are incredibly versatile and can be served in countless delicious ways beyond just a simple dip:
- With Dipping Sauces Galore: This is the classic, go-to method. Offer a variety of dipping sauces to cater to all tastes. Popular choices include classic ranch dressing, sweet and tangy honey mustard, smoky BBQ sauce, spicy hot sauce, creamy blue cheese dressing, or even a homemade aioli.
- On a Delicious Sandwich or Slider: Transform your tenders into a hearty meal by serving them on soft buns, toasted bread, or even sweet waffles for a chicken and waffle sandwich experience. Elevate it with toppings like crisp lettuce, ripe tomato slices, creamy coleslaw, melted cheese, a drizzle of mayo, or a pickle for extra crunch.
- As a Protein-Packed Salad Topper: Slice the tenders and add them to your favorite garden salad for a satisfying and flavorful meal. They pair wonderfully with mixed greens, cherry tomatoes, cucumbers, shredded carrots, and a light vinaigrette or creamy dressing. This is a fantastic way to enjoy a lighter version without sacrificing flavor.
- In Wraps or Tacos: Shred or slice the tenders and tuck them into warm tortillas with fresh veggies, cheese, and a dollop of sour cream or salsa for quick and easy wraps or tacos.
- Loaded Chicken Tender Bowls: Create a customizable bowl with a base of rice, quinoa, or mashed potatoes, top with sliced chicken tenders, and add your favorite vegetables, a drizzle of gravy, or a spicy sauce.
Can I bake or air fry these chicken tenders instead of frying?
While this recipe focuses on traditional deep frying for maximum crispiness, you can adapt it for baking or air frying if preferred. For baking, after coating, place the tenders on a lightly greased baking sheet (or a wire rack over a baking sheet for extra crispiness) and bake at 400°F (200°C) for 20-25 minutes, flipping halfway, until golden and cooked through. For air frying, preheat your air fryer to 375°F (190°C). Spray the basket and tenders lightly with oil, and cook in batches for 10-15 minutes, flipping halfway, until golden and crispy. Always check the internal temperature to ensure it reaches 165°F (74°C).
More Delicious Recipes to Try
- Little Big Macs
- Hawaiian Tortilla Pizza with Ham, Bacon and Pineapple
- Easy Crispy Baked Chicken Wings
- Mini BLT Crab Cake Sandwiches
- Sheet Pan Cheeseburger Sliders
- Mini Macaroni and Cheese Bites
Share Your Creations!
If you whip up these incredible Buttermilk Fried Chicken Tenders, I would absolutely love to hear from you! Your feedback and experiences are incredibly valuable. Please take a moment to leave a comment below and consider giving the recipe a star rating. And for all the visual foodies out there, don’t forget to snap a photo of your golden, crispy tenders and tag @amycaseycooks on Instagram. I can’t wait to admire your culinary masterpieces!
Recipe: Buttermilk Fried Chicken Tenders
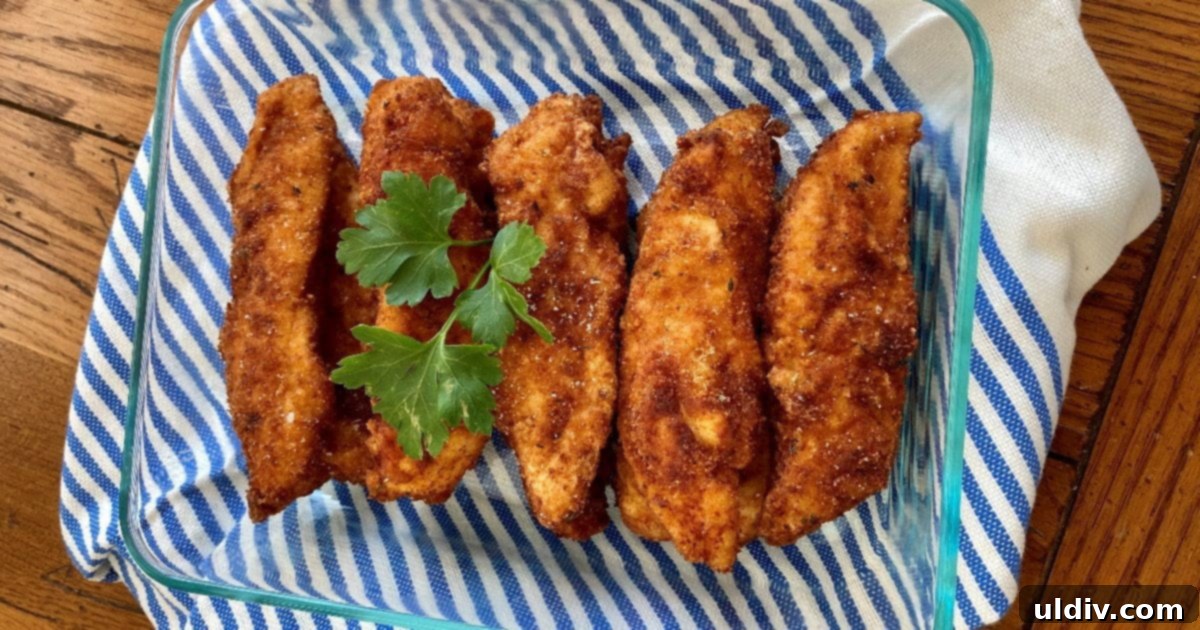
Buttermilk Fried Chicken Tenders
These chicken tenders are marinated in buttermilk for ultimate tenderness, then coated in a light, seasoned flour and breadcrumb mixture. They fry up quickly to a super crispy, golden perfection and are fantastic with ranch, blue cheese dressing, or ketchup.
- Prep Time: 15 minutes
- Cook Time: 20 minutes
- Total Time: 35 minutes
- Servings: 6 servings
- Calories: 316 kcal per serving
- Author: Amy Casey
Ingredients
- 24 chicken tenderloins (approximately 2 lbs)
- 1 cup buttermilk
- 1 cup seasoned breadcrumbs
- ¼ cup all-purpose flour
- 1 teaspoon kosher salt, plus more for seasoning after frying
- ½ teaspoon freshly ground black pepper
- 1 teaspoon garlic powder
- 1 teaspoon onion powder
- 1 teaspoon paprika
- Canola, peanut, or vegetable oil, for frying (approximately 2-3 cups)
Instructions
- Place the chicken tenderloins in a large bowl, pour the buttermilk over them, ensuring all chicken is submerged. Stir gently to coat. Let marinate for at least 30 minutes at room temperature, or up to 4 hours in the refrigerator for best results.
- In a separate large, shallow bowl, combine the seasoned breadcrumbs, all-purpose flour, 1 teaspoon kosher salt, ½ teaspoon pepper, garlic powder, onion powder, and paprika. Whisk these dry ingredients together thoroughly until well combined.
- Heat approximately 2 inches of canola, peanut, or vegetable oil in a heavy-bottomed stockpot or Dutch oven over medium-high heat. Use a thermometer to heat the oil to 375°F (190°C).
- Working one at a time, remove a chicken tenderloin from the buttermilk, allowing any excess buttermilk to drip off. Then, dredge the tenderloin completely in the breadcrumb/flour mixture, pressing gently to ensure a thorough and even coating.
- Carefully place 4 to 6 breaded tenders into the hot oil, ensuring not to overcrowd the pan, which can lower the oil temperature. Fry for 3 to 4 minutes per side, or until the tenders are golden brown and cooked to an internal temperature of 165°F (74°C) when checked with a digital thermometer. Adjust heat as necessary to maintain a consistent oil temperature of 350°F (175°C).
- Once cooked, remove the tenders from the oil and immediately transfer them to a cooling rack placed over a rimmed baking sheet. While still hot, season generously with an additional sprinkle of kosher salt.
- Serve your crispy Buttermilk Fried Chicken Tenders immediately with your favorite dipping sauces.
Notes
- Quick Buttermilk Substitute: If you don’t have buttermilk on hand, easily make your own by adding 1 tablespoon of white vinegar or lemon juice to 1 cup of whole milk. Let it sit for 5 minutes until it slightly curdles, then stir before using.
- Optimal Frying Temperature: The ideal temperature for frying chicken is 350°F (175°C). Initially heat your oil to 375°F (190°C) before adding the first batch of coated chicken tenders; the temperature will drop as soon as the chicken is introduced.
- Crispiness Assurance: Always drain fried chicken tenders on a cooling rack set over a rimmed baking sheet. This allows excess oil to drip away and prevents the bottom from becoming soggy.
- Make Ahead & Reheat: These chicken tenders can be prepared in advance. Once fried, cool them completely and store in an airtight container in the refrigerator for 3 to 4 days. To reheat, arrange them on a cooling rack placed in a rimmed baking sheet and warm in a preheated 375°F (190°C) oven for 10 to 15 minutes, or until heated through and crispy.
Nutrition
Serving: 4 tenders | Calories: 316kcal | Carbohydrates: 15.4g | Protein: 7.8g | Fat: 25.1g | Saturated Fat: 2.8g | Cholesterol: 16mg | Sodium: 642mg | Fiber: 1g | Sugar: 2.4g
Did you make this recipe? Tag @amycaseycooks on Instagram so we can all admire your work!