
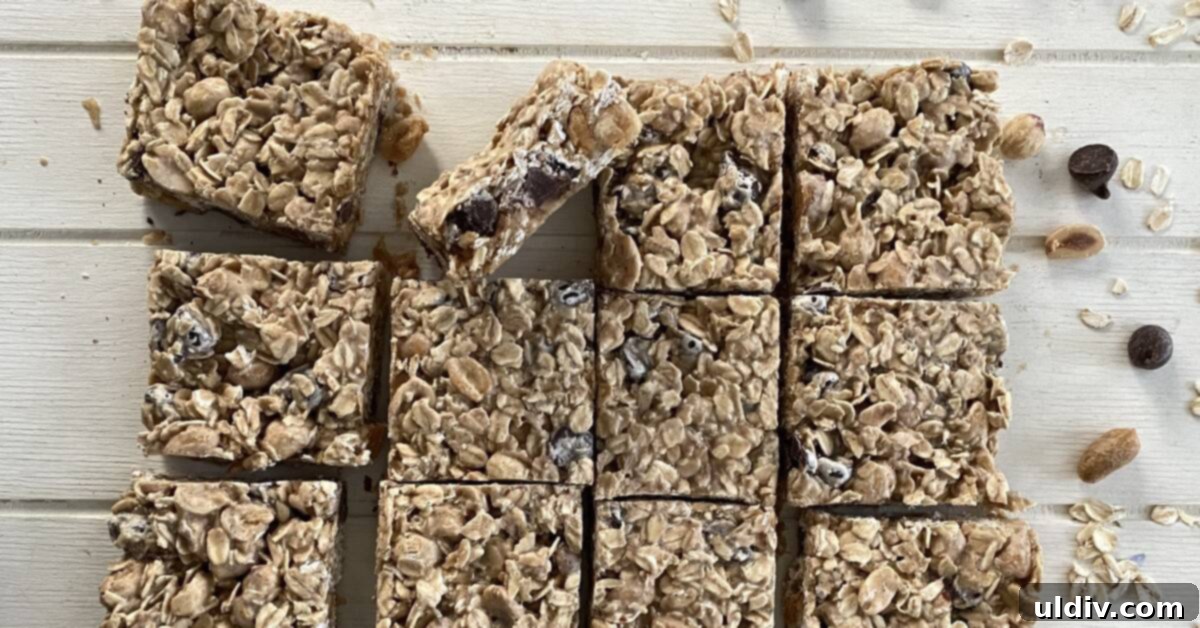
Craving a delightful, wholesome treat that perfectly balances sweet and savory? Look no further than these incredibly simple yet utterly delicious Peanut Butter Oat Bars. Designed for the busy individual or the family always on the go, these bars serve as an ideal grab-and-go breakfast, a satisfying mid-day snack, or even a healthy dessert option. Crafted in just one bowl, they are packed with nutrient-rich rolled oats, crunchy peanuts, creamy peanut butter, and decadent chocolate chips, making them an undeniable favorite for everyone who tries them. Their effortless preparation ensures you can whip up a batch with minimal fuss, making healthy eating both convenient and enjoyable.
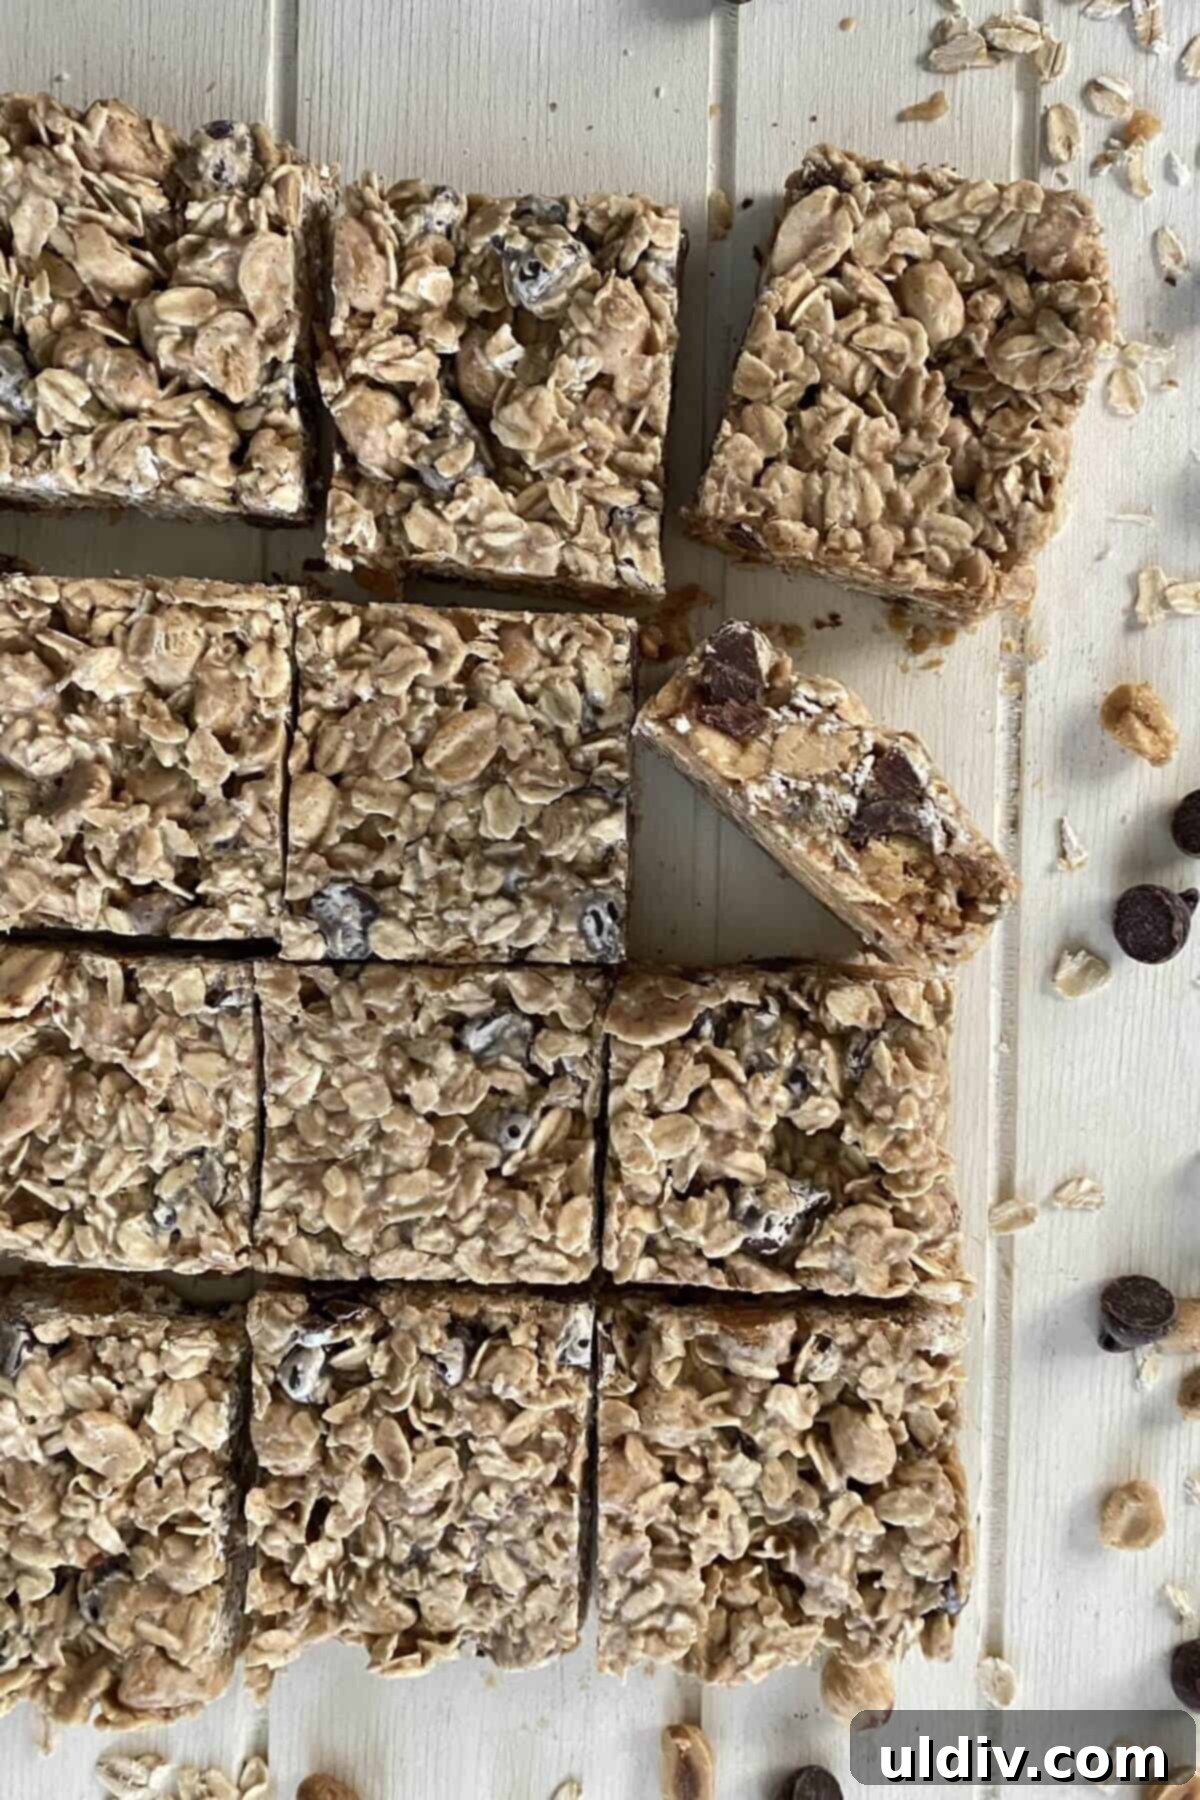
Hello, fellow food enthusiasts! I’m thrilled to share a baked oat snack bar recipe that has been a long-standing staple in my kitchen. These wholesome bars became a secret weapon for my kids, tucked into their track bags or softball backpacks to provide a much-needed energy boost and prevent any late-day energy slumps. Over time, their friends quickly discovered and fell in love with these peanut butter and chocolate chip wonders, often asking for any extra bars I might have. I’ve prepared countless batches of these fantastic oat bars for my family, friends, and even personal chef clients over the years – I could practically make them in my sleep!
Why These Peanut Butter Oat Bars Are an Absolute Must-Try
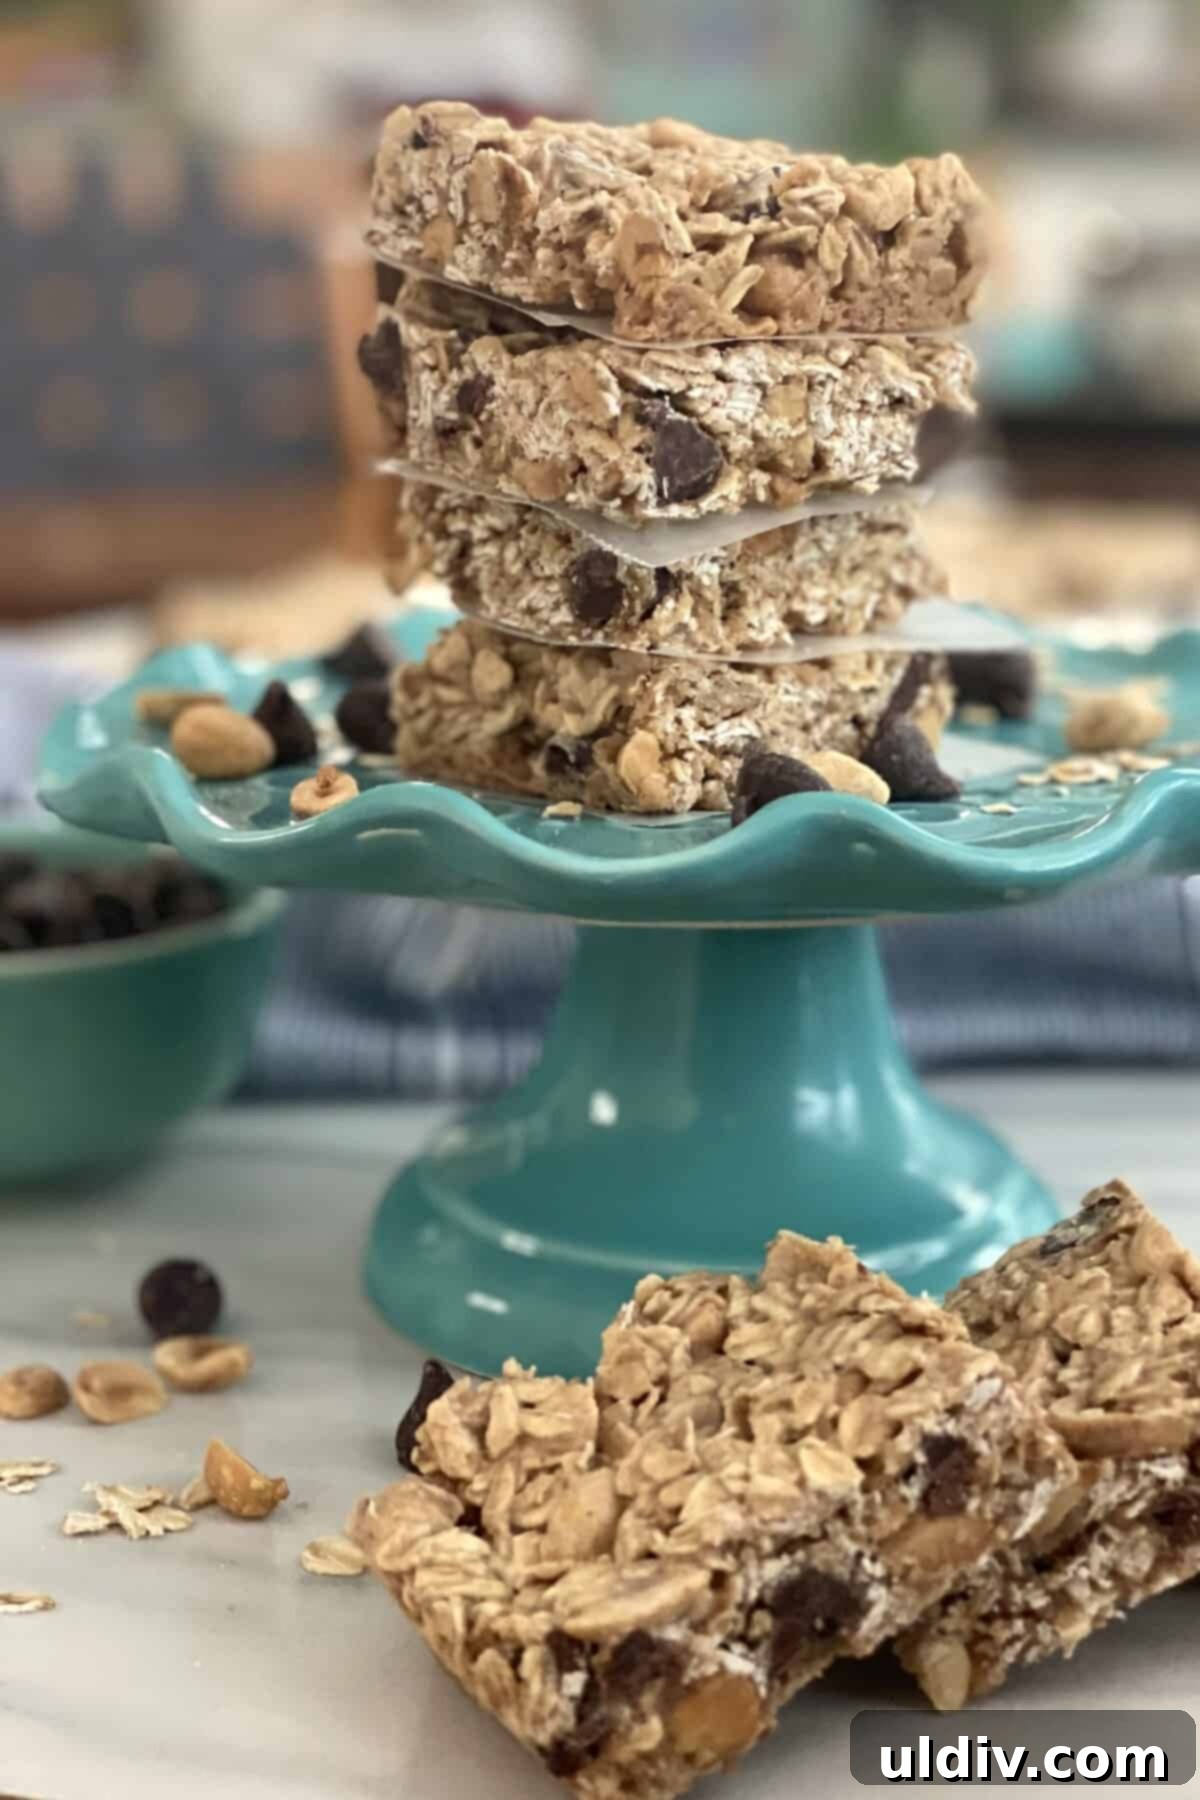
After experimenting with dozens of recipes for homemade granola and oat bars, this particular baked oat bar creation stands out as my ultimate favorite. It strikes the perfect balance of texture and flavor, offering a truly satisfying experience. What makes these bars truly special? They’re generously loaded with hearty rolled oats, providing a substantial and fiber-rich base. We double down on the rich peanut flavor, incorporating both smooth, creamy peanut butter and savory, salted peanuts, which add a delightful crunch and depth. And, of course, no oat bar is complete without a generous sprinkling of semi-sweet chocolate chips, melting slightly during baking to create pockets of gooey goodness throughout each bar.
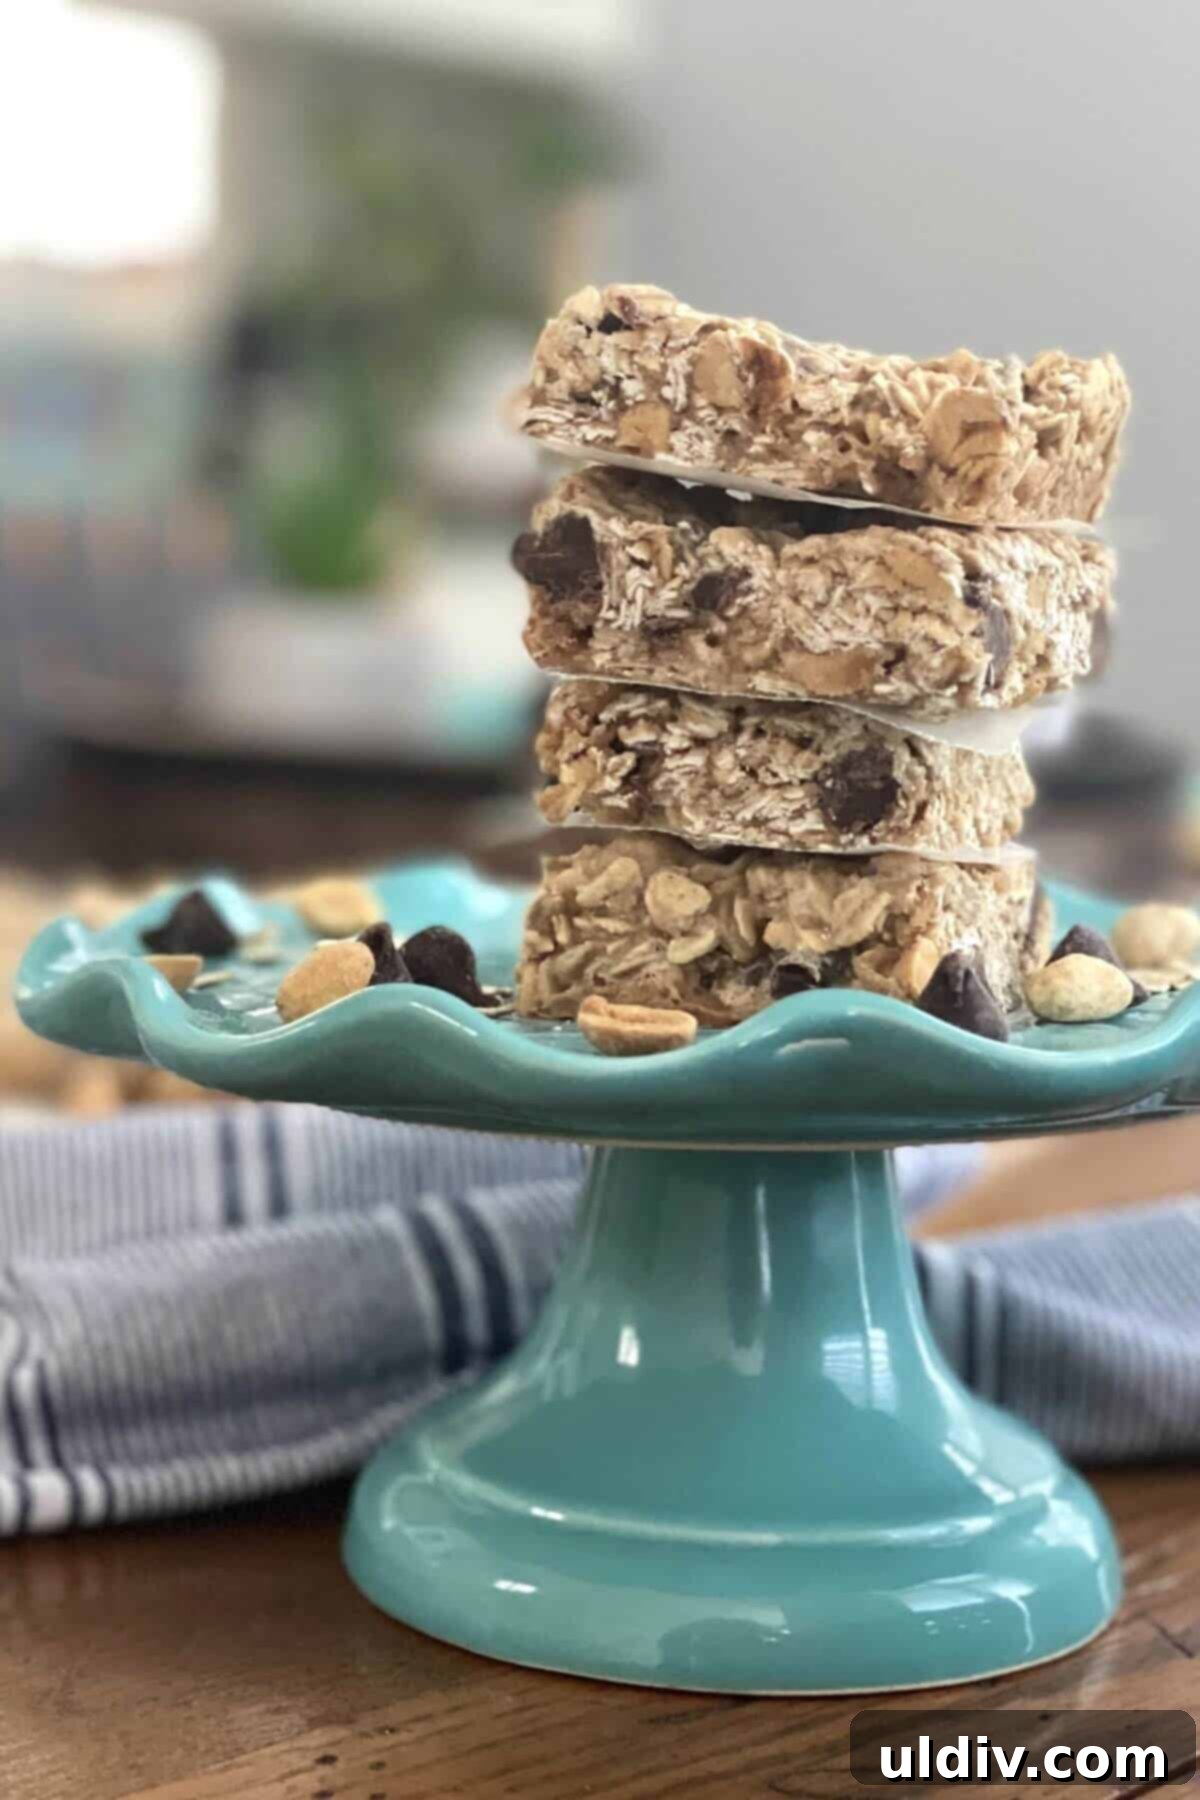
One of the biggest challenges in creating the perfect oat bar recipe lies in finding the right binder. Many of my earlier attempts at granola bars often resulted in a crumbly mess, rather than a sturdy, cohesive bar. The secret ingredient that transforms these into perfectly chewy and robust bars is sweetened condensed milk. This magical ingredient acts as an ideal binder, ensuring that the bars hold their shape beautifully without being overly sticky. It contributes to their rich flavor and creates a wonderfully chewy texture that distinguishes them from dry, brittle alternatives.
Effortless Meal Prep and Storage
These peanut butter oat bars are designed for convenience, making them easily portable for any occasion. To maintain their freshness and simplify on-the-go enjoyment, I often package them individually in self-sealing cellophane bags. This method keeps them fresh and mess-free. I highly recommend making a double batch whenever you prepare this recipe. It’s incredibly easy to do, and you’ll thank yourself later! Any extra bars can be safely stored in the freezer for up to two months, providing a convenient stash of healthy snacks whenever a craving strikes. For shorter-term storage, the bars will remain perfectly fresh for up to a week when kept in an airtight container at room temperature. This makes them a fantastic option for weekly meal prep, ensuring you always have a nutritious and satisfying snack readily available.
The Benefits of Baking Your Own Oat Bars
Making your own peanut butter oat bars offers numerous advantages over store-bought alternatives. Firstly, you have complete control over the ingredients, allowing you to choose high-quality components and avoid artificial preservatives, excessive sugars, or unwanted additives often found in commercial products. This makes them a healthier choice for you and your family. Secondly, homemade bars are often more cost-effective. Buying ingredients in bulk and preparing them yourself can save a significant amount of money compared to purchasing pre-packaged snacks regularly. Finally, there’s an immense satisfaction that comes from creating something delicious and nourishing in your own kitchen. The aroma of freshly baked oats, peanut butter, and chocolate chips filling your home is an added bonus!
Essential Ingredients for Your Peanut Butter Oat Bars
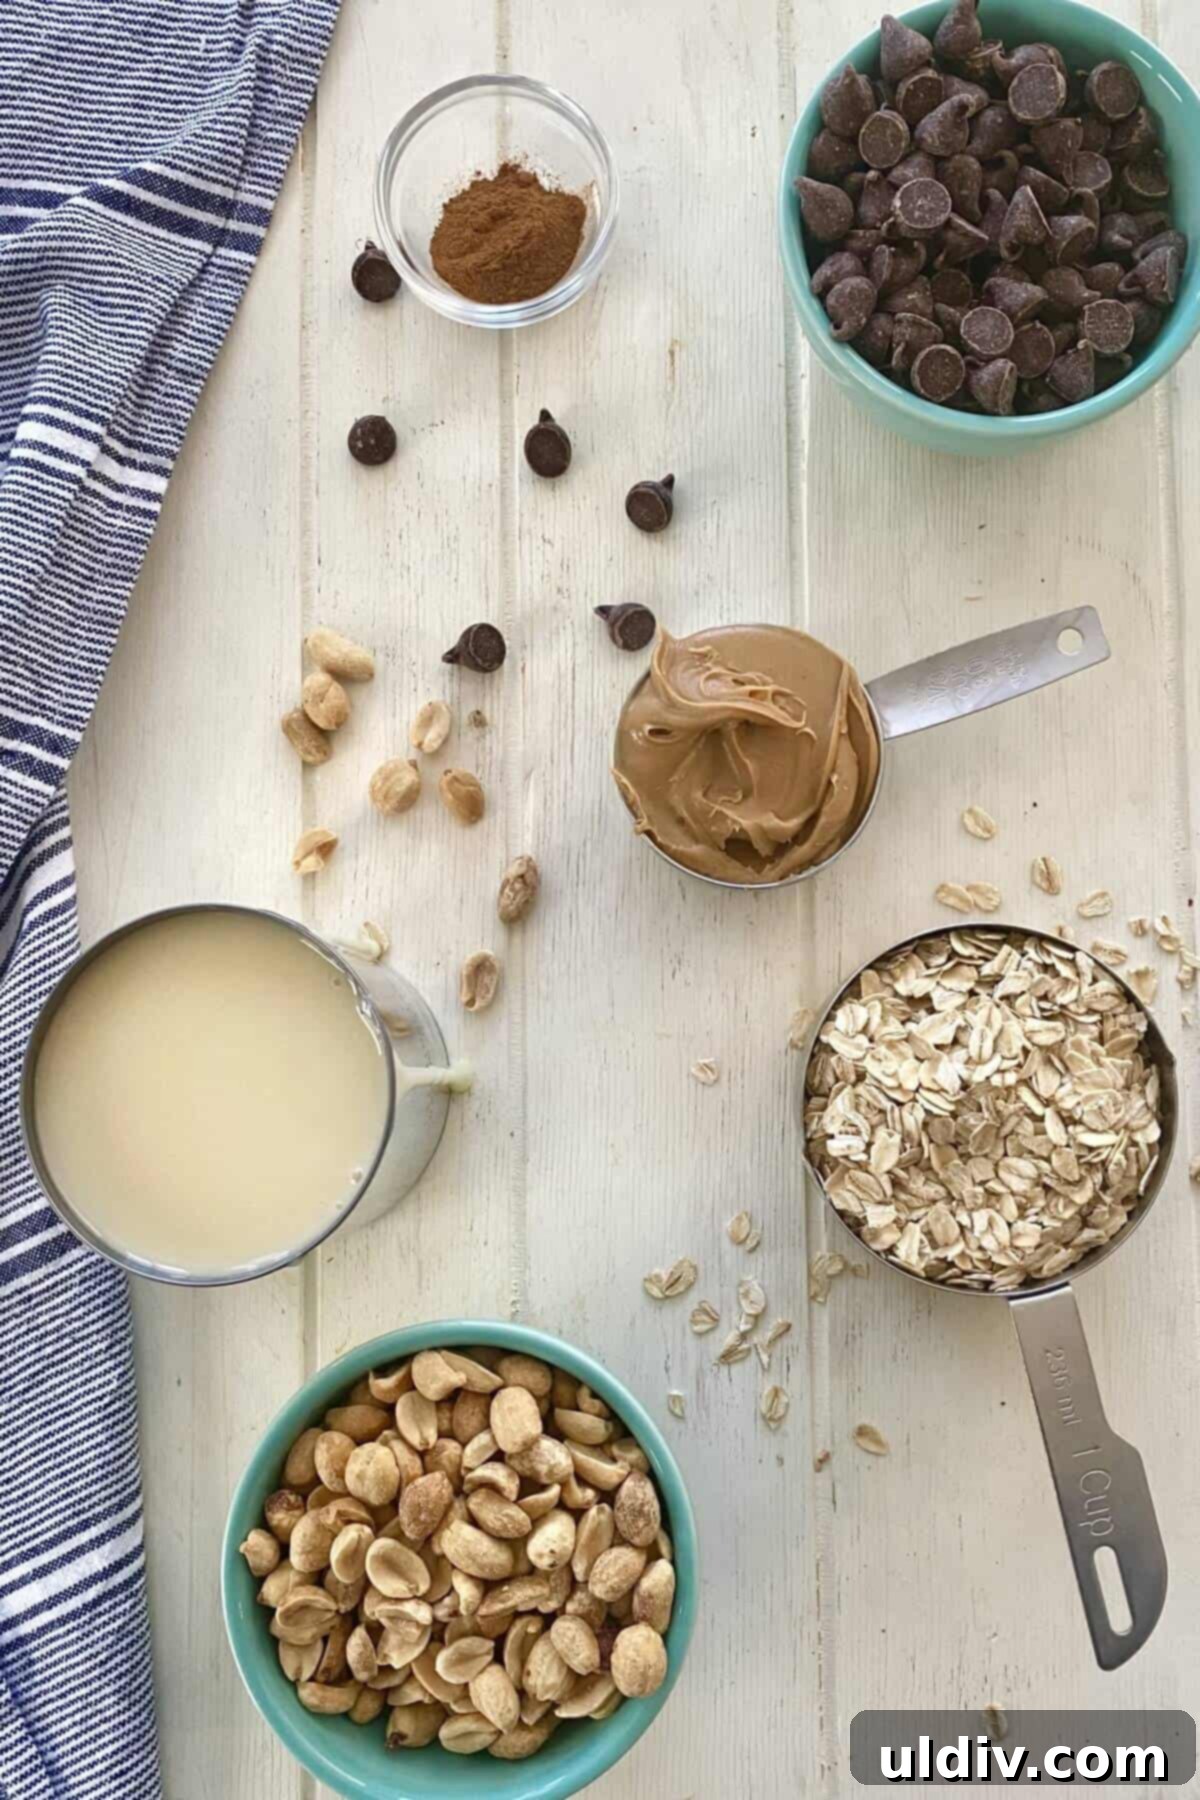
One of the beauties of this recipe is its reliance on readily available and wholesome ingredients. You likely already have many of these staples in your pantry. Here’s what you’ll need to gather:
- **Rolled Oats:** The foundation of our bars, providing fiber and a satisfying chew.
- **Semi-Sweet Chocolate Chips:** For that irresistible touch of sweetness and chocolatey goodness.
- **Salted Peanuts:** Adding texture, protein, and a complementary salty crunch.
- **Creamy Peanut Butter:** The star flavor, binding everything together with its rich, nutty profile.
- **Sweetened Condensed Milk:** The magical binder that ensures sturdy, chewy bars.
- **Cinnamon:** A hint of warm spice to elevate the overall flavor.
Step-by-Step Recipe Details: Crafting Your Perfect Oat Bars
You’ll be delighted by how straightforward and easy it is to prepare these baked peanut butter oat bars. With just a few simple steps, you’ll have a batch of incredibly satisfying snacks ready for enjoyment.
Preparation is Key
Begin by preheating your oven to 250 degrees Fahrenheit (120 degrees Celsius). This low temperature ensures a slow, even bake, resulting in a perfectly chewy texture. Next, prepare your baking pan. My go-to choice for these delightful oat bars is a 9×9 inch silicone baking pan. The inherent non-stick properties of silicone mean the bars slide out effortlessly once cooled, eliminating the need for parchment paper. If you’re using a metal baking pan of the same size, it’s essential to coat it thoroughly with cooking spray and then line it with parchment paper, allowing the side edges to overhang by about 2 inches. This overhang acts as a convenient sling, making it easy to lift the entire batch out of the pan after baking. Be sure to lightly coat the parchment paper with cooking spray as well for extra insurance against sticking. Set your prepared pan aside.
Mixing the Magic
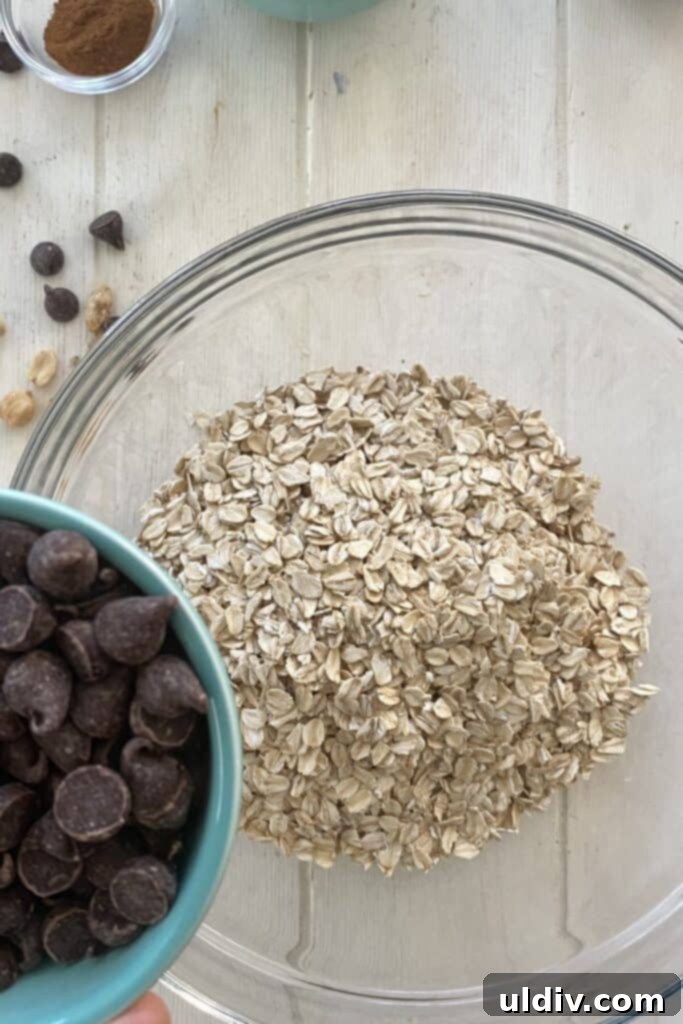
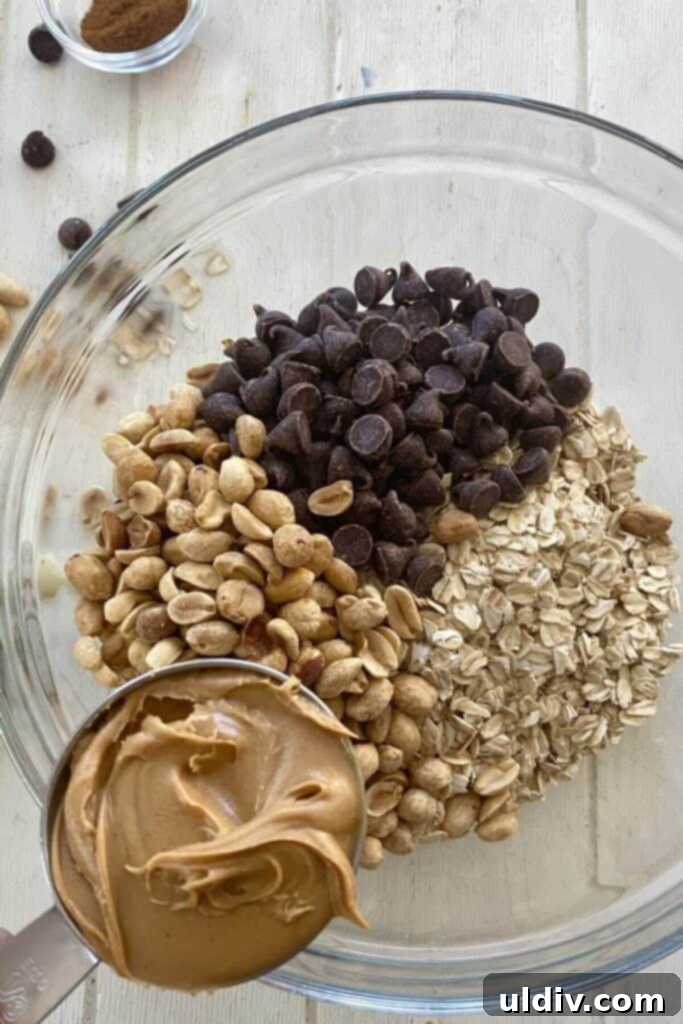
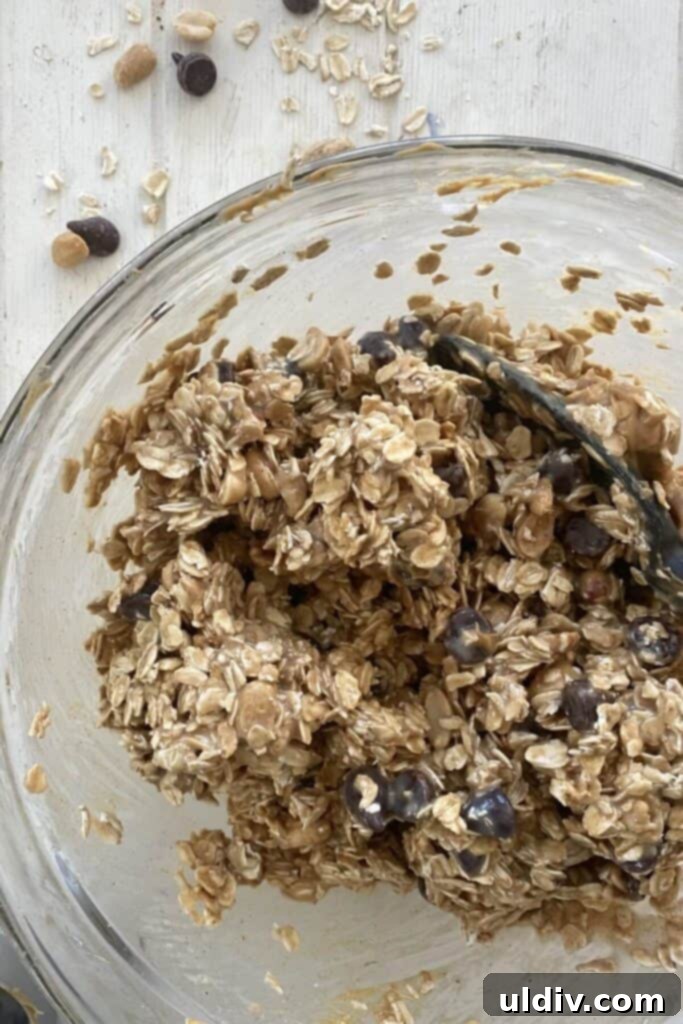
Now for the main event! Grab a large, sturdy mixing bowl – you’ll need one with ample space to combine all the delicious ingredients. Add your rolled oats, semi-sweet chocolate chips, salted peanuts, creamy peanut butter, sweetened condensed milk, and a touch of cinnamon. This mixture will be quite thick and dense, so don’t hesitate to use a strong, reliable spatula or a wooden spoon to thoroughly combine everything. Ensure all ingredients are evenly distributed, so every bite of your oat bar is packed with flavor and texture.
Spreading and Baking for Perfection
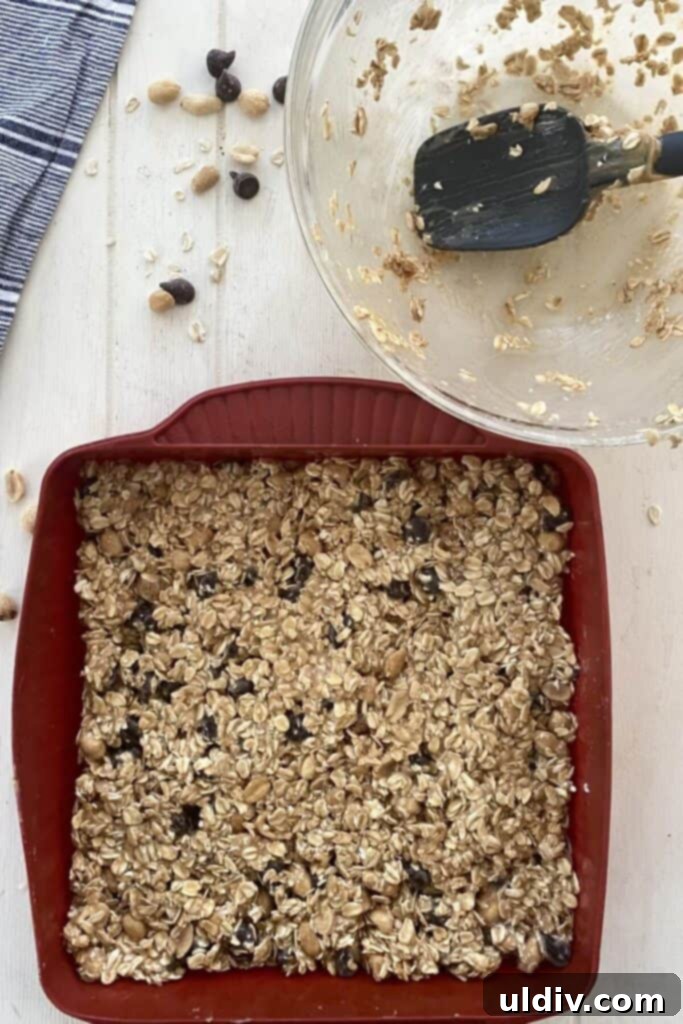
Once your mixture is perfectly combined, transfer it into your prepared baking pan. The next crucial step is to press the oat mixture down firmly and evenly across the entire surface of the pan. This isn’t just about aesthetics; uniform thickness is essential for bars that bake consistently and hold their shape once cut. Use the back of your spatula or even your clean hands to press the mixture down until the top is smooth and the pan is filled from edge to edge.
Bake the bars in your preheated oven for approximately 45 to 50 minutes. You’ll know they are ready when they feel firm to the touch and the edges have turned a beautiful light golden brown. The low baking temperature ensures the oats cook through without drying out, maintaining that desirable chewy consistency.
Cooling, Cutting, and Storing Your Masterpiece
Once baked, carefully remove the pan from the oven and place it on a wire cooling rack. Allow the bars to cool completely in the pan for at least one hour. This initial cooling period is vital for the bars to set properly and become firm enough to handle. If using a silicone pan, simply flip the cooled slab onto your cooling rack. If you used a metal pan with parchment paper, use the overhang to gently lift the bars out and transfer them to the cooling rack. It’s best to have the bottom side of the bars facing up during this next cooling phase. If the bottom feels a bit sticky, letting it air dry for an additional hour or so on the rack will help firm it up.
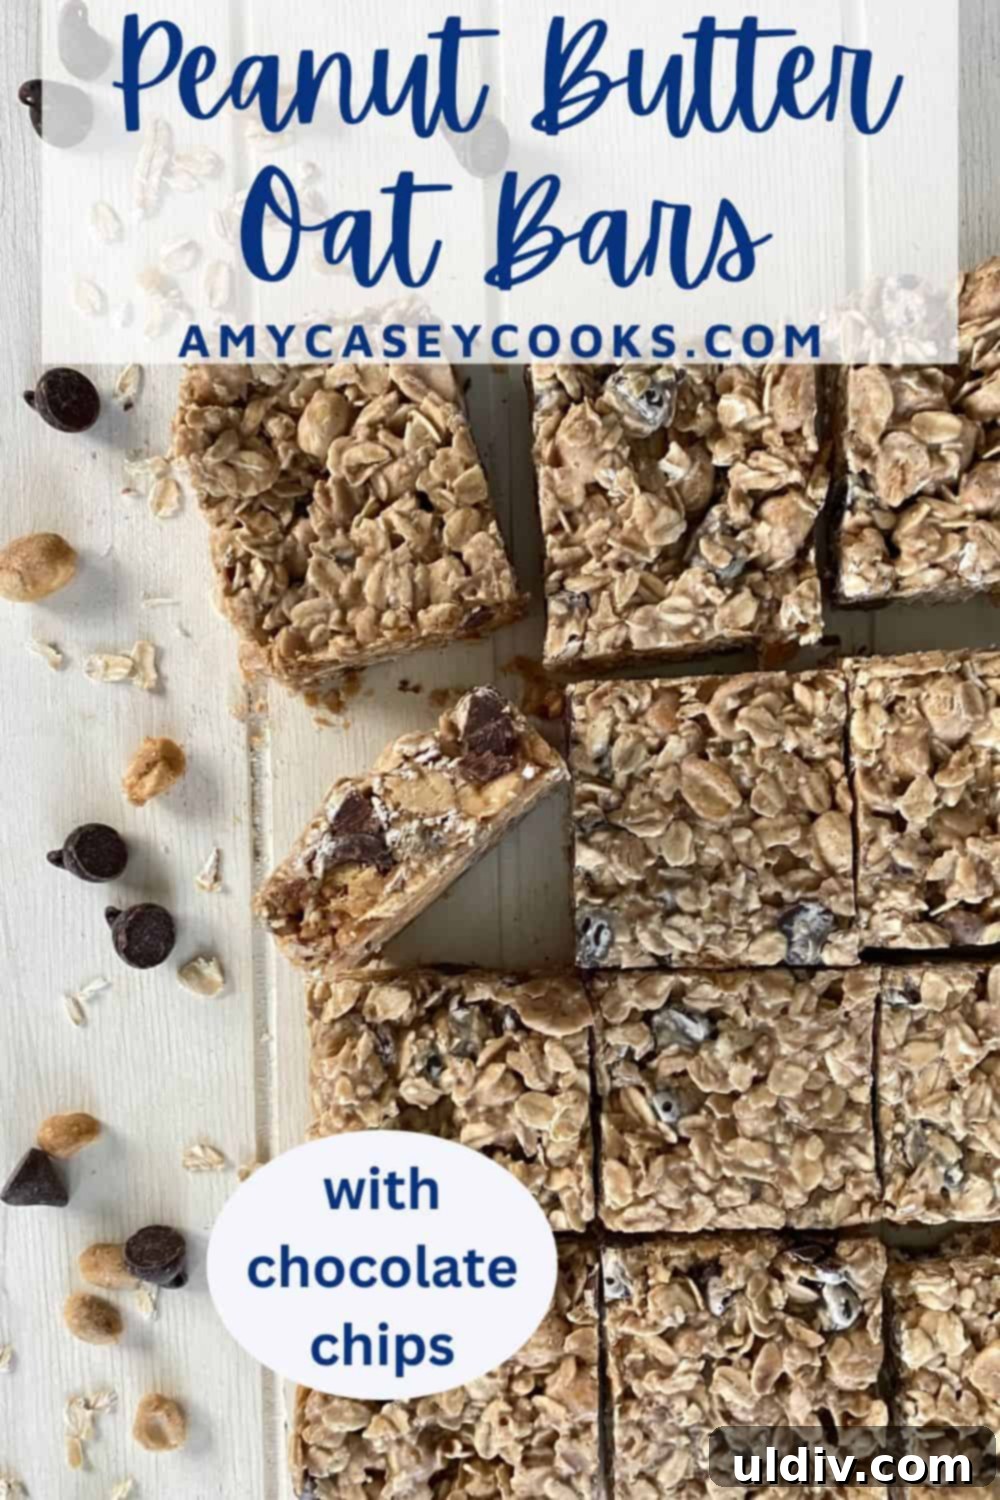
For the cleanest cuts and best results, allow the completely cooled, unmolded, and uncut oat bars to rest on a cooling rack for approximately 4 hours at room temperature. This extended cooling time allows the chocolate chips to fully harden and the entire bar structure to firm up, preventing crumbling when you slice them. Once fully firm, cut the large slab into 16 uniform squares. Store these delicious bars in an airtight container at room temperature for up to a week. For longer preservation, wrap them individually in cellophane bags and freeze them for up to 2 months. They thaw beautifully at room temperature, making them perfect for future snack emergencies.
Expert Tips and Customization for Your Oat Bars
Achieving perfect peanut butter oat bars every time is simple with a few key considerations and creative variations. Here are some of my top suggestions to enhance your baking experience and personalize your treats:
Baking Pan Perfection
As mentioned, a 9×9 inch silicone baking pan remains my top recommendation for making these oatmeal bars. Its non-stick nature means there’s no wrestling with the bars or concerns about them sticking. They effortlessly slide out, preserving their perfect shape. If a metal pan is your only option, remember the parchment paper lining with overhangs and a good spray of cooking oil to ensure easy removal.
Uniformity for Success
To ensure all your oat bars bake evenly and have a consistent texture and appearance, it’s crucial to press the oat mixture firmly and uniformly into the baking pan. An uneven spread can lead to some parts being chewier and others too dry. Take your time during this step to create a smooth, level surface across the entire pan.
The Art of the Clean Cut
Patience is a virtue, especially when it comes to cutting these bars. While it’s tempting to slice into them right after they cool, allowing the completely cooled and unmolded bars to rest on a cooling rack for about 4 hours at room temperature is a game-changer. This extended resting period is essential for the chocolate chips to fully harden and for the entire bar to set and firm up completely. The result? Clean, crisp squares that don’t crumble or stick to your knife.
Delicious Variations for Every Palate
While classic peanut butter chocolate chip oat bars hold a special place in my heart, the beauty of this recipe lies in its adaptability. Don’t hesitate to get creative and experiment with different nut butters, nuts, dried fruits, and chips to discover your next favorite combination. Here are some fantastic variations to inspire you:
- Almond Butter & Cranberry Dream: Substitute peanut butter with creamy almond butter, and swap chocolate chips for dried cranberries. For an extra layer of flavor, consider adding a handful of chopped almonds.
- Cashew Crunch Delight: Use cashew butter as your base, and mix in salted cashews along with butterscotch chips for a sweet and nutty profile.
- Sunflower Seed & Apricot Fusion: For a nut-free option (always check other ingredients for allergies), opt for sunflower butter, then fold in crunchy pecans and finely chopped dried apricots.
- White Chocolate & Raisin Twist: Return to the classic peanut butter, but combine it with plump raisins and sweet white chocolate chips for a different kind of sweetness.
- Tropical Inspiration: Try using almond butter with shredded coconut and dried mango pieces for a taste of the tropics.
- Spiced Apple Harvest: Add a pinch of nutmeg and allspice to the cinnamon, and mix in finely diced dried apples and walnuts for an autumnal flavor.
More Irresistible Snack Recipes to Explore
If you’ve fallen in love with these wholesome oat bars, you’ll be thrilled to discover more of my favorite snack and treat recipes designed for easy baking and delicious results. Each recipe focuses on simple ingredients and satisfying flavors perfect for any time of day:
- Healthy Oatmeal Cookies with Coconut: A chewy, flavorful cookie packed with wholesome goodness.
- Crispy and Chewy Almond Butter Chocolate Chip Cookies: The best of both worlds in one delightful cookie.
- The Ultimate Banana Bread Muffins: Moist, flavorful muffins that make for a perfect breakfast or snack.
- Peanut Butter Chocolate Chip Energy Balls: A no-bake option for a quick burst of energy and flavor.
Connecting with Our Community: Share Your Creations!
I genuinely love seeing your culinary adventures! Did you make these delightful peanut butter oat bars? I’d absolutely adore hearing about your experience. Please take a moment to leave a comment below and consider giving this recipe a rating. Your feedback is invaluable, and I do my very best to reply to every single one of your comments. Even better, snap a photo of your beautiful oat bars and post it to Instagram, tagging @amycaseycooks! I always add your fantastic creations to my Insta stories – it’s such a joy to see all your delicious work.
For more fabulous foodie stories, helpful cooking tips, engaging videos, and a steady stream of new recipes, be sure to check out my Facebook and Pinterest pages. And to ensure you never miss out on my latest culinary inspirations, sign up for my newsletter! Let’s continue to share the joy of good food together.
Recipe: Peanut Butter Oat Bars with Chocolate Chips
Peanut Butter Oat Bars with Chocolate Chips
Print
Pin
Rate
5 minutes
50 minutes
55 minutes
16
bars
288
kcal
Amy Casey
Ingredients
- 3 ¼ cups rolled oats
- 1 cup semi-sweet chocolate chips
- 1 cup salted peanuts
- ⅓ cup creamy peanut butter
- 1 14-ounce can sweetened condensed milk
- 1 teaspoon cinnamon
Instructions
-
Preheat oven to 250 degrees F (120°C). Coat a 9×9 inch silicone baking pan with cooking spray. If using a 9×9 inch metal baking pan, coat with cooking spray and line with parchment paper, letting the side edges overhang by 2 inches. Coat the parchment paper with cooking spray. Set aside.
-
In a large bowl, add the rolled oats, chocolate chips, peanuts, peanut butter, sweetened condensed milk, and cinnamon. Stir until all ingredients are well combined into a thick mixture.
-
Spread the oat mixture into the prepared pan. Press down firmly and evenly so that the top is smooth and the mixture fills the pan from edge to edge.
-
Bake for 45 to 50 minutes, or until the bars are set and the edges are lightly golden brown.
-
Remove the pan from the oven and place it on a cooling rack. Let the bars cool completely in the pan for at least 1 hour.
-
If using a silicone pan, carefully flip the bars out onto a cooling rack. If using a metal baking pan, use the parchment paper overhangs to lift the bars from the pan and transfer them to a cooling rack. Position them with the bottom side facing up. If the bottom feels sticky, allow it to air dry for about an hour or so.
-
Once fully cooled and firm (ideally after an additional 4 hours at room temperature for chocolate chips to set), cut into 16 bars. Store in an airtight container at room temperature for up to a week, or wrap individually in cellophane bags and freeze for up to 2 months.
Video
Notes
For oat bars uniform in size and thickness, firmly and evenly press down the oat mixture in the baking pan.
To easily cut the bars into squares, place the completely cooled, uncut and unmolded oat bars on a cooling rack. Let sit for about 4 hours at room temperature. This allows the chocolate chips to harden and the bars to firm up.
Nutrition
Calories: 288kcal |
Carbohydrates: 35g |
Protein: 9g |
Fat: 14g |
Saturated Fat: 5g |
Cholesterol: 9mg |
Sodium: 35mg |
Fiber: 3g |
Sugar: 22g
Did you make this recipe?Tag @amycaseycooks on Instagram so we can all admire your work