
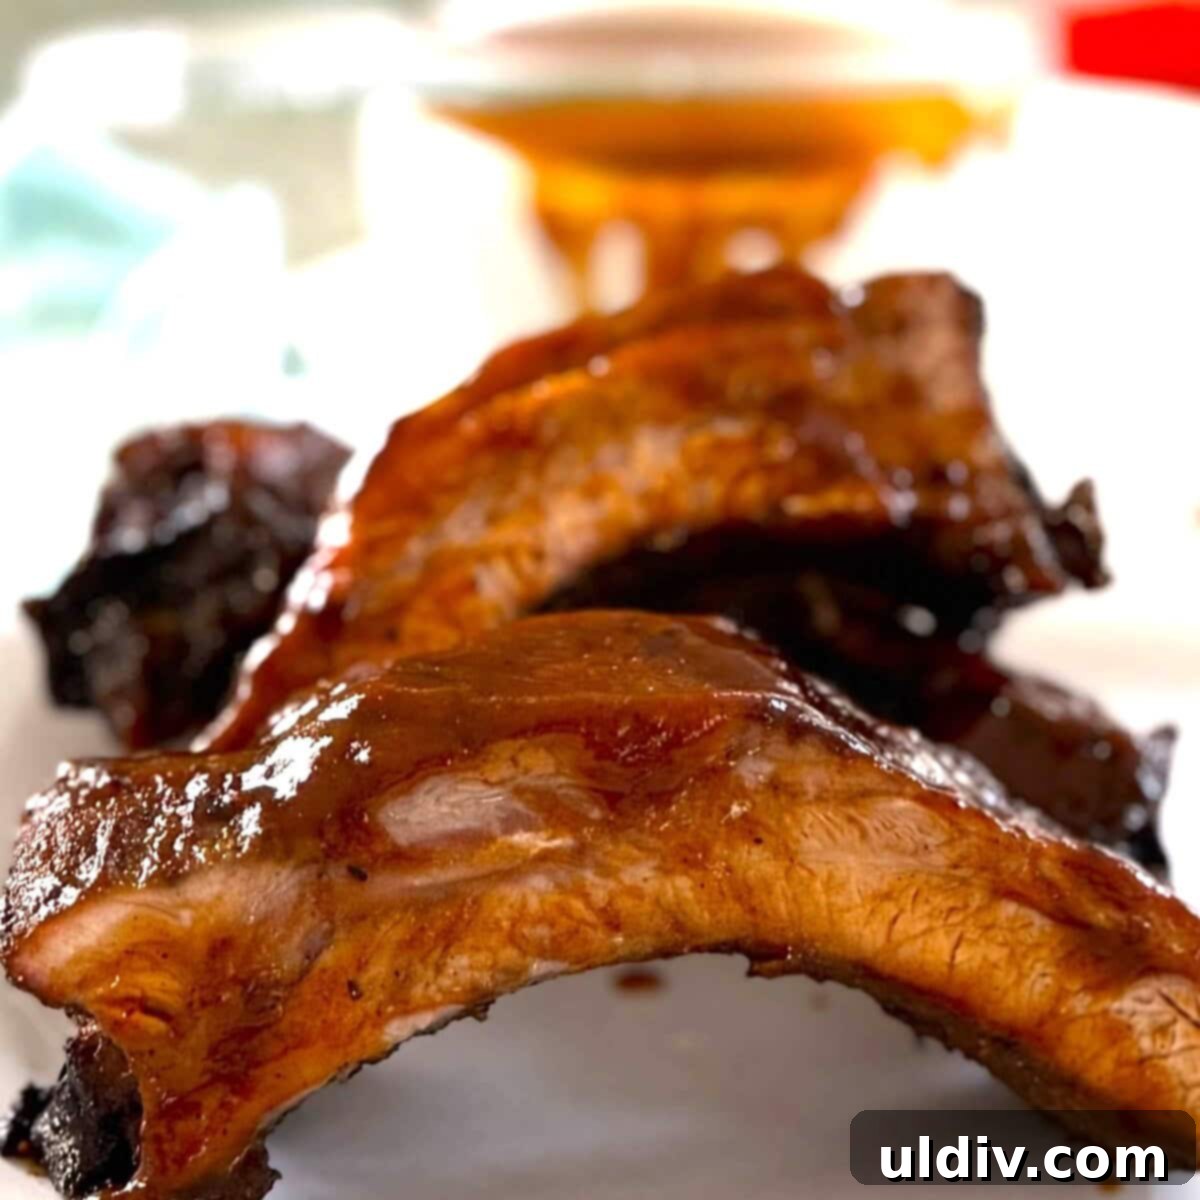
Fall-Off-The-Bone Baked Baby Back Ribs: Your Ultimate Oven Rib Recipe
Searching for an effortlessly delicious oven rib recipe? Look no further! These sensational **Baked Baby Back Ribs** are guaranteed to become your new favorite. With minimal effort, you’ll achieve pork ribs that are so tender they literally fall off the bone. This recipe is also perfect for meal prepping, allowing you to enjoy stress-free, delectable dinners any day of the week.
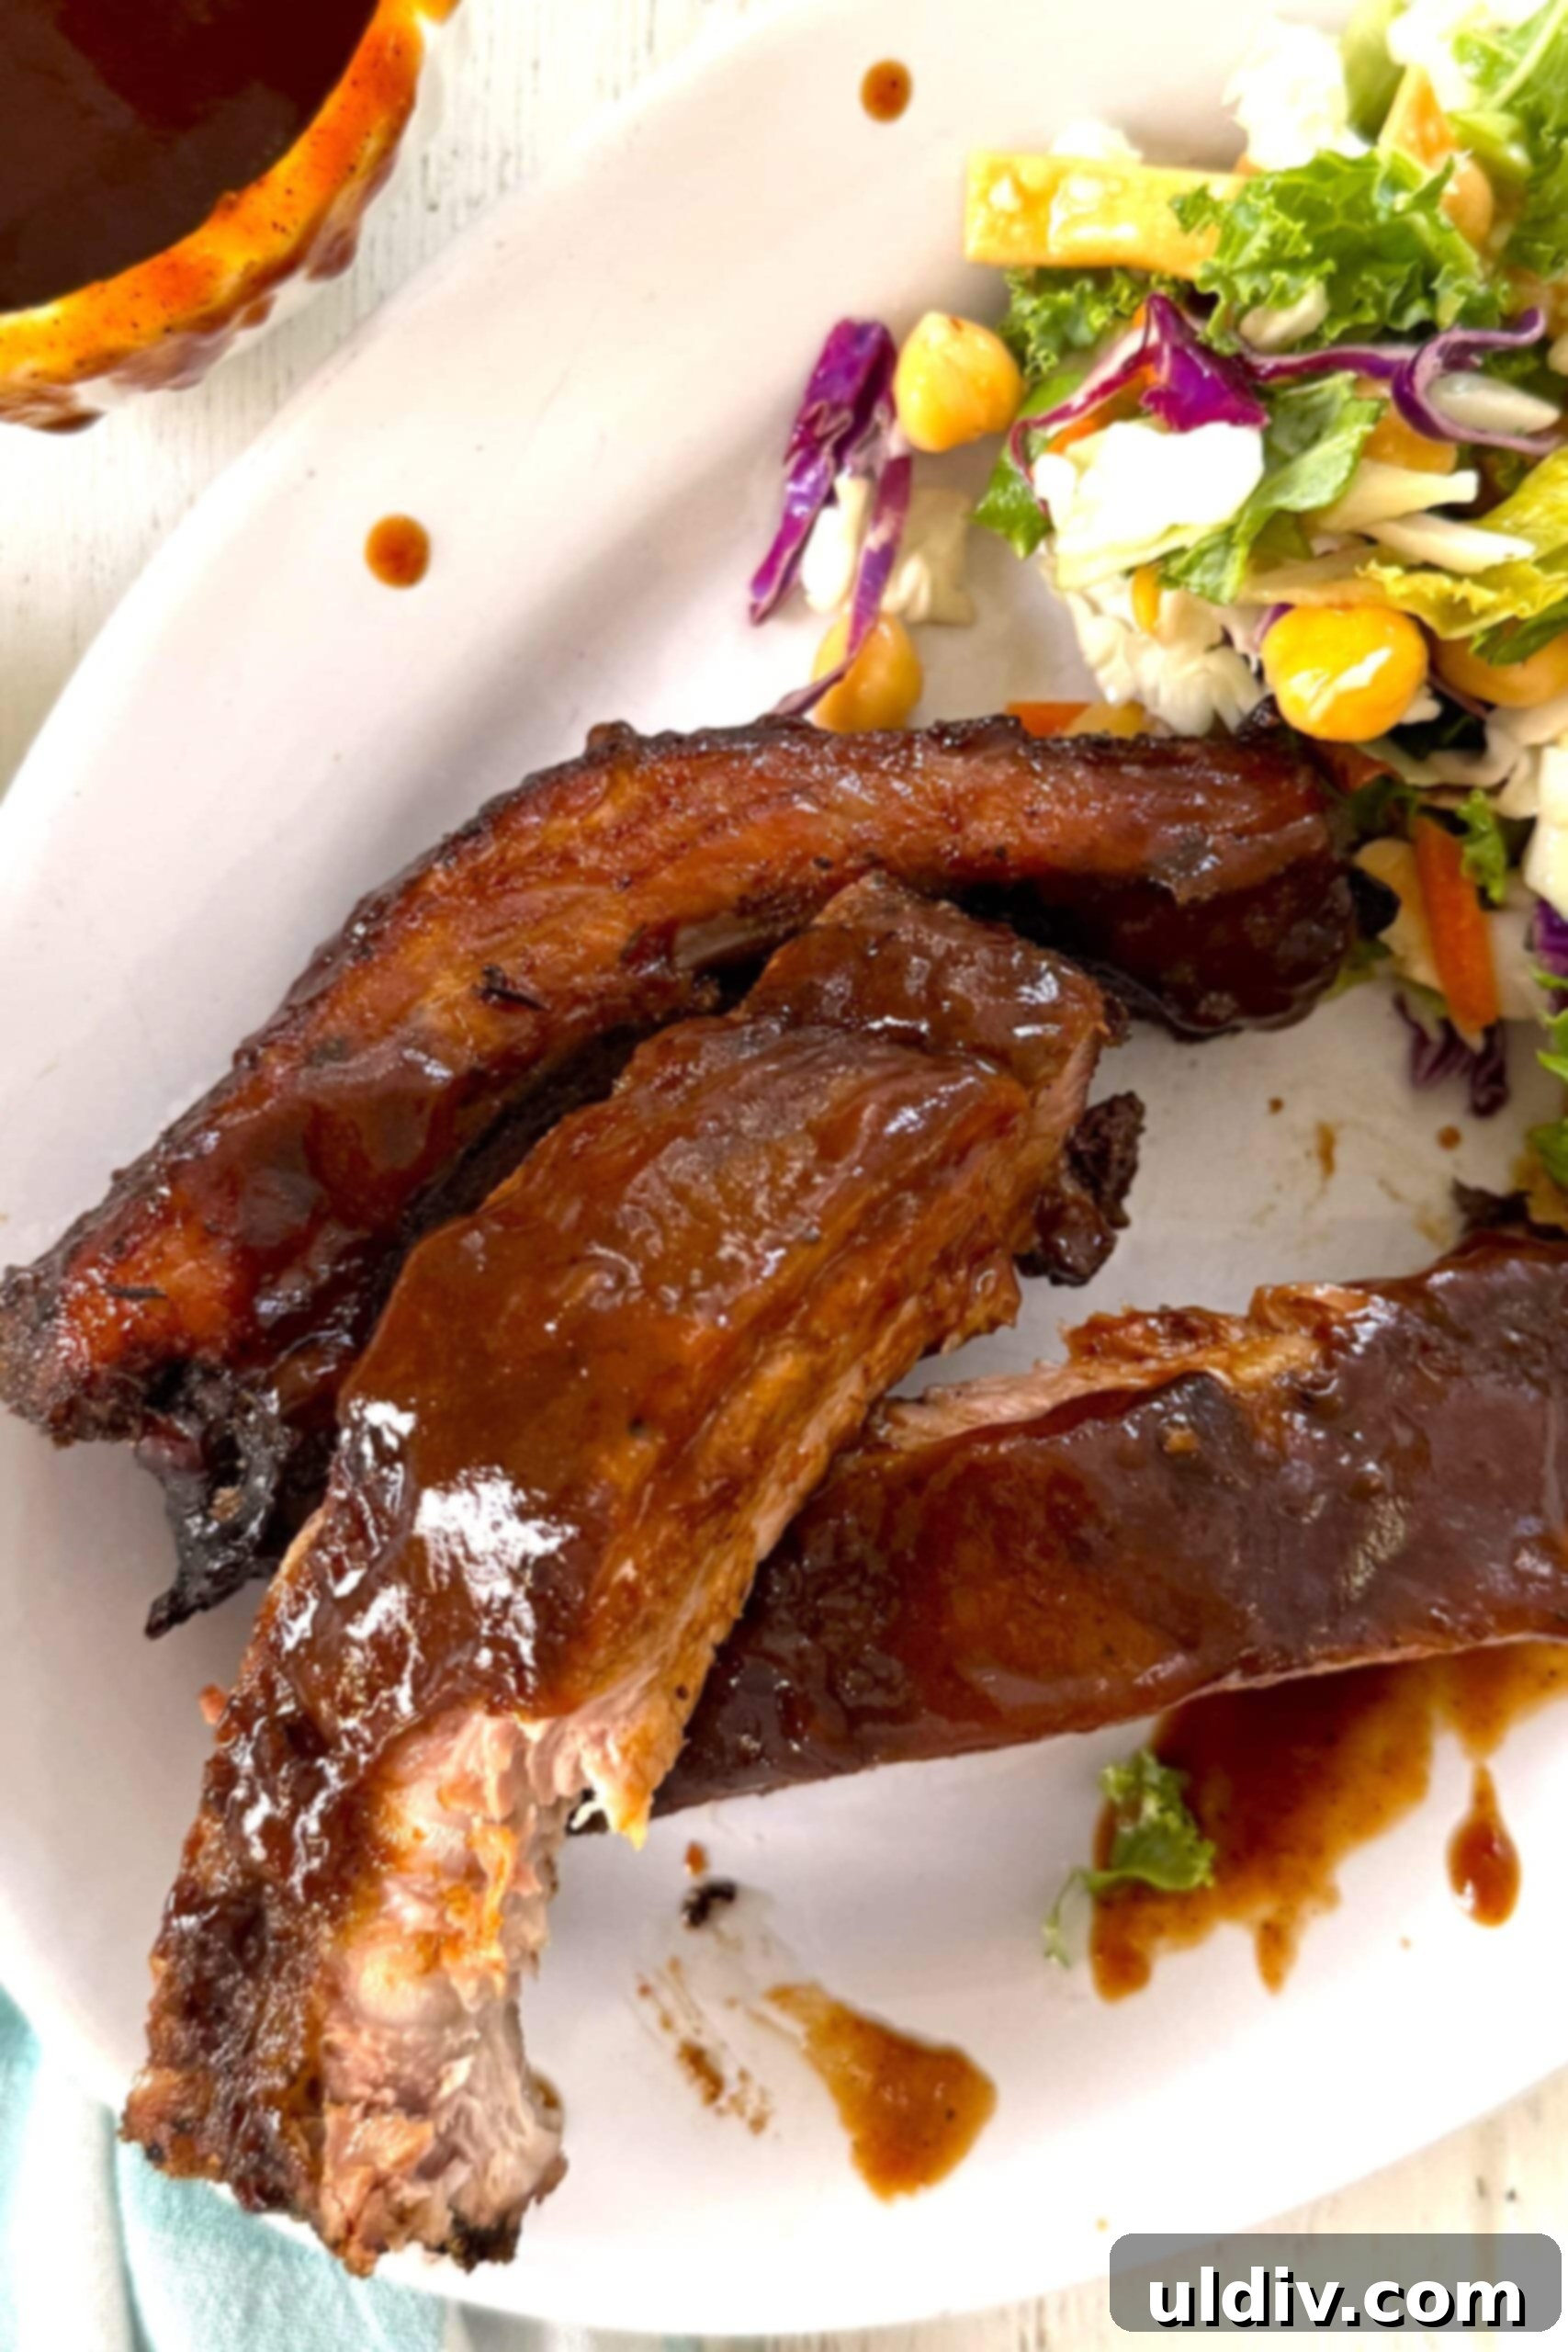
Recipe at a Glance
- Recipe Name: Irresistible Baked Baby Back Ribs
- Prep Time: 10 minutes
- Cook Time: 3 hours
- Total Time: 3 hours 10 minutes
- Serves: 4 to 6 people
- Calories: Approximately 438 kcal per serving
- Key Ingredients: Baby back ribs, savory barbecue seasoning, and your favorite barbecue sauce.
- Difficulty: Easy – perfect for home cooks of all skill levels.
- Why You’ll Adore This Recipe: Incredibly simple preparation, consistently delivers fall-off-the-bone tender results, and an ideal candidate for make-ahead meal planning.
If your heart yearns for **succulent, sticky, and wonderfully tender ribs that effortlessly slide off the bone**, then this is the recipe you’ve been waiting for. These ribs hold a special place as one of our most cherished pork recipes, alongside my speedy 30-minute Pork Tenderloin Sliders and the elegant Maple Glazed Pork with Sautéed Apples. I often prepare this baby back rib recipe throughout the year, regardless of the season, bringing that authentic barbecue flavor indoors.
This deceptively simple recipe, requiring just three core ingredients, was a creation from my time as a chef at a charming gourmet shop. I further refined it while catering to my barbecue-loving personal chef clients, ensuring the ribs tasted just as spectacular when reheated as they did fresh out of the oven. This makes it an invaluable recipe for anyone looking to alleviate dinner time stress. You’ll even find yourself with enough spare time to whip up a delicious dessert, perhaps a Peach Crumble Pie.
I genuinely appreciate how consistently perfect these ribs turn out with such minimal effort. The secret lies in a bit of patience, allowing your oven to work its magic through a slow roasting process, transforming humble ribs into a culinary masterpiece.

Why You’ll Fall in Love with Oven-Baked BBQ Ribs
Oven-baked barbecue ribs offer a multitude of advantages that make them a go-to for both seasoned cooks and kitchen newcomers. Here’s why these ribs will become a cherished recipe in your repertoire:
- Effortless Preparation: Forget complicated techniques or specialized equipment. With minimal hands-on prep and a short list of just three primary ingredients, cooking baby back ribs in your oven couldn’t be simpler. This recipe is designed for ease, allowing you to spend less time in the kitchen and more time enjoying your meal.
- Unmatched Tenderness and Flavor: The secret to truly exceptional ribs lies in the “low and slow” cooking method. Baking ribs in the oven at a consistent, low temperature for several hours works wonders. This gentle heat gradually breaks down the tough connective tissues within the pork, rendering the ribs incredibly tender and moist every single time. The result is a deeply flavorful, melt-in-your-mouth experience that outdoor grilling often struggles to achieve consistently.
- Perfect for Make-Ahead Meals and Entertaining: Whether you’re planning a party and want to get a head start, or you’re a fan of weekly meal prepping, these baked ribs are foolproof. Their ability to be prepared in advance without compromising quality makes them an ideal choice. This make-ahead capability was a crucial factor for my personal chef clients, ensuring delicious results even after reheating. You can confidently prepare them ahead of time, knowing they’ll be just as sensational when served.
- Year-Round Enjoyment: Unlike traditional grilling which is often weather-dependent, oven-baked ribs can be enjoyed any time of the year. Craving smoky, tender ribs in the dead of winter? Your oven is ready to deliver. This versatility ensures that your favorite barbecue flavors are always within reach.
- Foolproof Results: The controlled environment of an oven eliminates many variables associated with outdoor cooking, like fluctuating temperatures or flare-ups. This consistency makes it much easier to achieve perfect, tender ribs every time, even for those new to cooking pork.
Ingredients & Essential Components for Perfection
Crafting these delectable baked baby back ribs requires only a handful of quality ingredients. Below is what you’ll need for this incredibly flavorful dish. For the exact quantities, please refer to the comprehensive recipe card at the bottom of this page.
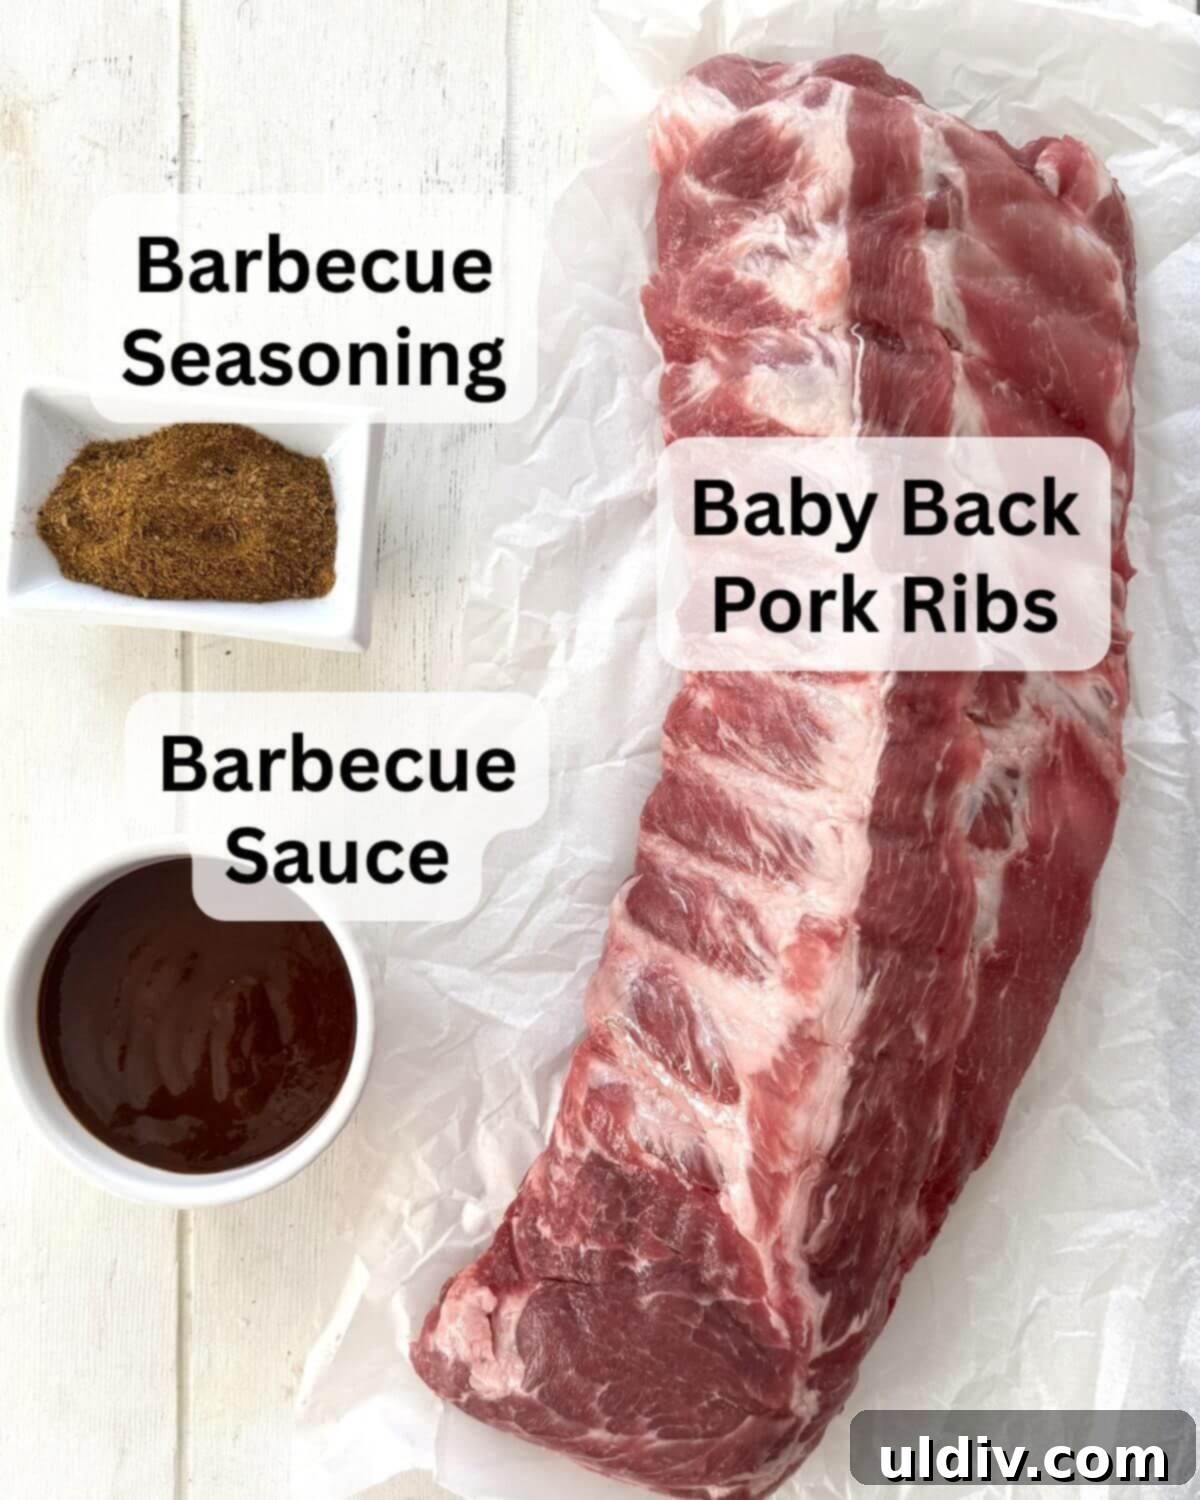
- Pork Ribs: For baking ribs, my top recommendation is always baby back ribs. They are renowned for being smaller, leaner, and exceptionally tender, making them ideal for achieving that coveted fall-off-the-bone texture. However, if you prefer a meatier, more robust flavor profile, spare ribs are an excellent alternative. Keep in mind that spare ribs contain more fat and will typically require a slightly longer baking time to reach optimal tenderness. When selecting ribs, look for racks with a good meat-to-bone ratio and even marbling.
- Barbecue Spice Rub: The quality of your spice rub significantly impacts the final flavor. Feel free to use your favorite store-bought BBQ spice rub or whip up a homemade blend. A good rub typically contains a balanced mix of sweet (like brown sugar), savory (paprika, garlic powder, onion powder), and sometimes a hint of heat (cayenne pepper). I personally love this versatile All American Seasoning & Rub for its well-rounded profile. Apply generously to ensure every bite is bursting with flavor.
- Barbecue Sauce: A sticky, flavorful barbecue sauce is the crowning glory of these ribs. While I highly recommend trying my incredibly simple homemade BBQ sauce recipe – made with common pantry ingredients and far superior to most store-bought options – a quality store-brand sauce will also work perfectly in a pinch. Don’t be afraid to experiment with different flavor profiles to customize your ribs. Consider sweet Thai chili sauce for an Asian twist, rich hoisin sauce for a deeper umami note, or spicy buffalo wing sauce for a fiery kick.
Expert Tip for Ingredient Selection
When you’re at the butcher or grocery store, always prioritize buying fresh baby back ribs over frozen ones. Fresh ribs generally boast superior flavor and a better texture, contributing significantly to the overall deliciousness of your finished dish.
How to Cook Baby Back Ribs in the Oven: A Step-by-Step Guide
Achieving perfectly tender, flavorful ribs in your oven is straightforward. Here’s a brief overview of the cooking process. For comprehensive, detailed instructions, please refer to the full recipe card located further down the page.
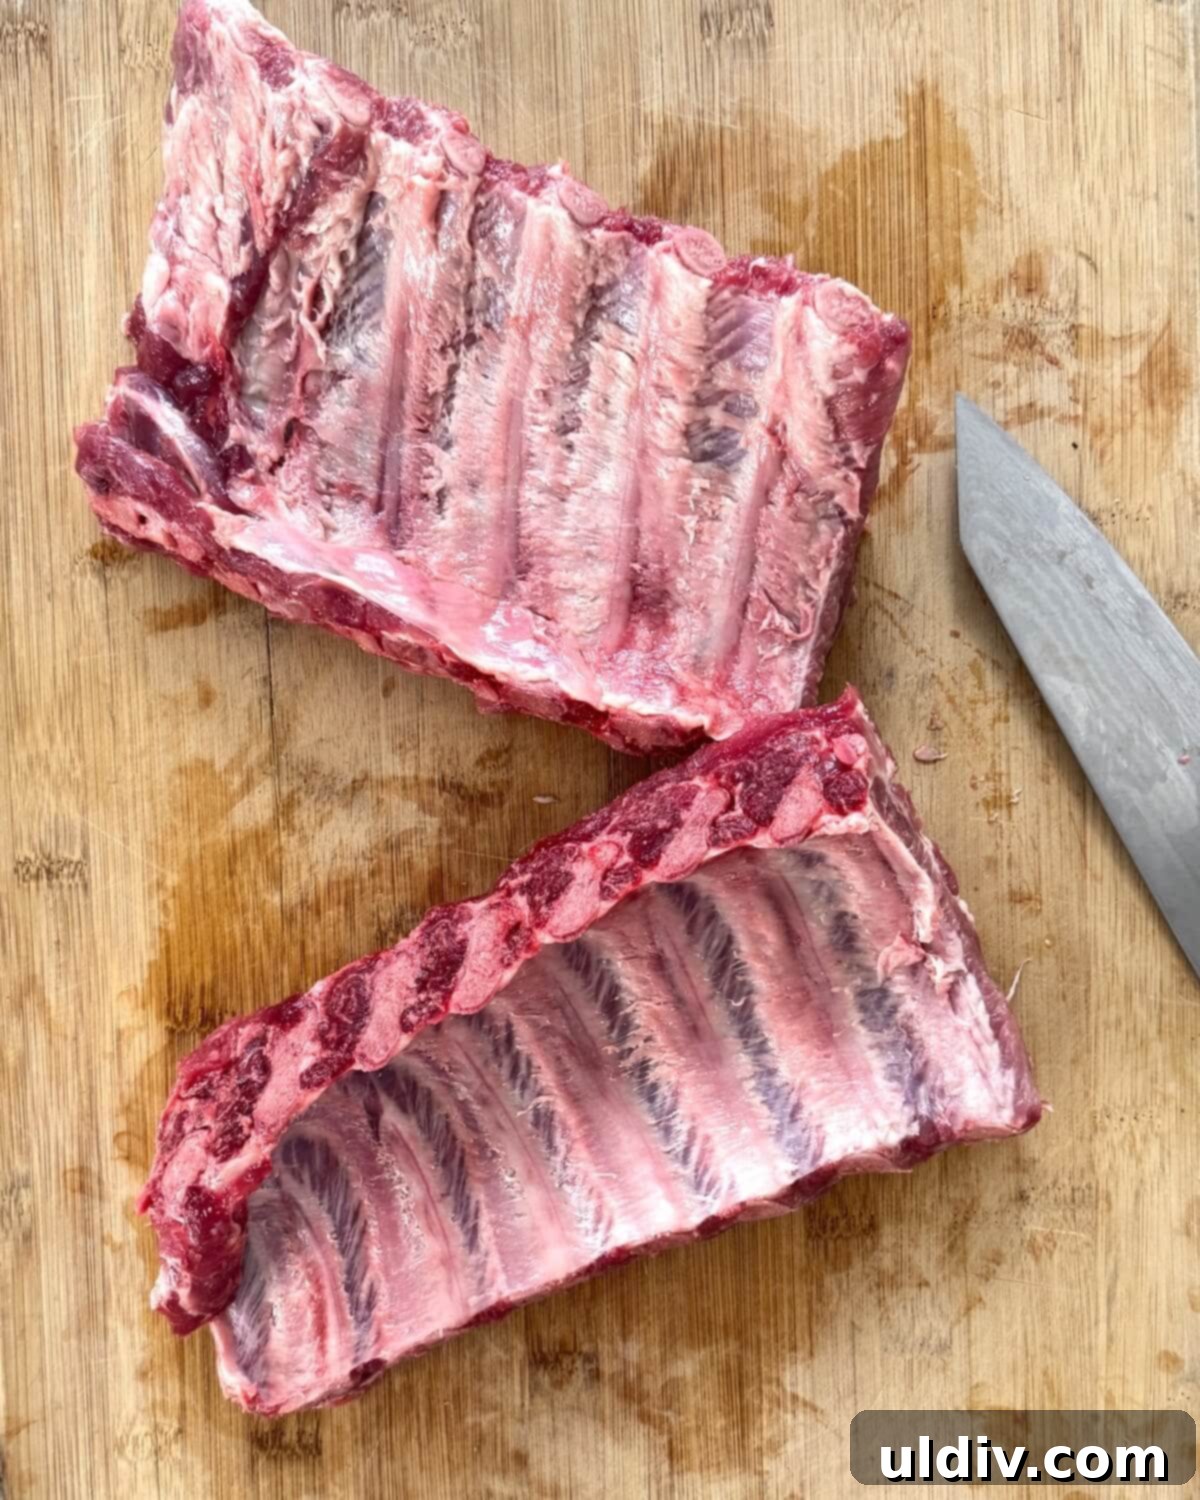
Step 1: Prepare the Ribs. Begin by cutting each full rack of ribs in half for easier handling. Crucially, use a knife to carefully remove the tough, silverskin-like membrane from the underside of each rib rack. This step is essential for maximum tenderness.
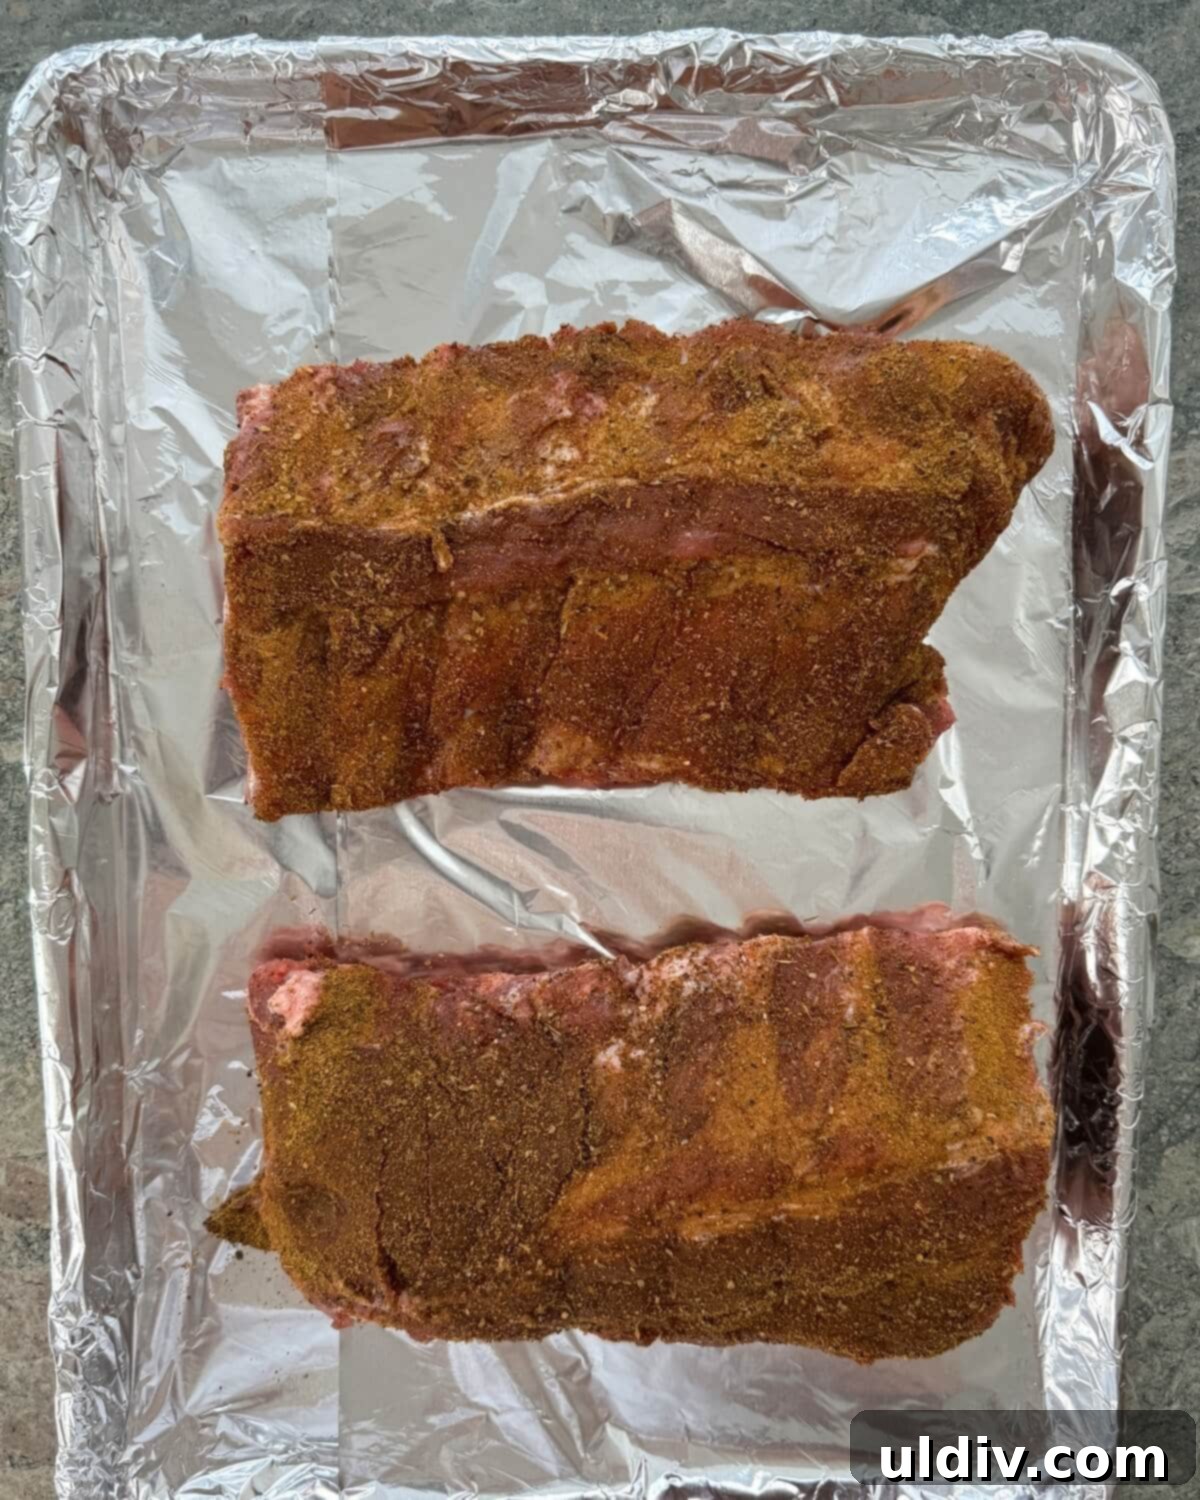
Step 2: Season Liberally. Generously rub your chosen barbecue seasoning over all surfaces of the prepared ribs. Don’t be shy – a good coating ensures deep flavor. Arrange the seasoned racks on a foil-lined, rimmed baking sheet.
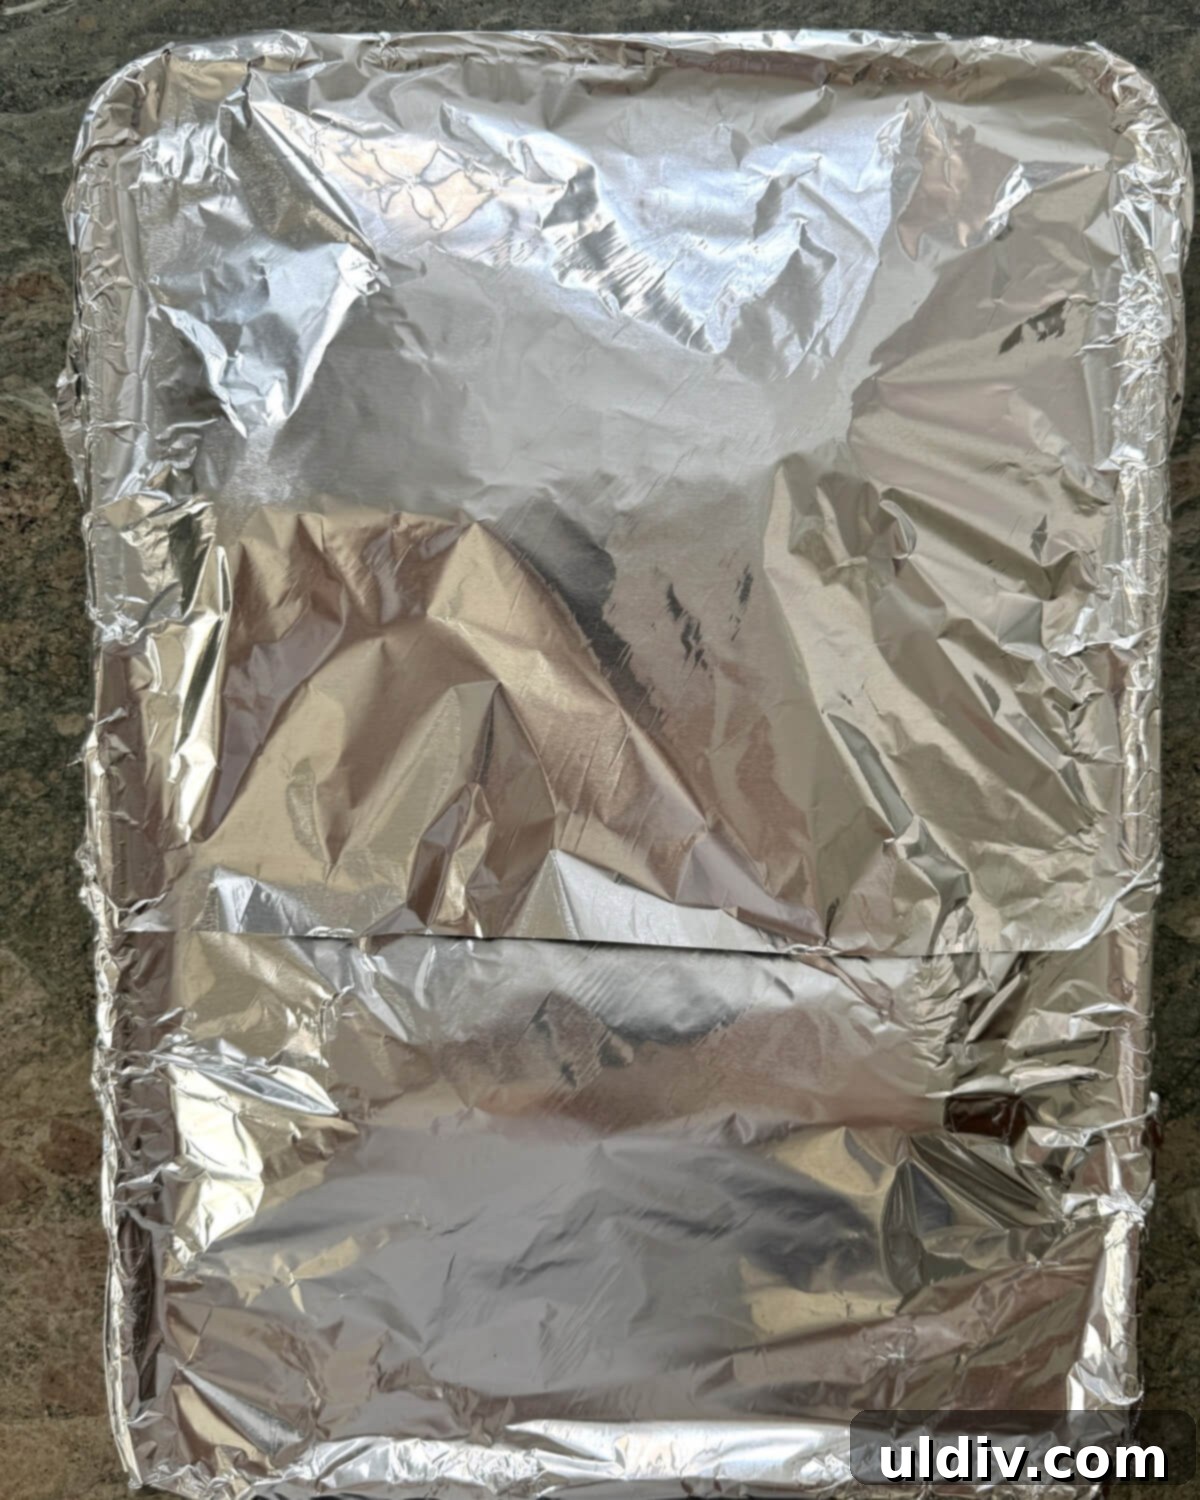
Step 3: Slow Bake to Perfection. Tightly cover the baking sheet with another layer of aluminum foil, creating a sealed environment. Bake the ribs in a preheated oven at 275 degrees F (135 degrees C) for approximately 2 ¾ to 3 ½ hours. This low and slow cooking method is key to achieving maximum tenderness.
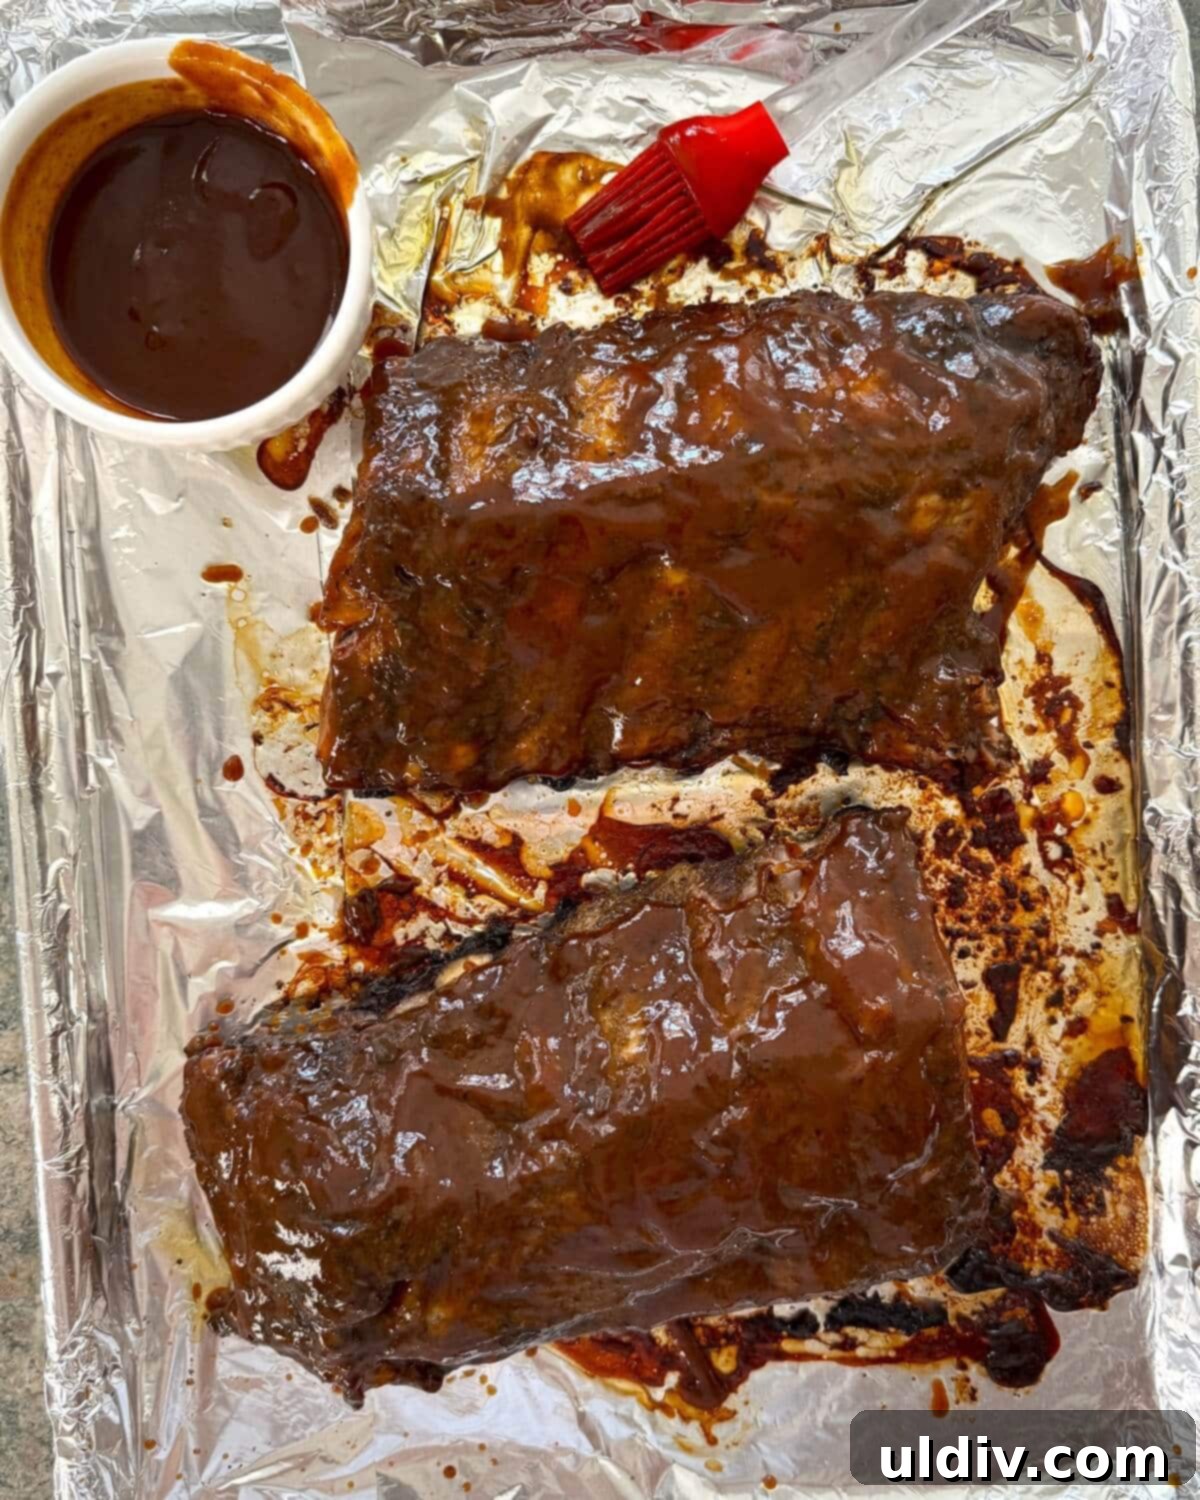
Step 4: Sauce and Caramelize. Once baked, remove the ribs from the oven and carefully uncover them. Generously baste the ribs with your chosen barbecue sauce (a basting brush makes this step simple). Return the sauced ribs to the oven under the broiler for 5 to 6 minutes, watching closely until the sauce becomes beautifully charred and caramelized in spots. Serve immediately with extra sauce on the side.
The Secret to Tenderness: Removing the Membrane from Baby Back Ribs
For truly melt-in-your-mouth ribs, removing the thin, silvery membrane from the underside of each rack is a non-negotiable step. This membrane, often referred to as silverskin, is tough and fibrous. If left intact, it prevents the seasoning from fully penetrating the meat, results in a chewier, less desirable texture, and makes it difficult for the ribs to become “fall-off-the-bone” tender. Our goal is ribs that practically disintegrate with a gentle tug, so membrane removal is key.
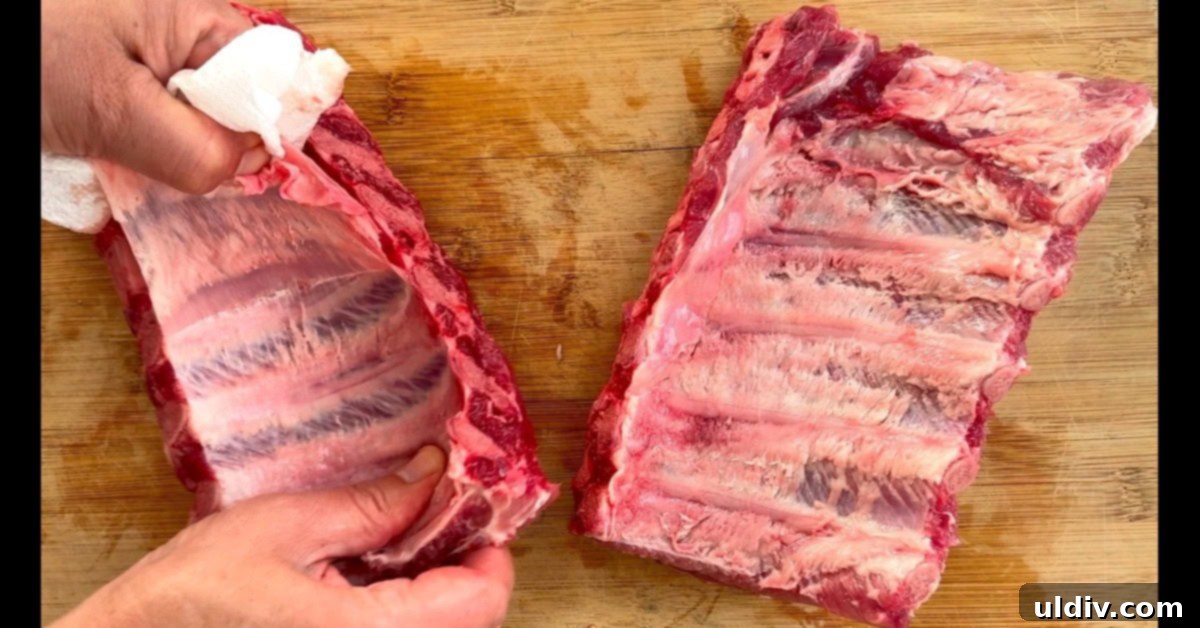
To easily remove the membrane, simply take a small knife or the handle of a spoon and slide it gently between the membrane and one of the rib bones. Once you’ve lifted a small corner, grip the edge of the membrane firmly with a paper towel (this helps tremendously as it can be quite slippery). Then, pull it steadily and firmly across the rack until it comes completely off. Discard the membrane, and prepare to enjoy the tenderest ribs imaginable.
Mastering Meal Prep: How to Prep Ribs in Advance
One of the most appealing aspects of this recipe is its suitability for advance preparation. I frequently utilized these methods when meal prepping barbecue ribs for my personal chef clients, ensuring the ribs tasted fantastic even after a few days. Cooked ribs can be safely refrigerated for 3 to 4 days. Follow these tips to ensure your reheated ribs are just as delicious as when they were first made.
- Method 1: Bake and Store (Un-sauced): Follow the baking instructions in the recipe, but skip the final basting with barbecue sauce and the broiling step. Allow the ribs to cool completely to room temperature. Transfer them to airtight containers and refrigerate for up to 4 days. These meal prep containers are excellent for this purpose. When you’re ready to serve, preheat your oven to 300 degrees F (150 degrees C). Place the ribs on a foil-lined baking sheet and cover tightly with foil. Heat in the oven for 20 to 30 minutes, or until warmed through. Remove the foil, brush generously with barbecue sauce, and then broil for 5 to 6 minutes until the sauce is bubbly and caramelized.
- Method 2: Bake, Sauce, and Broil (Fully Prepared): Prepare the ribs entirely according to the recipe, including saucing and broiling. Let them cool completely. Store the fully cooked ribs in airtight containers in the refrigerator for up to 4 days. To reheat, place the ribs on a foil-lined baking sheet, cover with foil, and heat in a 300 degree F (150 degrees C) oven for 20 to 30 minutes, or until heated through. The sauce will re-caramelize slightly, maintaining its delicious texture.
- Quick Reheat Option: Microwave: For a faster reheating solution, place 3 to 4 baked and sauced ribs on a microwave-safe plate. Cover them with a paper towel to prevent splattering and help retain moisture. Heat on 60 percent power for 2 minutes. Continue heating in 30-second intervals until the ribs are thoroughly hot. This method is great for individual portions.
Expert Tip: Broiling for Perfection
- When it comes to broiling the ribs with barbecue sauce, precision is key. You’re aiming for a beautifully caramelized, slightly charred sauce, not burnt. This transformation happens very quickly, typically within just a few minutes. Therefore, it’s crucial to watch them continuously throughout the broiling process. Keep a close eye on the ribs to ensure the sauce develops that perfect sticky, sweet, and smoky finish without overcooking or burning.
Frequently Asked Questions About Baked Ribs
Eliminate the guesswork and ensure your ribs are both flavorful and thoroughly cooked by using an instant-read digital thermometer. Insert the thermometer into the thickest part of the meat, avoiding the bone. The ideal internal temperature for tender, fall-off-the-bone ribs should be between 190 and 200 degrees F (88-93°C). At this temperature, the collagen has broken down sufficiently, making the meat incredibly tender and easy to pull apart with just a fork.
Absolutely! Grilling after baking is an excellent way to infuse your ribs with a smoky flavor and achieve those desirable grill marks. Once your ribs are baked to tenderness, preheat your grill to medium-high heat. Place the baked ribs meat-side down on the hot grill grates and brush them with additional barbecue sauce. Grill for approximately 5 minutes, allowing the sauce to caramelize and char slightly. Flip the ribs, brush with more sauce on the other side, and grill for another 4 to 5 minutes, or until they have reached your desired level of char and stickiness. This two-step method combines the best of both worlds: oven tenderness and grill flavor!
For these specific baked baby back ribs, adding liquid to the baking sheet is not necessary. The tight foil cover creates a steamy environment that helps tenderize the ribs effectively without extra moisture. This method ensures the seasoning and barbecue sauce adhere perfectly without becoming diluted.
Allow any leftover ribs to cool completely to room temperature before storing. Place them in an airtight container or wrap them tightly in aluminum foil. Refrigerate promptly within two hours of cooking. Properly stored, baked ribs will remain fresh and delicious for 3 to 4 days in the refrigerator. For longer storage, ribs can be frozen for up to 2-3 months. Thaw them in the refrigerator overnight before reheating.
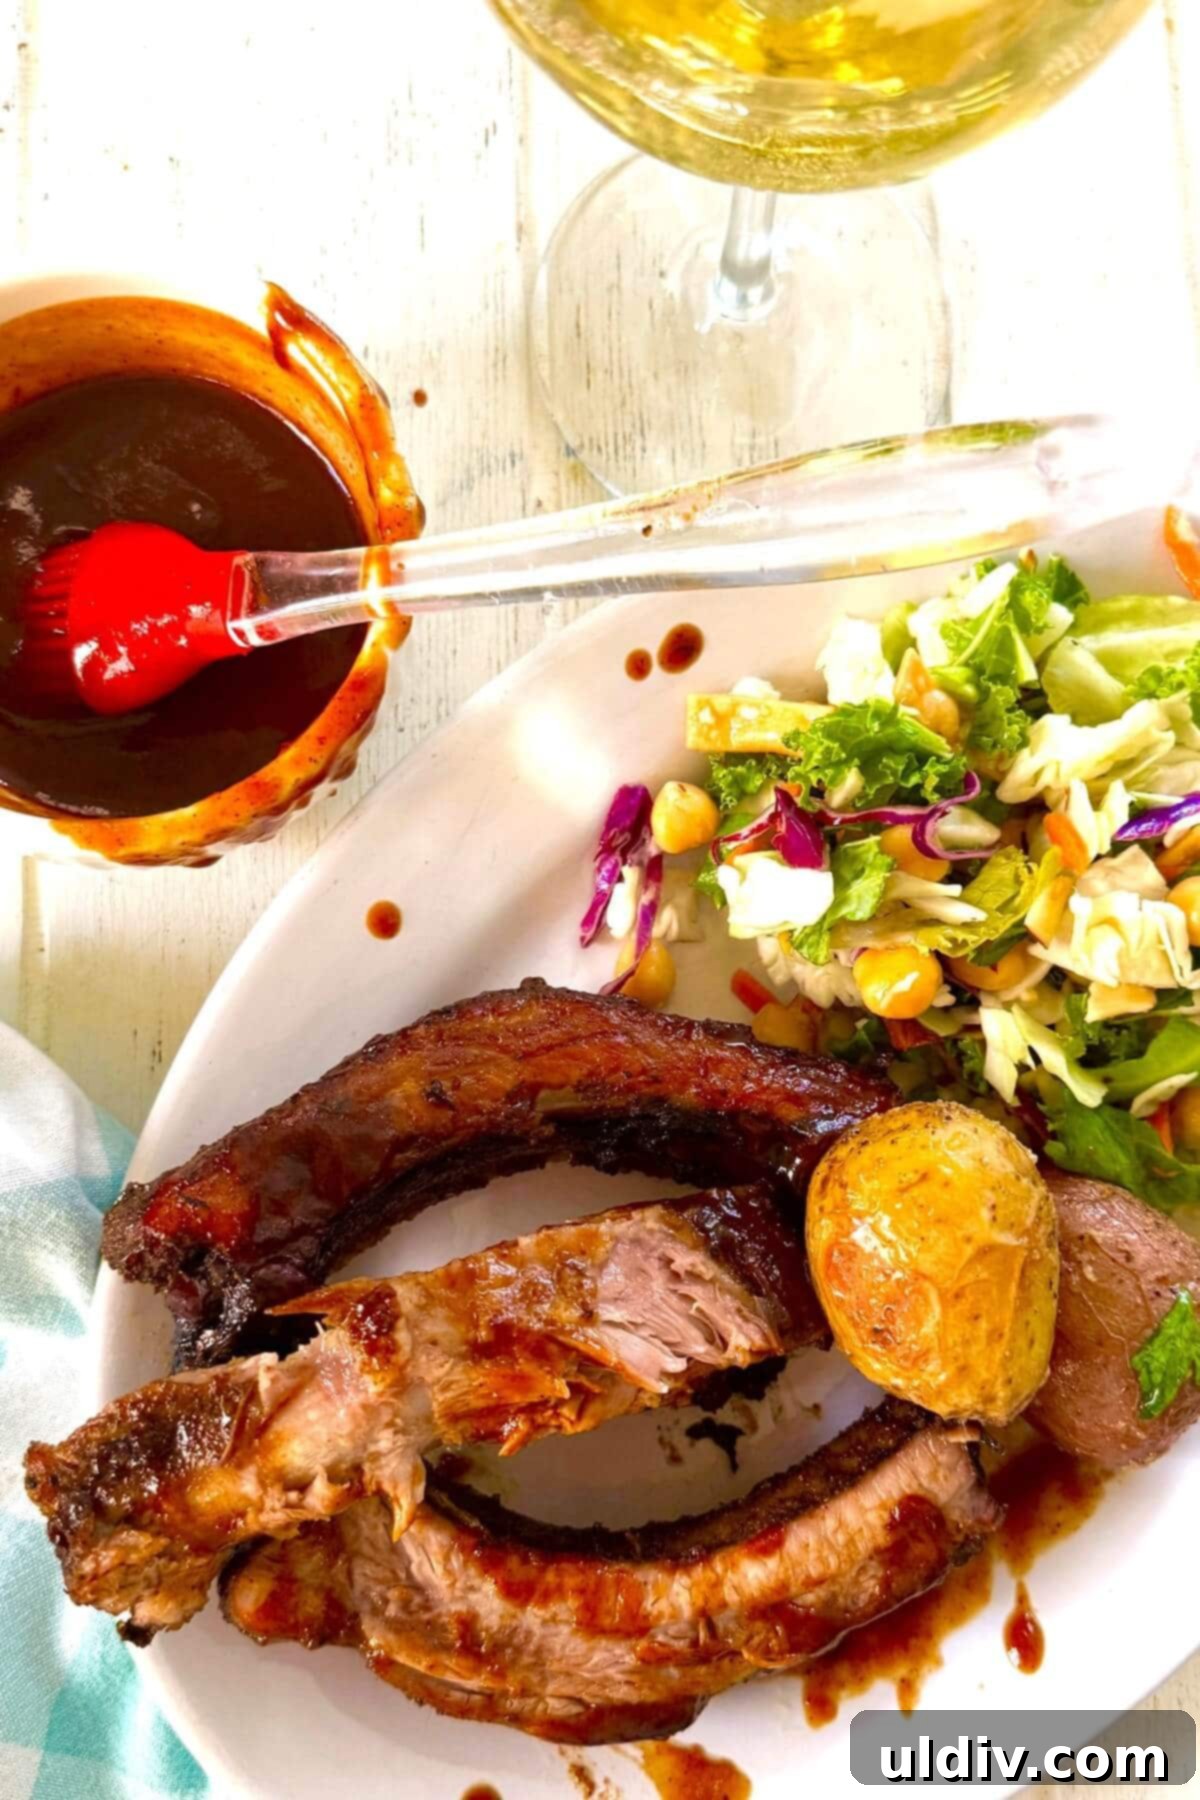
Perfect Pairings: What to Serve with Barbecue Ribs
No plate of succulent barbecue ribs is complete without a selection of classic and complementary side dishes. Alongside these incredible baked baby back ribs, consider serving staple sides like buttery corn on the cob or our family’s absolute favorite Homestyle Red Potato Salad. This vibrant broccoli salad is also a consistent crowd-pleaser.
Explore some of these other fantastic side dish ideas to elevate your meal:
- Super Cheesy and Easy Mac and Cheese ~ A comforting stovetop recipe that’s always a hit!
- Do-Ahead Twice Baked Potatoes ~ These are not only delicious but also freeze beautifully for future convenience.
- The Best Crispy Oven Fries ~ Achieve restaurant-quality crispness right from your oven.
- Refreshing Avocado, Corn, Cucumber, and Tomato Salad ~ A light and vibrant option perfect for balancing richer flavors.
- Spinach and Blueberry Salad with Yogurt Honey Dressing ~ A surprisingly delightful combination of sweet and savory.
To conclude your barbecue feast on a sweet note, try some delightful desserts like Snickerdoodle Ice Cream Sandwiches or a scoop of rich and creamy No-Churn Oreo Ice Cream.
Explore More Mouthwatering Recipes Like This One
If you enjoyed this recipe for tender baked ribs, you’ll love these other flavorful dishes:
- Italian Sausage and Pepper Kabobs ~ A colorful and easy grilled meal.
- BBQ Brisket Sandwiches ~ Incredible flavor, made quickly in an Instant Pot!
- Coffee Rubbed Steaks ~ A unique and surprisingly delicious rub for your steaks.
- Pork Tenderloin with Fresh Mango Salsa ~ A tropical twist on tender pork.
- Tangy Lemon Barbecued Shrimp Skewers ~ Quick, flavorful, and perfect for grilling.
Your Feedback Matters!

Did you try this irresistible recipe?
I would absolutely love to hear about your experience! Please let me know by leaving a comment and a star rating below. Your feedback helps me and other home cooks. Don’t forget to share your culinary creations on Pinterest, Instagram, and Facebook!
Thank you for cooking with me! ~ Amy
Recipe Card: Baked Baby Back Ribs
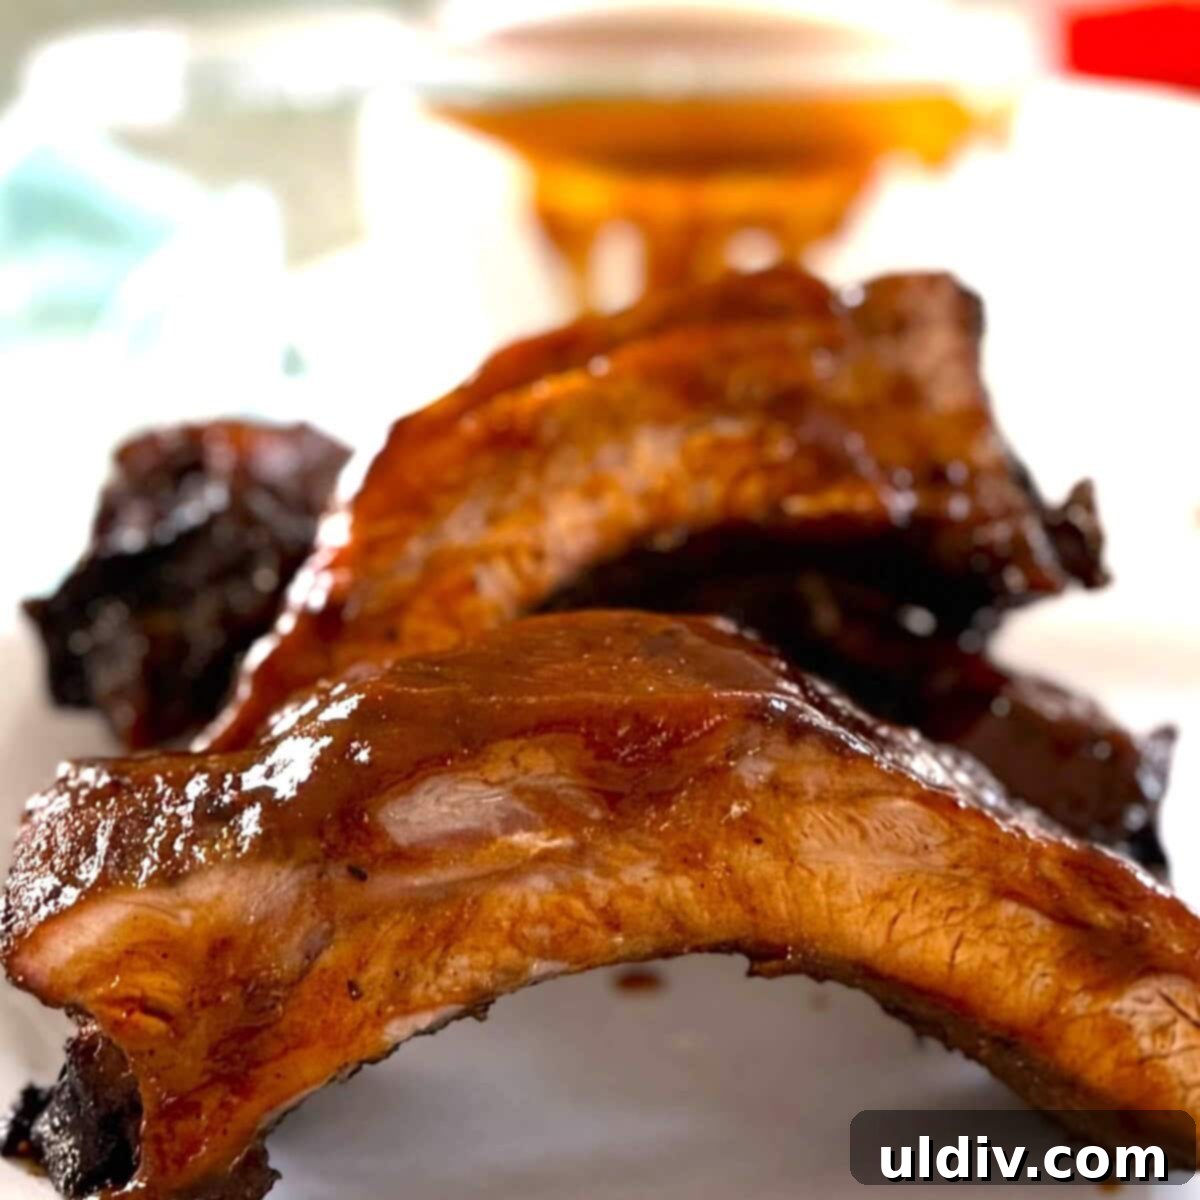
Baked Baby Back Ribs
Print Recipe
Pin Recipe
Rate This Recipe
Equipment
-
Baking Sheet
-
Basting Brush
-
Metal Tongs
Ingredients
- 2 racks of baby back pork ribs
- ¼ cup barbecue seasoning
- 2 cups barbecue sauce
Instructions
-
Preheat your oven to 275 degrees F (135°C). Line a large, rimmed baking sheet with aluminum foil and set it aside.
-
Cut each full rack of ribs in half to make them easier to handle and fit on the baking sheet.
-
If your ribs still have the thin, silvery membrane on the underside, it’s crucial to remove it for maximum tenderness. Slide a small knife or the handle of a spoon between the membrane and the bones to lift a corner. Grip the membrane firmly with a paper towel and pull it off the rack. Discard the membrane.
-
Generously season all sides of the ribs with your chosen barbecue seasoning. Ensure an even and ample coating.
-
Place the seasoned ribs on the prepared baking sheet. Cover the baking sheet tightly with a second layer of aluminum foil to seal in moisture, creating a steamy environment.
-
Bake the ribs for 2 ¾ to 3 ½ hours, or until they are exceptionally tender and nearly falling off the bone. The internal temperature of the ribs should register between 190 and 200 degrees F (88-93°C).
-
Once baked, carefully remove the ribs from the oven. Increase the oven temperature to broil and position an oven rack at the highest level.
-
Uncover the ribs and generously brush them with some of your favorite barbecue sauce.
-
Return the sauced ribs to the oven under the broiler. Broil for 5 to 6 minutes, watching them continuously, until the sauce is beautifully charred, bubbly, and caramelized in spots. This step adds immense flavor and texture.
-
Remove the perfectly cooked ribs from the oven. Let them rest for a few minutes, then serve with extra barbecue sauce on the side for dipping. Enjoy your tender, finger-licking ribs!
Video
Notes
Bake and Store (Un-sauced): Bake the ribs according to the recipe, but skip the final saucing and broiling. Let cool completely. Store in airtight containers for up to 3 days. When ready to serve, place the ribs on a foil-lined baking sheet and cover with foil. Heat in a 300 degree F (150°C) oven for 20 to 30 minutes. Remove the foil, brush the ribs with barbecue sauce, and broil for 5 to 6 minutes until caramelized.
Bake, Sauce and Broil (Fully Prepared): Prepare the ribs entirely according to the recipe, including saucing and broiling. Let them cool completely. Store in airtight containers for up to 3 days. When ready to serve, place the ribs on a foil-lined baking sheet and cover with foil. Heat in a 300 degree F (150°C) oven for 20 to 30 minutes, or until heated through.
Microwave Reheating: You can also heat individual portions of ribs in the microwave. Place 3 to 4 ribs on a microwave-safe plate and cover with a paper towel. Heat on 60 percent power for 2 minutes. Continue heating at 30-second intervals until the ribs are hot.