
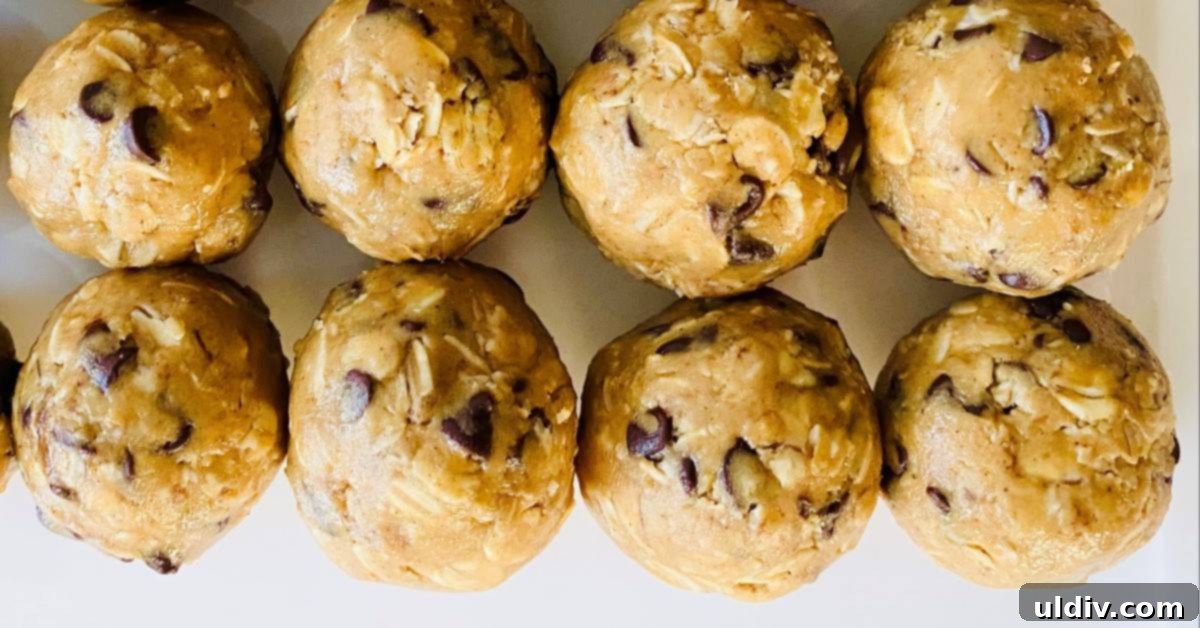
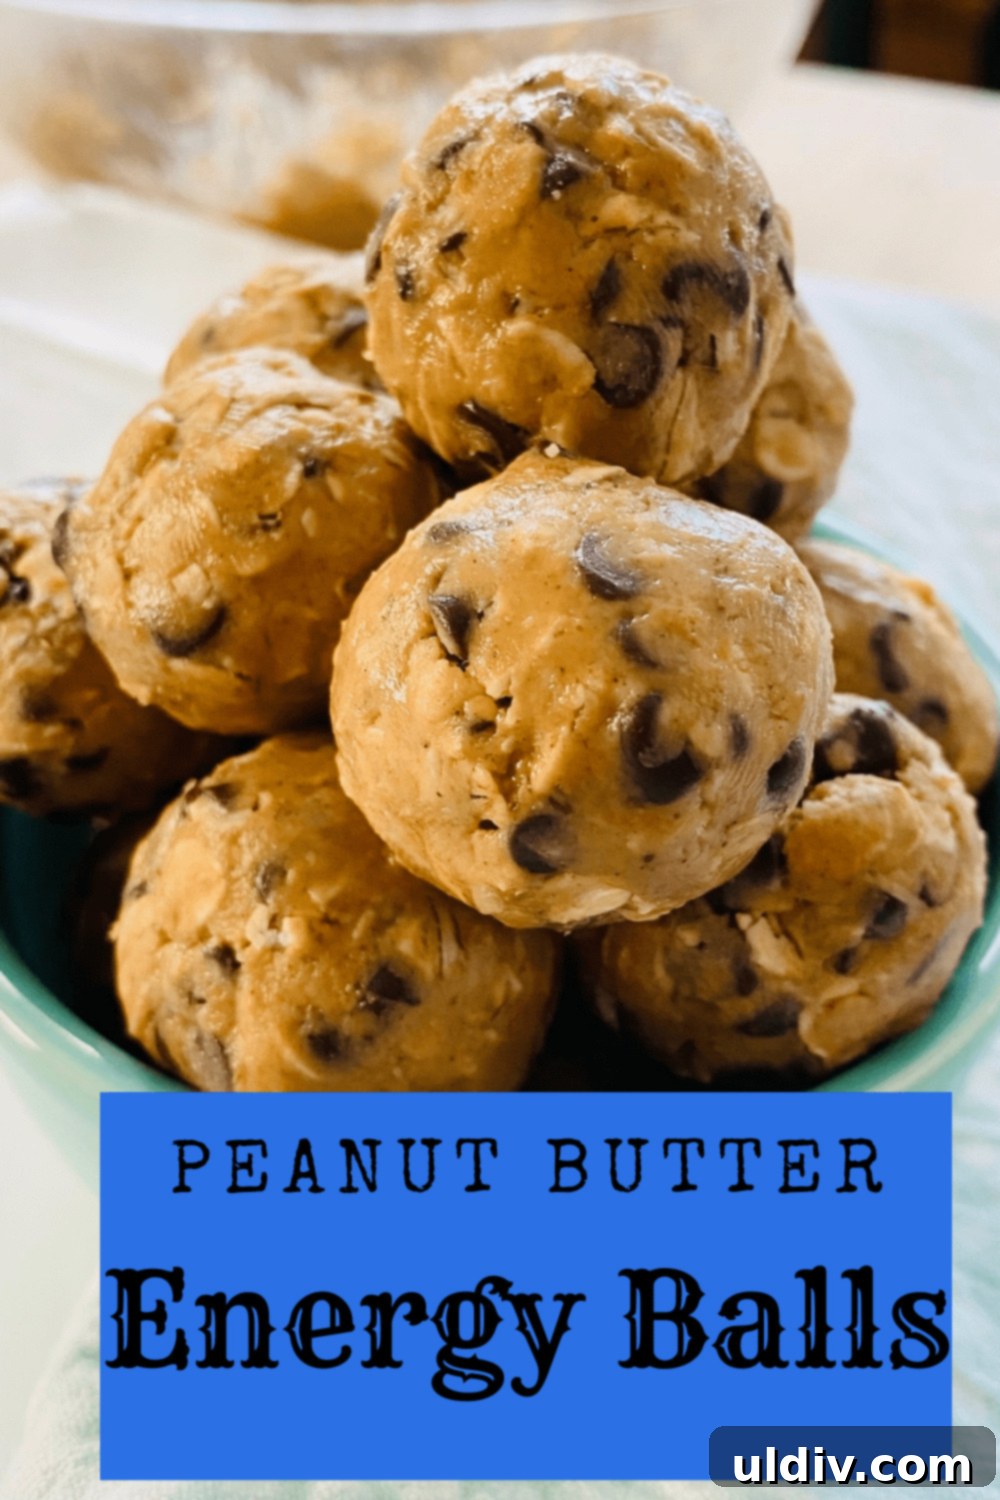
Welcome to the ultimate guide for crafting delicious and nutritious Gluten-Free Peanut Butter Balls with Oatmeal and Chocolate. These no-bake, bite-sized delights are the perfect solution for a quick energy boost at any time of day. Packed with wholesome ingredients like rolled oats, creamy peanut butter, and finely ground almond flour, these homemade energy balls are not only incredibly easy to make but also serve as a satisfying and poppable snack for everyone, including those with gluten sensitivities. Discover how to create a batch of these irresistible treats that will keep you fueled and happy throughout your busy schedule.
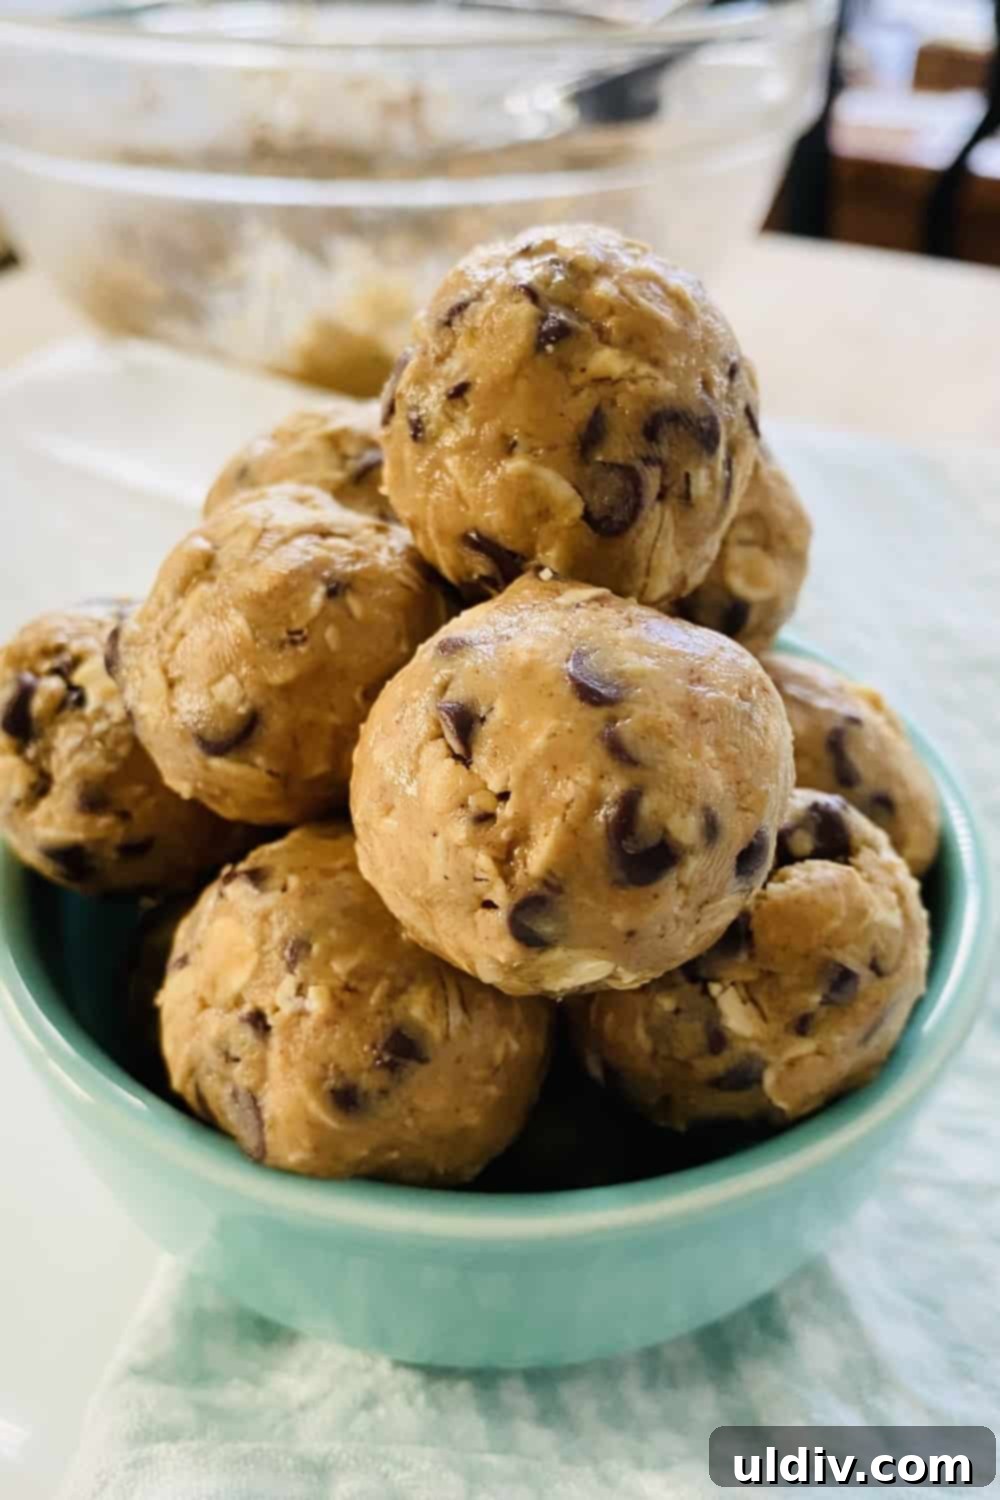
Why You’ll Absolutely Love This Recipe for Energy Balls
If you’re searching for the ideal snack that perfectly balances sweetness with sustained energy, your quest ends here. These gluten-free peanut butter balls are a game-changer for anyone needing a convenient, guilt-free pick-me-up. Imagine coming home after a demanding day of work, grocery shopping, or managing household tasks; these energy bites provide precisely what you need. They feature a smart combination of both simple and complex carbohydrates. The simple sugars offer an immediate burst of energy, while the complex carbs, primarily from the oats, ensure a longer, more stable release of stamina, preventing the dreaded sugar crash.
Beyond their energy-boosting capabilities, these treats are incredibly versatile. They are perfect for busy mornings when you need a quick breakfast on the go, an afternoon slump buster, or even a healthier dessert alternative. Their no-bake nature means less time in the kitchen and no oven required, making them an ideal recipe for all skill levels. Plus, being gluten-free, they cater to a wider audience, ensuring everyone can enjoy their delightful taste and healthful benefits. The rich, creamy texture combined with hints of chocolate and cinnamon makes them utterly irresistible, proving that healthy snacks can indeed be truly delicious.
The Wholesome Ingredients You’ll Need
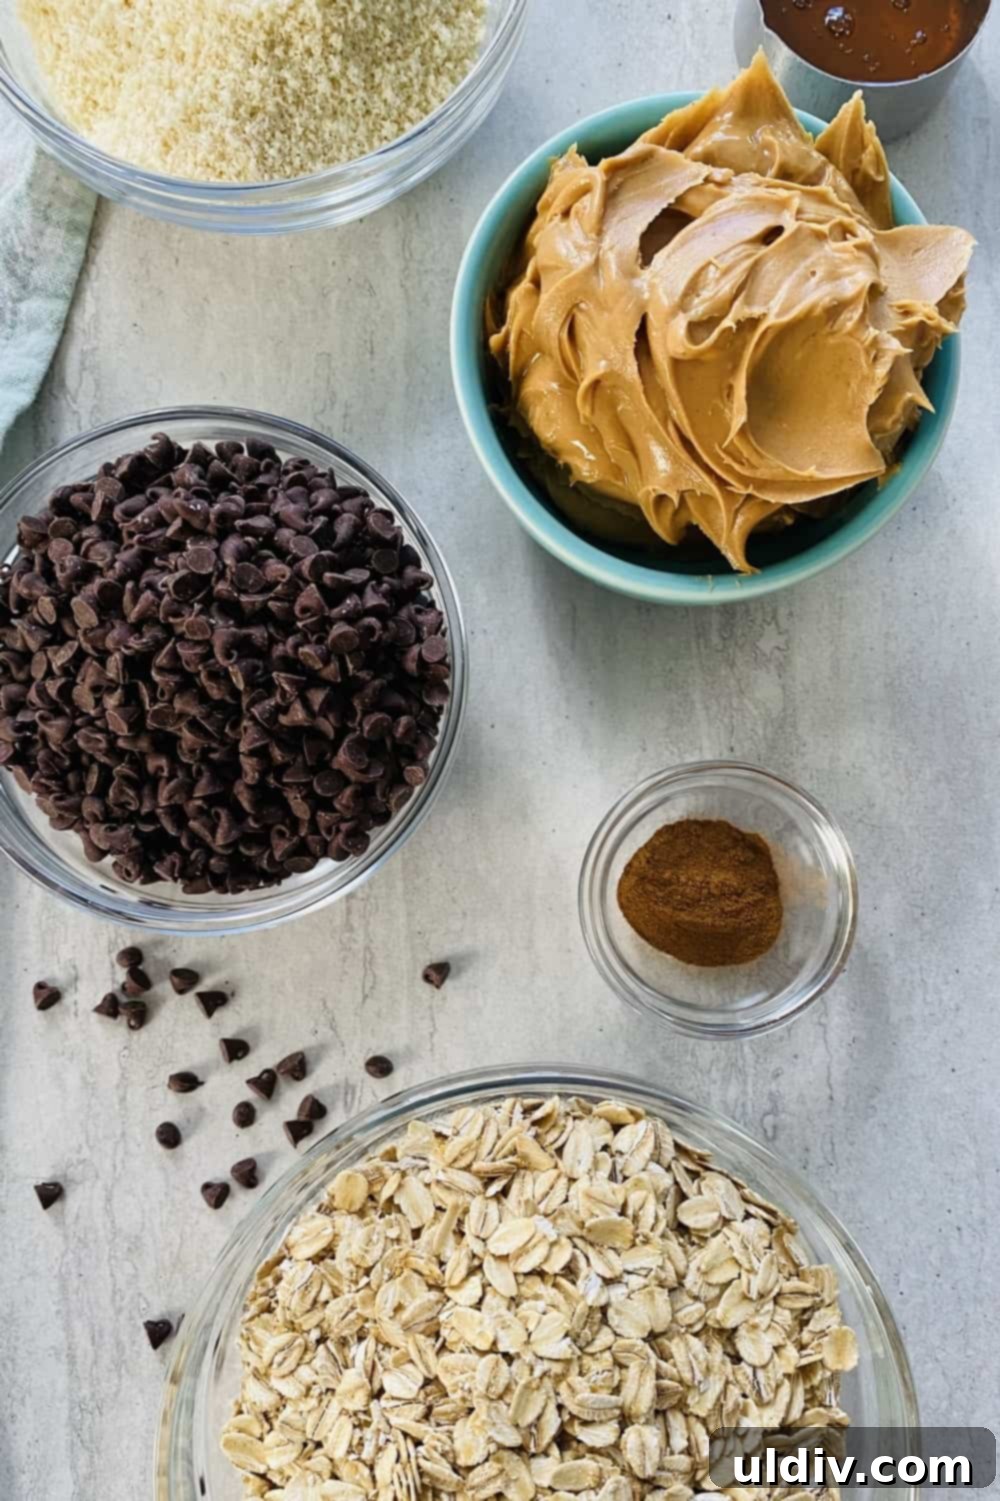
Only a handful of readily available, protein-packed ingredients are required for these energy balls. You’ll likely find most, if not all, of them in your well-stocked pantry, making impromptu snack preparation a breeze. Each component plays a crucial role in both the flavor and nutritional profile of these delightful bites.
- Gluten-Free Rolled Oats: The foundation of our energy balls. Rolled oats provide complex carbohydrates for sustained energy release and are an excellent source of dietary fiber, promoting digestive health. Ensure they are certified gluten-free if you are adhering to a strict gluten-free diet.
- Almond Flour: Adds a subtle nutty flavor, extra protein, and healthy fats, while also contributing to the perfect texture. It’s a fantastic gluten-free alternative to traditional wheat flour, enhancing the overall nutritional value.
- Mini Chocolate Chips: These tiny morsels are essential for that delightful hint of sweetness and indulgence. Mini chips ensure an even distribution throughout each bite-sized ball, giving you chocolate in every single mouthful without overpowering the other flavors.
- Cinnamon: A warm, aromatic spice that elevates the flavor profile, adding a touch of cozy sweetness and depth without extra sugar. Cinnamon is also known for its antioxidant properties.
- Honey: Our natural sweetener and binder. Honey not only provides a pleasant sweetness but also helps hold the ingredients together, giving the energy balls their characteristic chewy texture. You can also use maple syrup for a vegan option.
- Peanut Butter: The star of the show! Creamy peanut butter delivers rich flavor, healthy fats, and a significant protein boost, making these balls incredibly satisfying. Opt for a natural peanut butter with minimal added sugar and oils for the healthiest choice.
Is It Easy to Make Homemade Energy Balls? Absolutely!
YES, it’s incredibly easy! These tasty, bite-sized treats are a breeze to make, requiring minimal effort and no baking whatsoever. The entire process from gathering ingredients to forming the balls takes less than 20 minutes, making them an ideal recipe for busy individuals and families.
Here’s a simple breakdown of how effortlessly these come together:
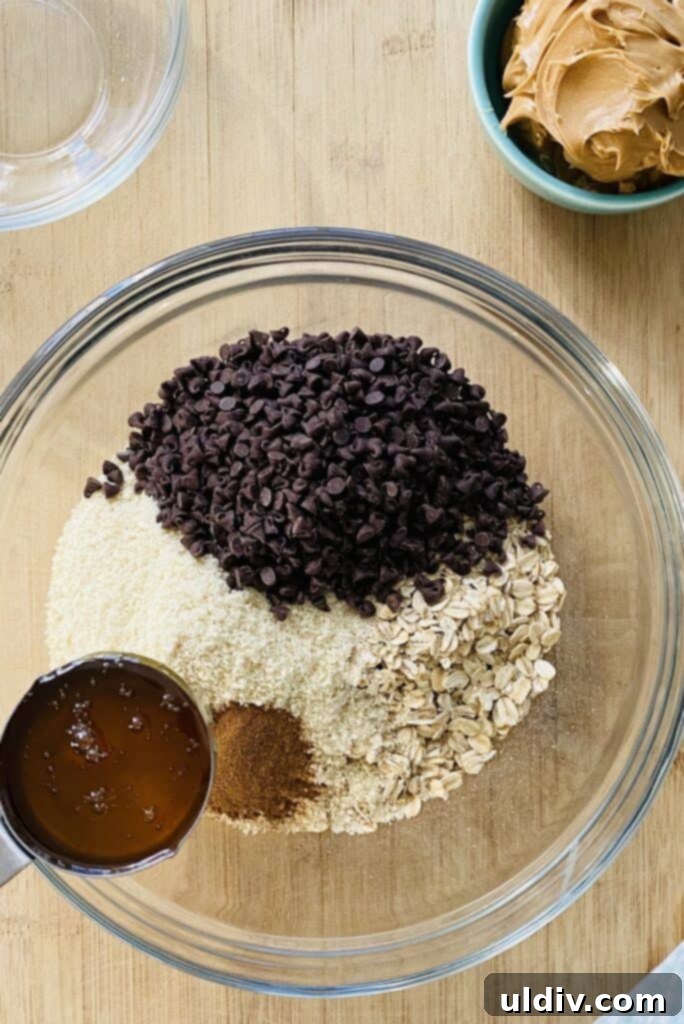
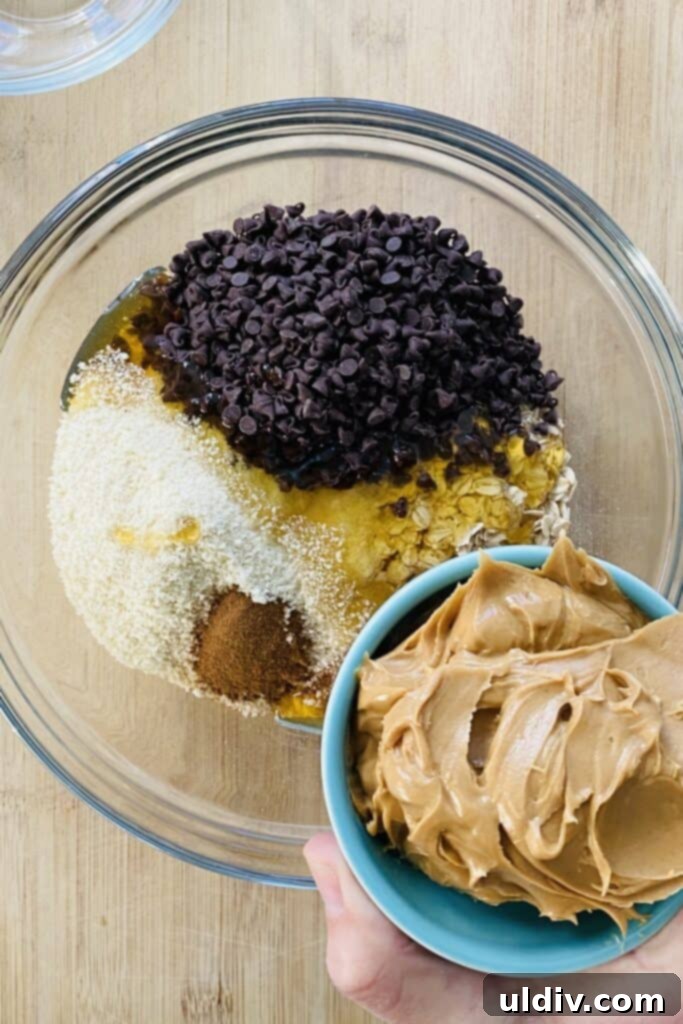
- Gather Your Ingredients: Start by assembling all your measured ingredients: gluten-free rolled oats, almond flour, mini chocolate chips, cinnamon, honey, and peanut butter. Having everything prepped makes the mixing process seamless.
- Combine in a Large Bowl: Add all the ingredients into a spacious mixing bowl. It’s crucial to use a large enough bowl to allow for thorough mixing without spills.
- Expert Tip for Sticky Ingredients: For a mess-free experience when measuring sticky ingredients like honey and peanut butter, spray your measuring cups or spoons lightly with cooking spray. The ingredients will slide right out with ease, leaving no residue behind. This simple trick saves you time and frustration during cleanup.
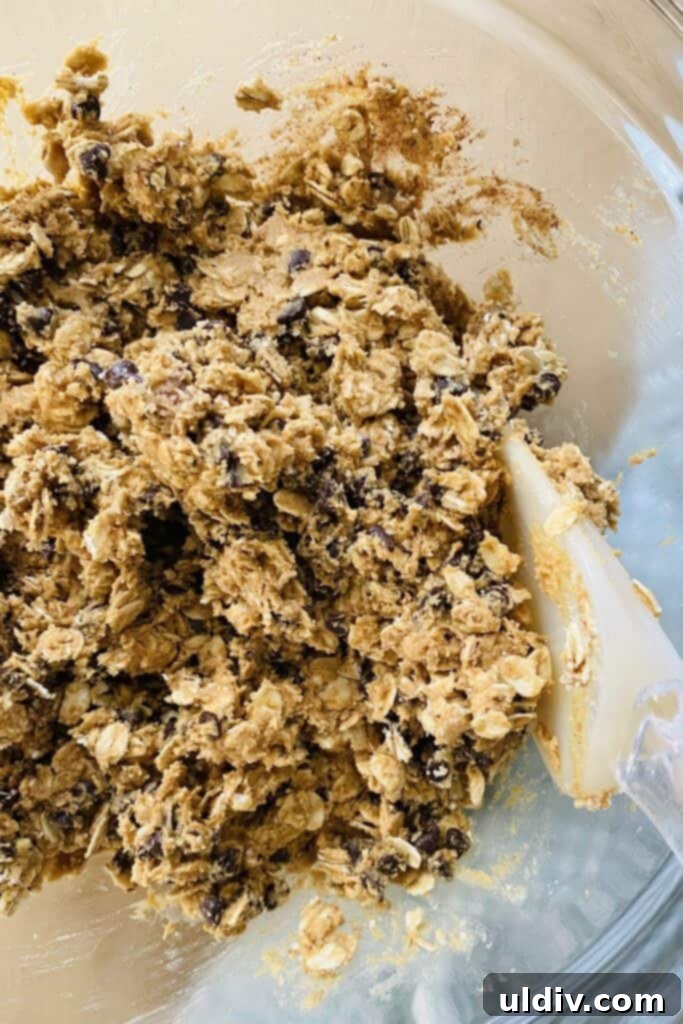
- Mix Thoroughly: Grab a sturdy spatula, or if you prefer, an electric hand mixer or stand mixer, and thoroughly combine all the ingredients until a uniform, cohesive mixture forms. You want to ensure the peanut butter and honey are evenly distributed, binding all the dry ingredients together.
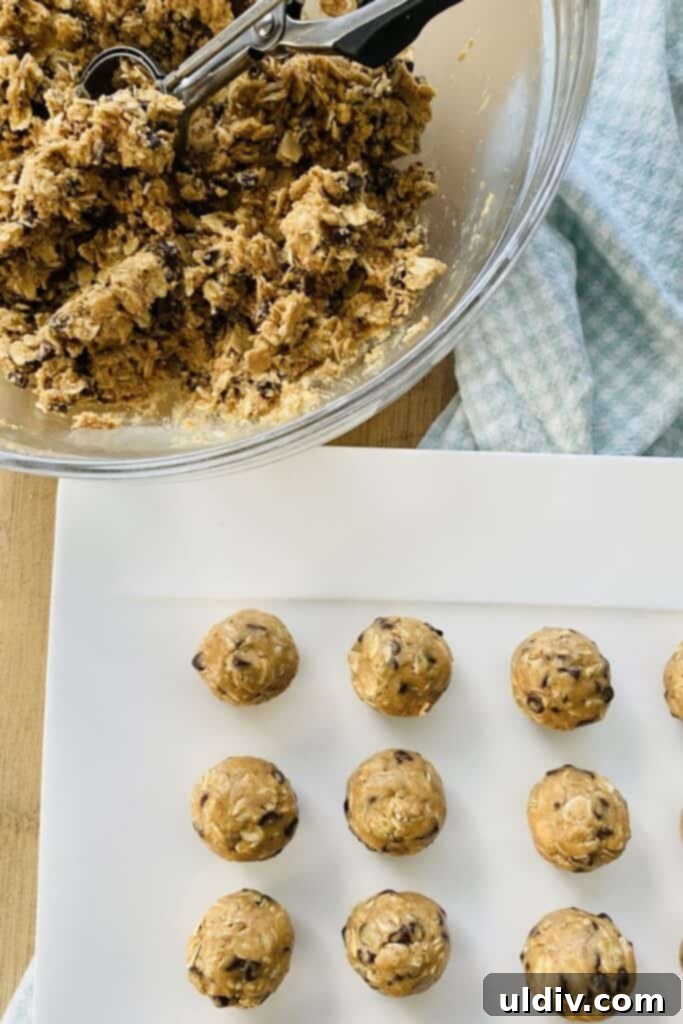
- Portion and Roll: Once the mixture is ready, portion it into tablespoon-sized pieces. A medium cookie scoop is perfect for achieving consistent sizes. Then, gently roll each portion between your palms to form smooth, round balls. A little gentle “squishing” in your hand before rolling helps them hold their shape better.
That’s it! Your homemade peanut butter energy balls are ready to be enjoyed immediately or stored for later. The simplicity of this recipe makes it a fantastic activity to do with kids, teaching them about healthy eating and basic kitchen skills.
How to Store Your Delicious Peanut Butter Balls
One of the best features of these no-bake energy balls is how well they store, making them perfect for meal prepping and having healthy snacks on hand throughout the week or even months. Proper storage ensures they retain their freshness, flavor, and delightful texture.
Once you’ve rolled your peanut butter energy bites, place them in an airtight container. They will stay fresh and delicious in the refrigerator for up to 1 week. This makes them ideal for daily grab-and-go snacks.
This recipe yields a generous batch of about 40 delicious treats, which is fantastic for stocking up! If you’ve made a large quantity and want to enjoy them over an extended period, these energy balls freeze exceptionally well. Simply transfer them to an airtight, freezer-safe container or a resealable freezer bag. They will maintain their quality and flavor for up to 2 to 3 months in the freezer.
The best part? There is absolutely no need to thaw them before eating! Many people find them just as tasty, if not more so, when enjoyed straight from the freezer. Their slightly firmer texture makes them a refreshing treat, especially on warmer days, and they still melt delightfully in your mouth. Enjoy the convenience of always having a healthy snack ready whenever a craving strikes!
Chef-Approved Tips for Perfect Peanut Butter Energy Balls
Achieving the perfect texture and flavor for your peanut butter energy balls is simple with these expert tips. Follow these guidelines to ensure every batch is consistently delicious and holds its shape beautifully.
- Choose Your Oats Wisely: While some recipes might call for quick or instant oats, I highly recommend using hearty whole grain rolled oats for this recipe. Rolled oats provide a more substantial texture and a richer, nuttier flavor, contributing to a more satisfying chew. Instant oats can sometimes make the balls a bit too soft or gummy, and steel-cut oats are too coarse and won’t bind as well, resulting in a less pleasant texture.
- Opt for Mini Chocolate Chips: Since these energy balls are designed to be small, bite-sized treats, mini chocolate chips are the ideal choice. They integrate seamlessly into the mixture, ensuring that you get a balanced amount of chocolate in every bite without overwhelming the other flavors or making the balls difficult to form. Larger chips can create unevenness and structural issues.
- The “No-Stick” Secret: Dealing with sticky ingredients like honey and peanut butter can be messy. To avoid this, lightly spray your measuring cups or spoons with cooking spray before adding these ingredients. They will effortlessly slide out, saving you time on cleanup and ensuring accurate measurements.
- Mix it Up: While combining the ingredients by hand with a sturdy spatula is perfectly fine and often preferred for smaller batches, don’t hesitate to use an electric stand mixer or a hand mixer for larger quantities. A mixer can ensure all ingredients are thoroughly incorporated, especially if your peanut butter is very thick or if you’re doubling the recipe. Just be careful not to overmix.
- Get Scooping: For perfectly uniform energy balls, a medium cookie scoop is your best friend. It ensures that each ball is roughly the same size, which not only looks professional but also helps with portion control and consistent nutrition per serving. A scoop of about 1 tablespoon is usually ideal.
- Don’t Forget to Squish: After scooping a portion of the mixture, give it a gentle but firm squish in your hand before rolling. This compression helps to bind the ingredients together more tightly, ensuring the energy balls stay intact and form nice, round shapes without crumbling. It also helps release some of the natural oils, making them smoother.
Creative Variations and Delicious Add-ins for Your Energy Bites
While the classic Peanut Butter Chocolate Chip Energy Balls are undeniably fantastic, this recipe is incredibly versatile and open to creative adaptations. Don’t be afraid to experiment with different ingredients to customize them to your taste preferences or dietary needs. Here are some ideas to inspire your next batch:
- Nut Butter Alternatives: If you’re not a fan of peanut butter or have an allergy, feel free to substitute it with other creamy nut or seed butters. Almond butter, cashew butter, or even sunflower seed butter (for a nut-free option) work wonderfully and offer different flavor profiles. Just ensure the consistency is similar to creamy peanut butter.
- Boost with Seeds: Add a nutritional punch by incorporating chia seeds, ground flax seeds, or hemp seeds. These superfoods are rich in omega-3 fatty acids, fiber, and protein. Start with 1-2 tablespoons and adjust the liquid if the mixture becomes too dry.
- Dried Fruit Fun: Mix in finely chopped dried fruits for extra sweetness and chewiness. Raisins, dried cranberries, chopped apricots, or dates can add a delightful fruity twist.
- Extra Protein Power: For an enhanced post-workout snack, blend in a scoop of your favorite protein powder (vanilla or unflavored work best). You might need to add a touch more honey or water to achieve the right consistency.
- Spice it Up: Experiment with different spices beyond cinnamon. A pinch of nutmeg, a dash of cardamom, or even a hint of ginger can add a unique warmth and complexity to your energy balls.
- Different Chocolate Types: Instead of semi-sweet, try dark chocolate chips for a richer, less sweet flavor, or white chocolate chips for a creamier indulgence. You can also drizzle melted chocolate over the finished balls for an extra decadent touch.
- Coconut Love: Fold in some shredded unsweetened coconut for added texture and a tropical flavor. You can also roll the finished balls in coconut flakes for a beautiful presentation.
- Vanilla Extract: A splash of vanilla extract (½ – 1 teaspoon) can enhance all the flavors and add a comforting aroma.
By trying these variations, you can create a unique batch of energy balls every time, keeping your snack routine exciting and tailored to your personal cravings!
The Benefits of No-Bake Energy Balls: A Healthier Choice
Choosing no-bake energy balls as your go-to snack comes with a multitude of benefits, making them a smart and delicious addition to any healthy lifestyle. They truly stand out as a wholesome alternative to processed snacks.
- Effortless Preparation: The primary advantage is their “no-bake” nature. This means no oven preheating, no monitoring, and no complicated steps. They are perfect for quick snack preparation, especially when time is limited.
- Nutrient-Dense Ingredients: Unlike many store-bought snacks, these energy balls are made with whole, unprocessed ingredients. Rolled oats provide complex carbohydrates and fiber, peanut butter offers healthy fats and protein, and almond flour adds extra protein and vitamins. This combination ensures a well-rounded nutritional profile.
- Sustained Energy Release: The blend of complex carbohydrates from oats and healthy fats from peanut butter and almond flour ensures a slow and steady release of energy. This helps to stabilize blood sugar levels, preventing energy spikes and crashes, keeping you feeling full and energized for longer periods.
- Perfect for Portion Control: Being bite-sized, these energy balls are naturally portion-controlled. It’s easy to grab one or two to satisfy a craving without overindulging, making them excellent for mindful eating and managing calorie intake.
- Highly Customizable: As discussed in the “Variations” section, these balls are a blank canvas for customization. You can easily adapt them to suit different dietary preferences (e.g., vegan with maple syrup, nut-free with seed butter) or incorporate various superfoods for an added health boost.
- Kid-Friendly and Allergen-Aware: Their sweet taste and fun, bite-sized shape make them a hit with children, providing a healthier alternative to sugary treats. By using gluten-free oats and offering nut-free butter options, they can also accommodate common dietary restrictions.
- Cost-Effective: Making your own snacks at home is often much more economical than buying pre-packaged energy bars or bites from the store. You control the ingredients, ensuring quality and freshness while saving money.
- Travel-Friendly: Their compact size and robust nature make them an excellent snack for travel, hiking, picnics, or simply carrying in your bag for an on-the-go fuel source. They won’t melt or crumble easily, making them mess-free.
Incorporating these homemade energy balls into your diet is a simple yet effective way to maintain energy levels, support overall health, and enjoy delicious snacking without compromise.
More Snack Recipes to Try
If you’ve enjoyed making these delightful peanut butter energy balls, you might be looking for more healthy and exciting snack ideas to diversify your repertoire. Here are some other fantastic recipes from our collection that we think you’ll love:
- Healthy Granola Cookies
- Freezer Fruit and Yogurt Smoothies
- Savory Cheddar Chaffles
- Fresh Vegetable Spring Rolls
Just One More Thing: Share Your Creations!
We absolutely love seeing your culinary masterpieces! Did you dive into making a batch of these irresistible gluten-free Peanut Butter Balls? We’d be thrilled to hear all about your experience!
Please take a moment to leave a comment below and let us know how your energy balls turned out. Your feedback is invaluable, and we do our best to reply to all your wonderful comments. Also, don’t forget to give this recipe a star rating! Your ratings help other aspiring cooks discover and enjoy these fantastic treats.
If you snapped a photo of your beautiful creations, we encourage you to share it with us! Post your photo to Instagram and tag @amycaseycooks. We love showcasing your work and will gladly add your photos to our Insta stories for everyone to admire. It’s incredibly rewarding to see all your delicious results!
For even more fabulous foodie stories, inspiring videos, practical cooking tips, and a plethora of other delicious recipes, be sure to check out our Facebook, YouTube, and Pinterest pages. Join our growing community of food lovers and never miss out on our latest culinary adventures!
Recipe
Peanut Butter Balls – Gluten Free
Gluten-Free Peanut Butter Balls are no-bake, bite-sized treats that offer a delightful pick-me-up any time of the day. Crafted with whole ingredients including rolled oats, creamy peanut butter, and almond flour, these energy balls are the perfect poppable snack for a quick energy boost.
Pin
Rate
15 minutes
15 minutes
40 energy balls
90kcal
Amy Casey
Equipment
-
medium cookie scoop
Ingredients
-
2
cups
gluten-free rolled oats -
1
cup
almond flour -
1
cup
mini semi-sweet chocolate chips -
1
teaspoon
cinnamon -
¼
cup
honey -
1 ⅓
cups
peanut butter
Instructions
-
In a large bowl, add all the ingredients. Stir thoroughly to combine until a uniform mixture forms.
-
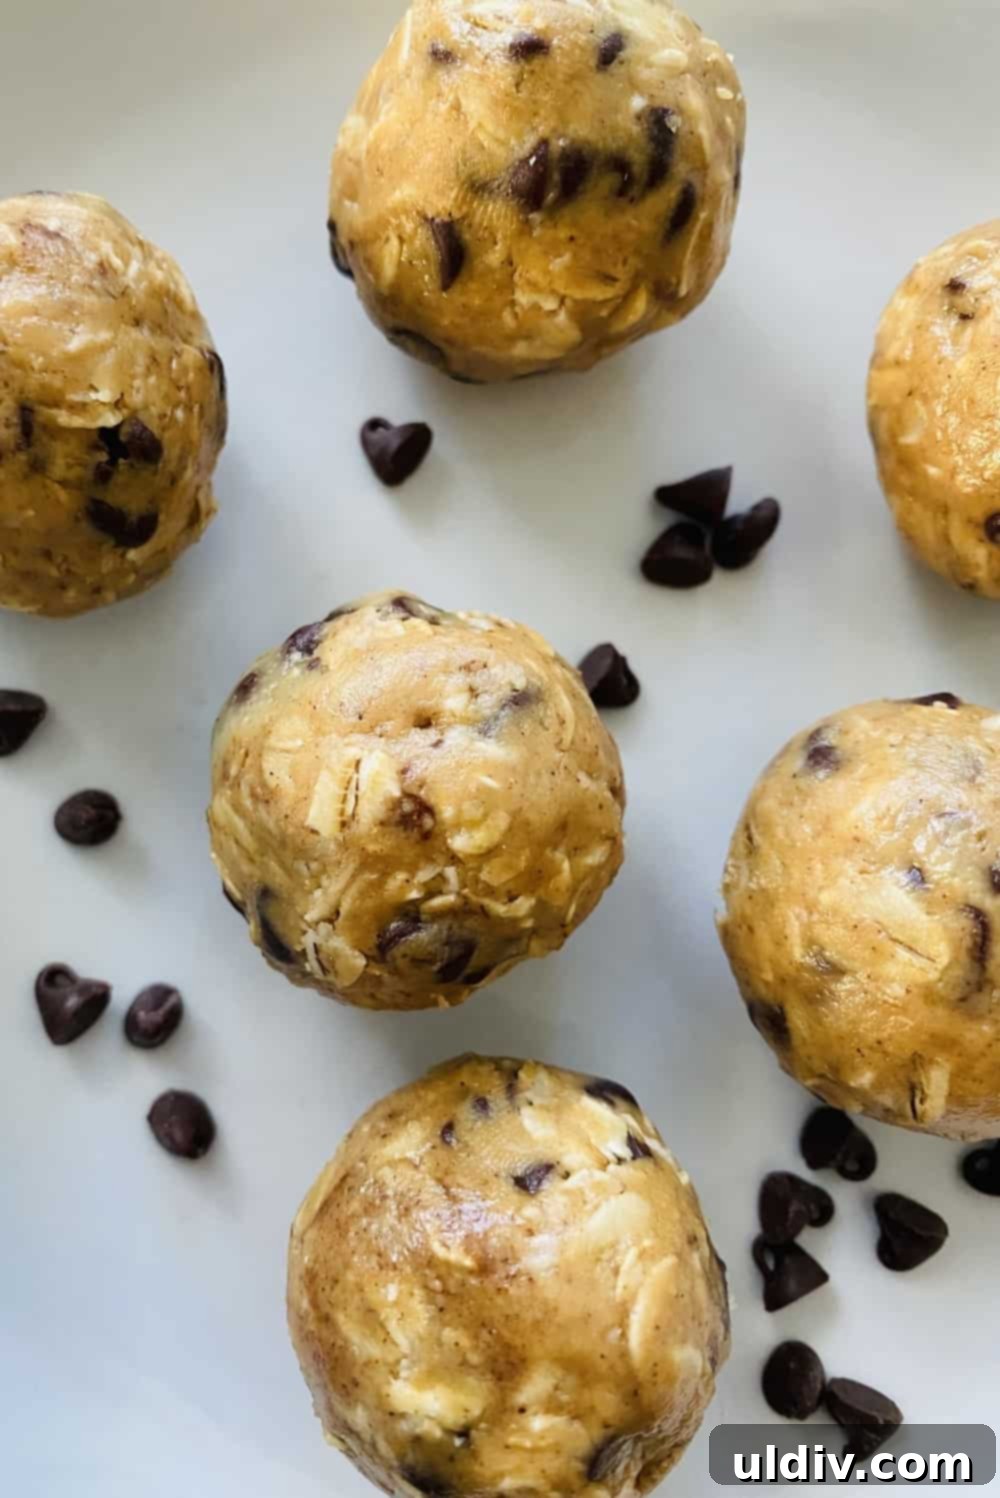
Using a medium cookie scoop (approximately 1 tablespoon), portion out the mixture. Roll each portion into a smooth ball. Place the finished balls on a clean work surface or baking sheet.
-
Continue portioning and rolling the remaining mixture into balls until all of the mixture is used.
-
The energy balls can be served immediately. Store them in an airtight container in the refrigerator for up to 1 week, or in the freezer for up to 2 months.
Video
Notes
- Pick your oats: For the best texture, I prefer hearty whole grain rolled oats. Instant oats can be an acceptable substitute, but avoid steel-cut oats as they don’t bind as well and can be too tough for this recipe.
- Use mini chocolate chips: Given the small size of these treats, mini chocolate chips are perfect. They ensure an even distribution of chocolate in every bite.
- No stick: To prevent honey and peanut butter from sticking to measuring cups, lightly spray the cups with cooking spray before measuring.
- Mix it up: While easy to mix by hand, a stand mixer or hand mixer can also be used, especially for larger batches, to ensure all ingredients are thoroughly combined.
- Get scooping: A medium cookie scoop is ideal for portioning, ensuring uniformly sized energy balls.
- Squish: Gently squishing the portioned mixture in your hand before rolling helps the energy balls hold their shape and stay together.
Nutrition
Serving:
1ball
|
Calories:
90kcal
|
Carbohydrates:
8g
|
Protein:
2.6g
|
Fat:
6g
|
Saturated Fat:
1.7g
|
Sodium:
40mg
|
Fiber:
1.1g
|
Sugar:
5g
Did you make this recipe?
Tag @amycaseycooks on Instagram so we can all admire your work