
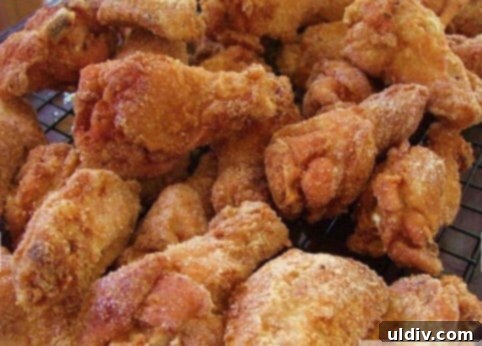
Craving the irresistible crunch of perfectly fried chicken wings but dreading the greasy mess of deep frying? You’re not alone! Many home cooks shy away from making fried chicken due to the sheer volume of oil, potential splatters, and extensive cleanup. But what if there was a simpler, cleaner way to achieve that golden, crispy exterior and succulent, juicy interior right in your own kitchen? Introducing the ultimate guide to making **Pan-Fried Chicken Wings** – a culinary technique designed to deliver maximum flavor and crispiness with minimum fuss. This method keeps the kitchen tidy, ensuring your entire family will fall in love with these effortlessly delicious chicken wings.

The allure of fried chicken is undeniable. That satisfying contrast between a crunchy, well-seasoned crust and tender, moist meat is a gastronomic delight. However, the traditional image of a large pot bubbling with gallons of scorching hot oil and a pile of chicken pieces often conjures visions of a chaotic kitchen – splattered countertops, greasy floors, and an arduous cleanup mission. For years, this daunting prospect kept many from indulging in homemade fried chicken. Thankfully, there’s an elegant solution that captures all the flavor without any of the deep-fry drama: pan frying chicken wings.
Chicken wings are truly the unsung heroes of the fried chicken world. Their smaller size makes them incredibly easy to handle, ensuring more even cooking and allowing them to crisp up beautifully in just a couple of inches of oil. In approximately 10 to 12 minutes, you can transform these humble chicken parts into delightful, bite-sized morsels that are not only fun to eat but also deliver the same satisfyingly crunchy coating and tender, juicy meat as their larger counterparts, all within a more compact and manageable package. This approach significantly reduces oil usage and minimizes spatter, making it a game-changer for anyone who loves fried chicken but dislikes the mess.
Mastering the Perfect Pan-Fried Chicken Wings: Preparation Steps
Achieving impeccably crispy pan-fried chicken wings begins with proper preparation. This isn’t just about cooking; it’s about crafting a perfect culinary experience from start to finish. Following these steps diligently will ensure your wings are flavorful, tender, and wonderfully crunchy.
- How to Cut and Prepare Chicken Wings: Begin by separating each whole chicken wing into two distinct pieces: the drumette and the wingette (or flat). The smallest, third part of the wing, often referred to as the wing tip, is typically discarded or saved for making flavorful chicken stock. This division not only makes the wings easier to handle and eat but also promotes more uniform cooking, ensuring every piece gets perfectly crispy.
- The Art of Double Dredging: The secret to an extra-crispy coating lies in the double dredging technique. Prepare a robustly seasoned flour mixture incorporating all-purpose flour, seasoned breadcrumbs (for added texture and flavor), salt, black pepper, garlic powder, onion powder, and a touch of cayenne pepper for a subtle kick.
- First Dredge and Chill: Thoroughly coat each chicken wing piece in the flour mixture, shaking off any excess. Arrange the dredged wings on a large baking sheet and refrigerate them for at least an hour. This crucial chilling period allows the moisture from the chicken to be absorbed by the flour coating, creating a paste-like layer that adheres firmly to the chicken. It’s this initial bond that helps prevent the coating from falling off during frying.
- Second Dredge for Maximum Crispness: After chilling, give the wings a second dredge in the same seasoned flour mixture. This double layer is what ultimately guarantees that coveted super-crispy, crunchy crust. Once again, place them back on the baking sheet, ready for the pan.

Essential Tips for Flawlessly Crispy Pan-Fried Chicken Wings
Achieving restaurant-quality pan-fried chicken wings at home is surprisingly straightforward, provided you pay attention to a few key details. These expert tips will help you master the frying process, minimize mess, and ensure every wing comes out golden, crispy, and cooked to perfection.
- Choose the Right Pot: To keep splatters and mess to an absolute minimum, always opt for a large, high-sided stock pot or a Dutch oven. The tall sides act as a natural barrier, containing hot oil much more effectively than a shallow pan, thus protecting your stovetop and surrounding surfaces.
- Temperature Control is Paramount: One of the most critical factors for successful frying is maintaining the correct oil temperature. A candy thermometer or deep-fry thermometer is an indispensable kitchen tool for this task. Aim for an ideal frying temperature of 350°F (175°C). I recommend initially heating the oil to about 375°F (190°C) before adding the first batch of chicken. The temperature will naturally drop once the cooler chicken is introduced into the hot oil, so starting slightly higher helps compensate for this reduction and keeps the average temperature closer to the ideal.
- Avoid Guessing Oil Temperature: Never try to estimate the oil’s temperature. If the oil is too cool, the chicken will absorb excessive oil, resulting in a greasy, soggy product rather than a crispy one. Conversely, if the oil is too hot, the chicken’s exterior will brown and crisp up too quickly, leaving the inside raw or undercooked. Precision with temperature ensures a beautiful golden crust and thoroughly cooked, juicy meat every time.
- The Right Amount and Type of Oil: For pan frying, you only need about 2 inches of oil – just enough to almost submerge the chicken wings. Use a neutral-tasting oil with a high smoke point, such as canola oil, vegetable oil, or peanut oil. These oils can withstand high temperatures without breaking down or imparting undesirable flavors to your chicken.
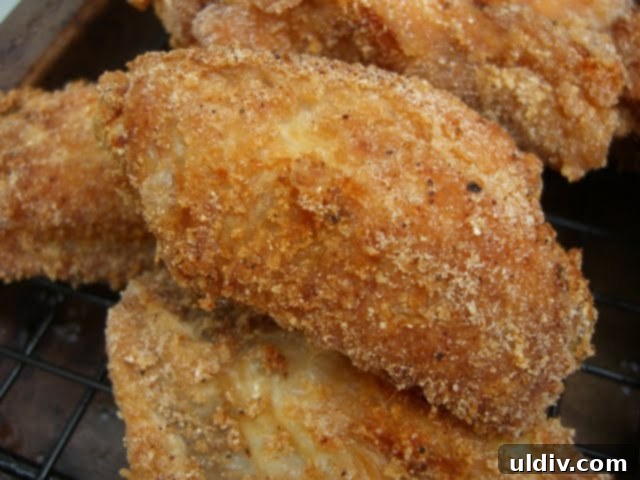
- Fry in Batches: Resist the urge to overcrowd the pot. Frying too many wings at once will drastically lower the oil’s temperature, leading to greasy, poorly cooked chicken. Fry in small batches, typically 8 to 10 pieces at a time, ensuring the oil temperature remains consistent and each wing has ample space to fry evenly. Turn the wings once or twice during cooking to achieve an even golden-brown color and uniform crispness.
- Proper Cooling for Ultimate Crispness: Once fried, immediately transfer the chicken wings to a wire cooling rack set over a large baking sheet. This setup is crucial! It allows air to circulate all around the chicken, preventing steam from accumulating underneath and causing a soggy bottom crust. Never make the mistake of cooling fried chicken directly on paper towels, as this traps steam and defeats the purpose of achieving that glorious crunch. A light sprinkle of extra kosher salt right after they come out of the oil can also enhance their flavor.
These Pan-Fried Chicken Wings are a universal crowd-pleaser, perfect for both kids and adults. They make a fantastic addition to any picnic spread, barbecue, game day gathering, or simply as a satisfying weeknight meal. The beauty of this recipe is its versatility: a large batch can be prepared ahead of time for parties or dinner, served at room temperature, or easily reheated. To reheat, simply place them on a baking sheet in a 350°F (175°C) oven for about 10 minutes, or until warmed through and re-crisped, ensuring they retain their delightful texture and flavor.
Explore More Delicious Chicken Recipes
If you loved these pan-fried chicken wings, be sure to explore our other fantastic chicken recipes that promise flavor, simplicity, and culinary satisfaction:
- Zesty Lemon Chicken Recipe
- Flavorful Walking Tacos with Fire-Roasted Chicken and Corn Chips
- Rustic Pan-Fried Chicken with Fresh Sweet Corn and Tomato Sauté
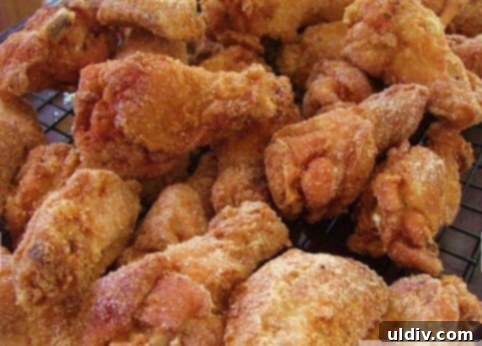
Pan-Fried Chicken Wings Recipe
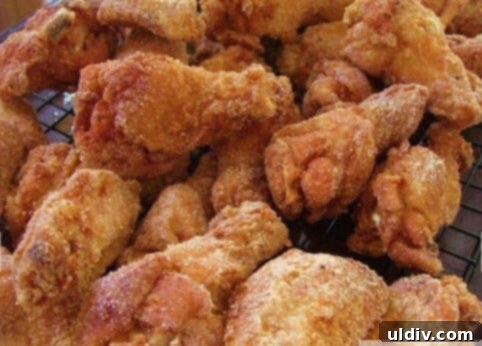
Perfectly Crispy Pan-Fried Chicken Wings
Chicken wings are the ideal size for achieving mini fried chicken perfection. A double dredge in our specially seasoned flour mixture adds an unparalleled crispiness to every bite, ensuring a delightful texture and rich flavor.
Prep Time: 30 minutes
Cook Time: 50 minutes
Total Time: 1 hour 20 minutes
Servings: 10
Author: Amy Casey
Print Recipe | Pin Recipe
Ingredients
- 1 ½ cups all-purpose flour
- 1 ½ cups seasoned bread crumbs
- 2 tablespoons baking powder
- 1 teaspoon garlic powder
- 1 teaspoon onion powder
- 1 teaspoon paprika
- ¼ teaspoon cayenne pepper
- ½ teaspoon black pepper
- 1 teaspoon kosher salt, plus more for sprinkling after frying
- 30 whole chicken wings, cut into 2 pieces (drumettes and wingettes)
- Canola oil (or other high smoke point neutral oil), about 2 inches for frying
Instructions
- In a large, shallow bowl, thoroughly combine the flour, seasoned breadcrumbs, baking powder, garlic powder, onion powder, paprika, cayenne pepper, black pepper, and 1 teaspoon of kosher salt. Mix well to ensure all spices are evenly distributed.
- Dredge the chicken wing pieces, a few at a time, in the seasoned flour mixture. Make sure each piece is fully coated, then gently shake off any excess flour. Place the dredged chicken on a large baking sheet and refrigerate for at least 1 hour. This step is crucial for the coating to adhere properly.
- After chilling, coat the chicken pieces a second time with the flour mixture, ensuring an extra crispy crust. Place them back on the baking sheet.
- In a large, high-sided stock pot or Dutch oven, heat about 2 inches of canola oil over medium-high heat. Use a candy thermometer to monitor the temperature; aim for 375°F (190°C) before adding the first batch of chicken.
- Carefully place about 8 to 10 chicken pieces into the hot oil, ensuring not to overcrowd the pot, which would lower the oil temperature too much. Fry for approximately 10 to 12 minutes, turning the pieces once or twice to ensure even browning and crispiness.
- Once golden brown and cooked through (internal temperature should reach 165°F / 74°C), remove the chicken from the oil. Drain the fried wings on a wire cooling rack placed over a large baking sheet. Immediately sprinkle with a little extra kosher salt to taste.
- Serve the pan-fried chicken wings immediately while hot and crispy. Alternatively, allow them to cool completely and store them in an airtight container in the refrigerator for later enjoyment.
- To reheat, place the refrigerated wings on a baking sheet and warm in a 350°F (175°C) oven for about 10 minutes, or until heated through and re-crisped.
Did you make this recipe?
Tag @amycaseycooks on Instagram so we can all admire your delicious work!