
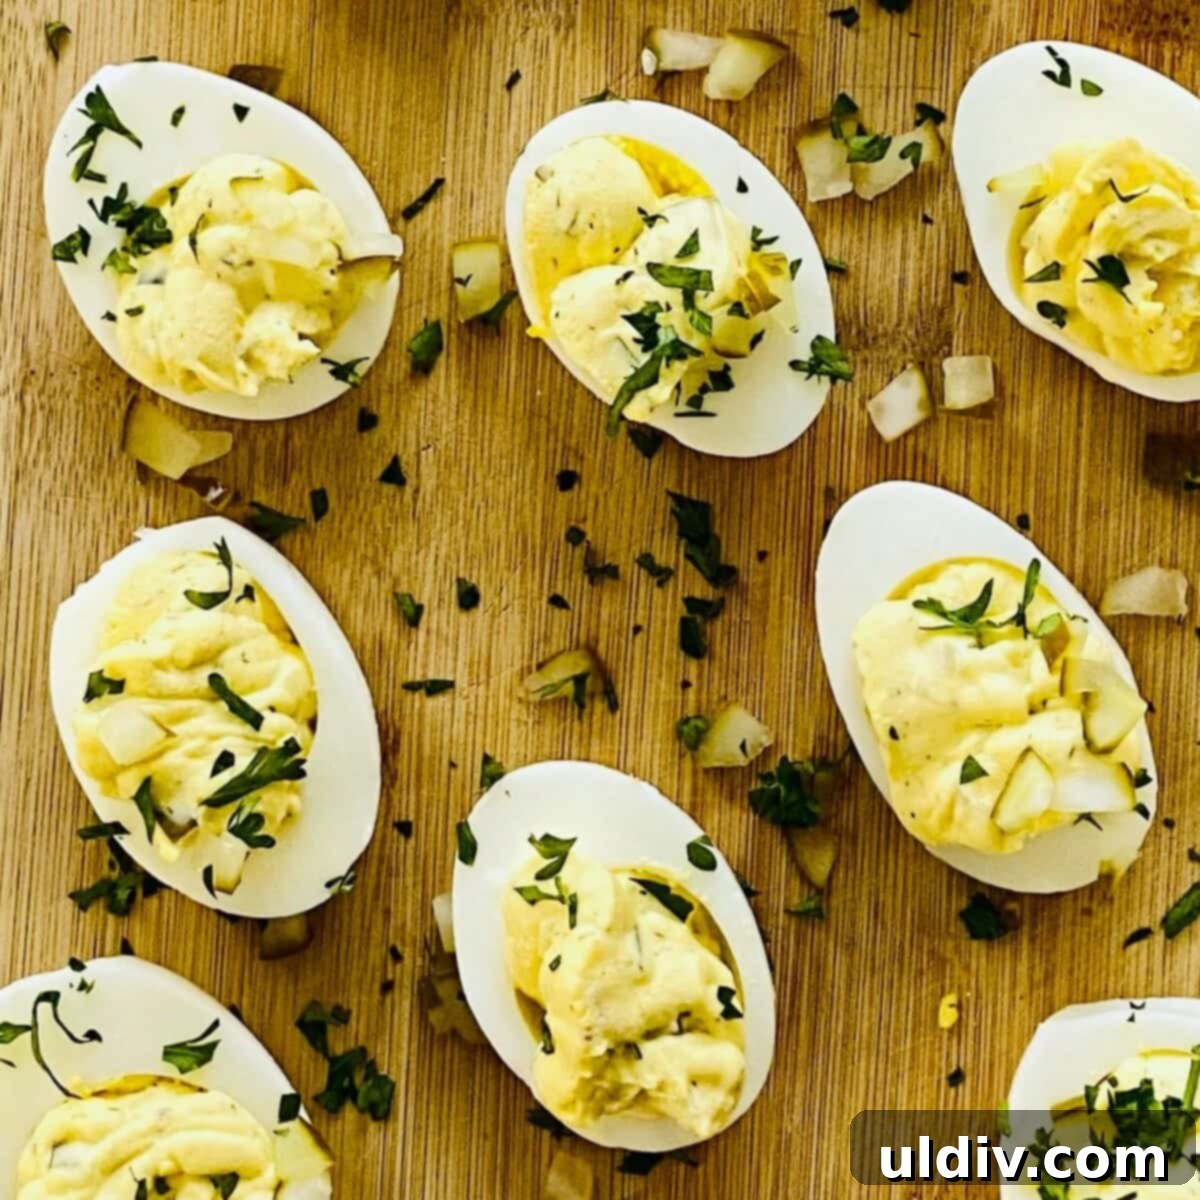
The Ultimate Deviled Eggs with Dill Pickles: A Crowd-Pleasing Appetizer
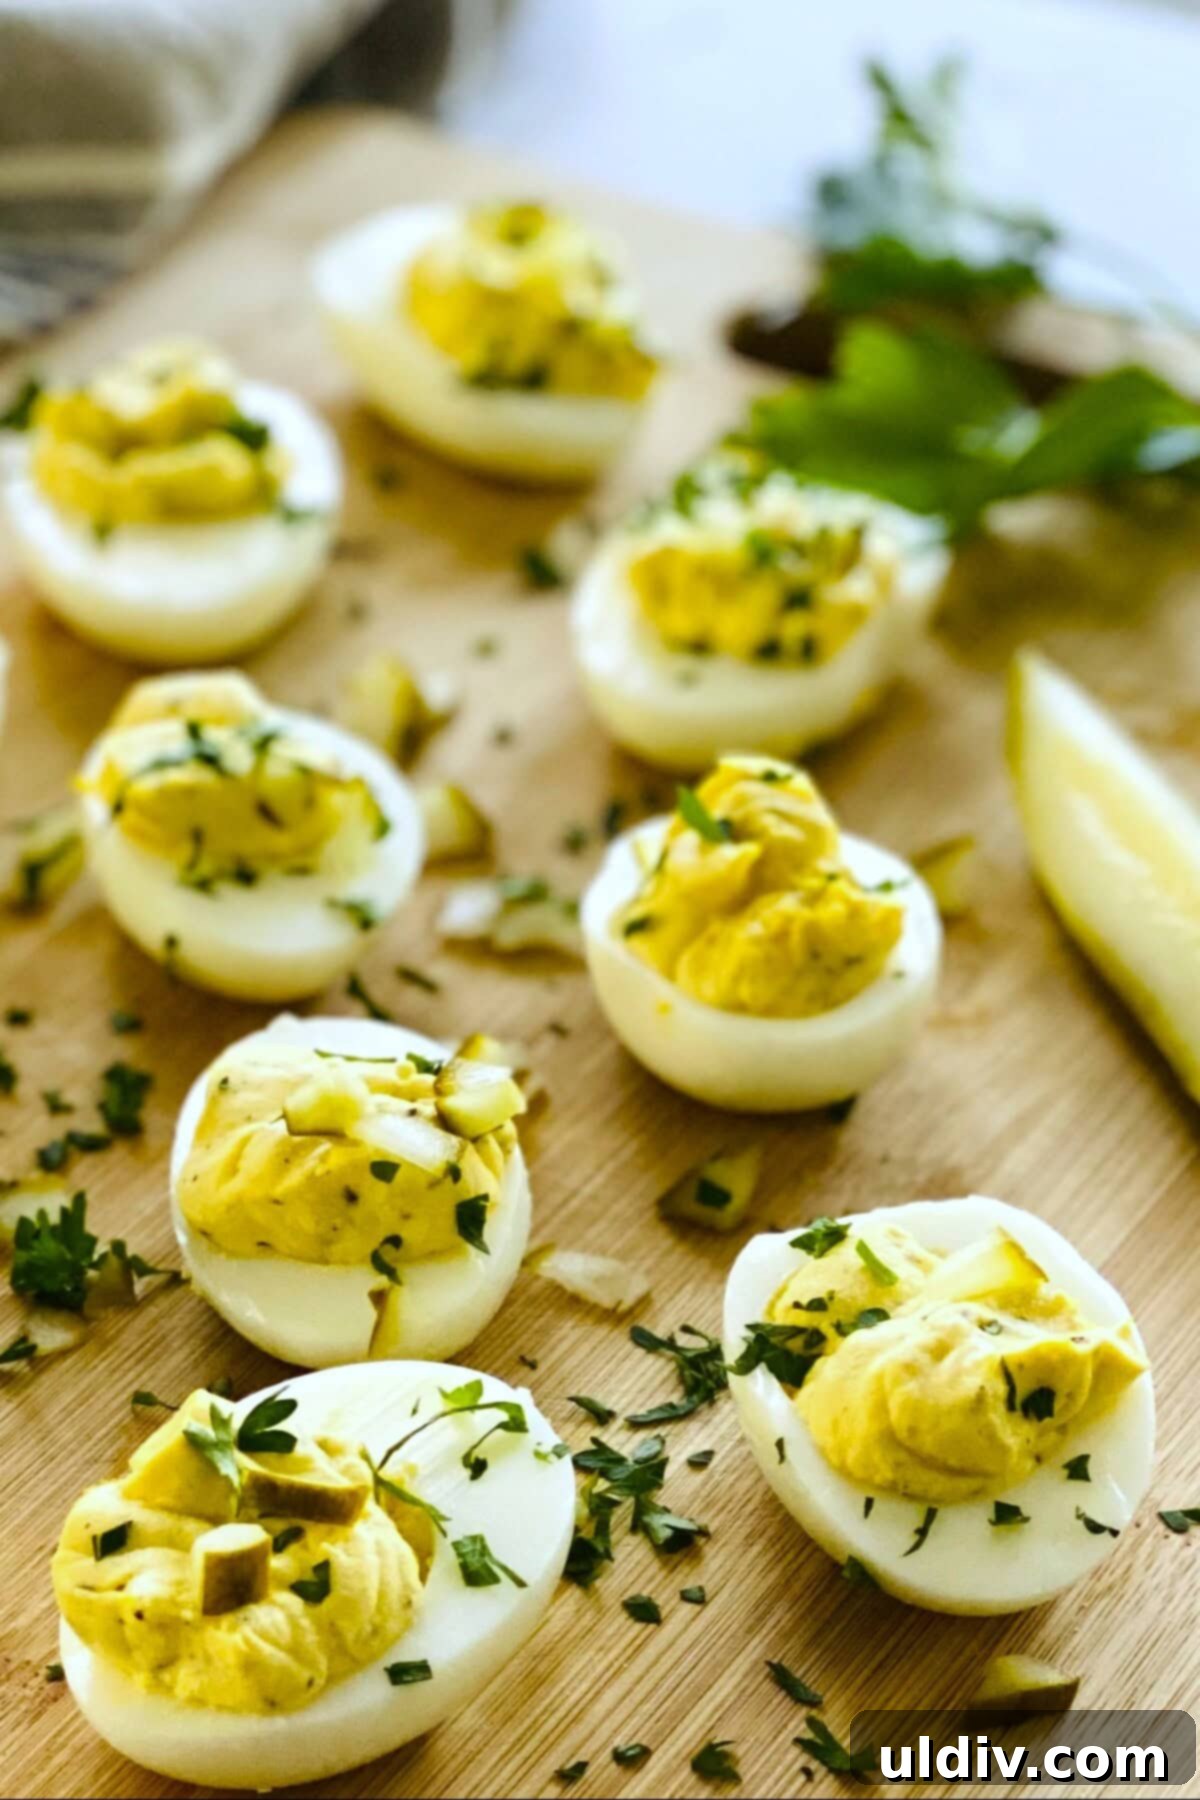
Craving the absolute best Deviled Eggs with Dill Pickles? Your search ends here! These delightful, creamy bites are the ultimate appetizer or snack, guaranteed to be a sensation at any gathering. This incredibly easy deviled egg recipe was a consistent favorite among my personal chef clients, and it’s easy to see why. Their irresistible flavor and smooth texture make them disappear almost as quickly as you can make them!
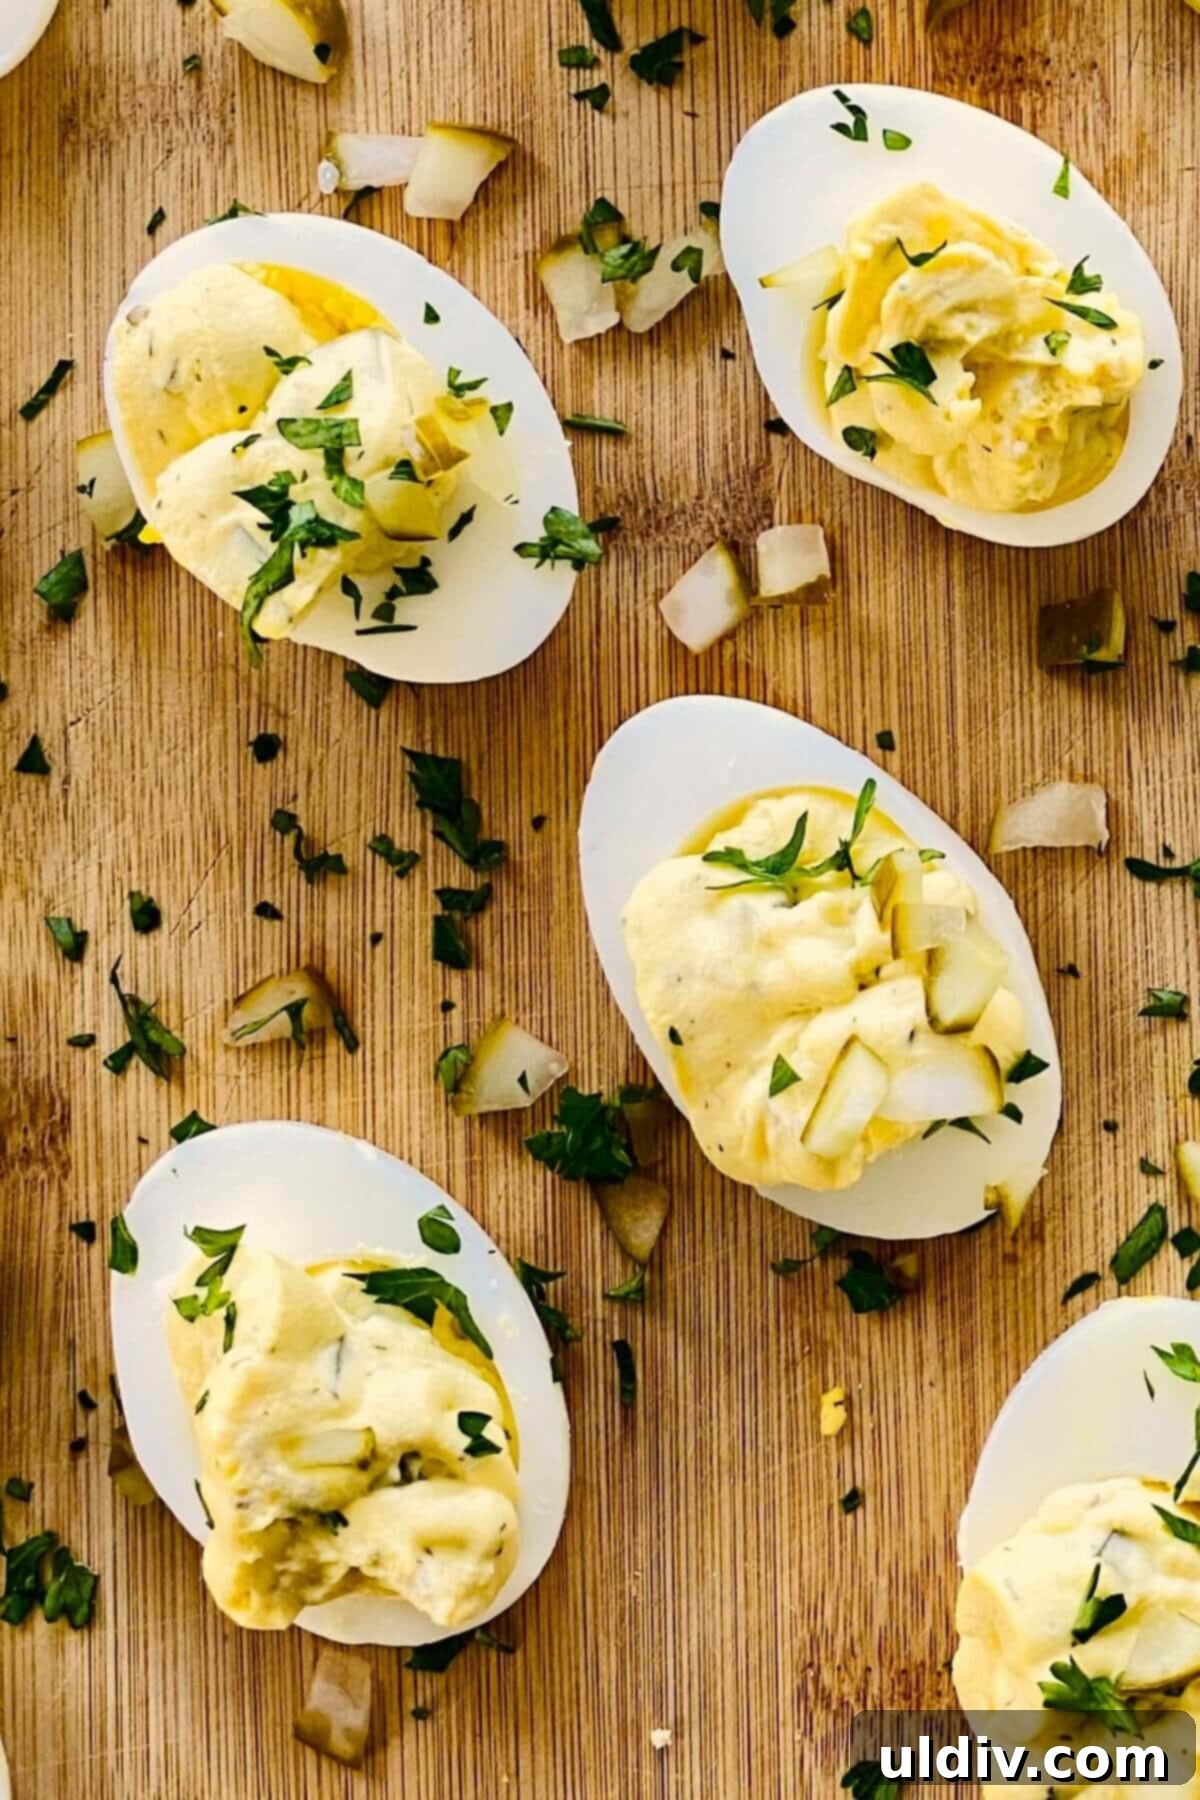
There’s something uniquely satisfying about perfectly made deviled eggs. When a personal chef client specifically requested them as a weekly menu item, my excitement was palpable. These creamy stuffed eggs are more than just a snack; they are a culinary staple, often shared alongside my Spicy Deviled Eggs for an extra kick. This particular recipe, if I may say so myself, consistently earns rave reviews and repeat requests. It’s truly a testament to a well-balanced, flavorful classic.
What makes these deviled eggs stand out? It’s the harmonious blend of textures and tastes. Each bite offers a luxuriously creamy filling, punctuated by the bright, tangy crunch of finely chopped dill pickles. A subtle squeeze of Dijon mustard adds a sophisticated depth, elevating the overall flavor profile beyond your average deviled egg. This combination creates a snack that’s not just delicious, but genuinely memorable.
The only real challenge with serving these phenomenal deviled eggs at a party, tailgate, or even for a cozy night in watching your favorite show, is their fleeting nature. They are so incredibly moreish that guests (and you!) will find themselves reaching for “just one more” until the platter is mysteriously empty. Don’t be surprised if you gobble up three or four, often in a single, blissful bite. They’re simply that good – an undeniable favorite that never lasts long!
Why You’ll Adore This Stuffed Eggs Recipe
Deviled eggs are a timeless appetizer, but this dill pickle version takes them to a whole new level. Here’s why this recipe will quickly become your go-to:
- An Unforgettable Crowd-Pleaser: Without fail, whenever I prepare a batch of these dill pickle deviled eggs, they are the very first appetizer to vanish from the table. Their unique flavor profile, blending classic creaminess with a zesty dill kick, makes them an undeniable favorite for any occasion, from casual BBQs to elegant holiday dinners.
- Effortlessly Simple to Prepare: Don’t let their gourmet taste fool you – deviled eggs are surprisingly easy to make. With just a handful of common ingredients and straightforward steps, you can whip up a stunning platter in no time. This recipe is perfect for home cooks of all skill levels, allowing you to create impressive appetizers without any stress.
- Bursting with Dynamic Flavor: This isn’t just a basic deviled egg. Our recipe incorporates a triple threat of dill: the textural crunch of chopped dill pickles, the tangy essence of dill pickle juice, and the aromatic touch of dried dill weed. Coupled with the savory richness of mayonnaise and a hint of piquant Dijon mustard, the filling achieves an exquisite balance that’s truly full of flavor.
- Versatile for Any Occasion: Whether you’re hosting a sophisticated cocktail party, planning a casual picnic, or simply looking for a delicious and satisfying snack, these deviled eggs fit the bill. Their convenient bite-sized nature makes them ideal for mingling, and their universally loved taste ensures they’ll be a hit with everyone.
- Budget-Friendly and Satisfying: Eggs are an economical protein source, making deviled eggs a smart choice for feeding a crowd without breaking the bank. They’re substantial enough to satisfy hunger, yet light enough to be a perfect start to any meal.
Essential Ingredients for Perfect Dill Deviled Eggs
This classic deviled egg recipe uses a concise list of readily available ingredients, transforming simple components into something truly extraordinary. Each ingredient plays a vital role in achieving that signature creamy texture and vibrant dill flavor. For precise measurements, please refer to the detailed recipe card below.
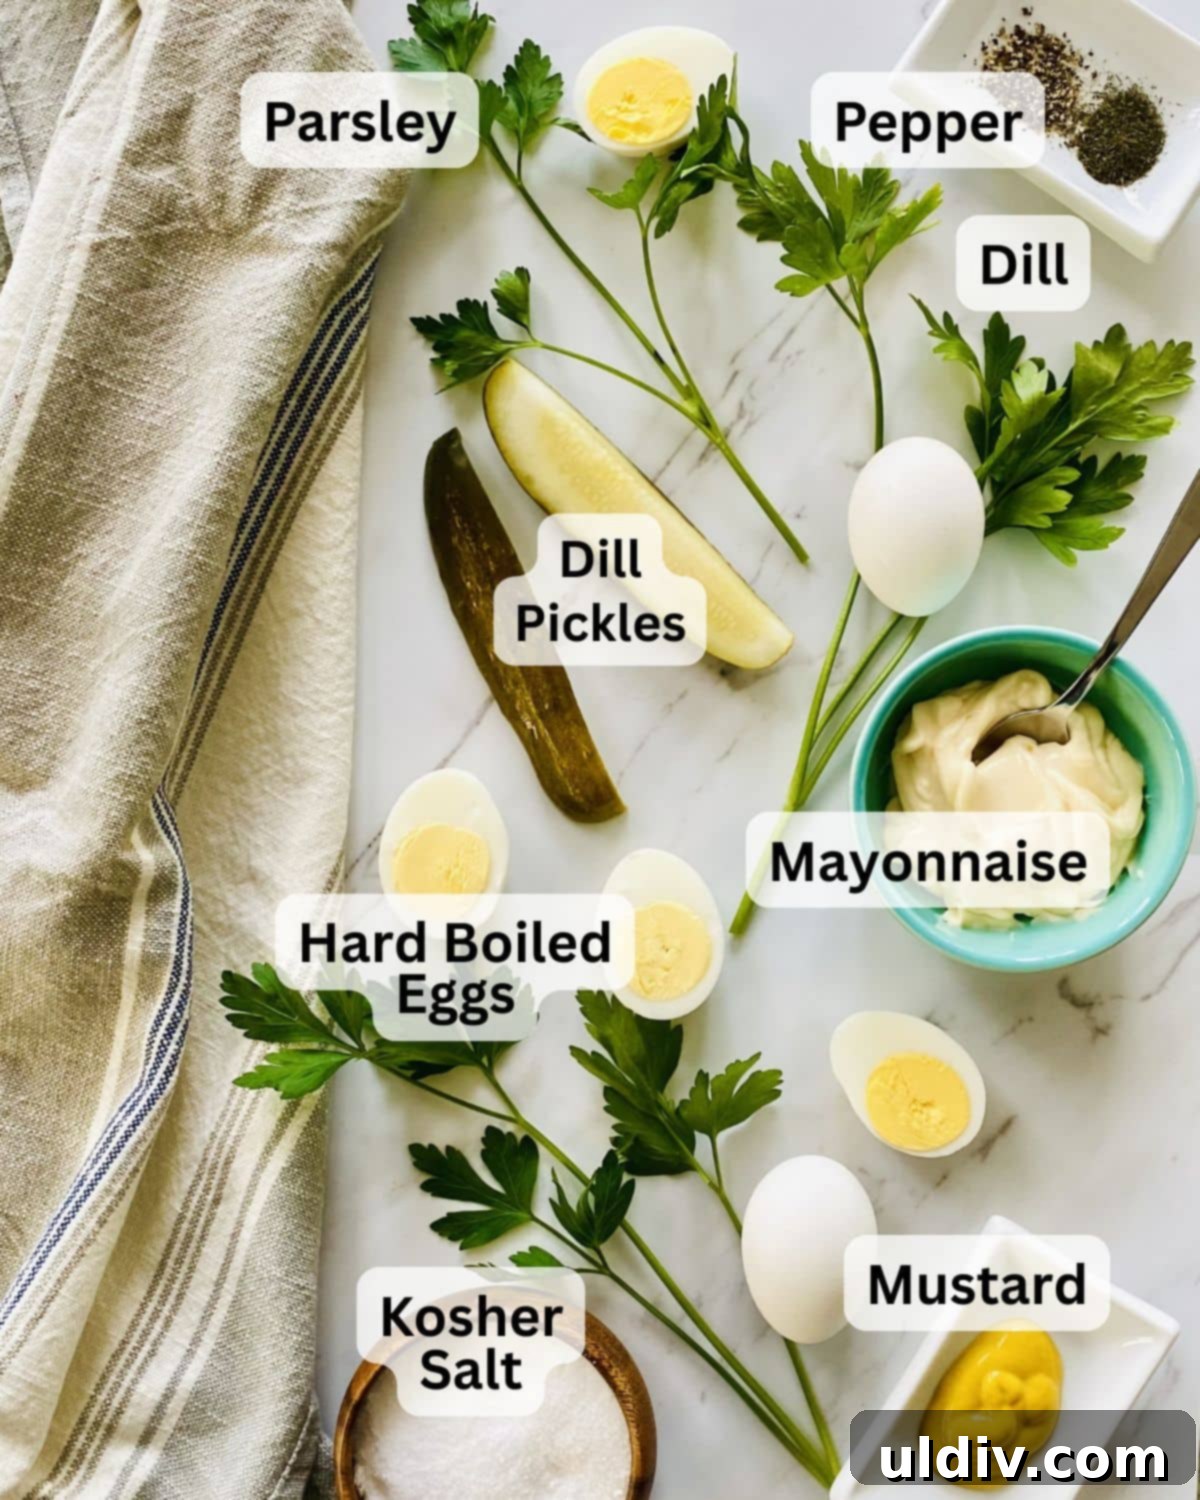
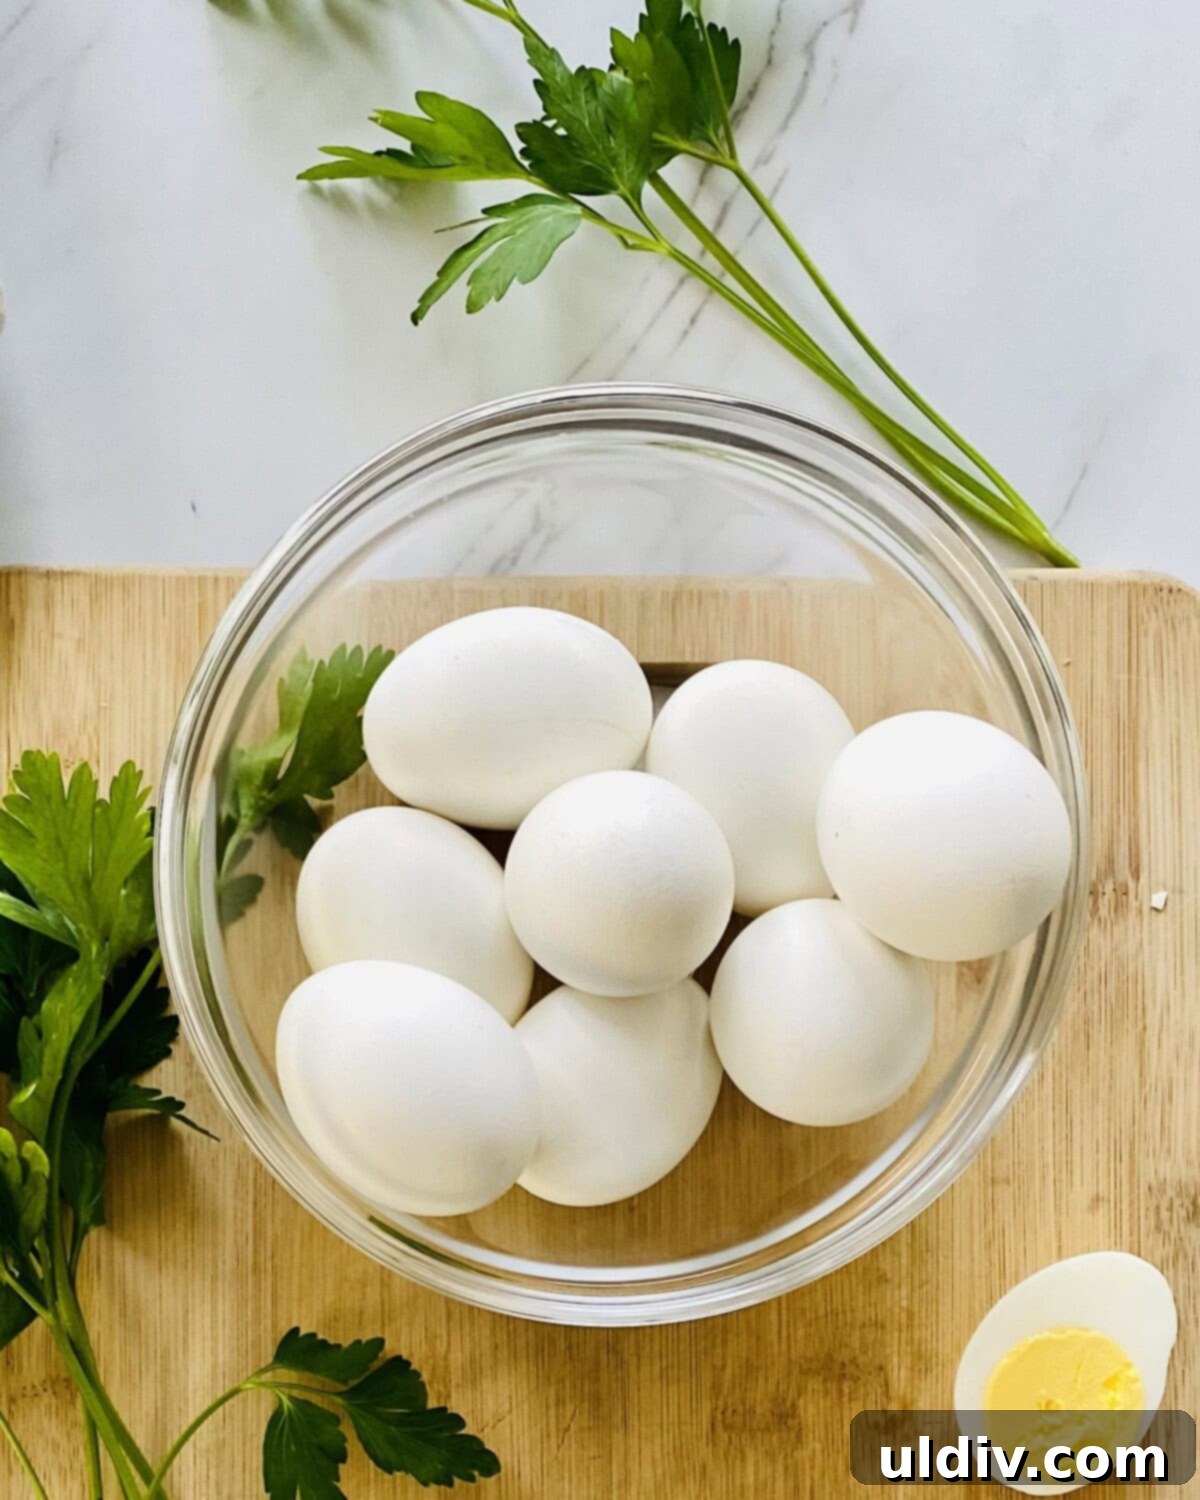
- Hard Boiled Eggs: The foundation of our deviled eggs. Aim for perfectly cooked eggs with firm whites and creamy, bright yellow yolks. We’ll cover the best method for preparing these in the next section.
- Mayonnaise: Essential for lending that rich, creamy texture and binding the yolk mixture. Using a good quality, full-fat mayonnaise will yield the best flavor and consistency.
- Dijon Mustard: This provides a subtle tang and a slight peppery note that beautifully complements the eggs. If Dijon isn’t on hand, yellow mustard can be used for a milder flavor, or spicy brown mustard for a bolder kick.
- Dried Dill Weed: A cornerstone of the “dilly” flavor. Dried dill offers a concentrated, earthy dill essence. If you prefer fresh herbs, you can substitute with 1 teaspoon of freshly chopped dill for a brighter, more vibrant taste.
- Kosher Salt and Freshly Ground Black Pepper: Crucial for seasoning. Always add to taste, as the saltiness from pickles and mayonnaise can vary. Freshly ground pepper offers a superior aroma and flavor.
- Finely Chopped Dill Pickles and Dill Pickle Juice: These are the stars of our dill pickle deviled eggs! The chopped pickles provide a delightful crunch and bursts of tangy flavor, while the pickle juice adds an extra layer of briny dill essence to the filling, ensuring a cohesive and incredibly “dilly” taste.
- Fresh Parsley: Used primarily as a garnish, fresh chopped parsley adds a beautiful pop of color and a fresh, herbaceous note that brightens the presentation and flavor of the finished deviled eggs.
Mastering the Art of Hard Boiling Eggs on the Stovetop
Achieving easily peelable and perfectly cooked hard-boiled eggs is often considered the trickiest part of making deviled eggs. Nobody wants fragmented whites or stubborn shells! Over years of cooking, I’ve found a consistent method that yields flawless results every time, ensuring your eggs are simple to peel and beautifully firm.
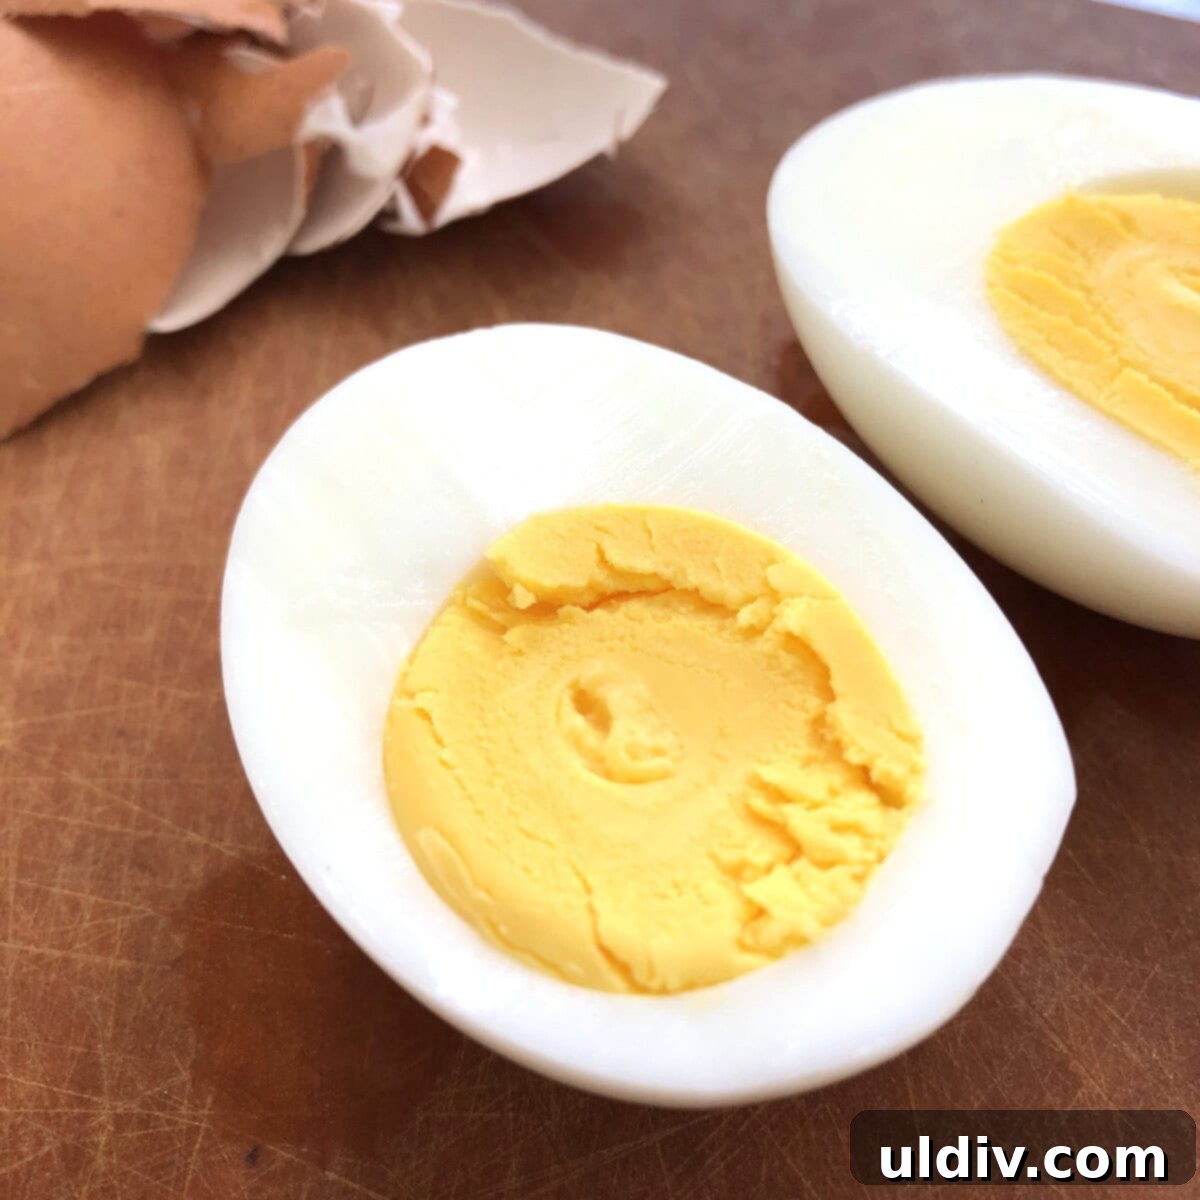
The secret lies in the age of the eggs. Slightly older eggs tend to be much easier to peel because, as they age, the egg whites contract slightly, creating more air space between the membrane and the shell. This tiny gap makes a huge difference. Eggs that have been in your refrigerator for about a week or so are ideal for hard boiling. Fresh-from-the-farm eggs, while delicious, can be notoriously difficult to peel for this purpose. So, plan ahead and use those slightly older carton eggs!
Follow these simple steps for consistently perfect, easy-to-peel hard-boiled eggs:
- Prepare the Eggs: Gently place 6 large eggs in a medium-sized saucepan. Make sure they are arranged in a single layer to ensure even cooking.
- Cover with Cold Water: Add enough cold water to the pot to cover the eggs by at least an inch. This ensures the eggs cook evenly as the water heats up.
- Bring to a Rapid Boil: Place the pot on the stovetop over high heat and bring the water to a full, rolling boil.
- Remove from Heat and Cover: As soon as the water reaches a rapid boil, immediately remove the pot from the heat. Do NOT lift the lid. Cover the pot tightly and let the eggs sit in the hot water for exactly 14 minutes. This residual heat method cooks the eggs gently without overcooking.
- Prepare an Ice Bath: While the eggs are resting, prepare a large bowl filled with ice water. This “ice bath” is a critical step for both stopping the cooking process and facilitating easy peeling.
- Transfer to Ice Bath: After 14 minutes, carefully drain the hot water from the pot. Immediately transfer the cooked eggs into the prepared ice bath using a slotted spoon.
- Chill Thoroughly: Allow the eggs to sit in the ice bath for at least 10 minutes. This rapid cooling helps the egg whites contract and separate cleanly from the shell.
- Drain and Peel: Once chilled, drain the eggs from the ice bath. Gently tap and roll each egg on a hard surface to crack the shell all over, then peel under cool running water. The shells should slide off with remarkable ease!
By following these steps, you’ll avoid the dreaded green ring around the yolk (a sign of overcooked eggs) and enjoy perfectly firm whites and creamy, vibrant yolks every time.
Crafting Deviled Eggs with Pickles: A Step-by-Step Guide
Once you’ve mastered the hard-boiling process, assembling these dill pickle deviled eggs is remarkably straightforward and fun. With just a few simple ingredients and a little mixing, you’ll have a platter of this classic party favorite ready to impress. Let’s walk through each step to create the perfect creamy, tangy filling.
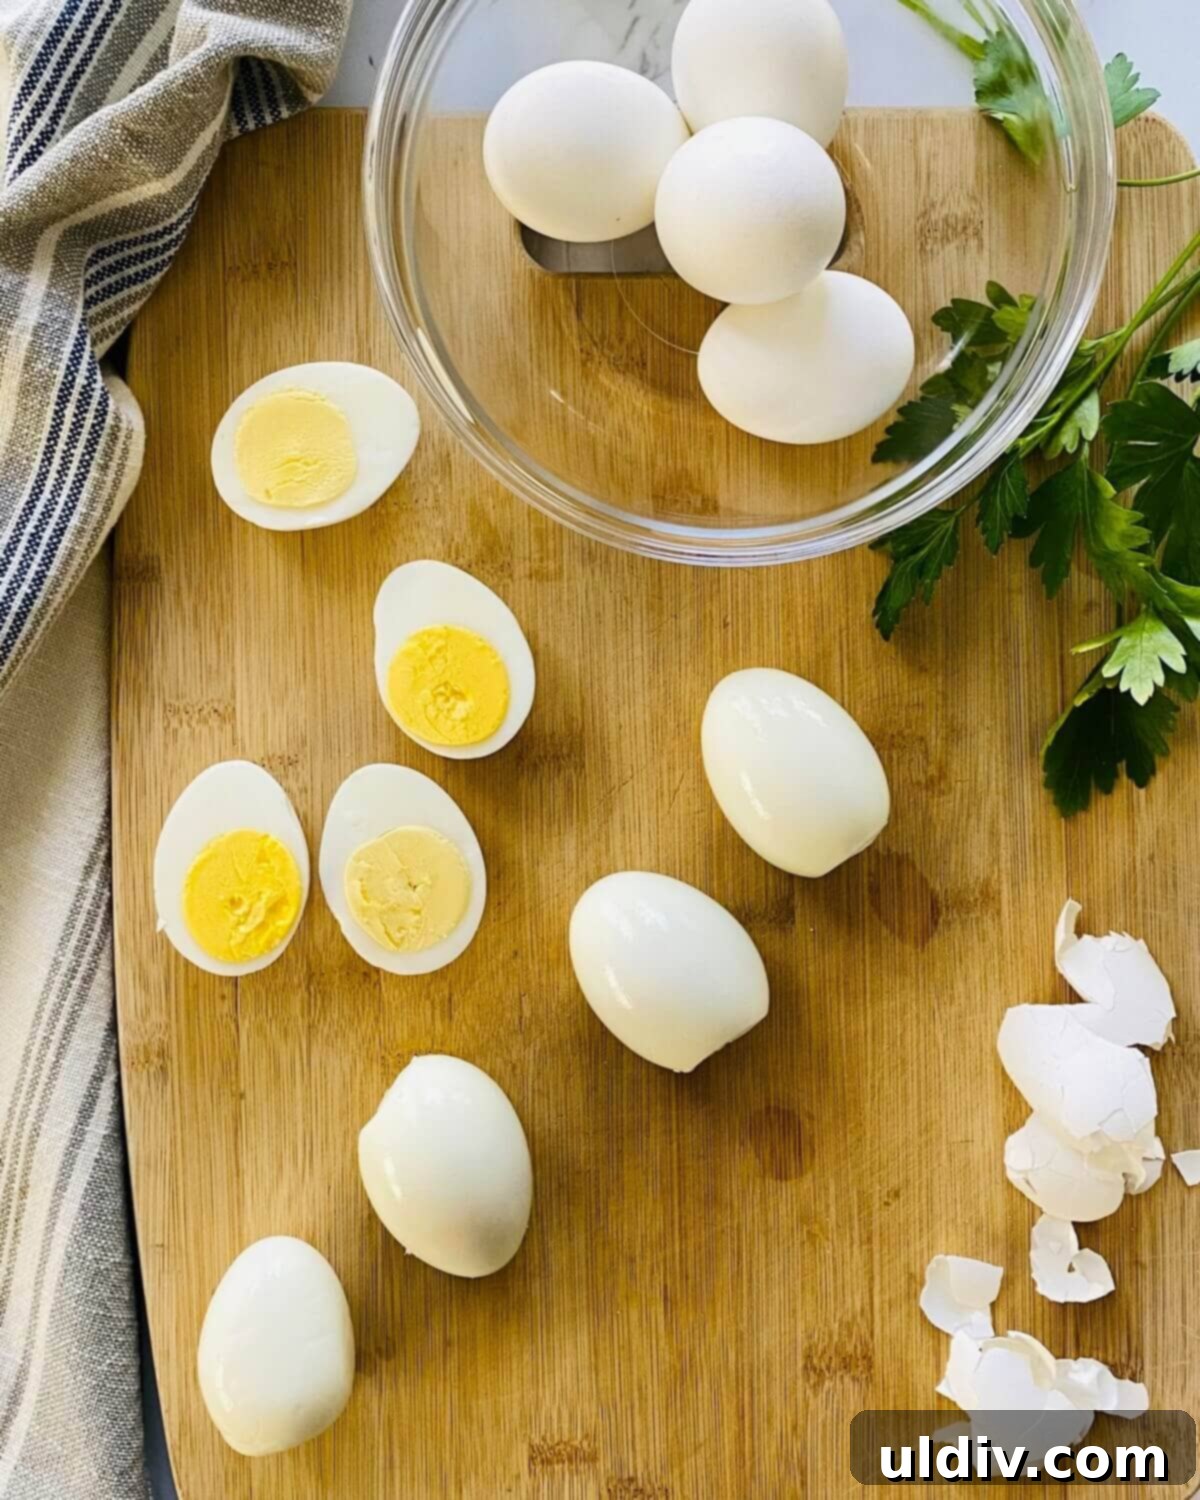
- Step 1: Peel and Halve the Eggs. Start by carefully peeling your perfectly hard-boiled eggs. Once peeled, place each egg on a clean cutting board. Using a sharp chef’s knife, carefully slice each egg in half lengthwise. A sharp knife is key here to get clean cuts and avoid squishing the delicate egg whites.
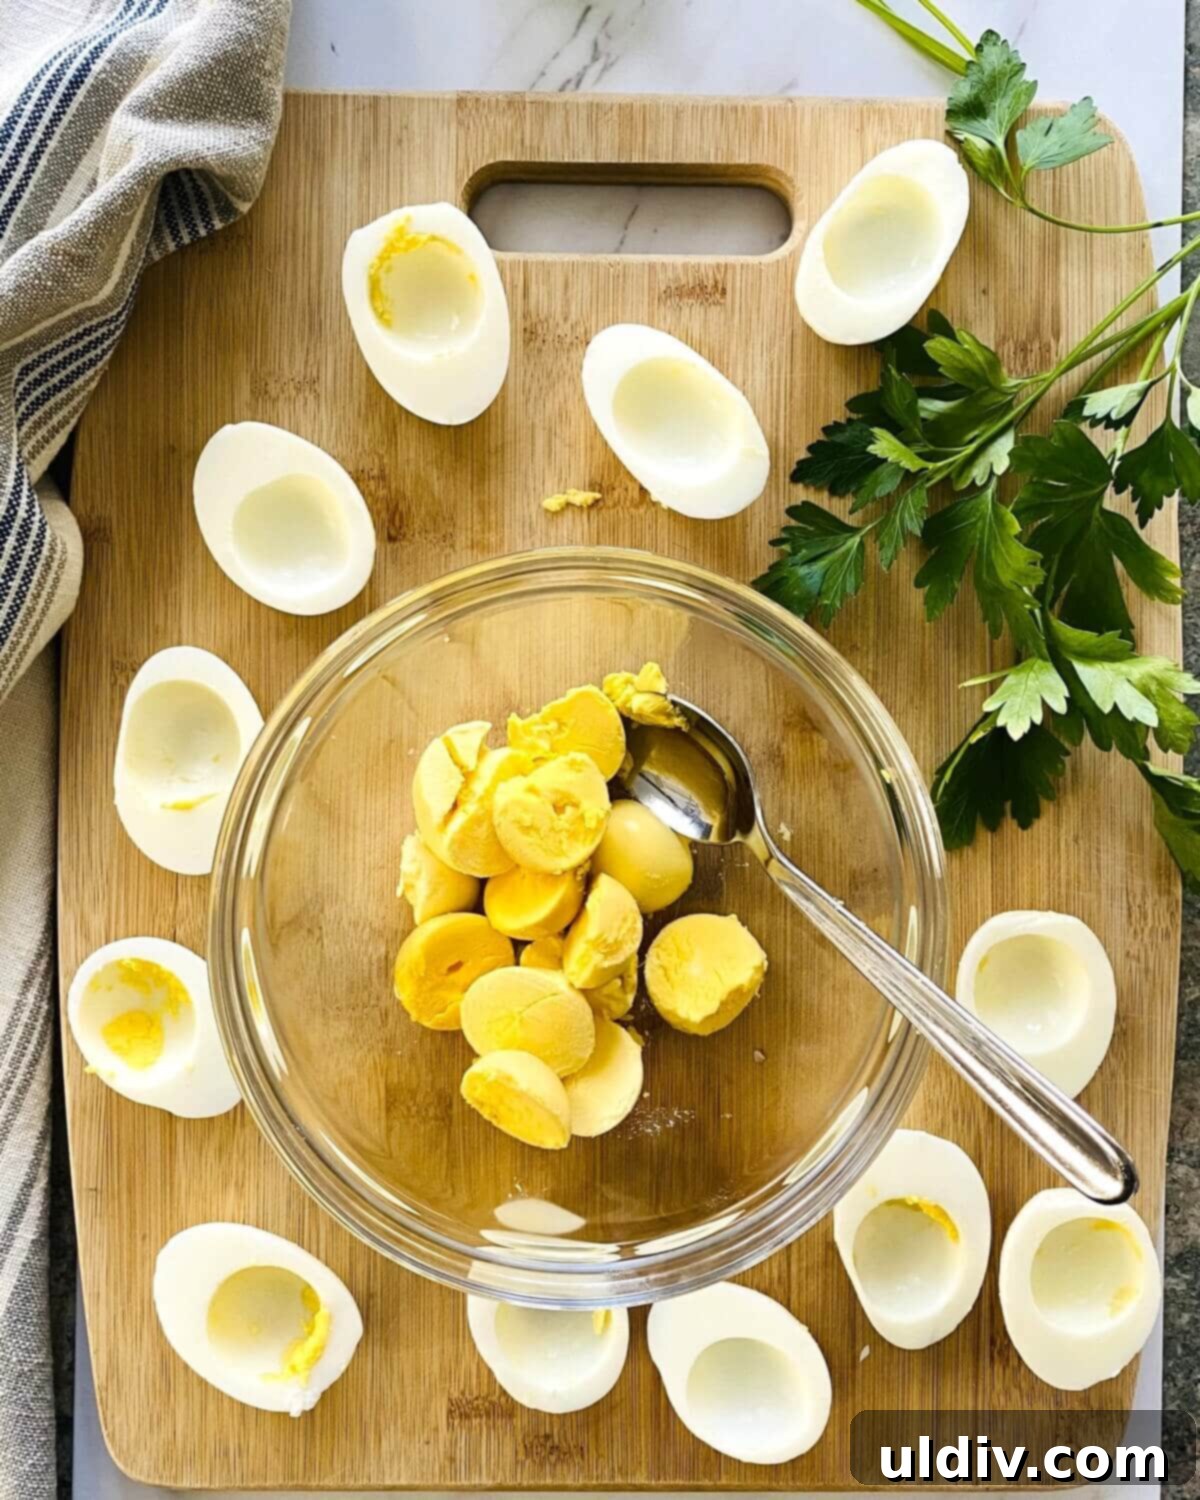
- Step 2: Scoop Out the Yolks. Gently scoop out the vibrant yellow yolks from each egg white half. Place all the yolks into a medium-sized mixing bowl. Keep the hollowed-out egg white halves aside; they will be the perfect cups for our delicious filling.
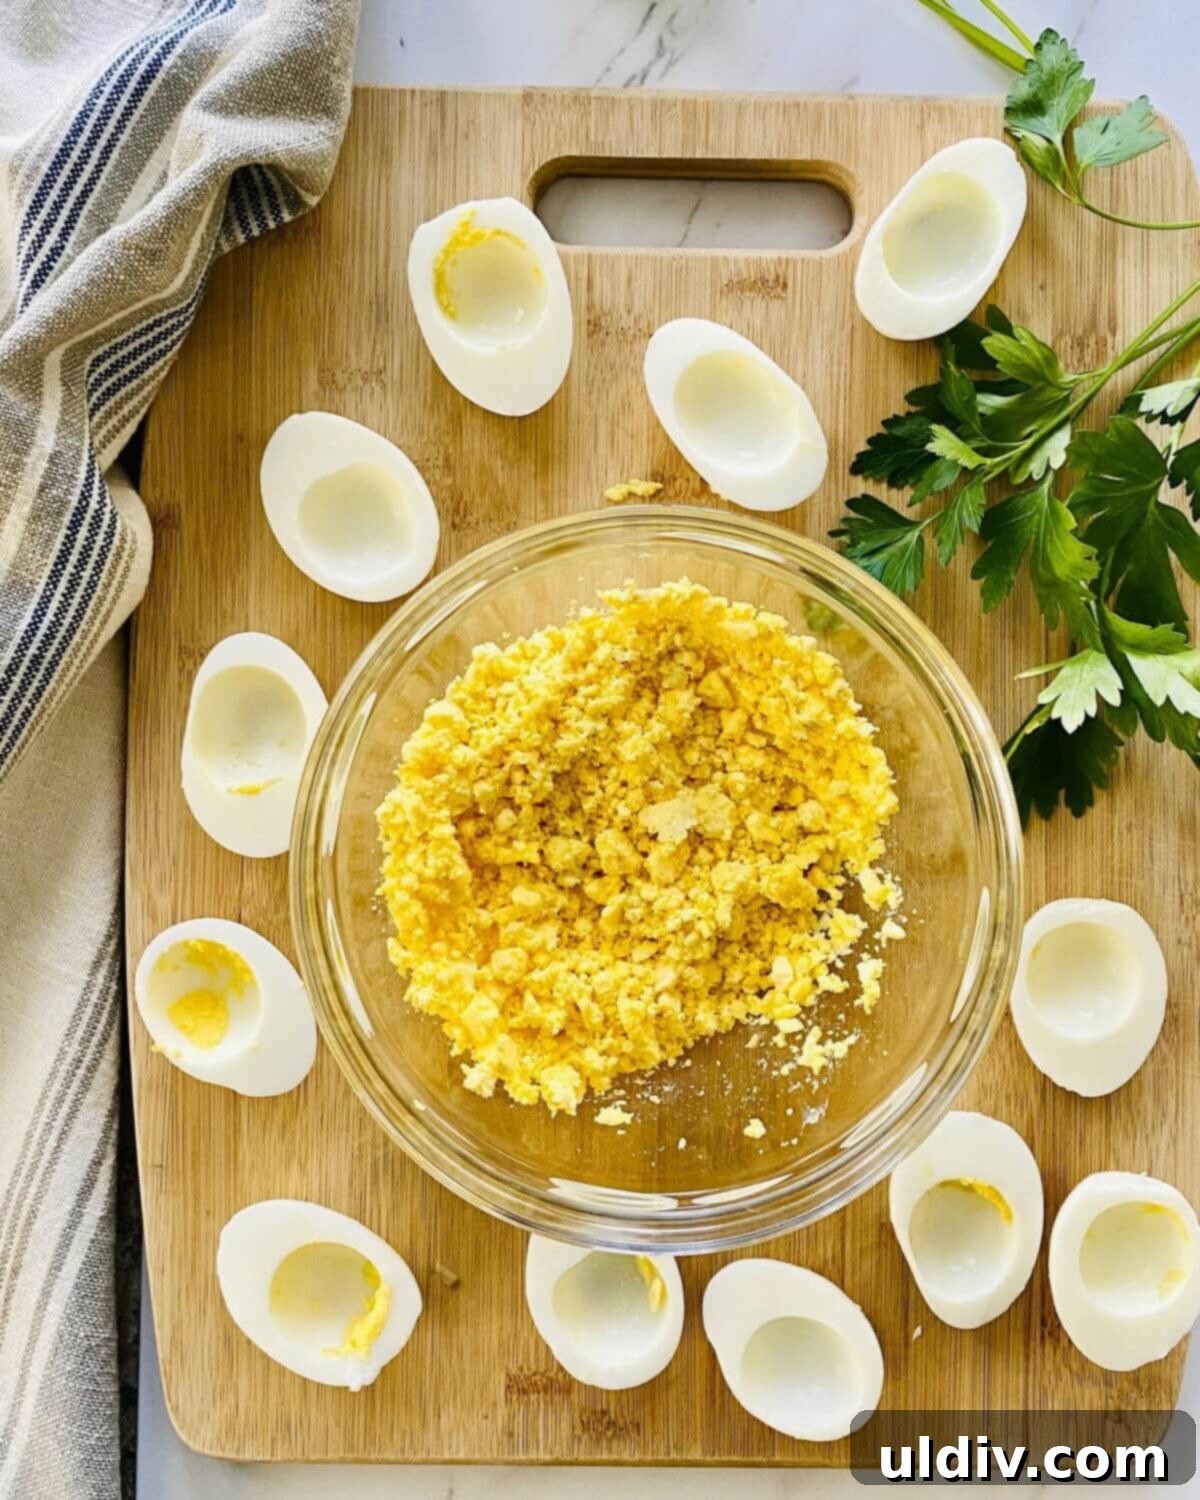
- Step 3: Mash the Yolks. Using a fork or the back of a spoon, thoroughly mash the egg yolks in the bowl. The goal here is to achieve a fine, dry, and grainy texture, free of any large lumps. The smoother the mashed yolks, the creamier your final filling will be. This is a critical step for a silky-smooth deviled egg experience.
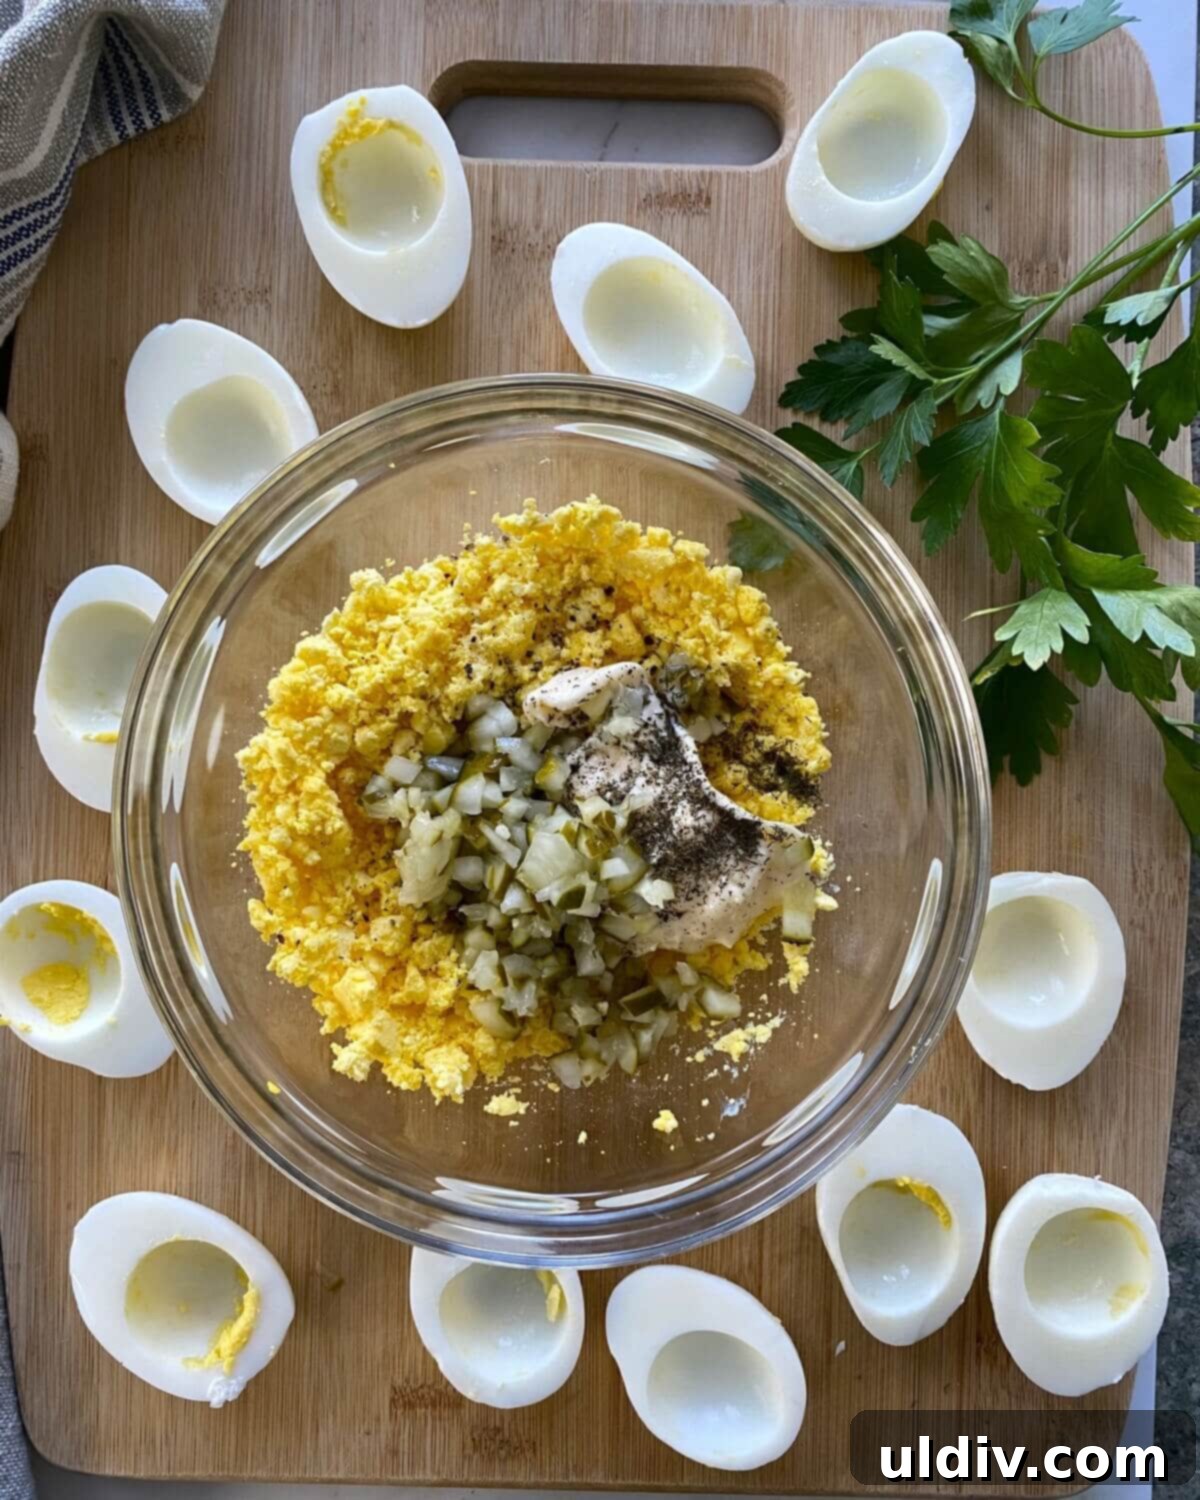
- Step 4: Combine Filling Ingredients. To the mashed yolks, add the mayonnaise, Dijon mustard, dried dill weed, kosher salt, pepper, two tablespoons of the finely chopped dill pickles, and the dill pickle juice. Stir all the ingredients together vigorously until they are thoroughly combined and the mixture is smooth and creamy. Taste and adjust seasonings as needed – perhaps a little more salt, pepper, or a touch more pickle juice for extra tang.
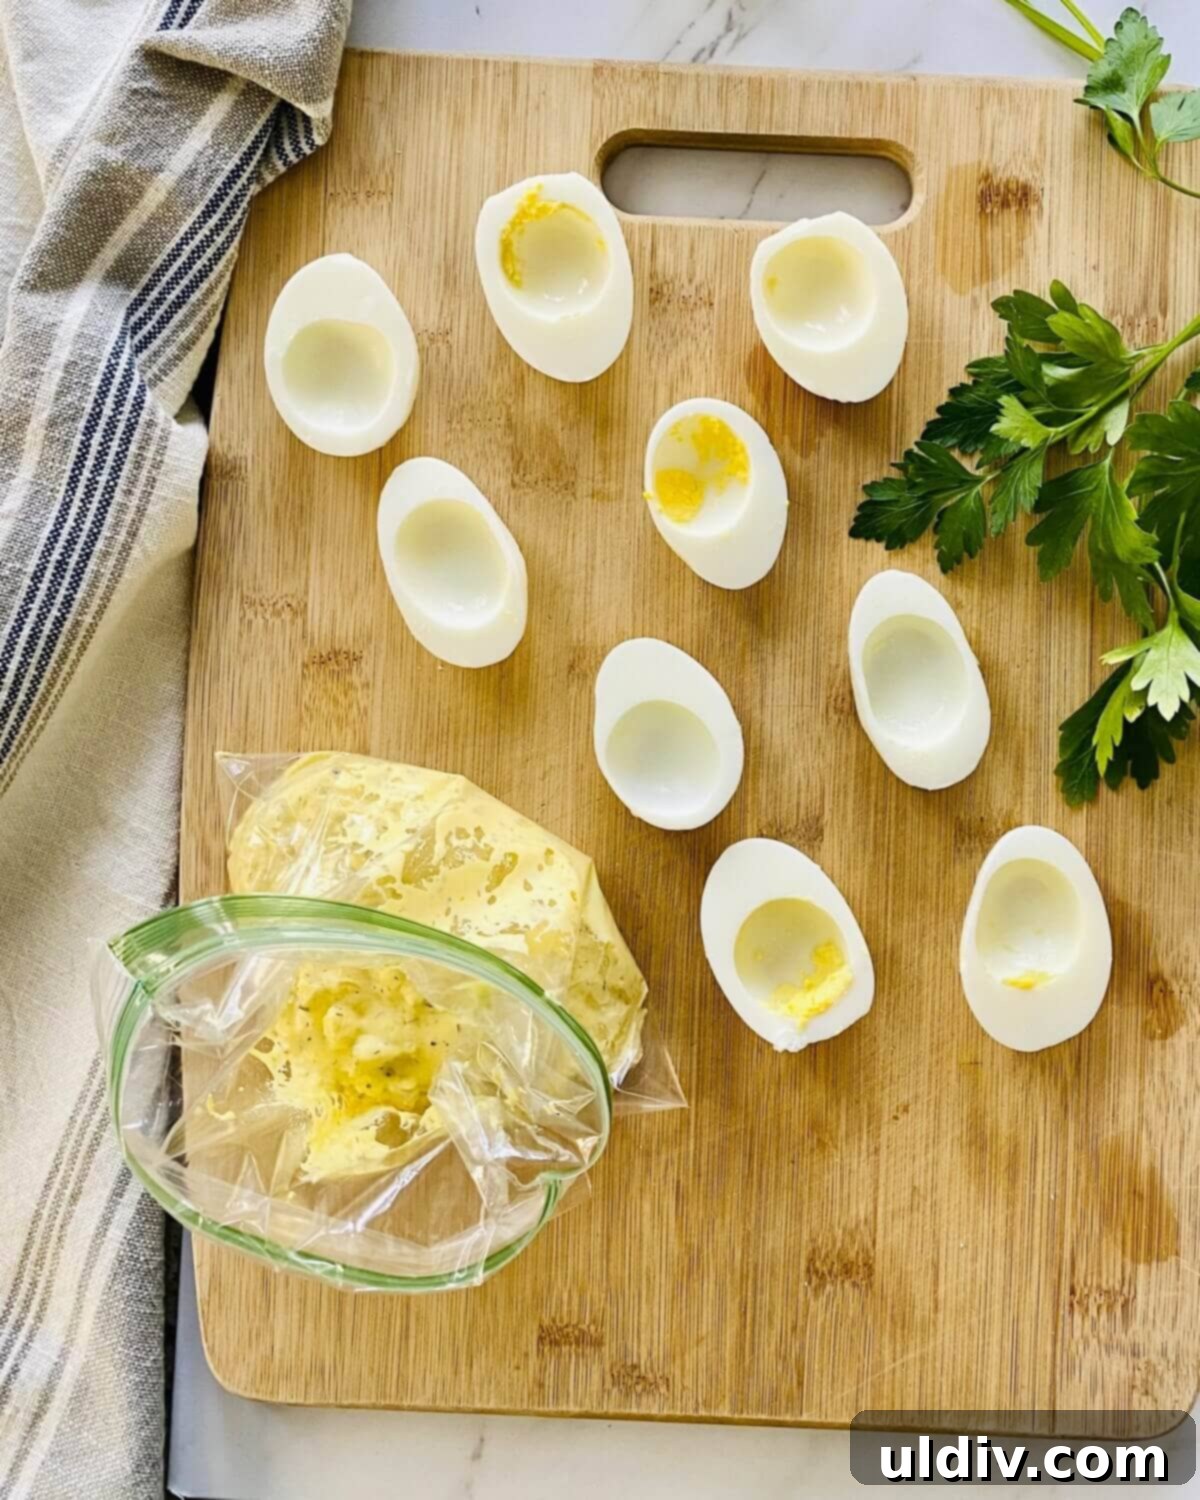
- Step 5: Prepare for Piping. For a professional and elegant presentation, transfer the creamy yolk mixture into a piping bag fitted with a star tip (or a simple round tip). If you don’t have a piping bag, a small resealable plastic bag works perfectly. Simply spoon the mixture into one corner of the bag, twist the top to secure, and snip off a small piece of the corner. This creates a makeshift piping bag that allows for neat filling.
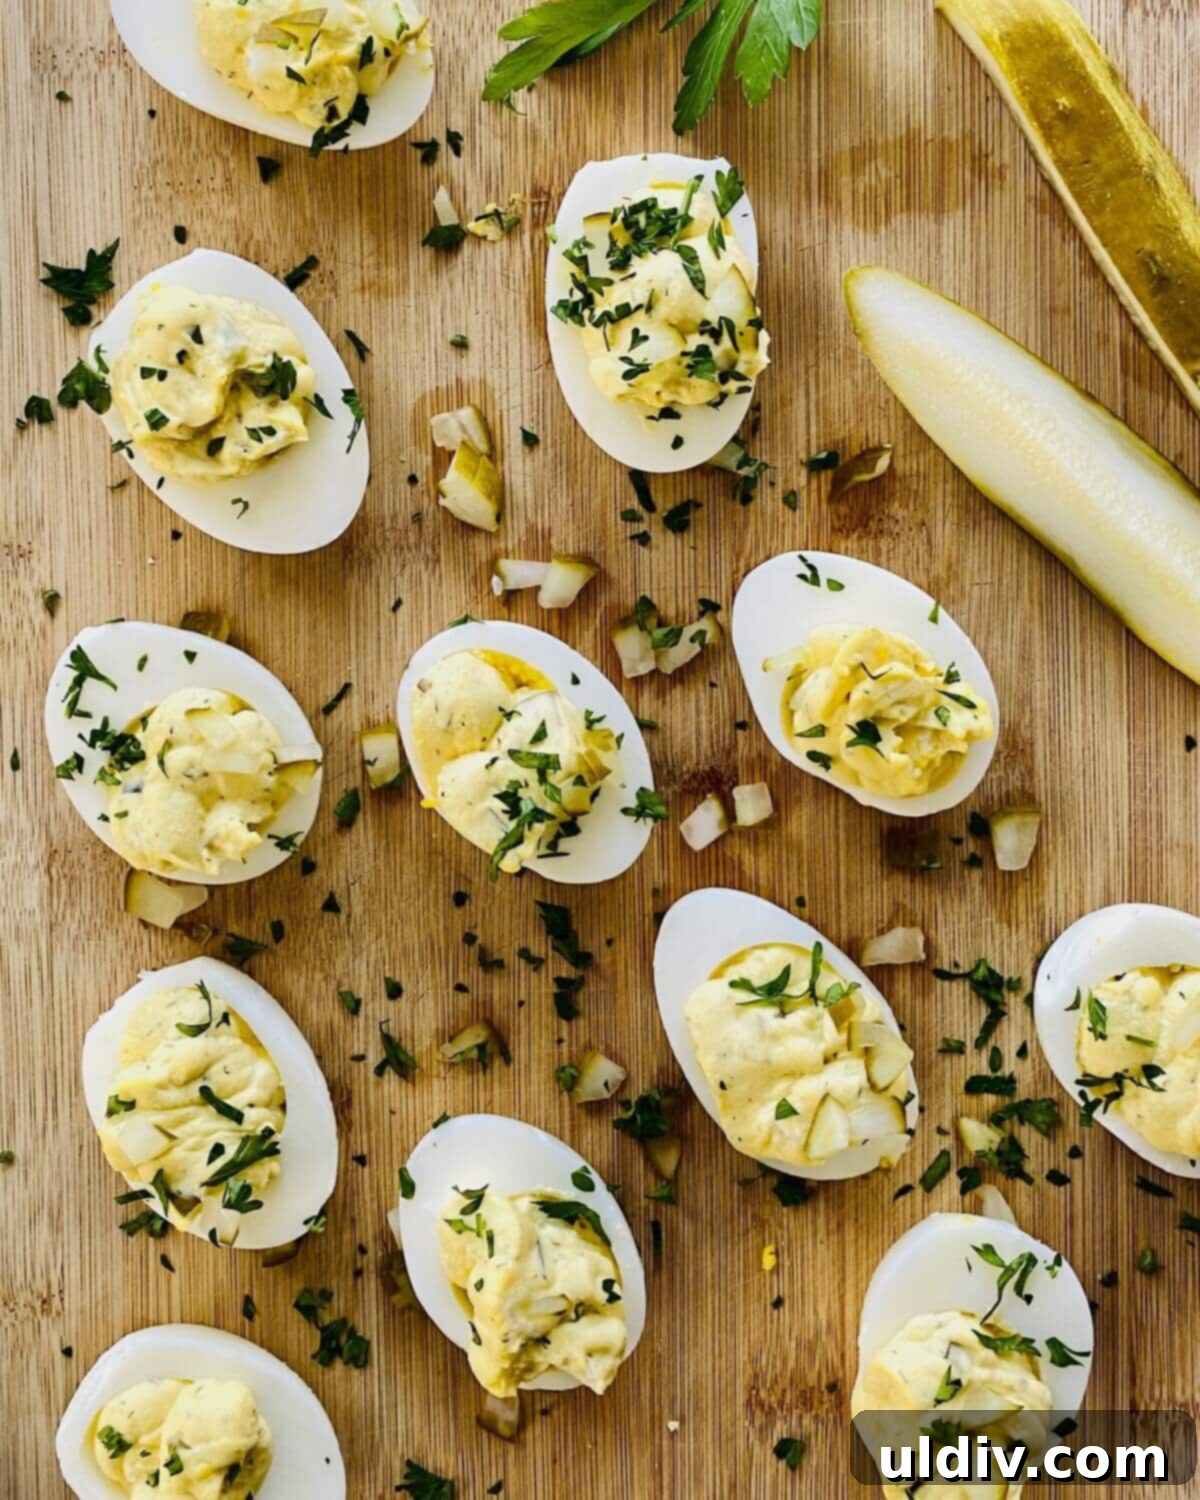
6. Step 6: Fill and Garnish. Carefully pipe the rich deviled egg filling into each hollowed-out egg white half, creating beautiful swirls or neat mounds. Once filled, generously sprinkle the remaining finely chopped dill pickles over the top of each egg for an extra burst of flavor and visual appeal. Finish with a delicate scattering of fresh chopped parsley. Serve immediately or chill until ready to enjoy.
Amy’s Expert Tips for Flawless Deviled Eggs
Achieving truly spectacular deviled eggs is a blend of good ingredients and smart techniques. Here are my tried-and-true expert tips to ensure your dill pickle deviled eggs are always a triumph:
- Chill Eggs Thoroughly Before Preparation: After hard boiling, it’s crucial to chill the eggs completely in an ice bath and then keep them refrigerated until you’re ready to make the deviled eggs. Cold eggs are much easier to handle, slice cleanly, and separate yolks from whites without breakage.
- Utilize a Sharp Chef’s Knife for Slicing: This might seem like a minor detail, but it makes a significant difference. A sharp chef’s knife will glide through the egg, creating clean, even halves without mashing or tearing the delicate egg white. A dull knife will only push down and deform the egg, making for a less appealing presentation.
- Practice “Mise en Place”: This French culinary term means “everything in its place.” Measuring out all your ingredients in advance and having them ready before you start mixing makes the entire preparation process incredibly smooth and enjoyable. I personally adore my set of stacking glass bowls for tasks like this; they’re versatile for holding anything from a tiny pinch of spice to a generous batch of mashed potatoes for cheesy stuffed potatoes!
- Mash Egg Yolks to a Fine, Grainy Texture: For the creamiest possible filling, take your time mashing the egg yolks. Aim for a texture that is dry, crumbly, and completely free of any large lumps. This ensures that when you add the wet ingredients, they blend seamlessly, resulting in a velvety smooth and luxurious filling.
- Harness the Power of Dill Pickle Juice: Don’t discard that precious dill pickle juice! It’s a key ingredient that infuses the deviled eggs with an extra layer of tangy, briny, and distinctively “dilly” flavor. It also helps achieve the perfect creamy consistency for the filling.
- Taste and Adjust Seasoning: Always taste your yolk mixture before piping. Flavors can vary based on your mayonnaise, pickles, and personal preference. Don’t be shy about adding a little more salt, pepper, or even a tiny splash more pickle juice to achieve your ideal flavor balance.
- Consider Presentation: While taste is paramount, presentation enhances the experience. Using a piping bag (or a simple plastic bag with a snipped corner) creates a much more attractive and uniform filling than spooning. A sprinkle of fresh parsley or a tiny dill sprig adds a professional touch.
- Don’t Overmix the Filling: Once all ingredients are added, mix just until combined and smooth. Overmixing can sometimes make the filling too airy or break down the texture of the pickles too much.
Proper Storage for Fresh Deviled Eggs
Deviled eggs are best enjoyed fresh, but sometimes you need to prepare them ahead of time or store leftovers. Proper storage is key to maintaining their delicious taste and creamy texture. Here’s how to keep your deviled eggs at their best:
After assembling the deviled eggs, arrange them carefully on a rimmed sheet pan or a platter. To prevent the plastic wrap from sticking directly to the delicate filling, you can gently insert a few toothpicks into the egg whites, spaced evenly, to create a tent-like structure. Then, cover the pan tightly with plastic wrap. This method works well for storing the assembled eggs in the refrigerator for up to 24 hours. If you’re transporting them to a party, a dedicated deviled egg platter/carrier with a lid is an excellent investment for both freshness and security.
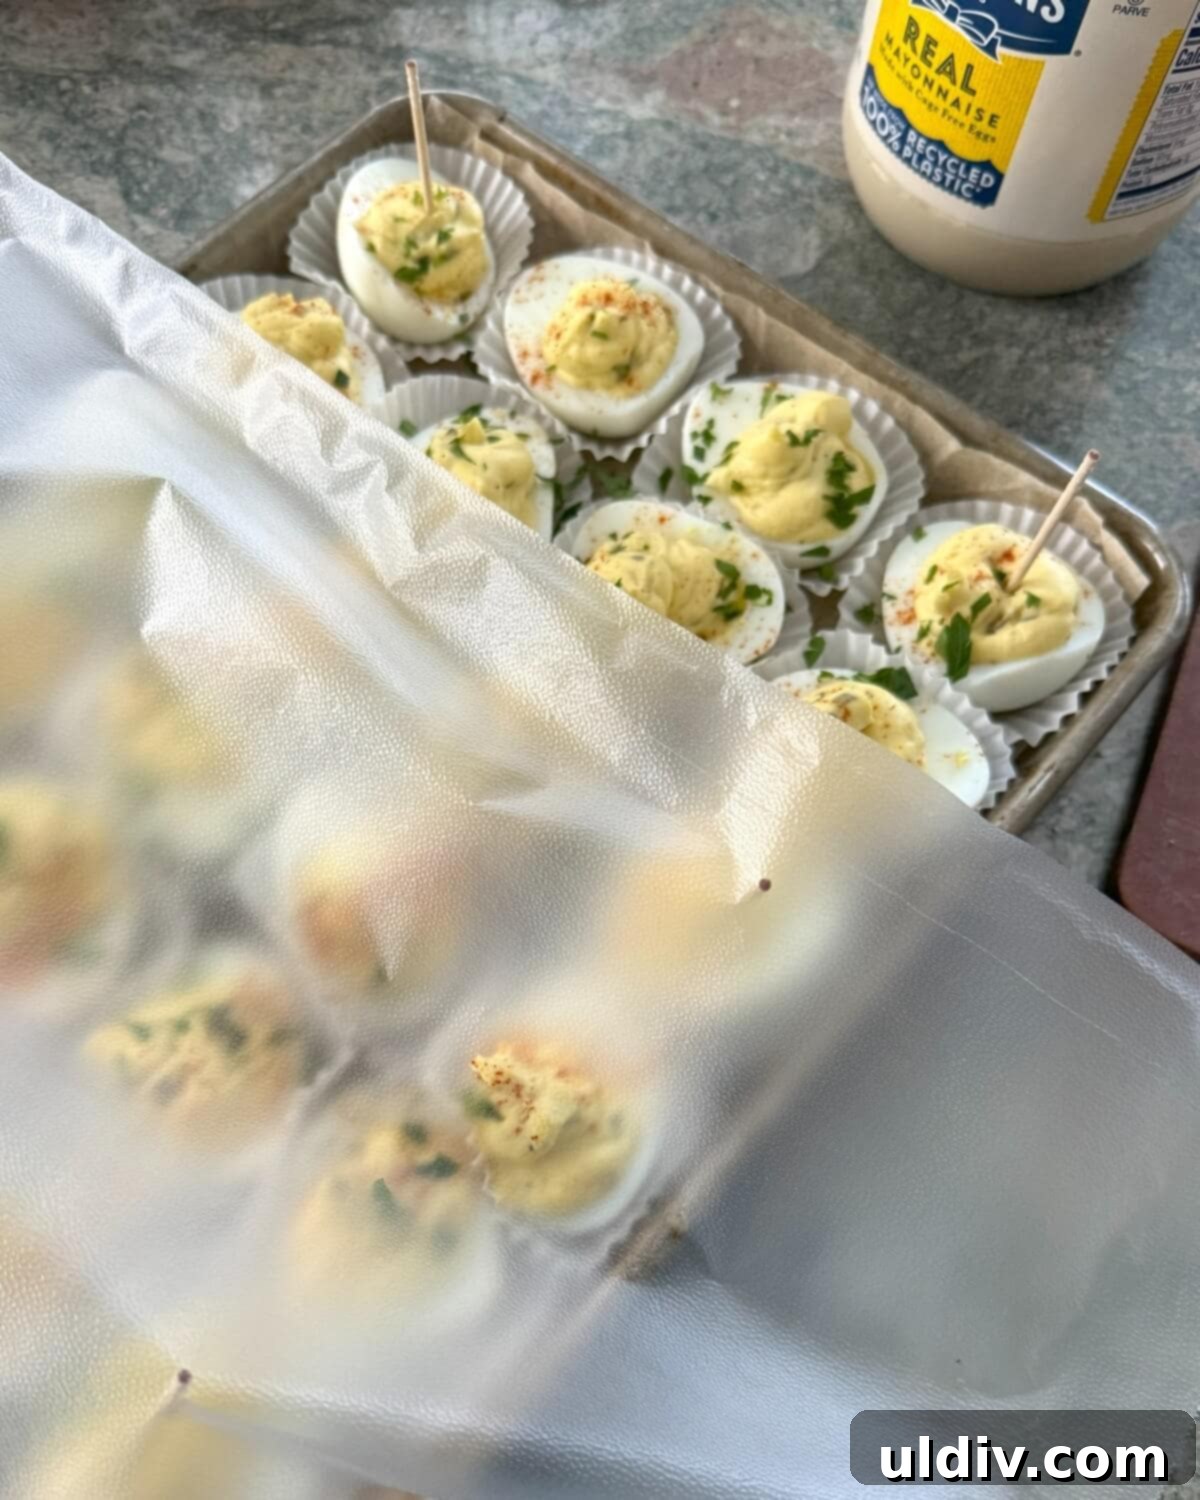
For longer storage, or if you prefer to prepare components in advance, it’s best to store the filling and hard-boiled egg whites separately. Spoon the prepared yolk mixture into a resealable bag or an airtight container. Place the hollowed-out egg whites in a separate airtight container, such as meal prep containers, ensuring they don’t dry out. Storing them this way allows you to keep both components fresh in the refrigerator for up to 3 days. When ready to serve, simply re-whip the filling if needed, pipe it into the egg whites, garnish, and enjoy! This method helps maintain the best texture for both the whites and the filling.
Frequently Asked Questions About Deviled Eggs
If you accidentally add too much mayonnaise, your deviled egg filling will become too runny and difficult to pipe or scoop neatly into the egg white halves. The texture won’t hold its shape, leading to a messy presentation. To fix this, you have a few options: If you have extra hard-boiled eggs on hand, you can mash another yolk or two and stir them into the runny mixture to absorb excess moisture. Alternatively, you can try adding a small amount of instant mashed potato flakes, a tablespoon at a time, until the desired thickness and creamy consistency are achieved. Be sure to taste and re-season as you go.
No piping bag? No problem! A simple sandwich-sized resealable plastic bag works just as well. First, fold the top edges of the bag down over themselves to create a cuff, which helps keep the bag clean while you’re spooning in the yolk mixture. Once the filling is inside, seal the baggie, pushing the mixture down into one corner. Then, use scissors to snip off about a half-inch from that corner. You now have a makeshift piping bag! Squeeze the filling gently and steadily into each egg white half. It’s a quick, easy, and effective method for a neat presentation.
Yes, you can absolutely make deviled eggs a day ahead! For the best quality and presentation, it’s recommended to prepare the egg white halves and the yolk filling separately. Store the hollowed-out egg whites in an airtight container and the filling in a sealed bag or container in the refrigerator. When you’re ready to serve, simply pipe the filling into the whites and garnish. If you assemble them completely, they can still be stored for up to 24 hours, but cover them well with plastic wrap (using toothpicks to prevent sticking) to maintain freshness.
For this recipe, classic dill pickles are preferred. Look for a brand that you enjoy eating on its own, as their flavor will be prominent in the deviled eggs. You can use whole dill pickles and chop them yourself for a fresher taste and control over the fineness of the chop, or opt for pre-chopped dill relish if you’re short on time. Avoid sweet pickles or bread and butter pickles, as their sweetness will clash with the savory profile we’re aiming for.
Explore More Delicious Snack and Appetizer Recipes
If you loved these dill pickle deviled eggs, you’re in for a treat! These other popular snack and appetizer recipes are perfect companions or fantastic standalone options for your next gathering. From savory bites to hearty sliders, there’s something to please every palate:
- Easy Crispy Baked Chicken Wings
- Texas Caviar
- Awesome Turkey Meatballs in Beer Sauce
- Garlic Butter Mushrooms with Blue Cheese
- Cheeseburger Sliders ~ super easy sheet pan recipe!
- Little Big Mac Sliders
One More Thing… Share Your Culinary Creations!

Did you try this recipe?
I would absolutely love to hear about your experience with these Deviled Eggs with Dill Pickles! Please let me know by leaving a comment and a star rating below. Your feedback is incredibly valuable to me and other home cooks. Don’t forget to share your delicious creations on Pinterest, Instagram, and Facebook – be sure to tag me so I can see your amazing work!
Thanks so much for cooking with me! ~ Amy
Recipe Card
Deviled Eggs with Dill Pickles
15 minutes
15 minutes
12 deviled egg halves
84kcal
Amy Casey
Ingredients
- 6 large hard boiled eggs
- 2 tablespoons mayonnaise
- 1 teaspoon Dijon mustard
- ⅛ teaspoon dried dill weed
- kosher salt and freshly ground pepper to taste
- 4 tablespoons finely chopped dill pickles divided
- 1 tablespoon dill pickle juice
- 1 tablespoon freshly chopped parsley
Instructions
-
Peel the hard boiled eggs. On a cutting board, slice the eggs in half lengthwise using a sharp knife.
-
Scoop out the yolks and place them in a medium-sized bowl. Reserve the egg white halves.
-
Finely mash the egg yolks with a fork or the back of a spoon until smooth and lump-free.
-
Add mayonnaise, Dijon mustard, dried dill weed, a pinch of kosher salt, and a few grinds of pepper to the mashed yolks. Stir thoroughly to combine all ingredients until creamy.
-
Stir in 2 tablespoons of the finely chopped dill pickles and the dill pickle juice into the yolk mixture. Taste and adjust seasoning if necessary.
-
Spoon the deviled egg mixture into a small resealable plastic bag or a piping bag. If using a plastic bag, seal it and cut about ½ inch off one bottom corner. Pipe the egg yolk mixture neatly into each egg white half.
-
Sprinkle the filled deviled eggs with the remaining chopped dill pickles and the freshly chopped parsley for garnish.
-
Serve immediately for the best fresh taste, or store covered in the refrigerator for up to 24 hours.
Notes
- Ensure hard-boiled eggs are thoroughly chilled before beginning the recipe.
- Use a sharp chef’s knife for clean, even slices of the eggs to prevent mashing.
- Practice “mise en place” by measuring all ingredients in advance for smoother preparation. Glass stacking bowls are excellent for this!
- Mash egg yolks until they are very fine and crumbly to achieve a super creamy filling.
- Don’t forget the dill pickle juice from the jar; it’s essential for adding a rich dilly flavor to the deviled eggs.
Nutrition Information
Calories: 84kcal |
Carbohydrates: 1.8g |
Protein: 5.7g |
Fat: 6.1g |
Saturated Fat: 1.6g |
Cholesterol: 165mg |
Sodium: 237mg |
Fiber: 0.2g |
Sugar: 0.8g